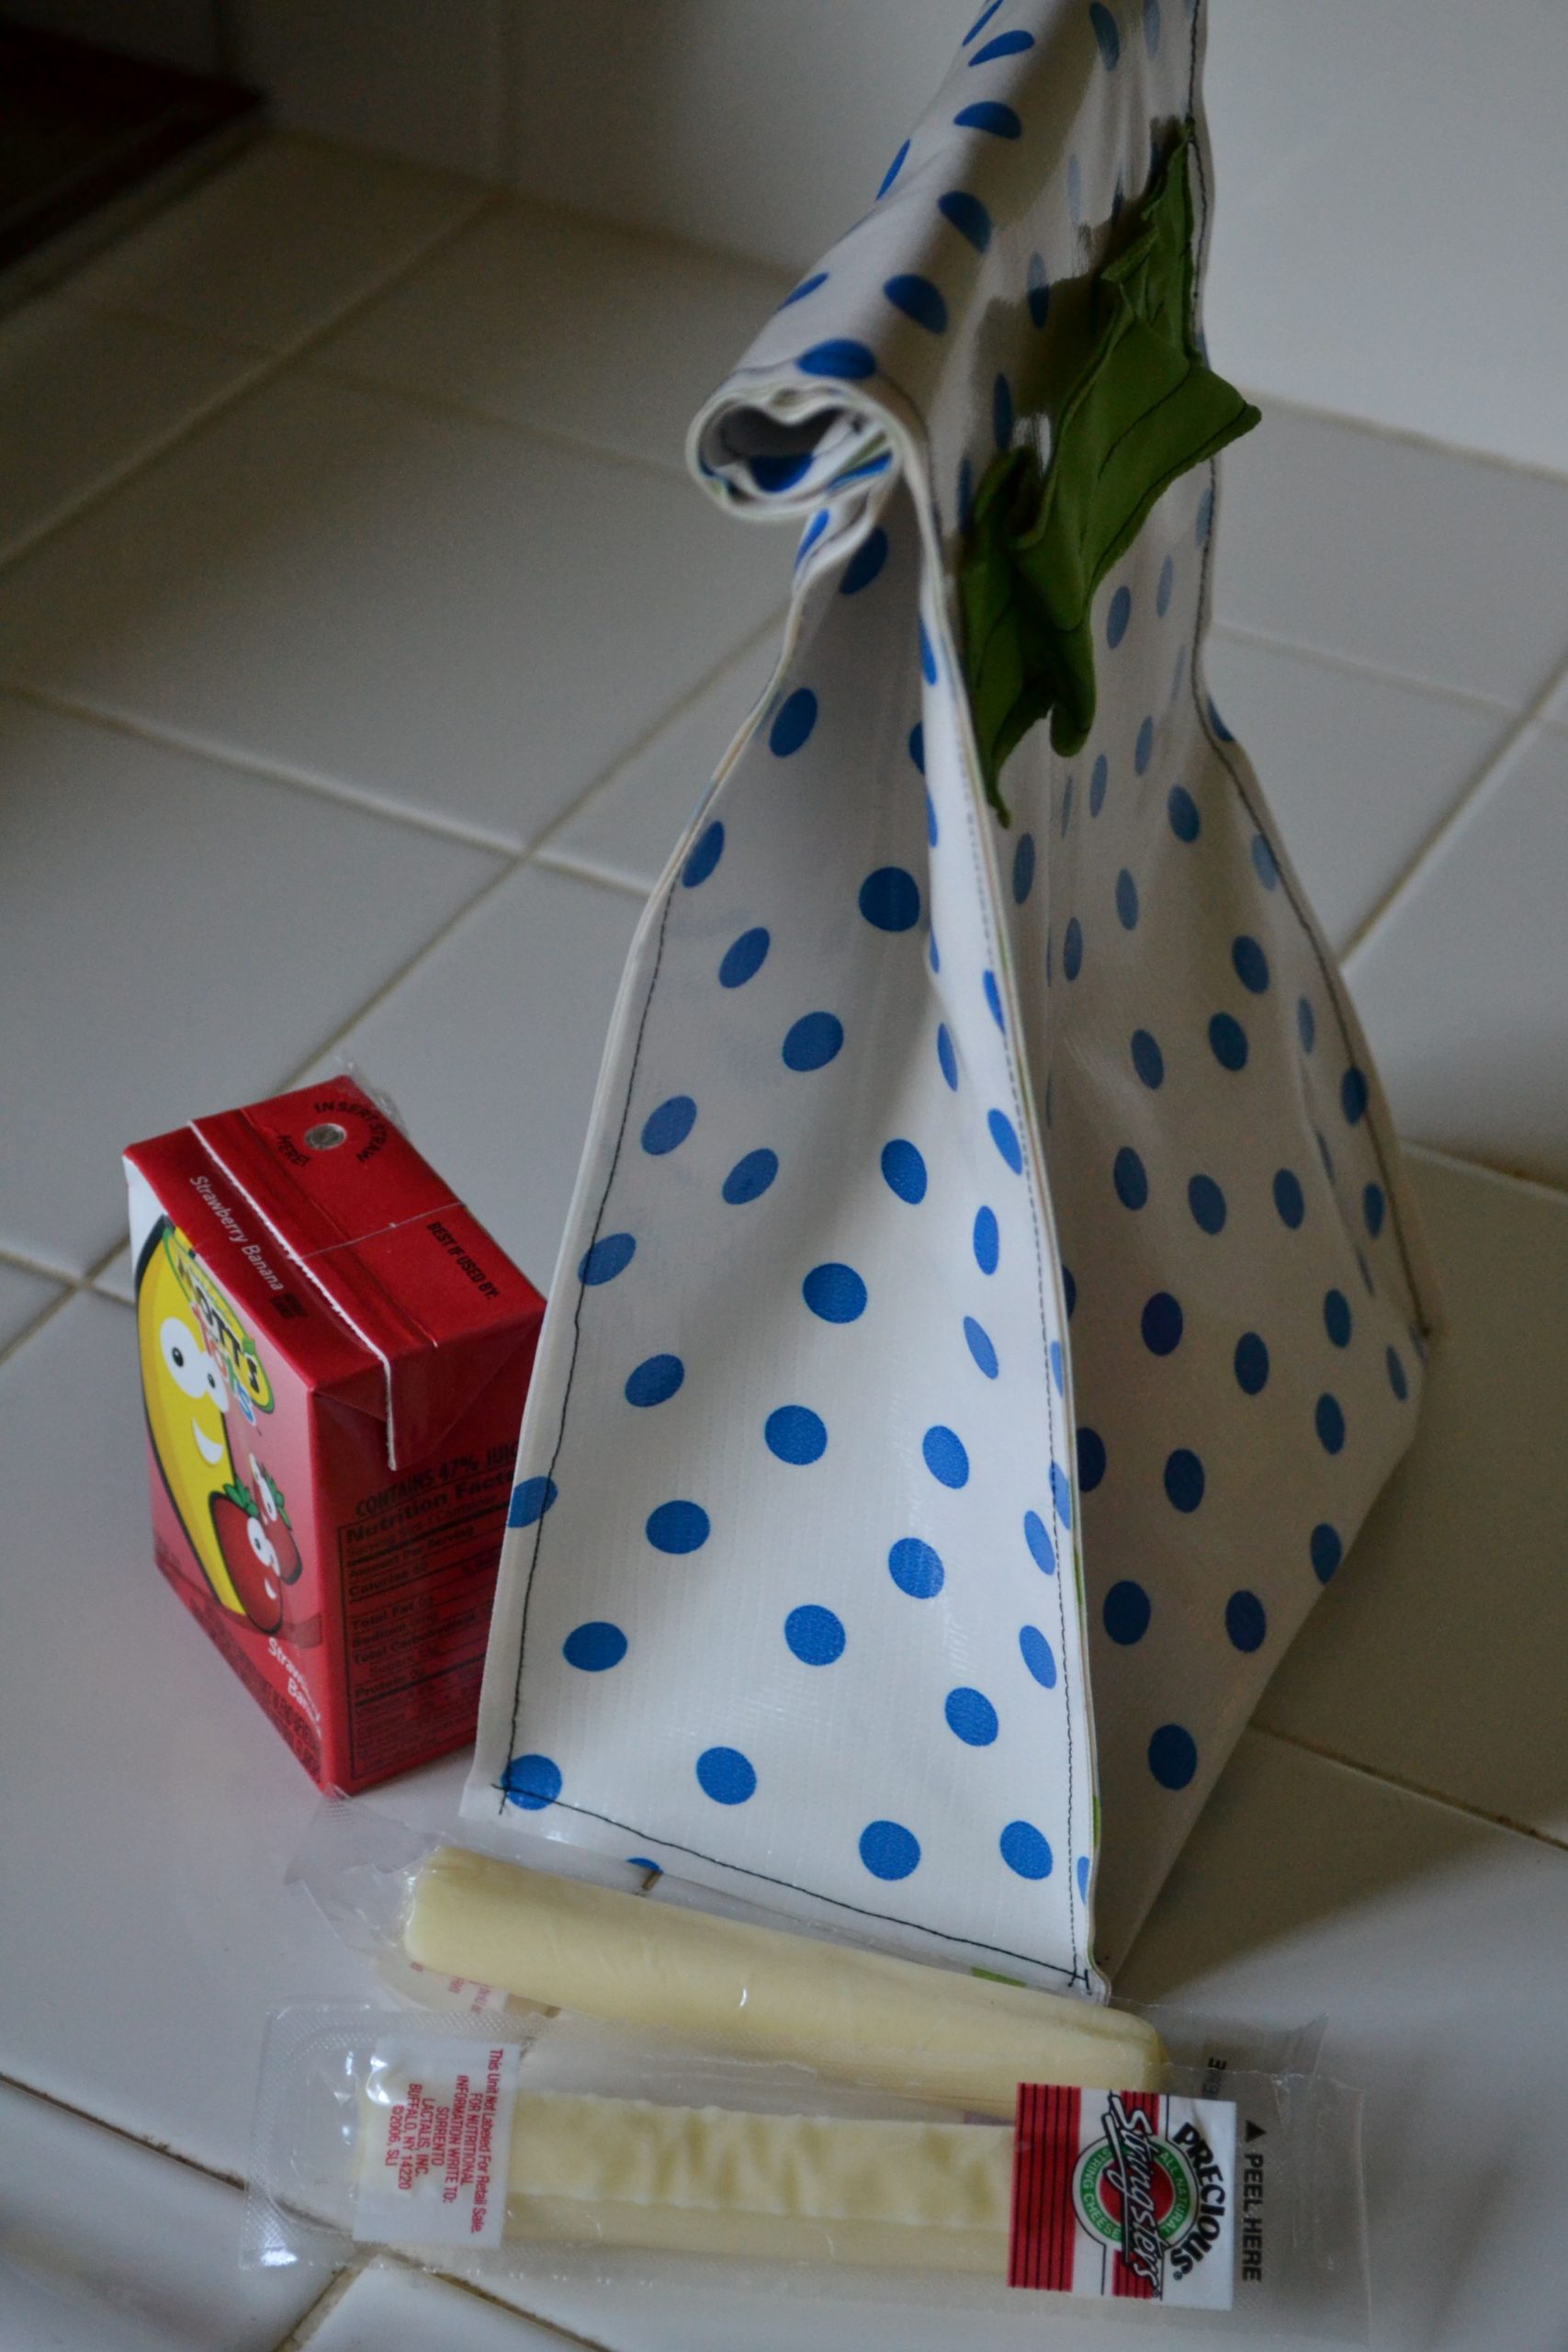
I’ve had to give up on a lot of good intentions in this motherhood experience of mine, but one that I’ve clung to is sending lunch to school in an adorable and ecofriendly lunchbag.
Now that Atti goes to school everyday, I’ve joined the army of moms who make lunches. Although, I only barely qualify. He really only gets a snack at the end of the day, so instead of making sandwiches I’m collecting a piece of fruit and some crackers. But I have aspirations of sending better, fresher stuff, and that fresh stuff gets messy. So I needed something besides the front pocket of his backpack. Something that could be easily wiped clean.
The construction for this is similar to the Rustle Bag I made years ago. It’s just a simple square-bottomed bag you can make to any dimensions you want, but here’s how I did it.
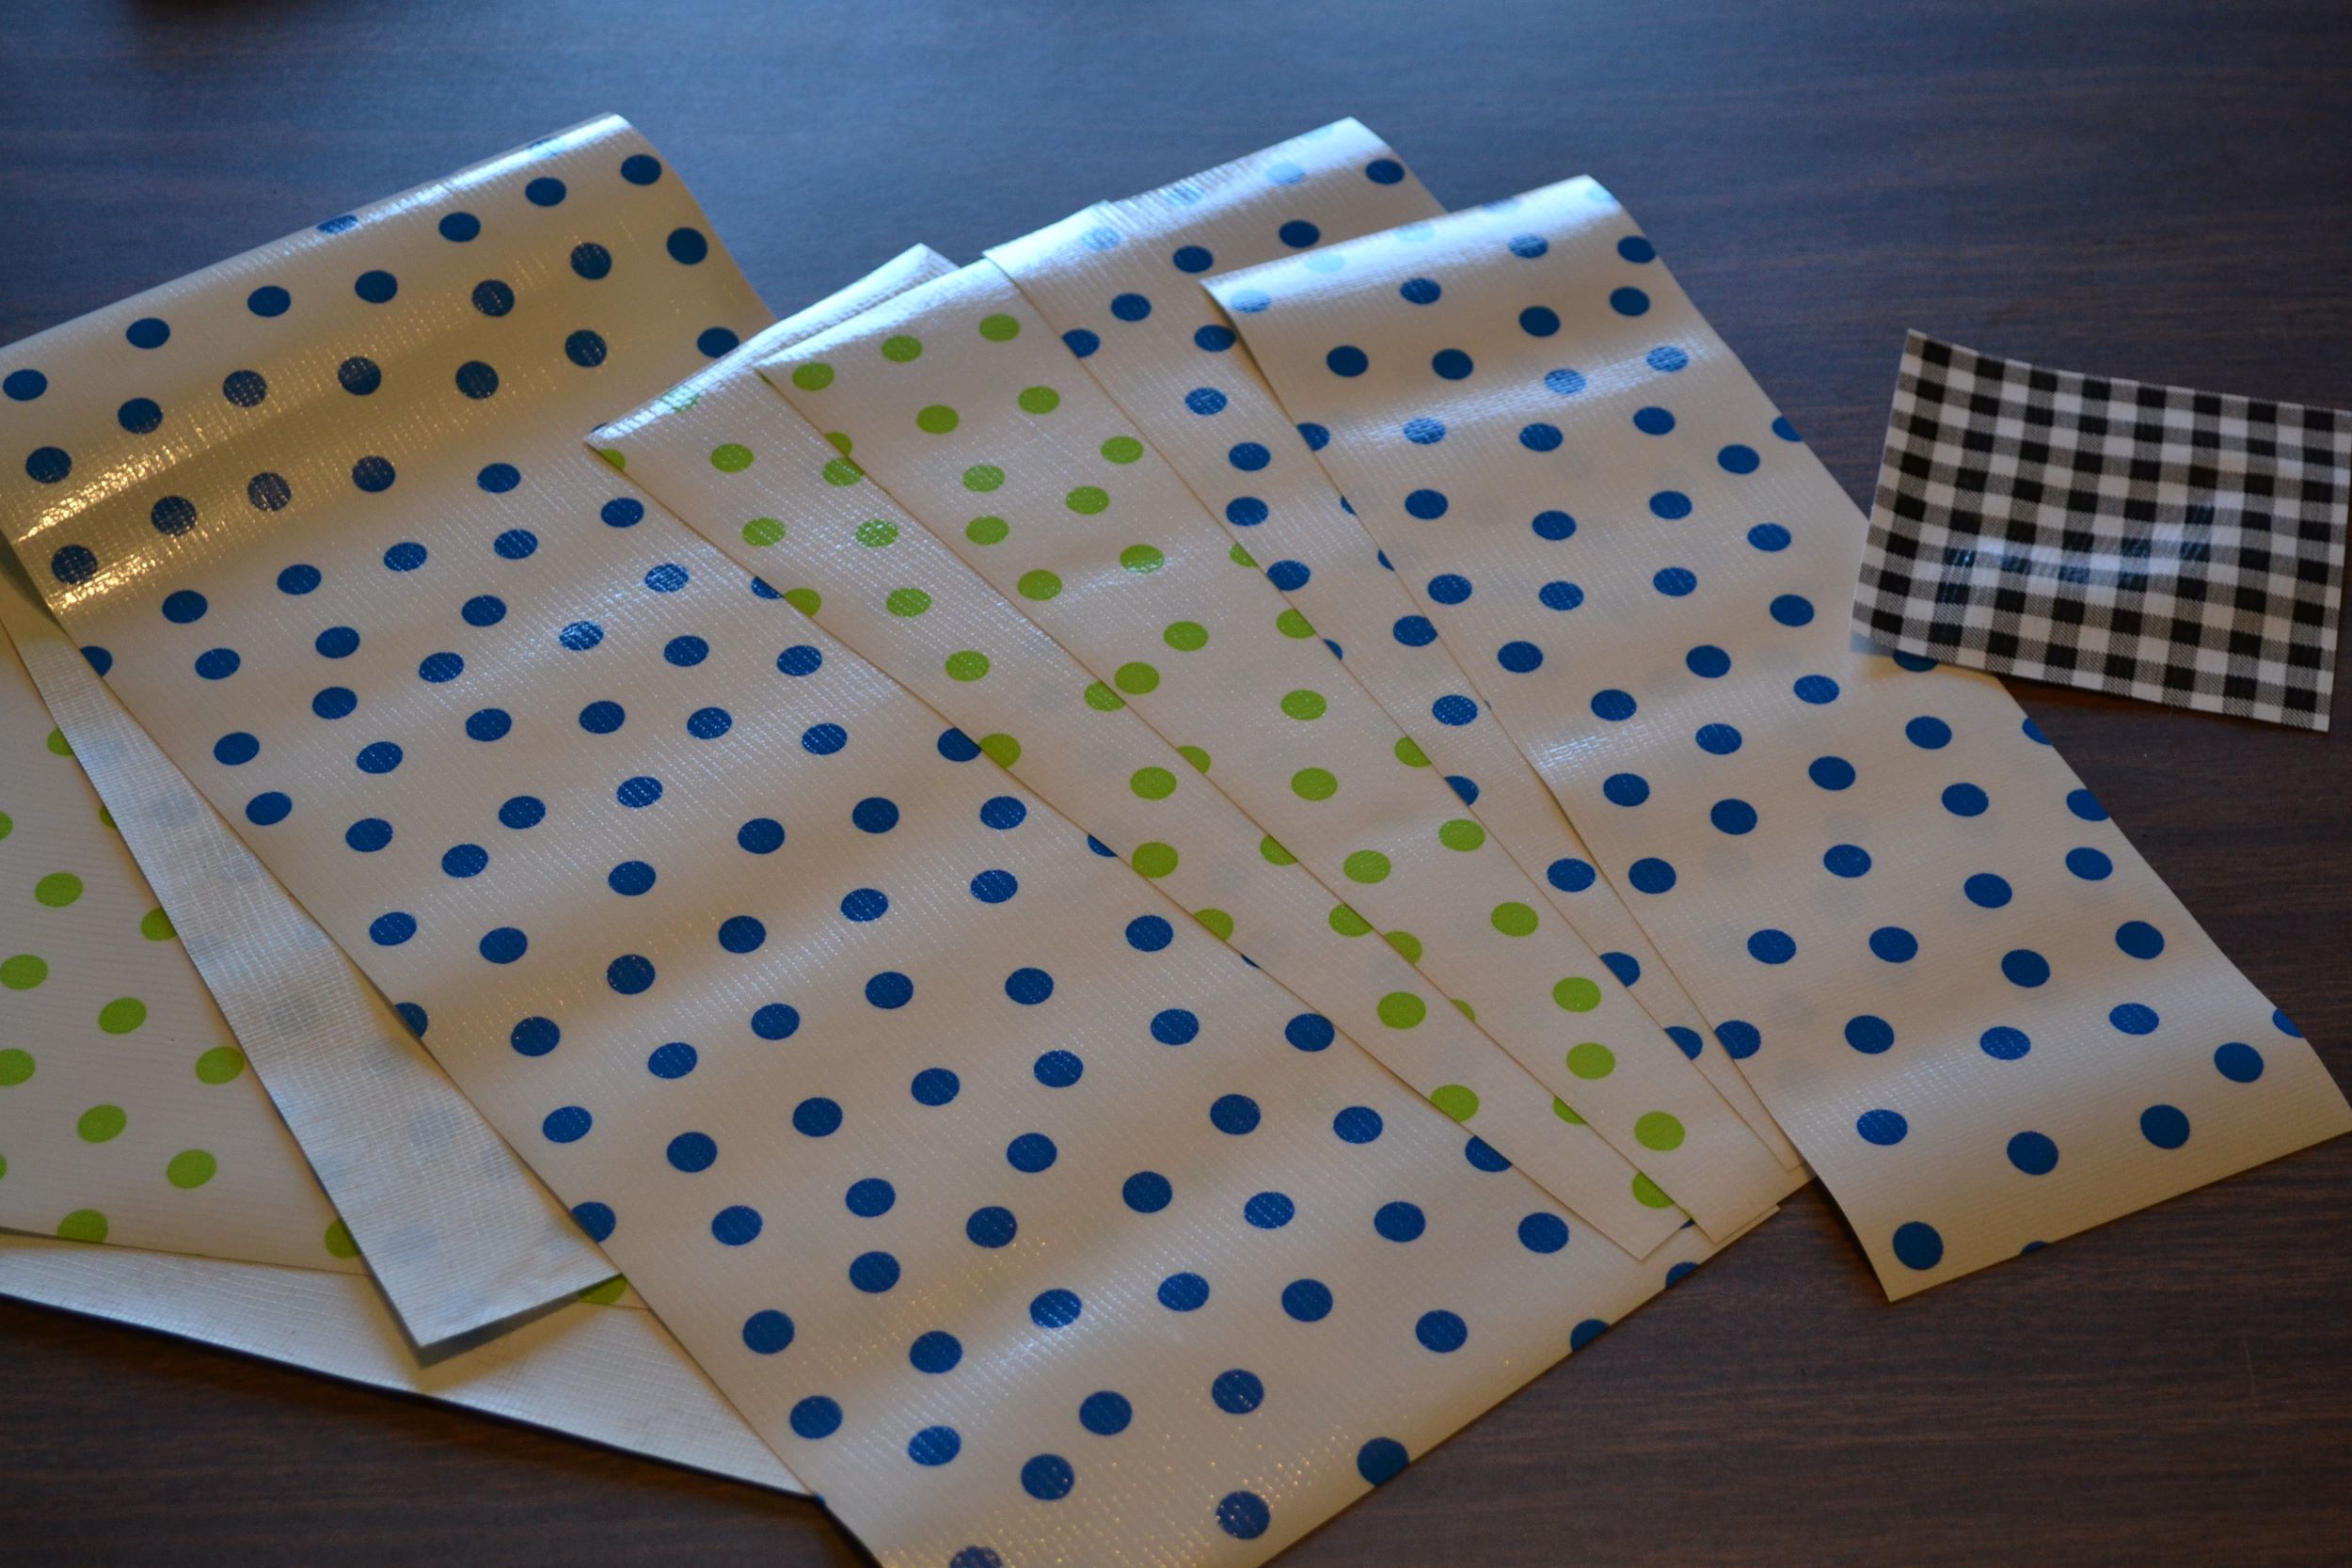
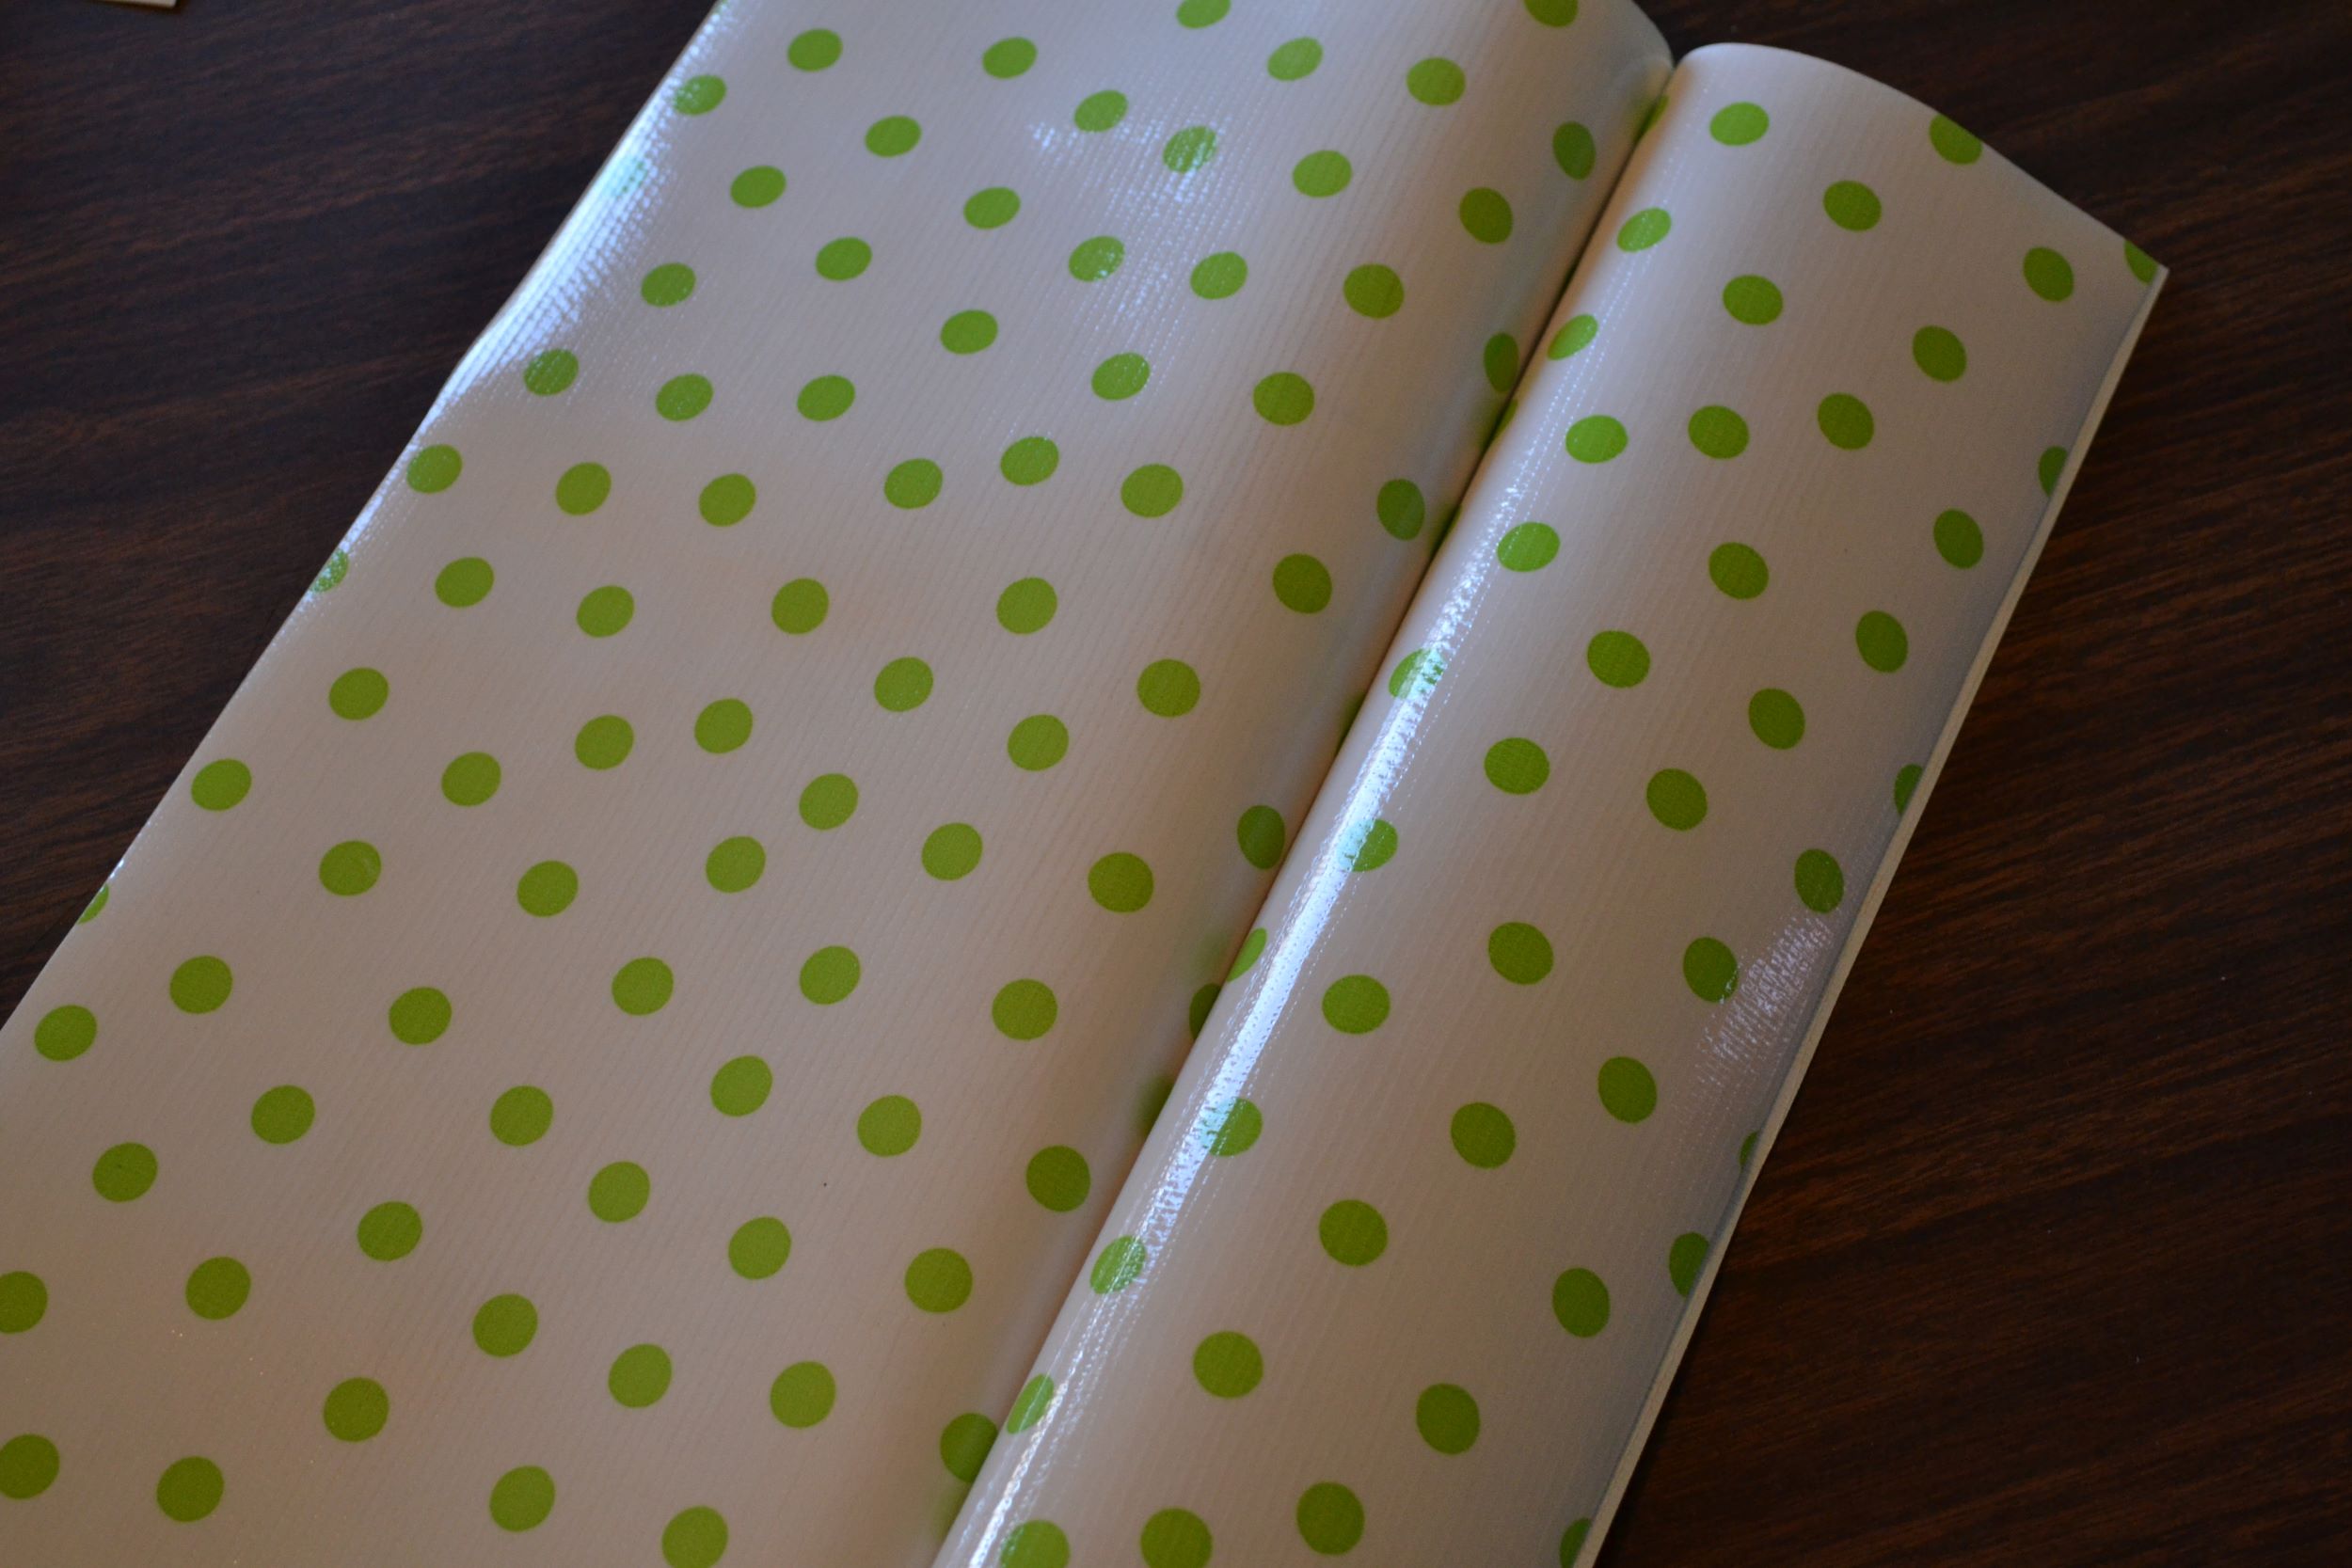
Out of two complimentary patterns of vinyl, cut:
the body piece – 7″ x 29 1/2″
2 side pieces – 4 x 12 1/2″
Make sure you make each of these cuts out of each piece of vinyl so you have all the pieces for the inside and outside of the bag.
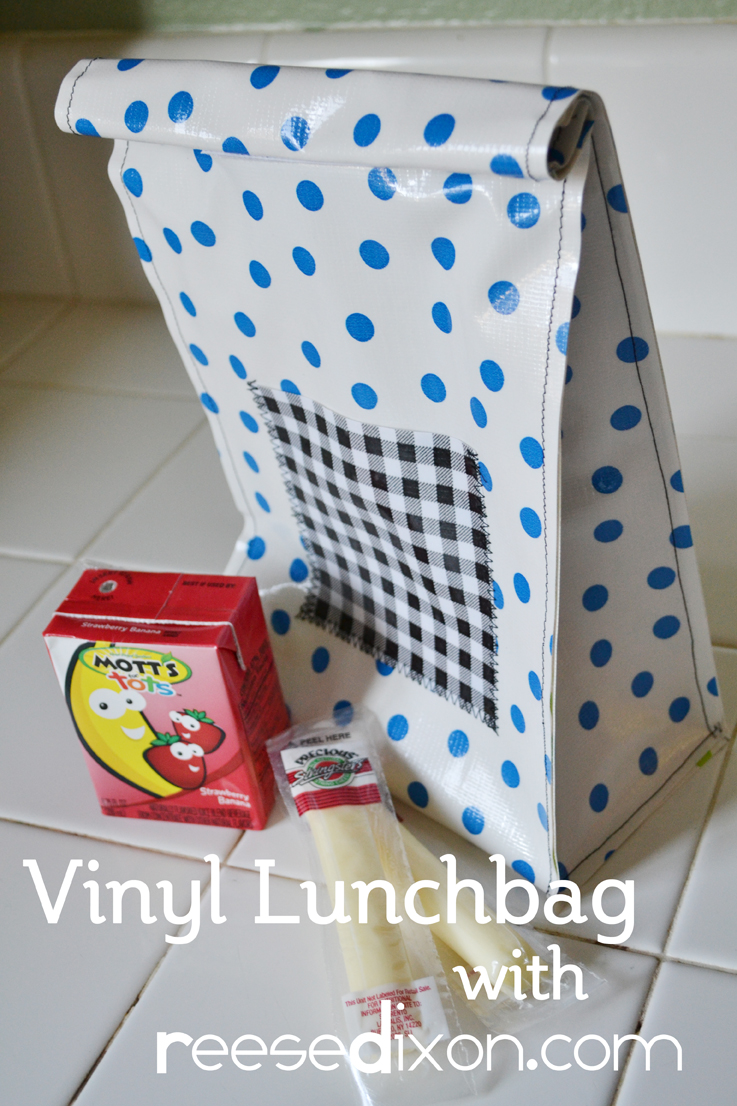
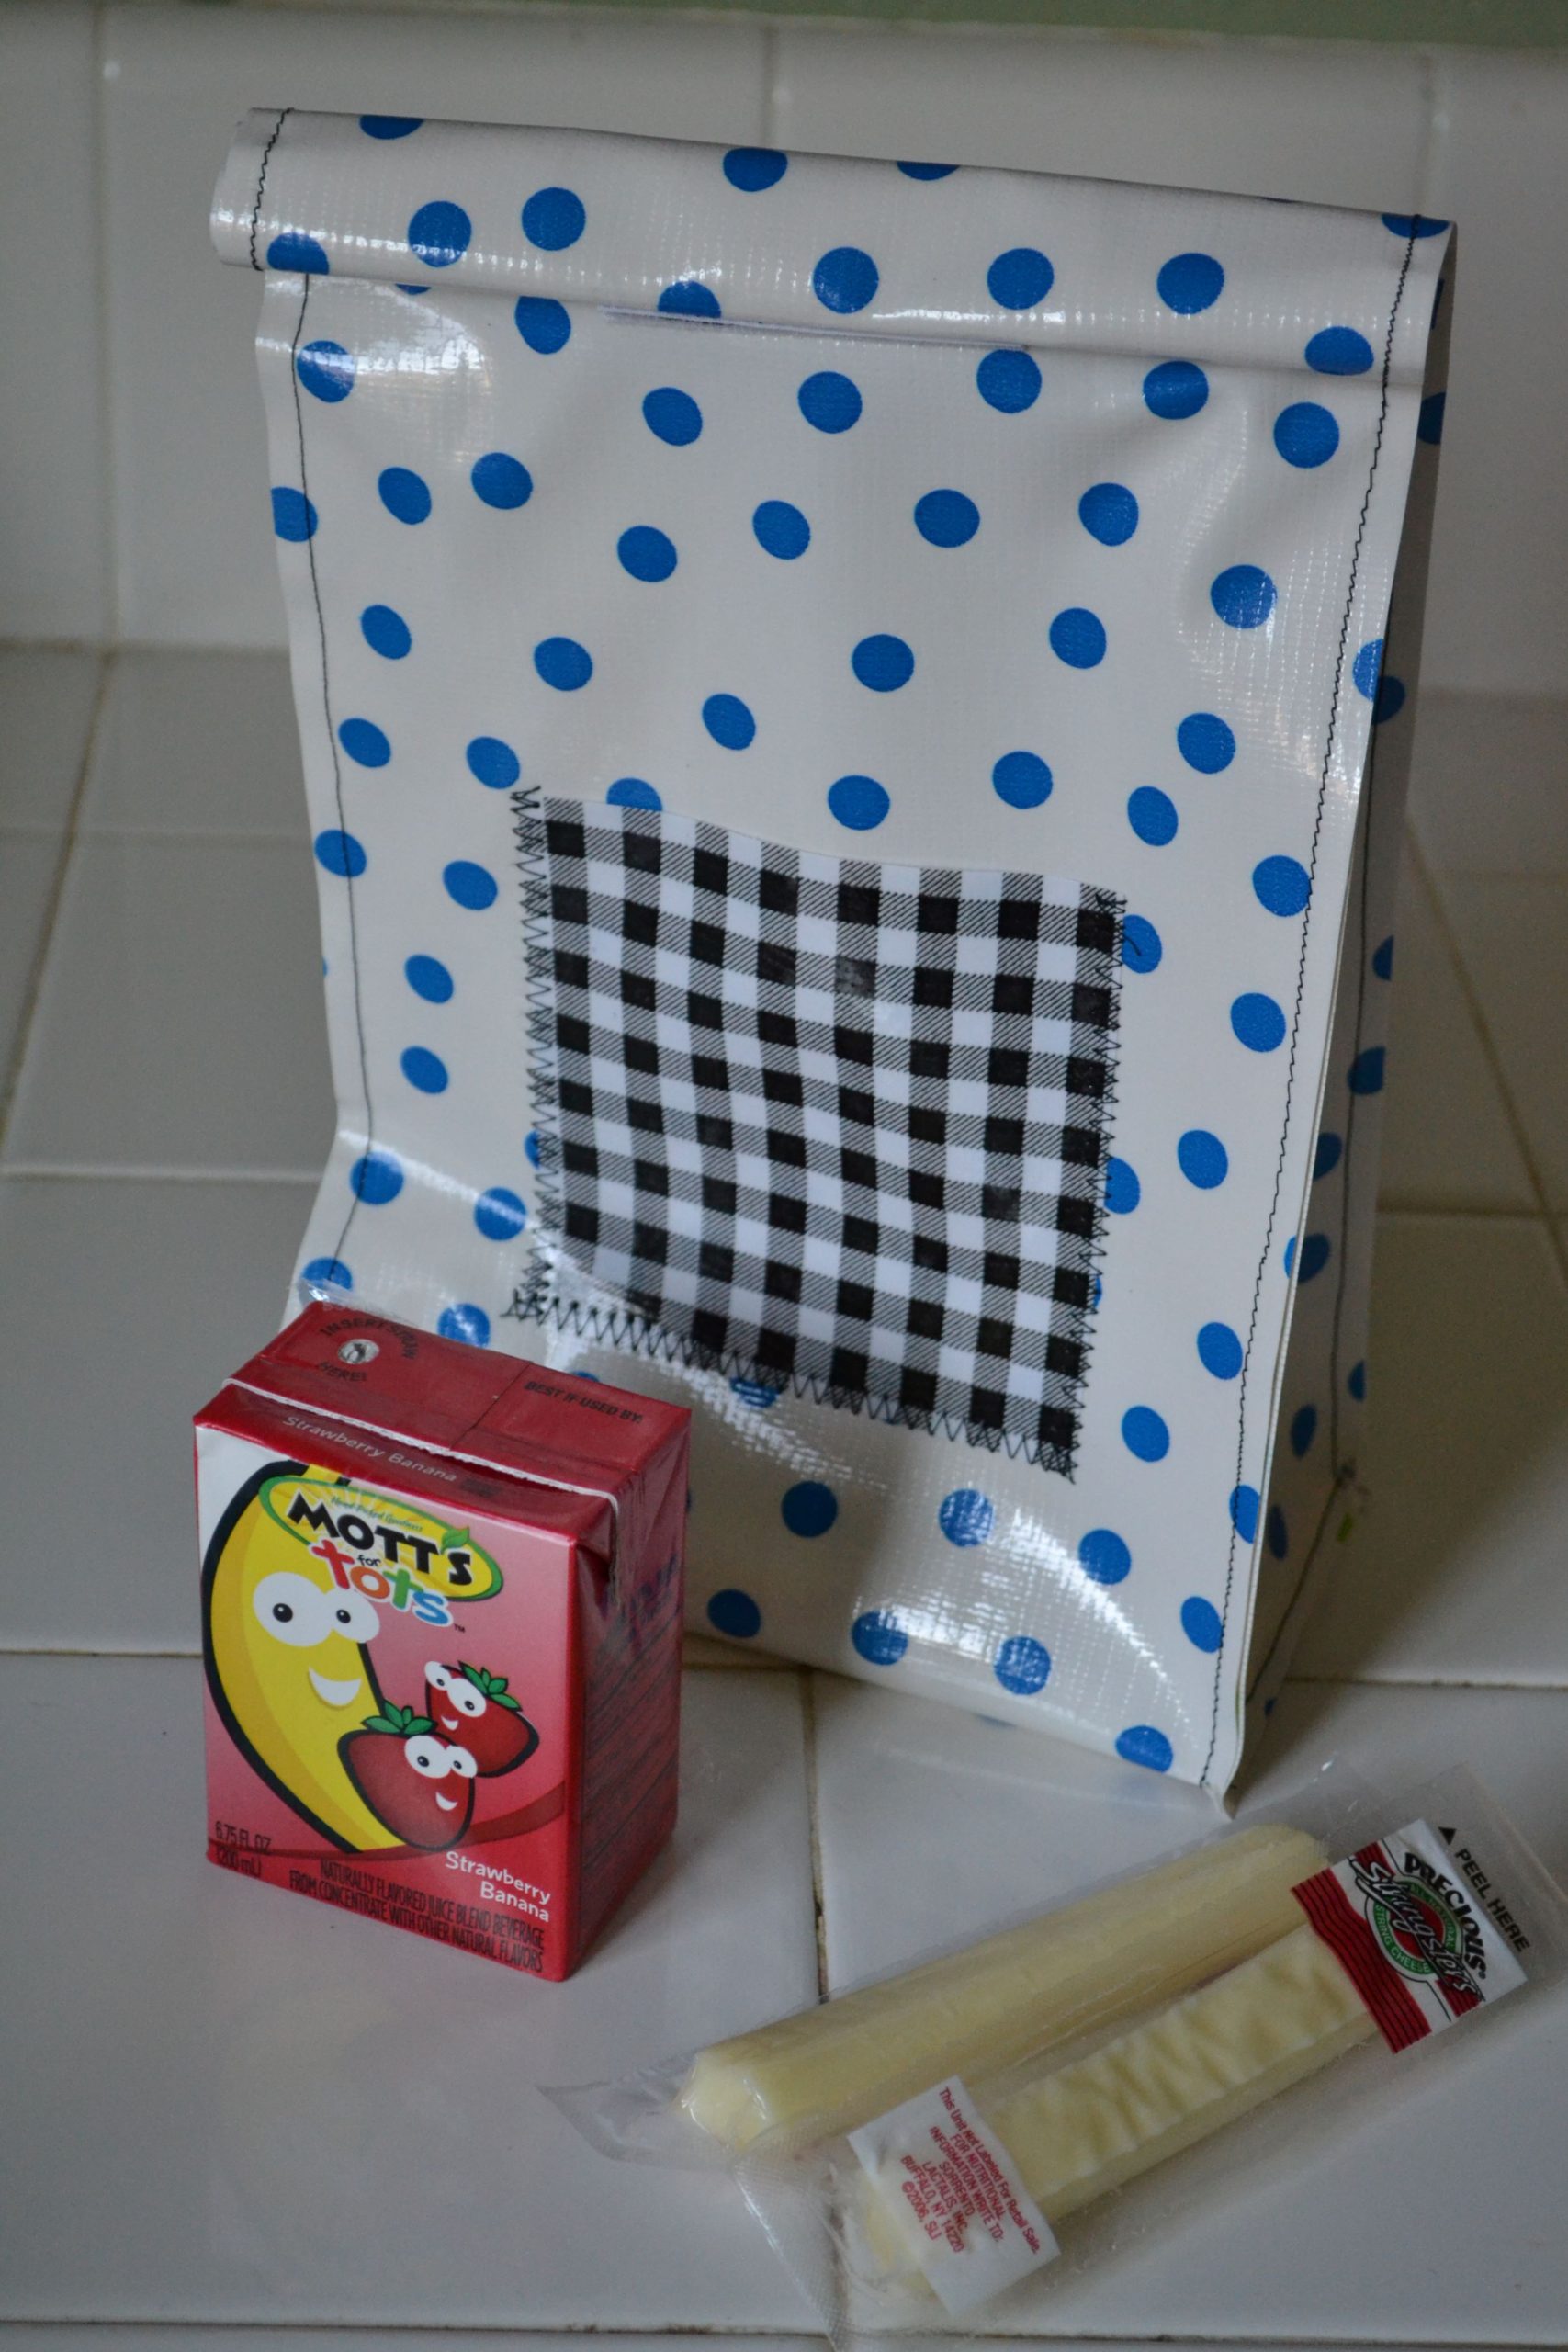
You’ll also need a piece for the front pocket. Mine measured 4″ x 4″, and a piece of velcro cut 2 1/2″ long.
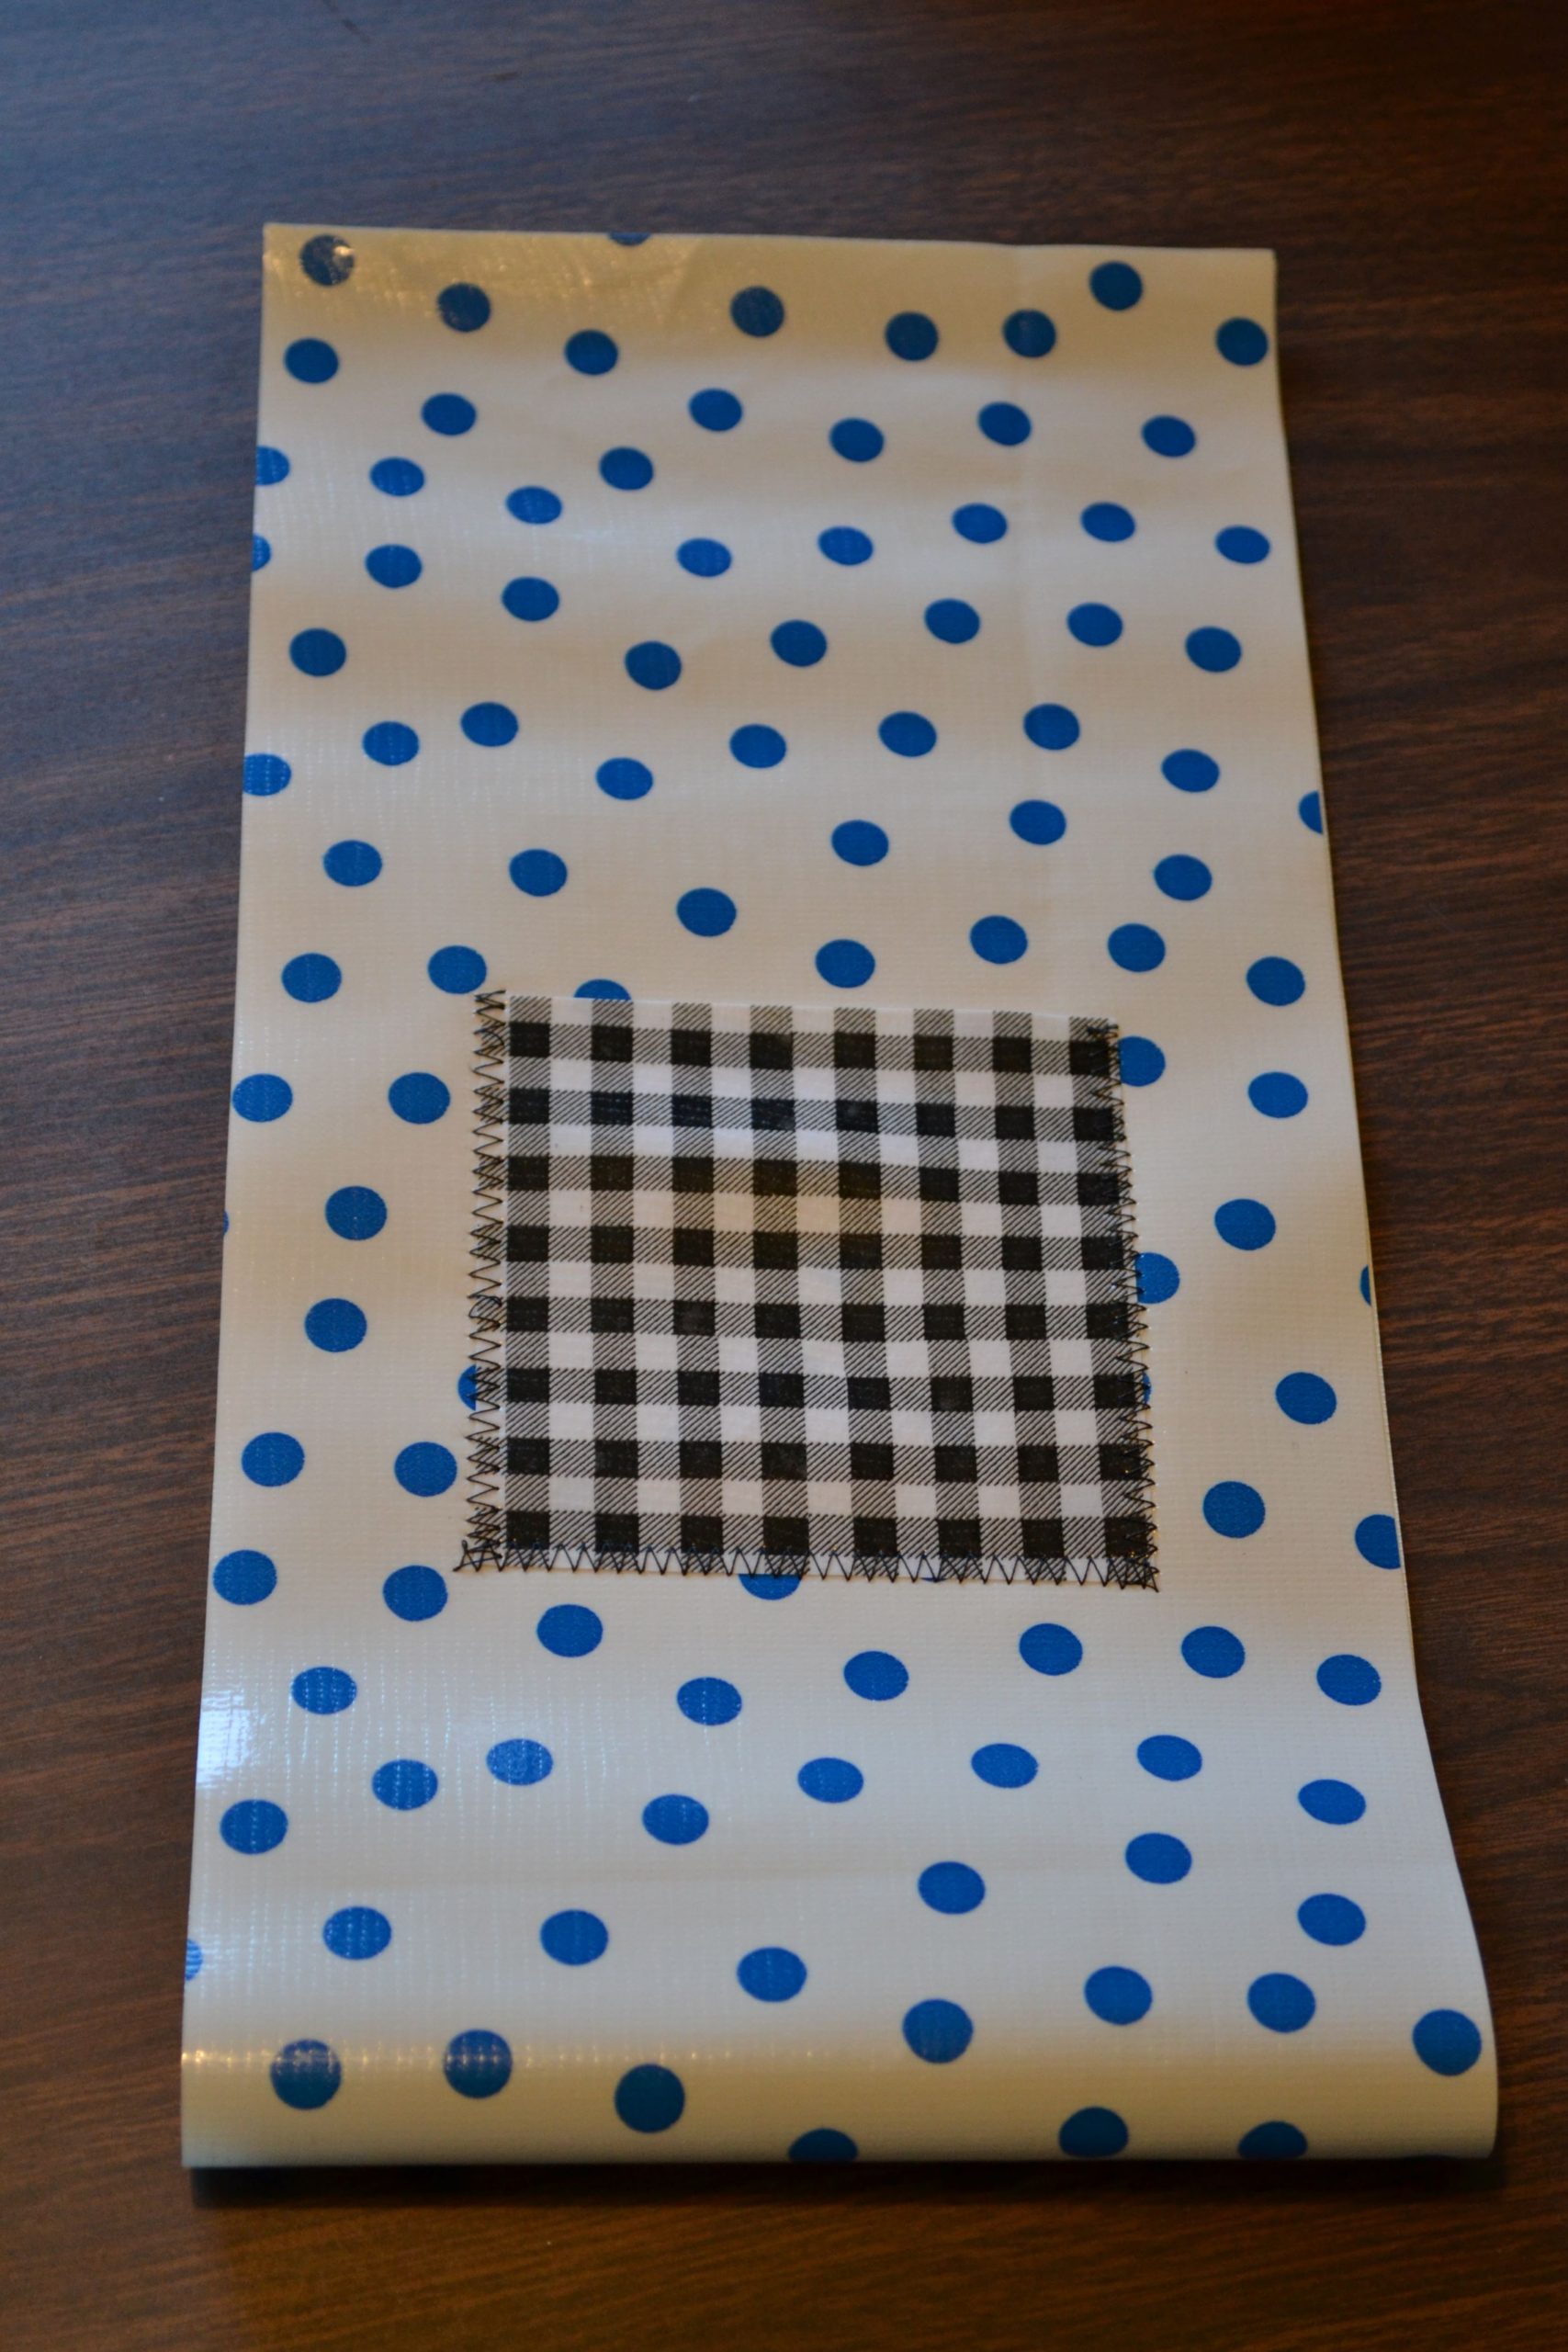
Sew your pocket on the front body piece by zig zagging around three sides, roughly 8″ from the top.
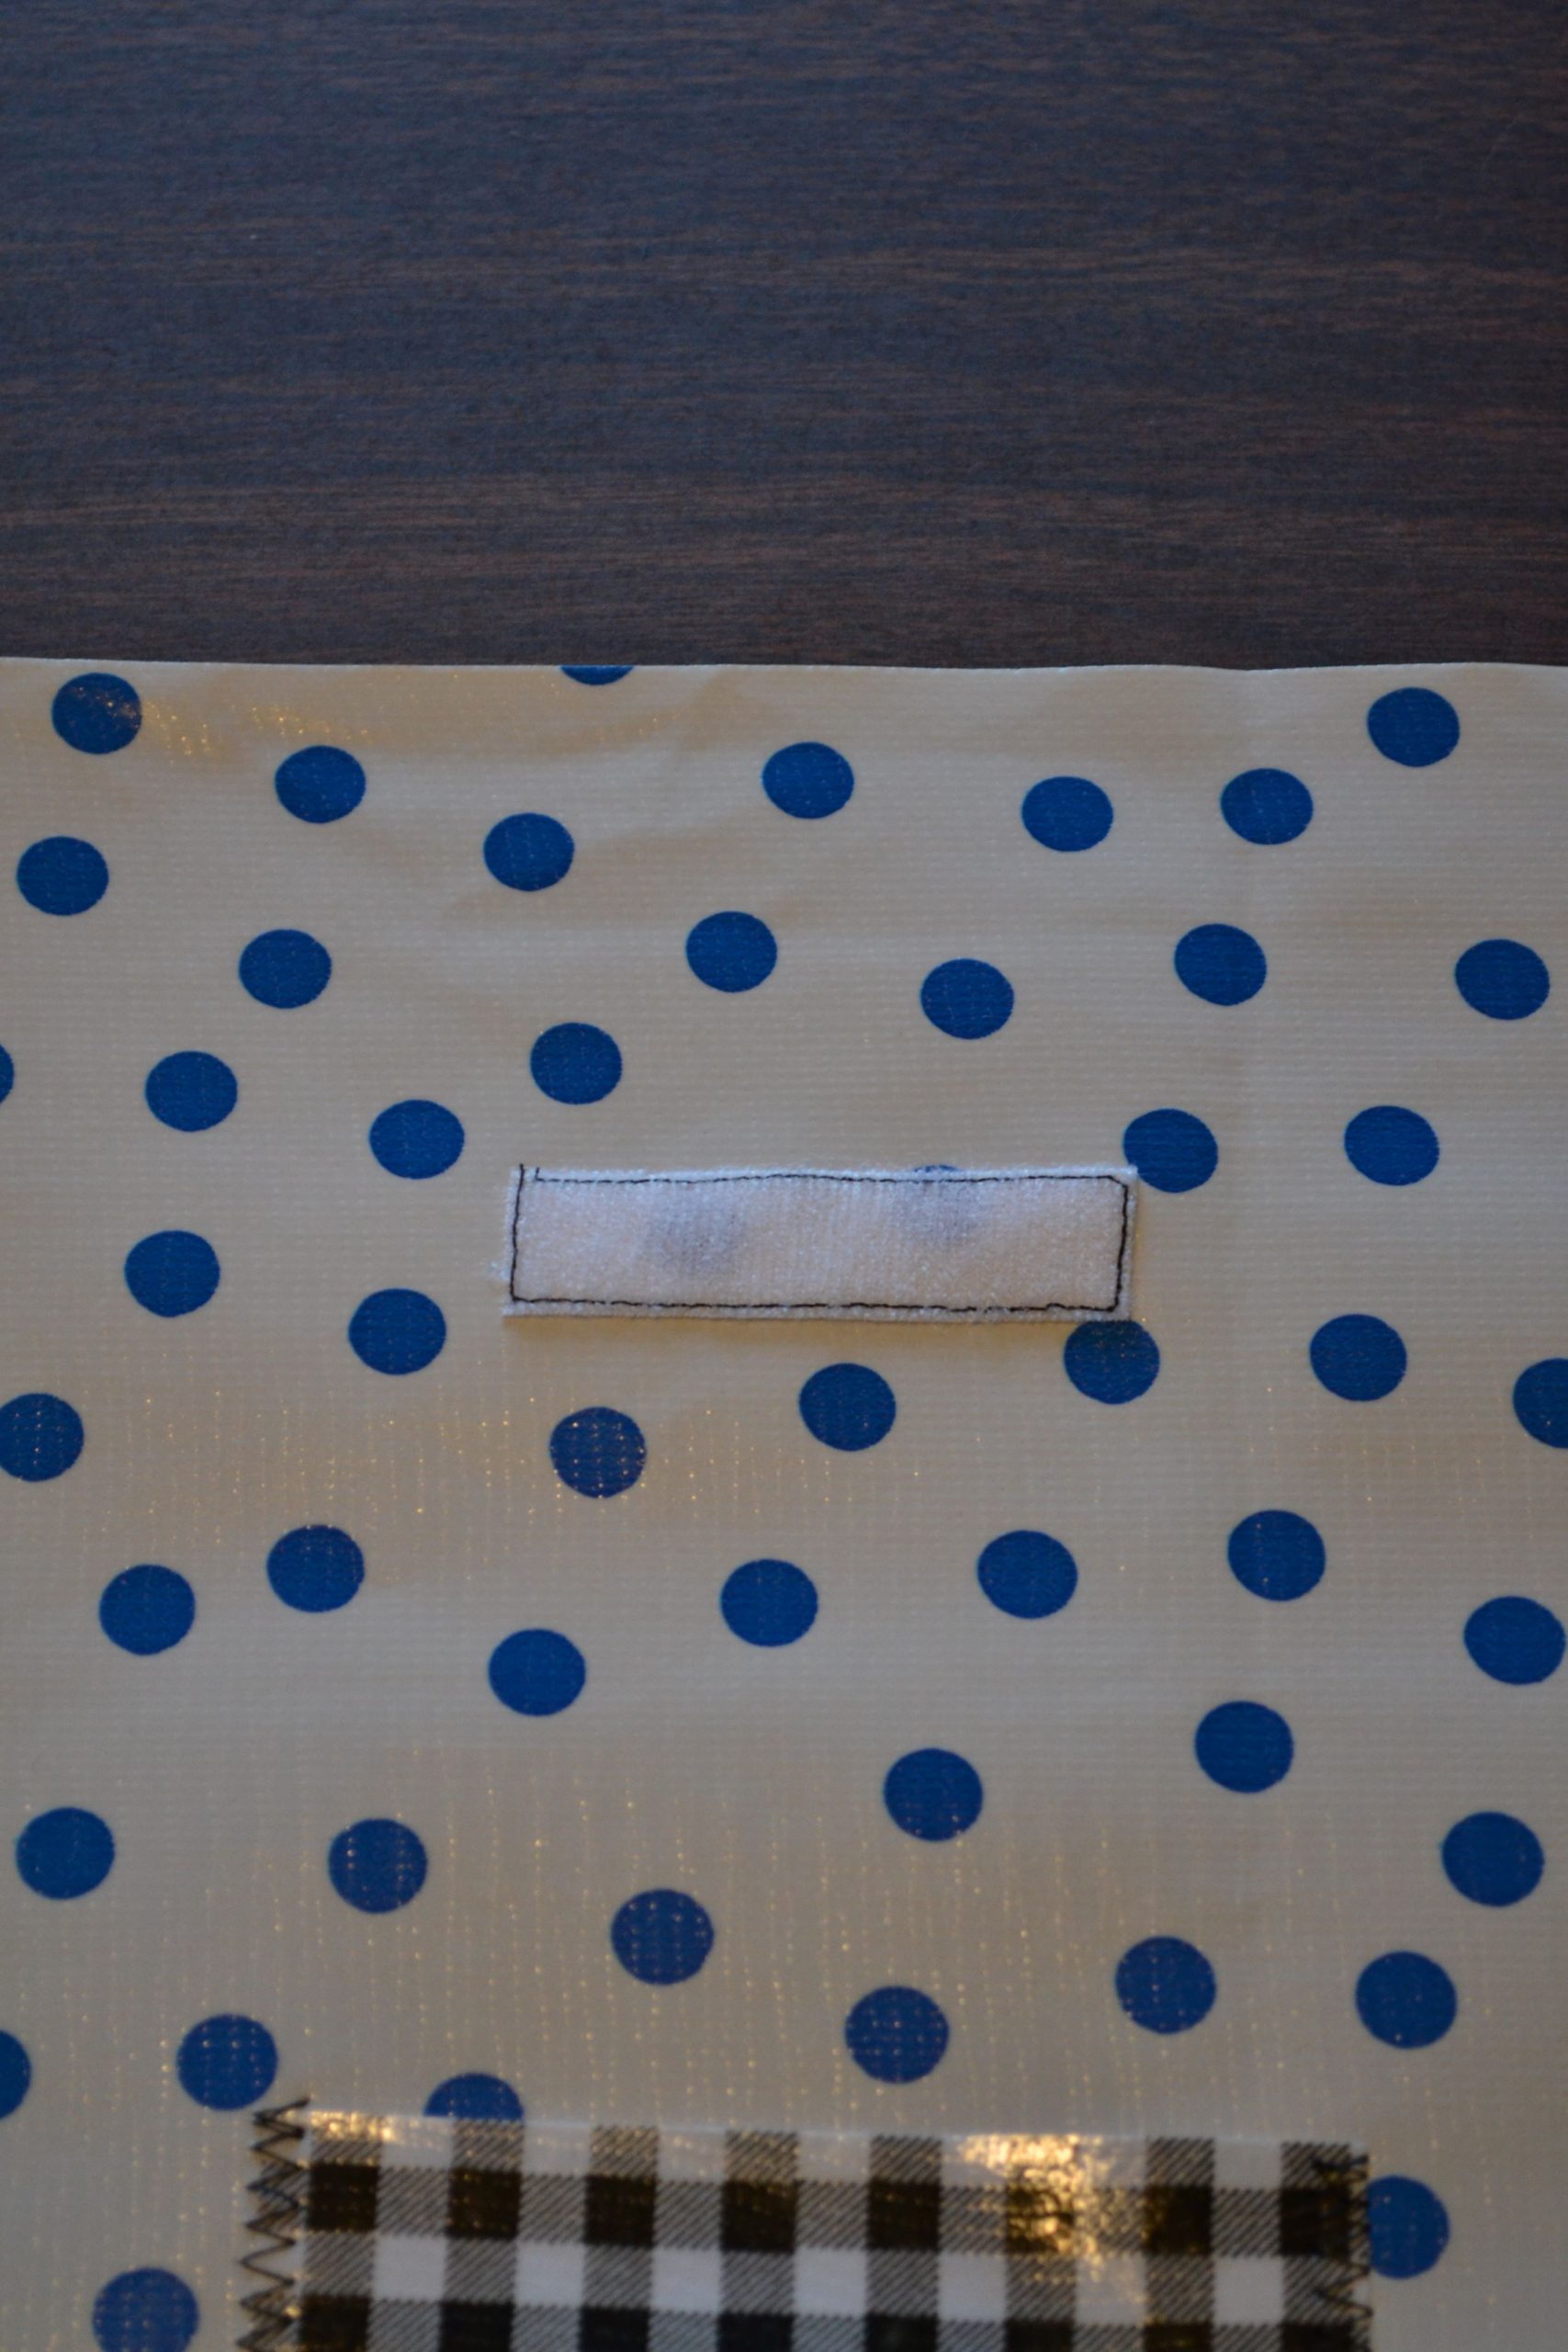
Then sew one half of the velcro piece about 2 1/2″ from the top of the front piece…
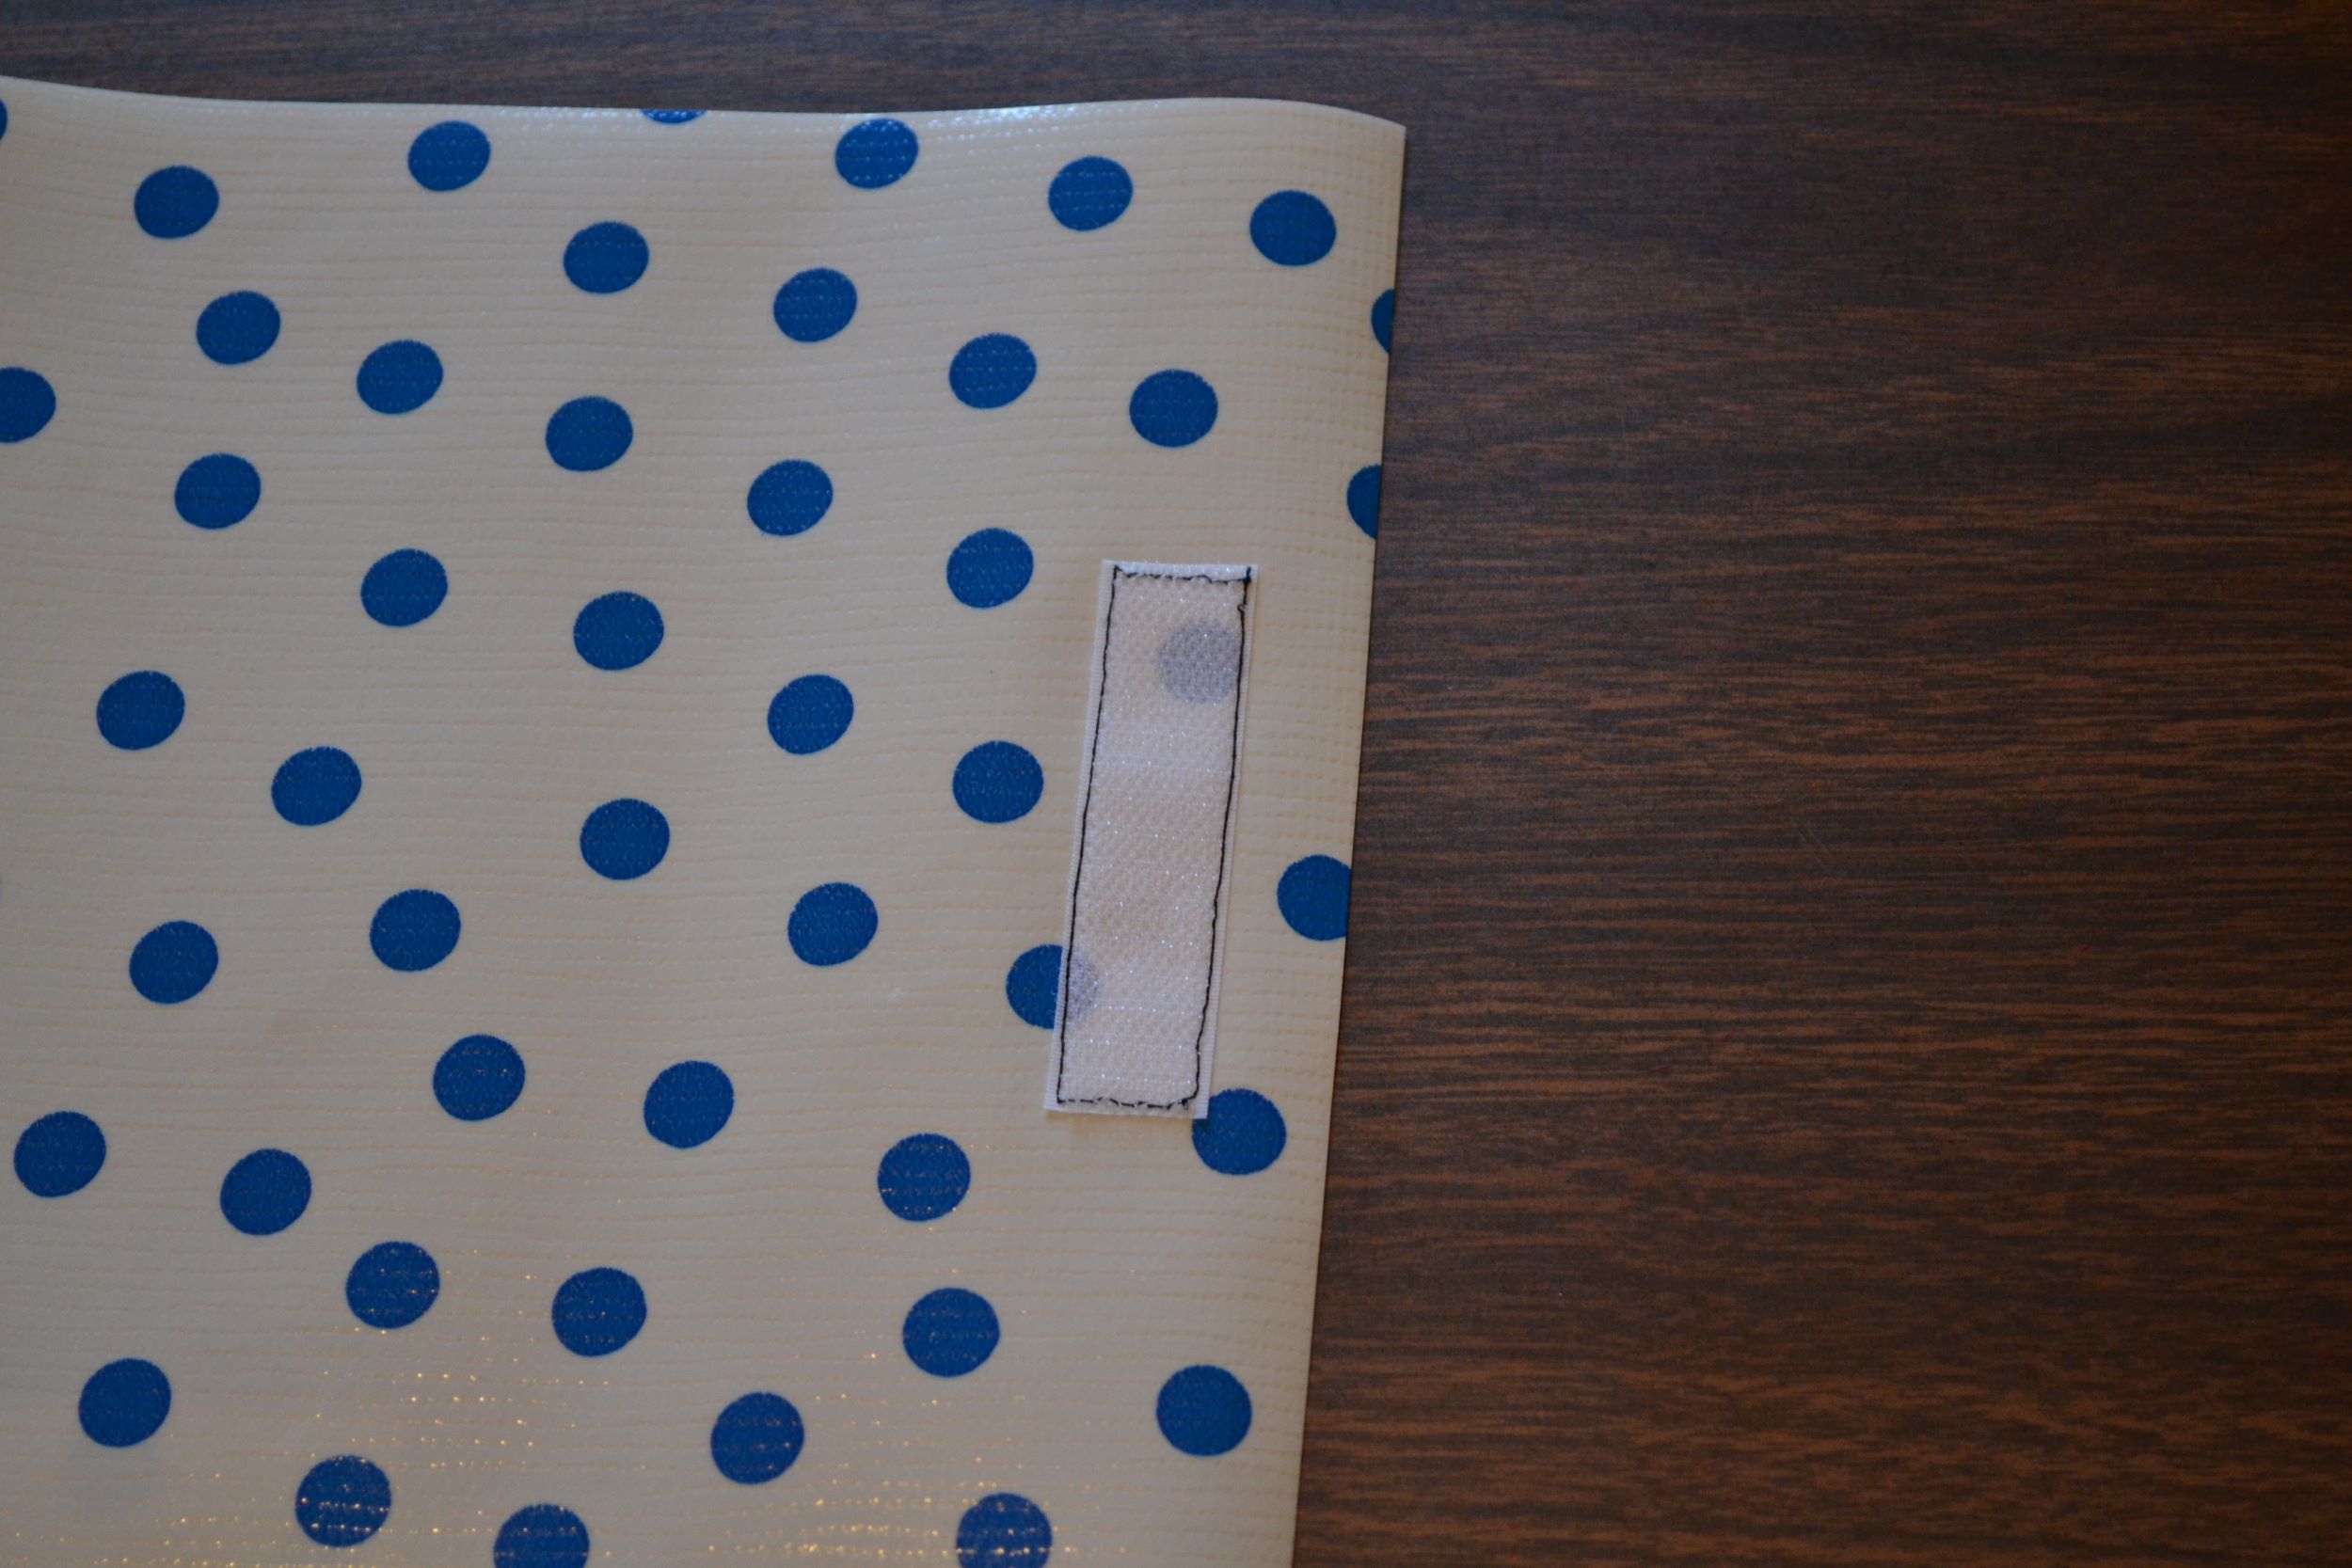
and sew the other half of that velcro about 1/2″ from the bottom.
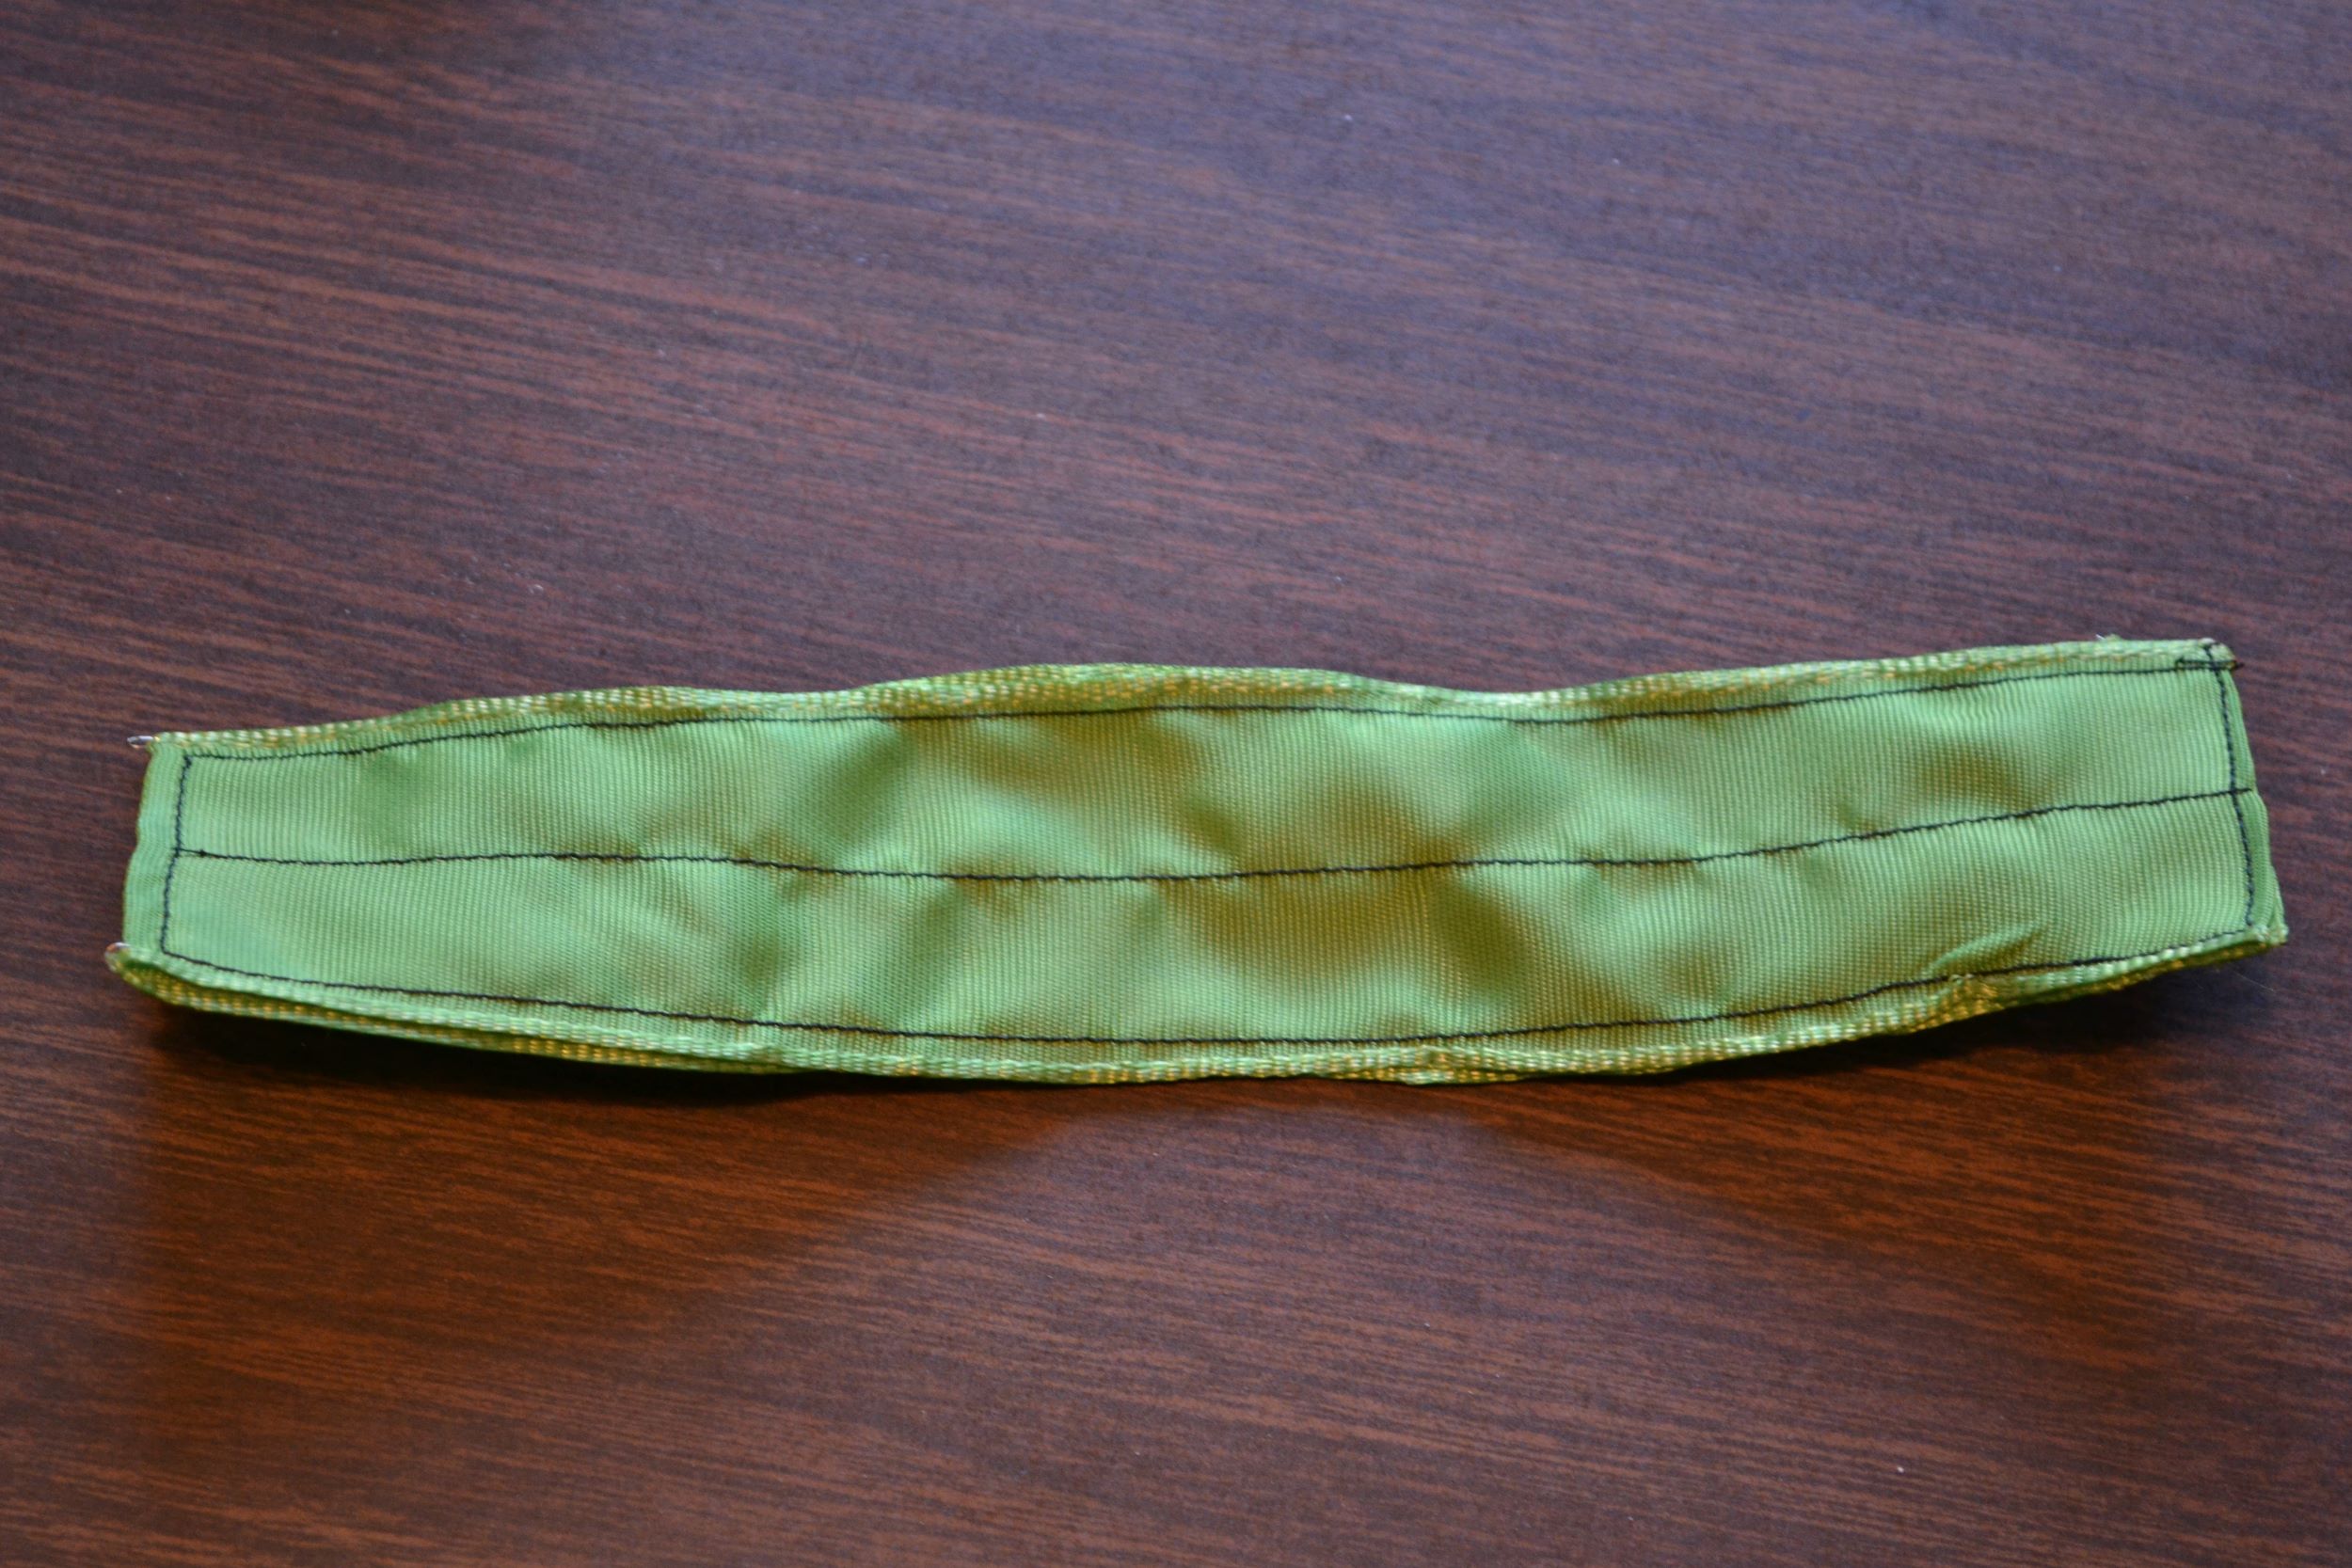
Next we have to make the handle. You can use any fabric you want, using whatever your favorite method is, but I had this great green ribbon that worked perfectly with my colors. I cut it to about 7 1/2″ long, folded it in half, folded in the raw edges on the end, and sewed close to the edge and then down the middle to stabilize the whole thing.
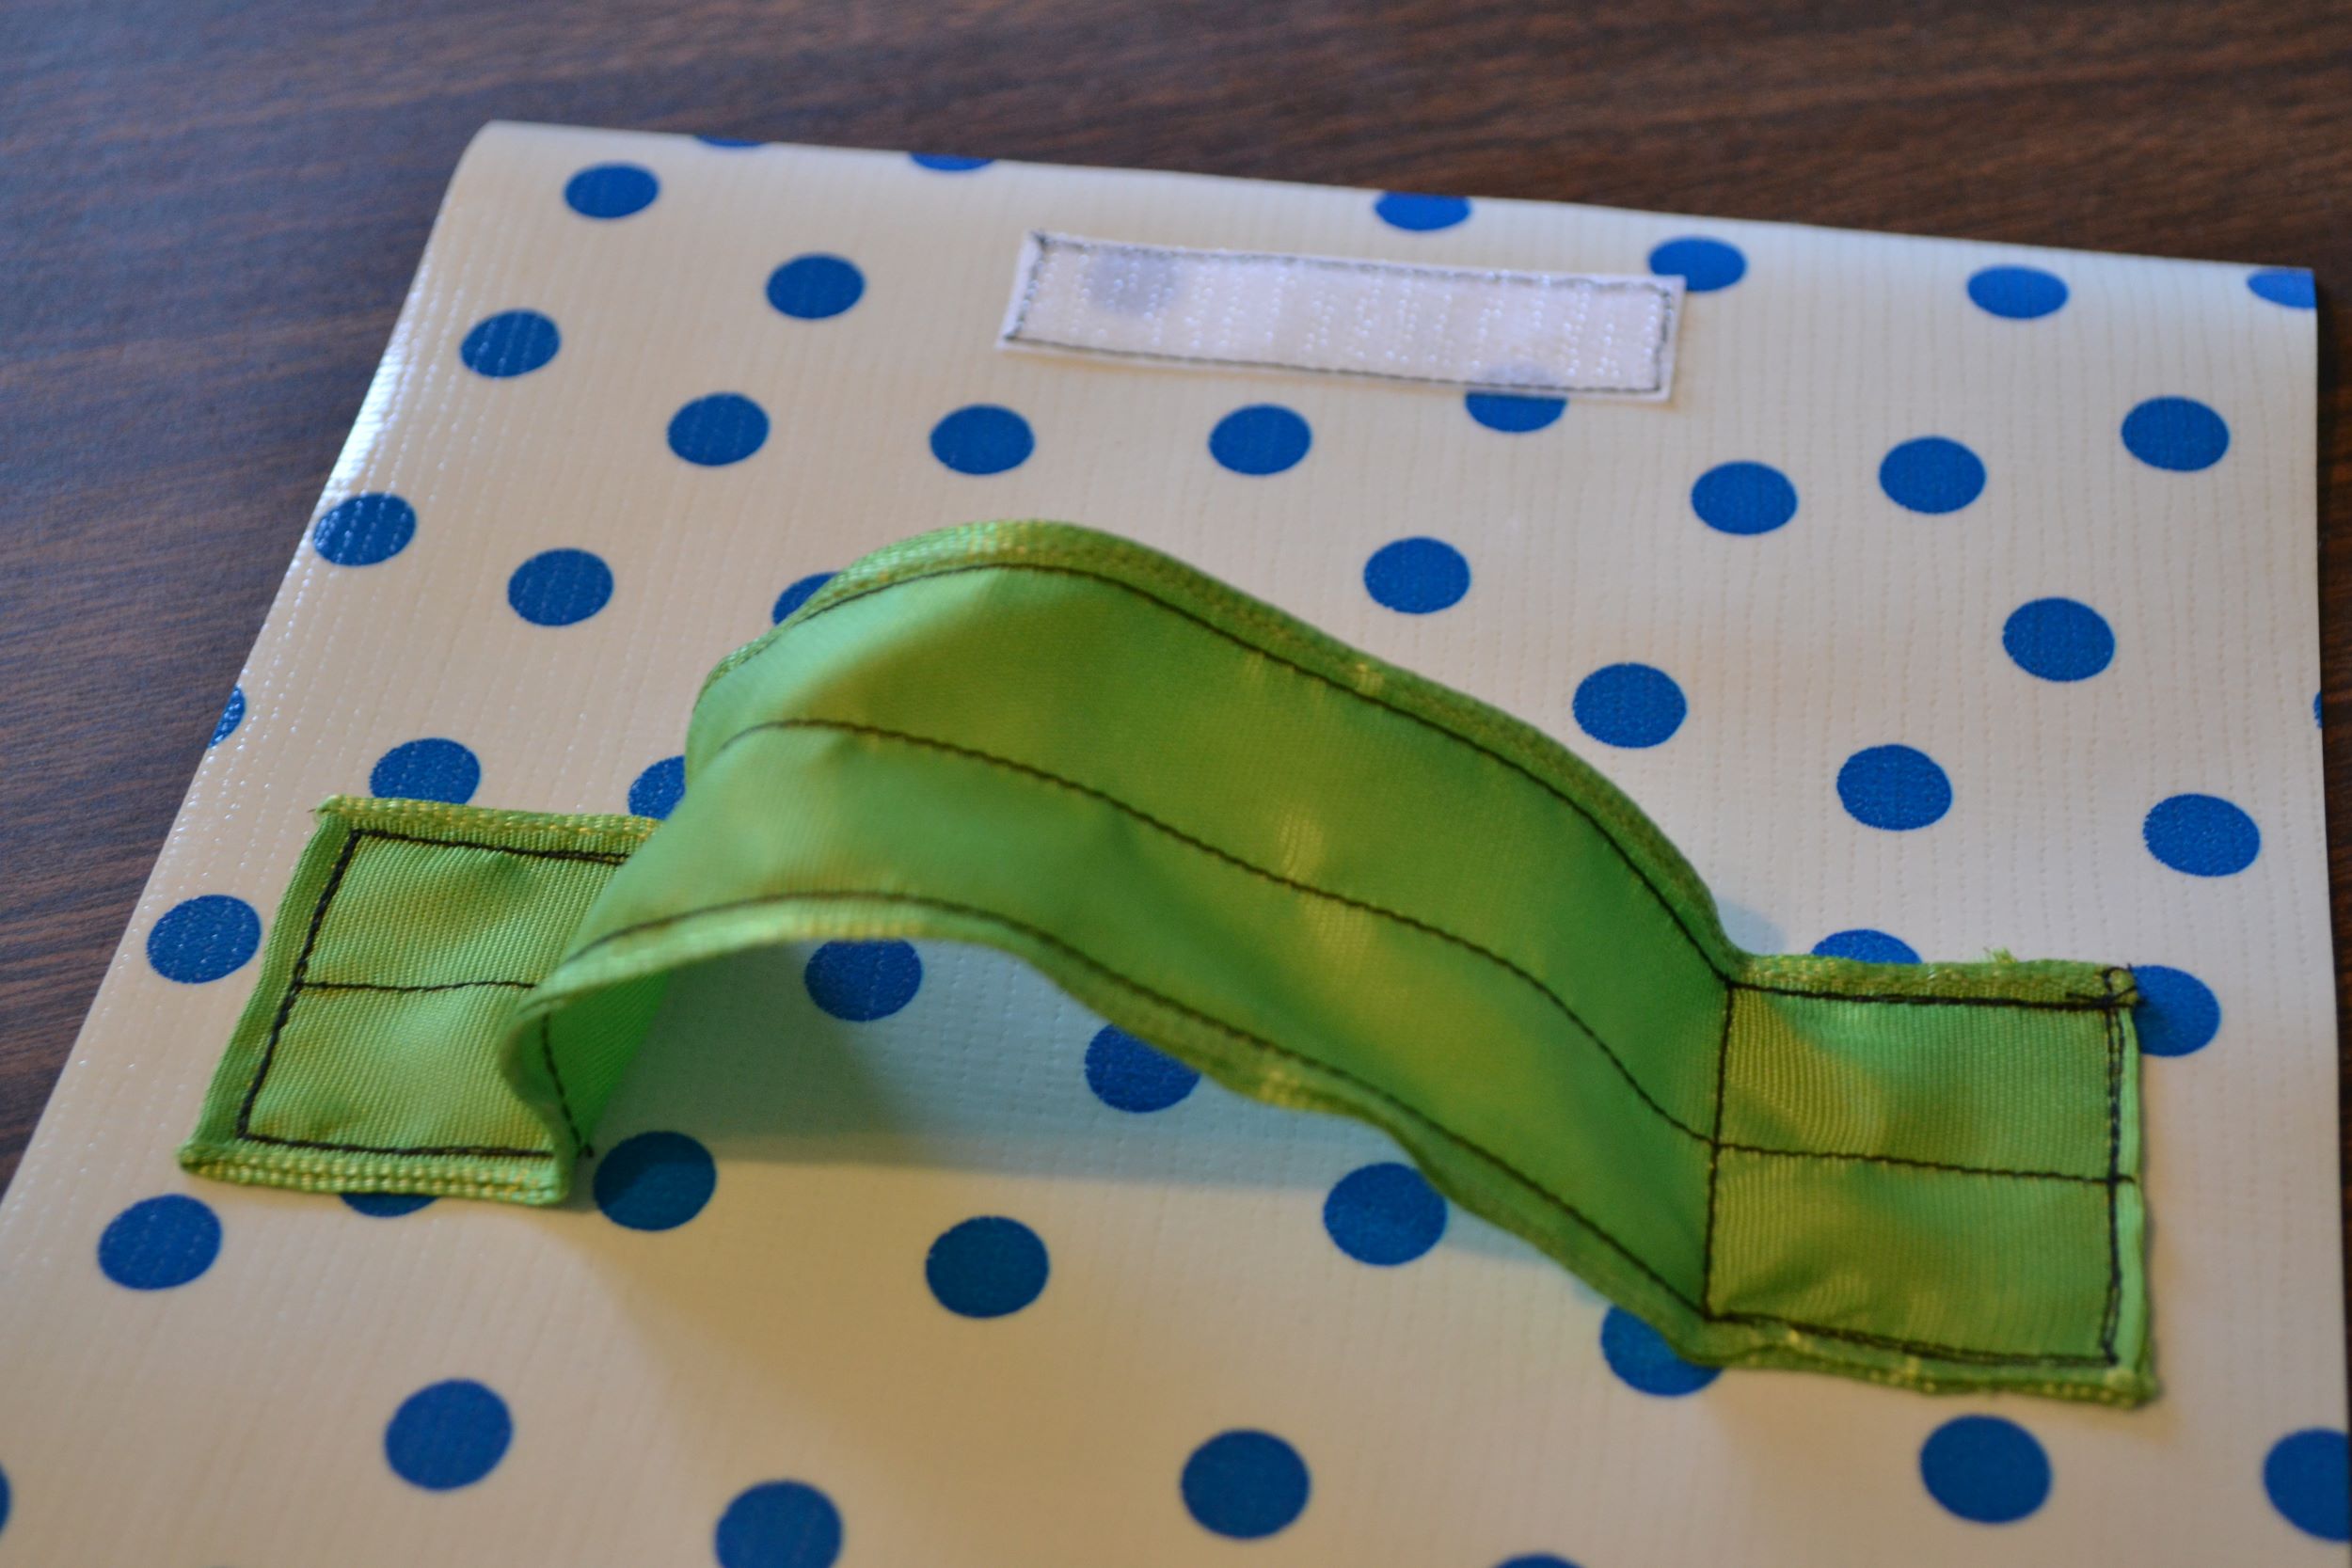
I positioned the handle about 3″ from the bottom of the front piece, so that when you bend that piece into place the handle will end up on the back. I used a little glue dot to hold the handle in position while I sewed a square shape on each end to make it super strong.
Now all of the external pieces are in place so it’s time to build the bag.
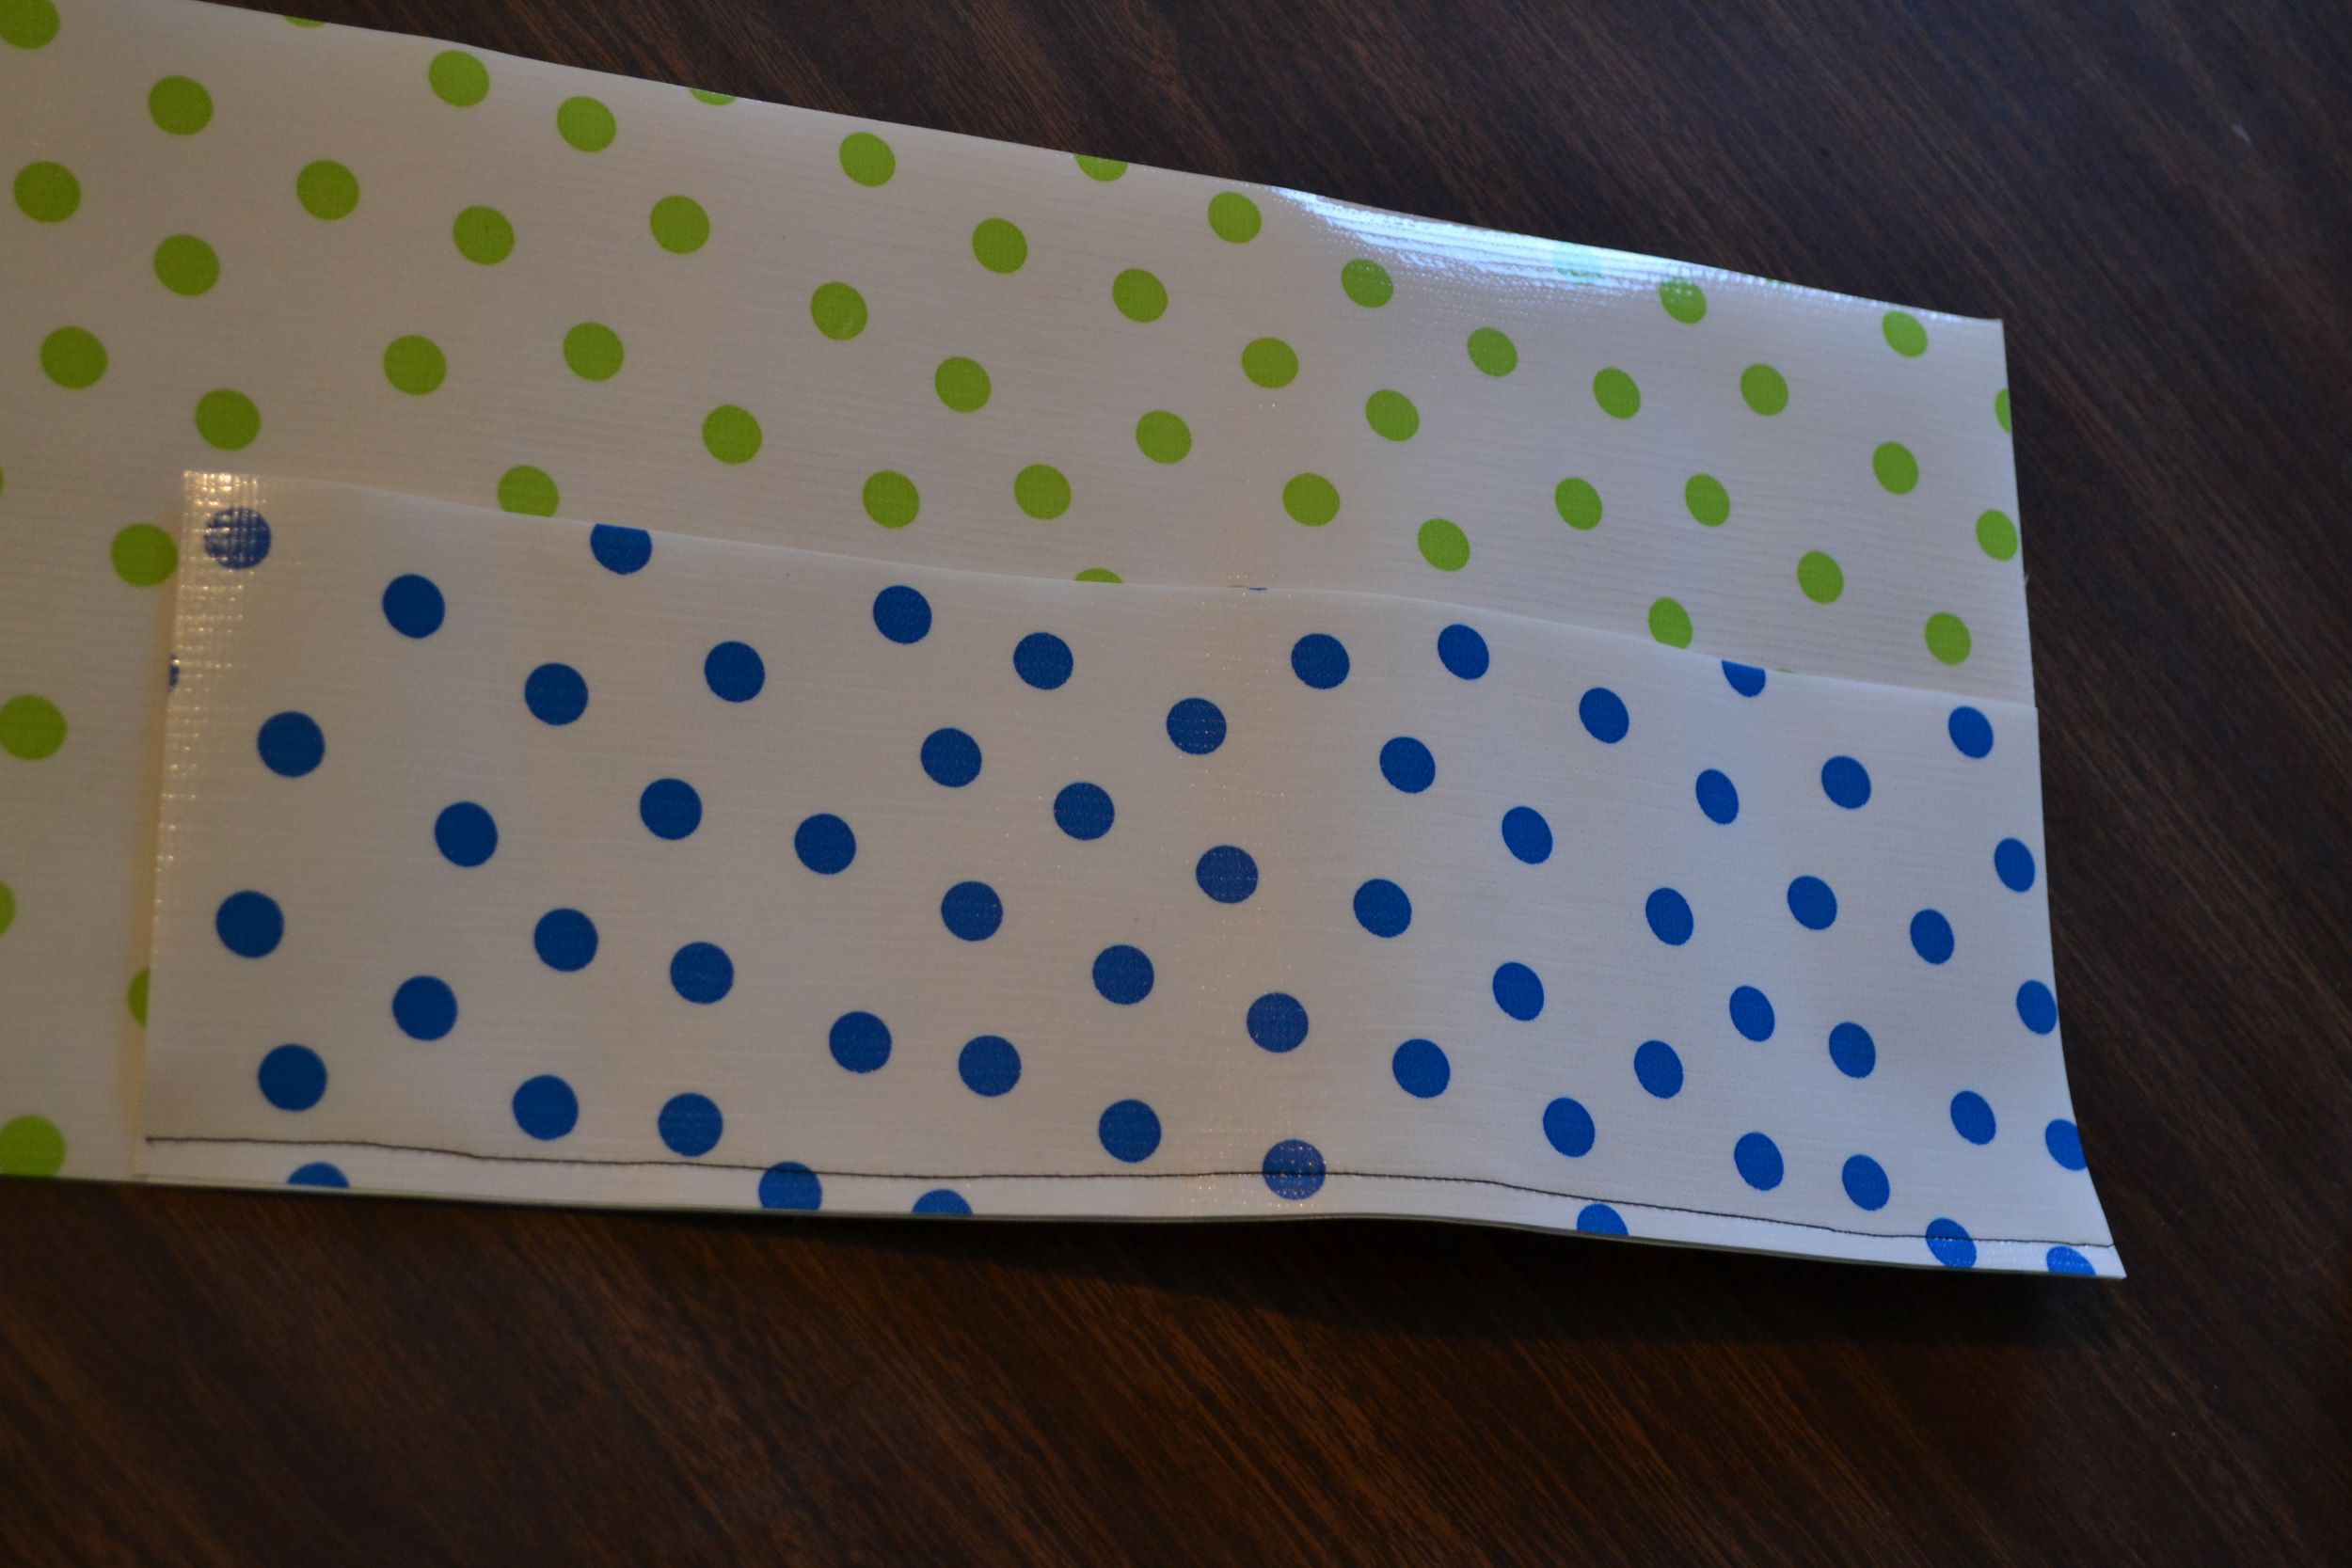
We’ll be making the exterior and the lining in one big seam, so lay the interior body piece and the exterior body piece, wrong sides together. Do the same thing for one of the side pieces, and then lay the side piece on top of the body piece, interior pieces together, lined up at the top and sew down with a 1/4″ seam.
See how when you open that seam you see the lining fabric together? It’s a bit complicated to explain sewing through the four layers at once, but if I’ve been unclear you’ll get it as soon as you have your pieces in front of you.
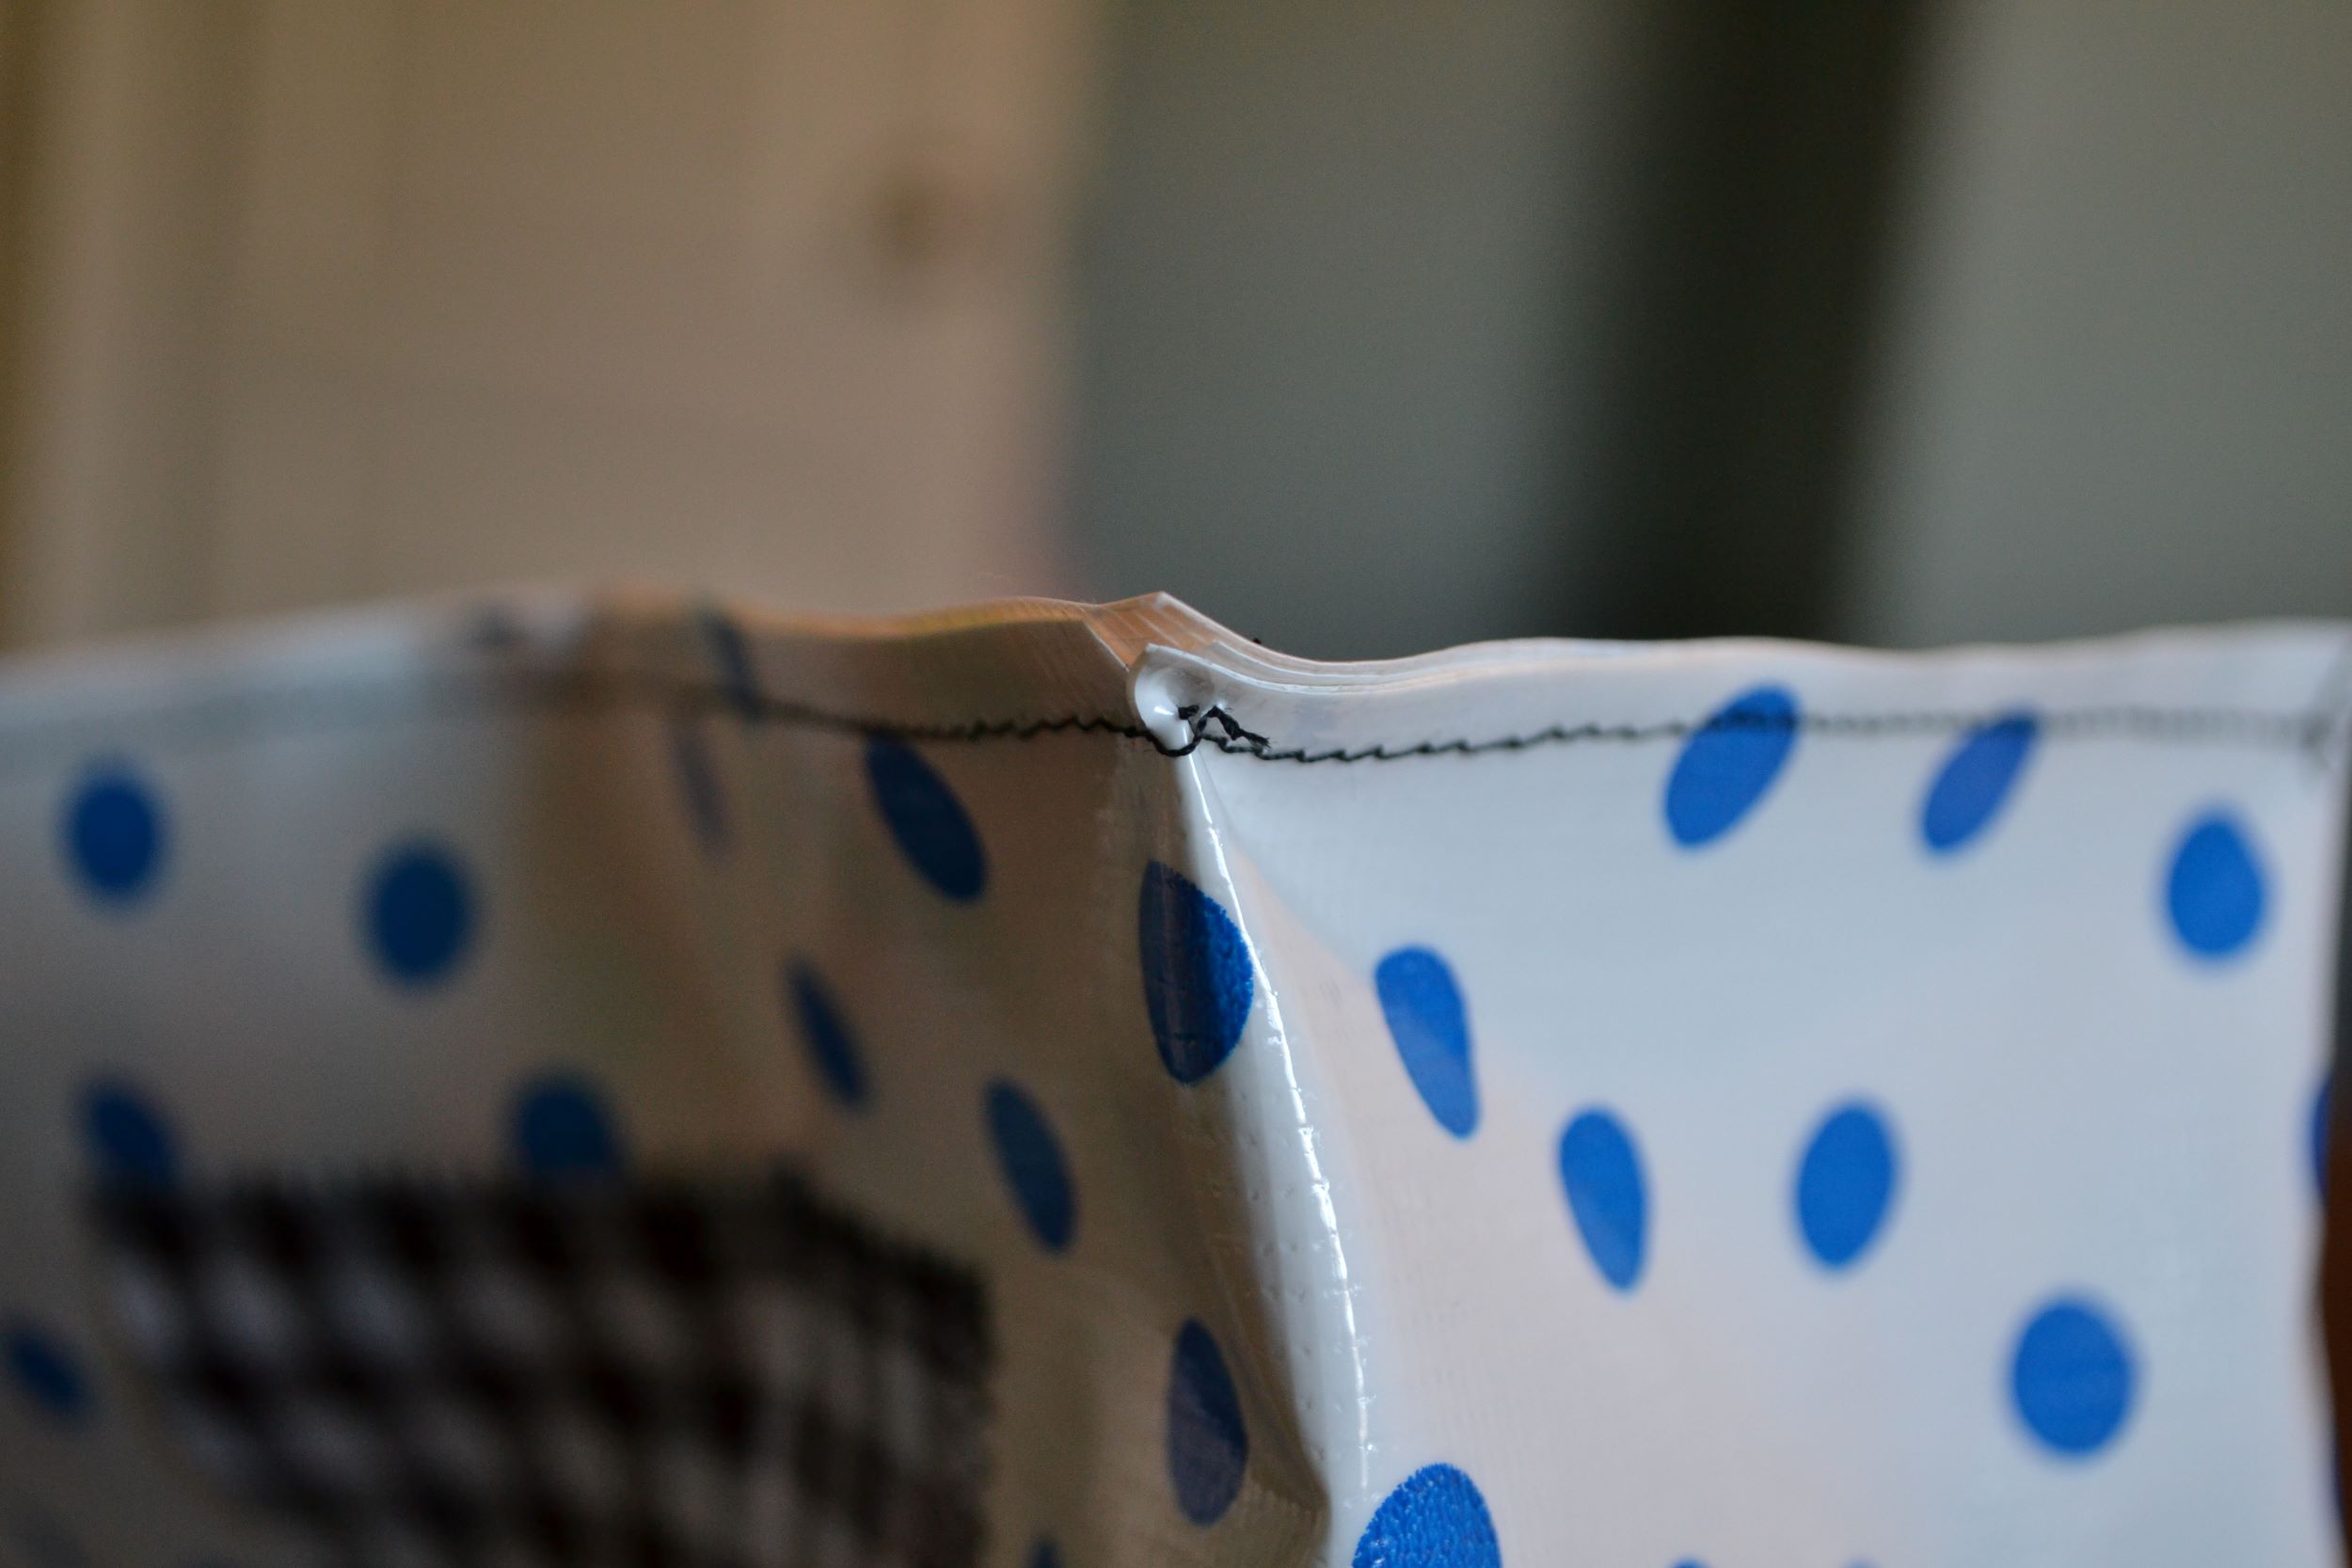
Now we’re going to turn the corner to create the bottom. Make a snip in the body piece just above where the stitching ended and bend it around to line it up with the bottom of the side piece. This takes a bit of wrestling, but it will work. Make a snip in the next corner, and go right back up the other side.
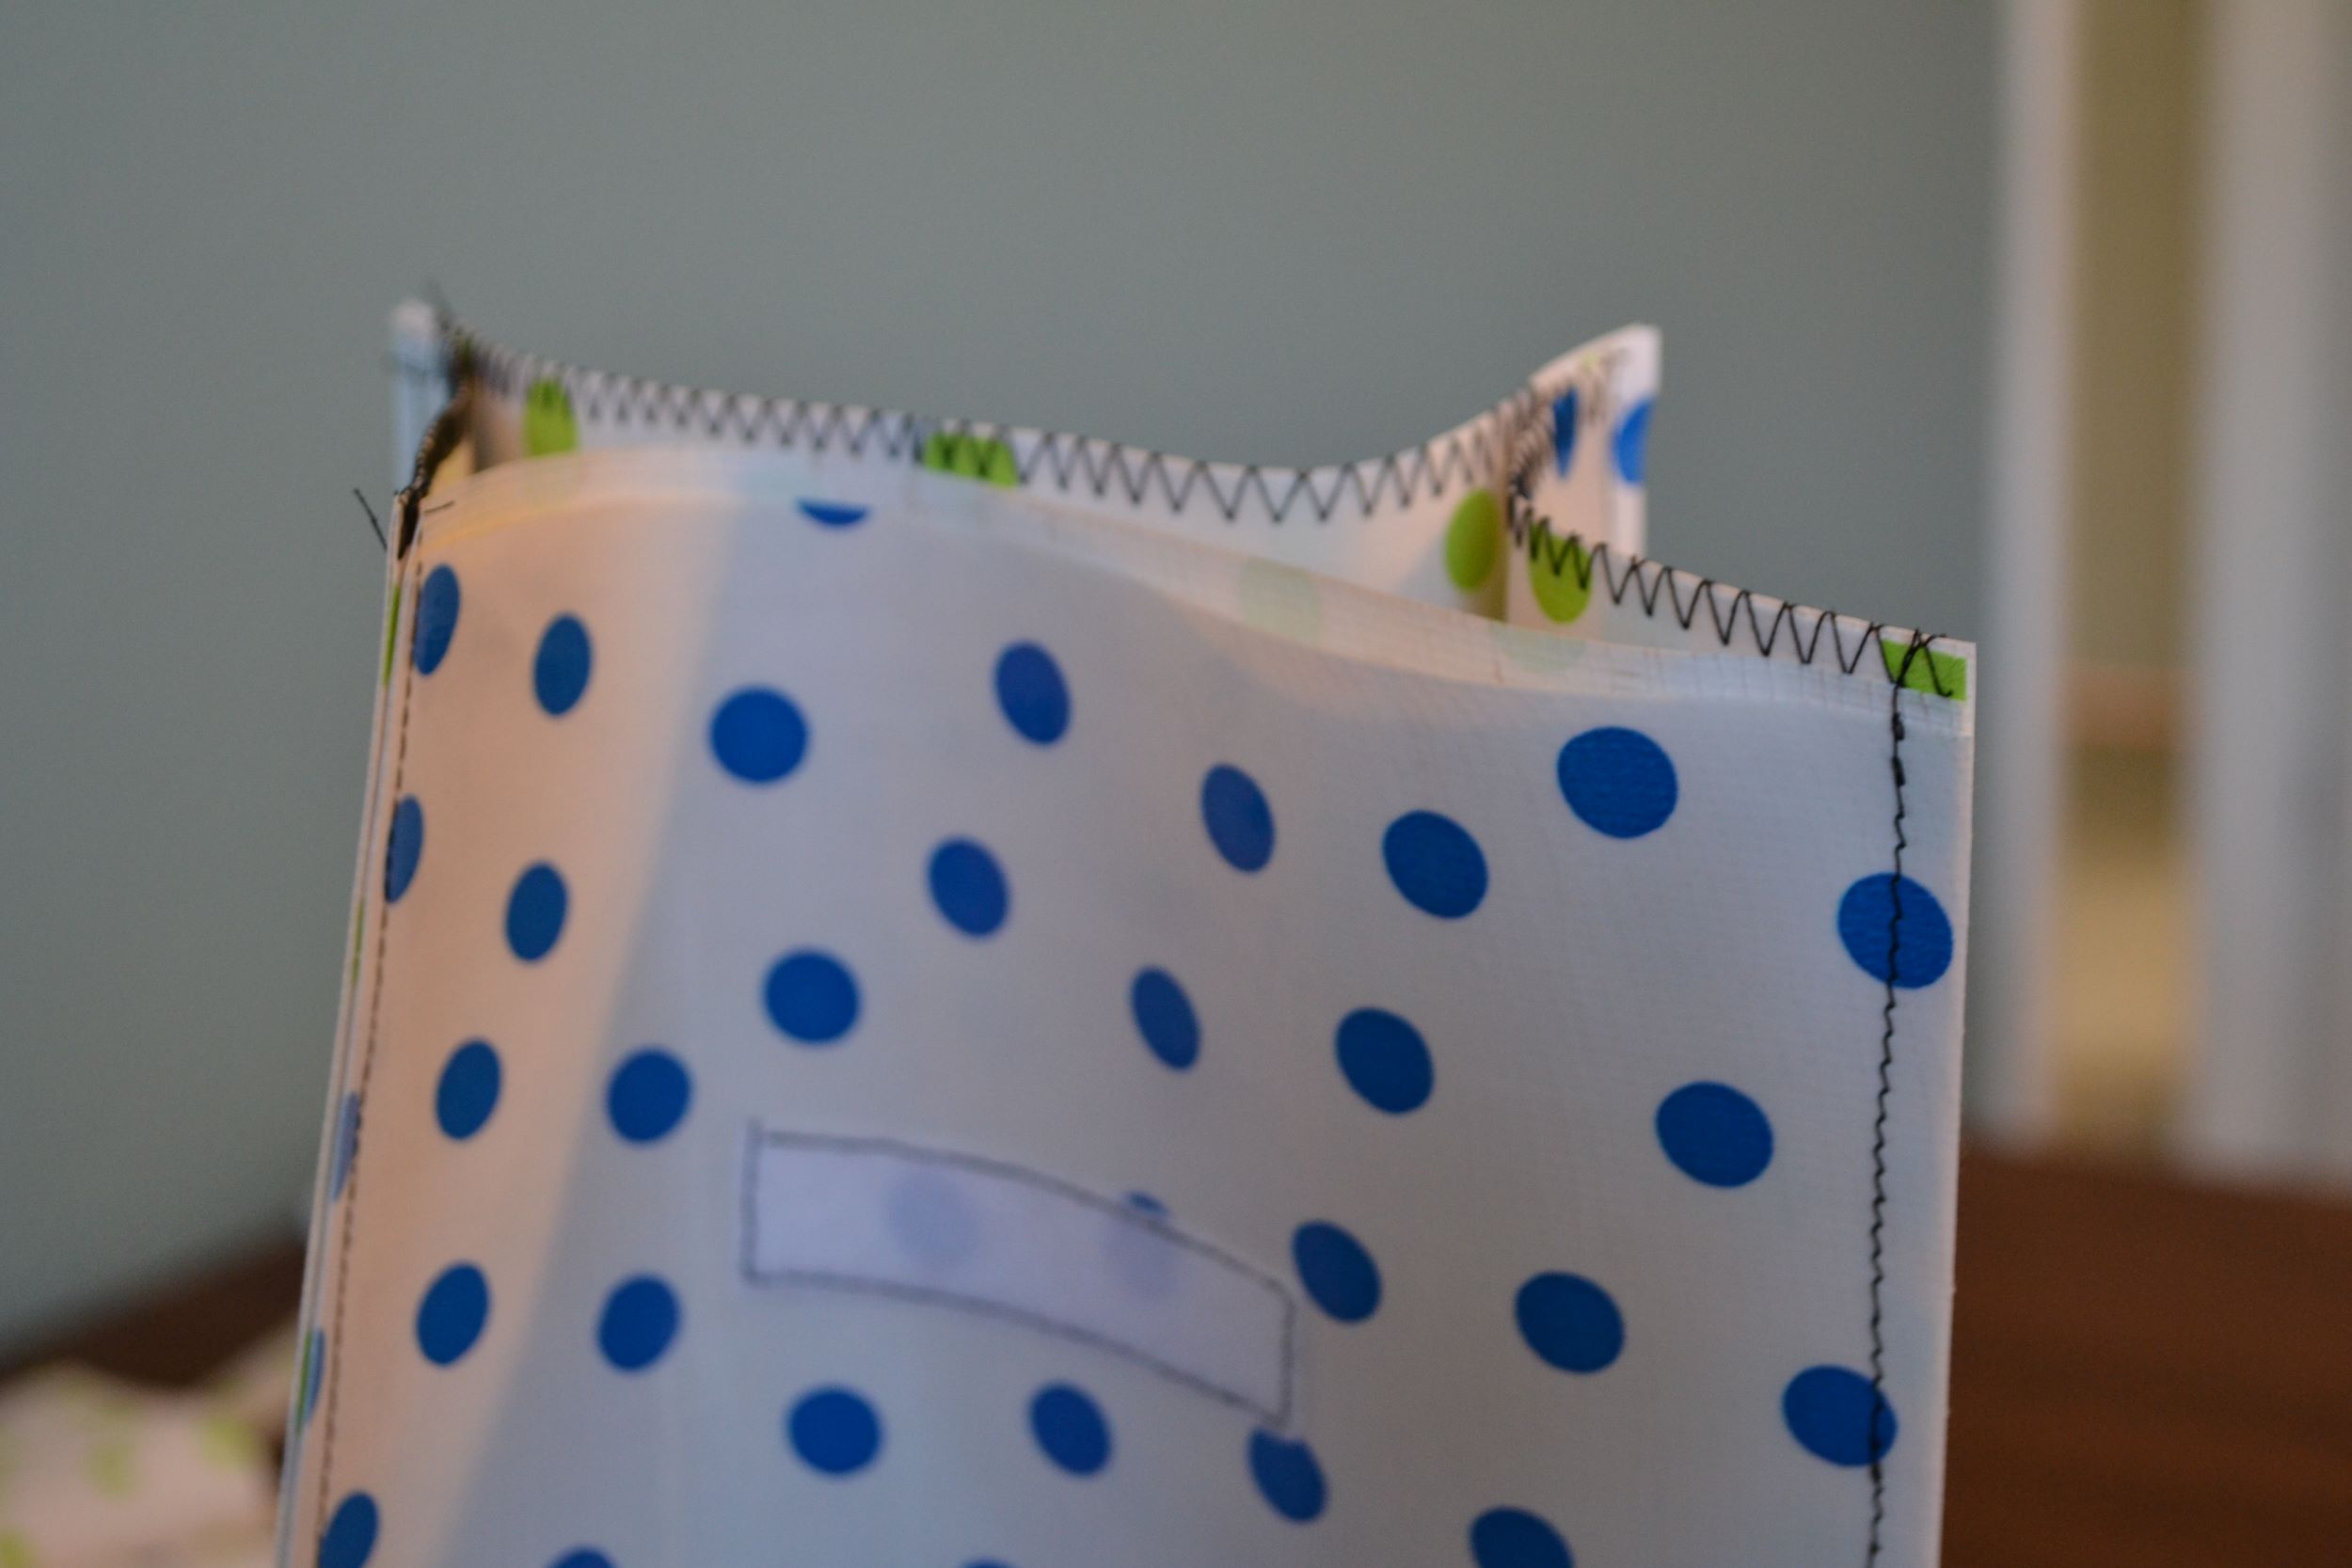
With all that bending and wrestling, things can get uneven at the top. So just give it a snip to make it even, then zig zag each side. I ended my zig zagging at each corner instead of just going all the way around because it keeps those seams still standing out comfortably instead of being smashed down and stitched over.

This is a simple project that loads of people had versions of, so I thought hard about what changes I wanted to make before I got to work. My measurements are a bit bigger than a regular brown bag, the handle gives an easy option for my little guy who will need a bit of help here and there, but my favorite idea was the pocket. It’s just big enough for some milk money, or, as I’ve already used it, a check when he just wants to eat whatever they’re having at the cafeteria.
{editors note: I had this scheduled to go up last week before the big blogger meltdown. Sure enough, in the time between then and now Martha posted her own version. Martha!! Blogger!! :shakes fist: Great minds and all that, but I still like mine better.}