
Yesterday we launched into my Vintage Home for the Holidays tree, and even though this tree already has a garland, I’m going to go *wild* and add another one. (I’m such a daredevil! :eyeroll:) The tinsel on a garland was practical, this garland is because if I’m going traditional, a paper chain is as traditional as it gets. The only thing more traditional is a popcorn and cranberry garland, but I already did one of those. In all that googling I was doing trying to find pictures of vintage trees, the only thing I saw as often as tinsel was paper chain garlands. Unfortunately, paper chains don’t exactly pack well. They were never supposed to last from season to season, but if I’m going to use one, with 11 trees in this place now, it better. So, like the tinsel, I’m going to modernize this old-fashioned craft and use wired ribbon and a sewing machine to make these last for ages.
The secret to making these look fantastic is how you sew the seam. Since every side is visible, you can’t just have seams hanging out on the wrong side. There really isn’t a wrong side. Which calls for a special sewing technique to wrap all those raw edges up in a neat little package. You need a French Seam.
A french seam is the same as the seam you have on your jeans. Since that seam is enforced in two spots it’s extra strong, which is why it’s good for jeans. For us it’s more about how neat and tidy it makes things, but if you’re going for longevity, that strength won’t hurt.
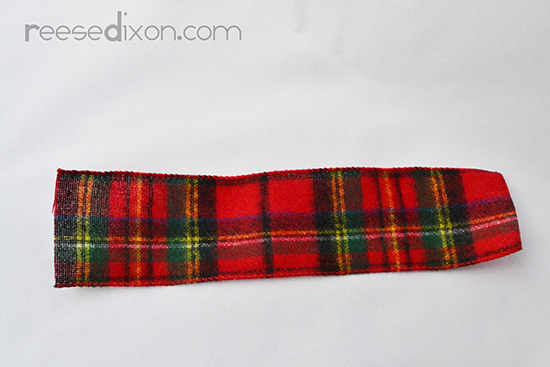
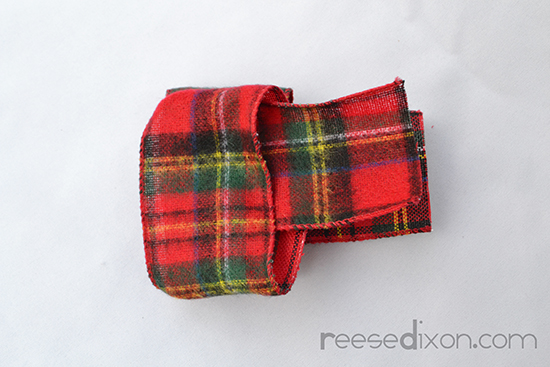
I cut my ribbon 10″ long. The size really doesn’t need to be terribly exact, just big enough to have two inches for the seam with enough left over to make a nice big link.
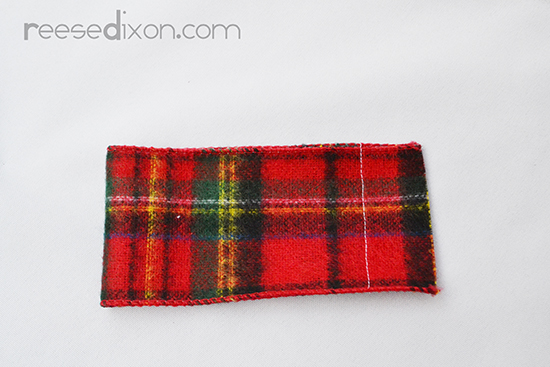
Fold the ribbon wrong sides together, and sew leaving a 1 inch seam allowance.
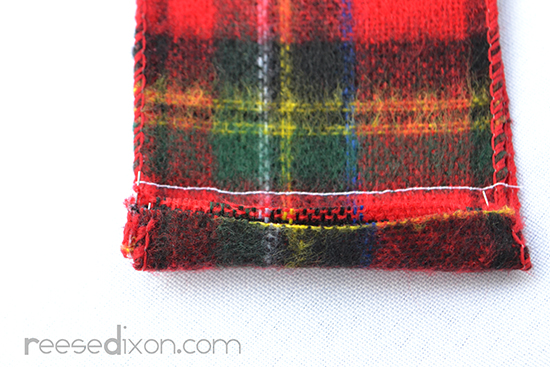
Fold the ends over to meet the seam line…

Then fold one more time so all the raw edges are encased in a nice neat little roll.
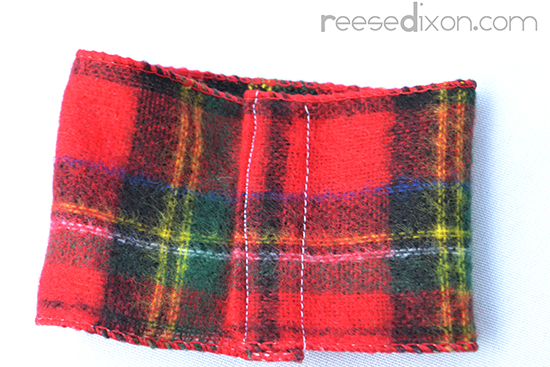
Sew another seam as close to the edge of that little roll as you can steer. Make sure that you don’t sew your ribbon link closed. You just want to sew through one layer of the ribbon. Tug the back layer out of the way as you sew.

When you’ve got two links sewn, thread them onto another ribbon piece so that the seamlines will be on the inside when you fold it closed.
Fold the ribbon in half and make another French seam just as before, remembering to not let any of the other ribbons get caught in your seams.
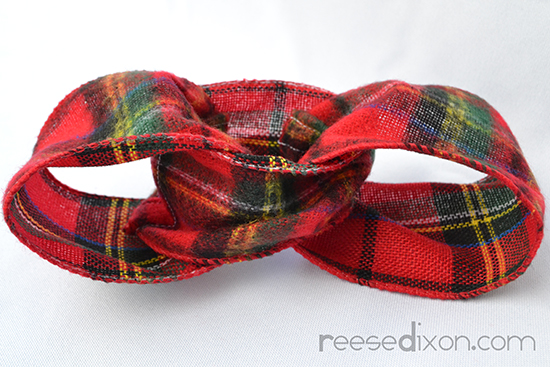
Add another ribbon piece to one of the end links and repeat this process until your garland is as long as you want it to be.
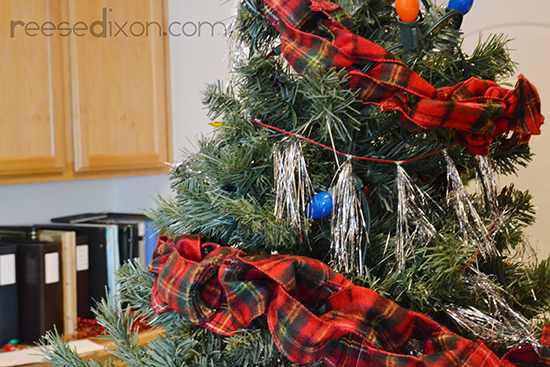
As soon as I saw this ribbon I knew I had to use it on this tree somehow. It makes me think of a wool car blanket. Something you’d keep in the car for picnics, or long road trips. It was this ribbon that made me know this was going to be a Home for the Holidays tree. I can’t help but see that ribbon and imagine parents tucking their children in to the station wagon’s backseat, hoping they’ll stay asleep until they wake up at Grandma’s House just in time for Christmas.