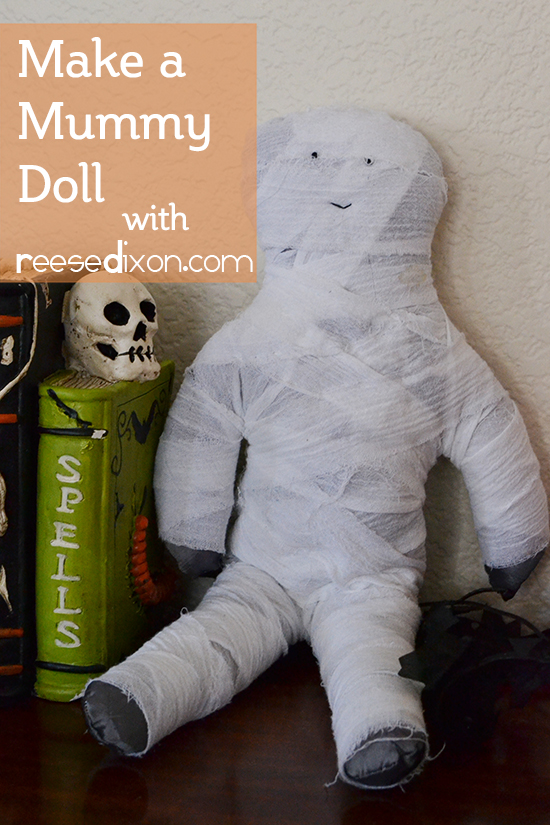
The mummy is my favorite of your classic movie monsters, because it isn’t plastered all over the place like you Frank’s and Drac’s. I love the underdog. But he’s also the one most frequently rendered in a way that grosses me out. My Halloween taste has a real sweet spot between too cute to live and too gross to die. So I had to make my own version of a mummy, who was exactly cute enough, and wouldn’t gross anyone anywhere.

For the shape of the body, you just need two pieces of a gingerbread man. You can draw him or use an image from the internet, but I got my shape by folding the fabric in half and then just drawing one side of him, to make a perfectly symmetrical little man. Whatever method you choose, just cut two pieces. The fabric you use can be just about any kind at all, just in a color that will work for a mummy. I had this fabric leftover from my bedroom makeover, and I thought it looked sufficiently corpse-like.
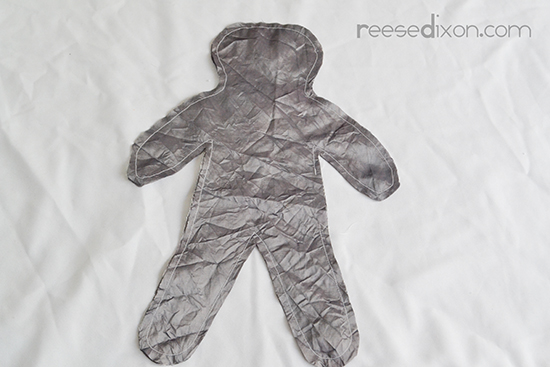
Sew the two pieces together leaving a 1/2″ seam allowance. Leave a portion of the outline open so you can turn it inside out and stuff it.
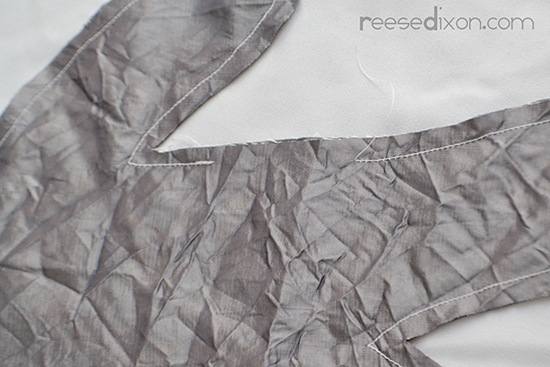
To make sure the opening is strong enough to stand up to turning inside out and stuffing, it helps to reinforce each side with a few back and forth stitches.
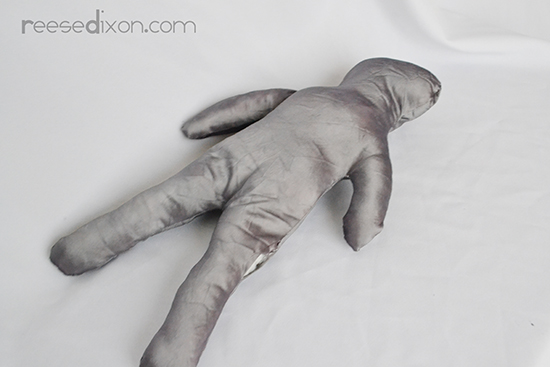
Turn your little man right side out and stuff him. I like to stuff on the full side, but I made sure to keep the part where his legs turn into hips a little on the soft side. That way I can sit him easily in my Halloween displays.
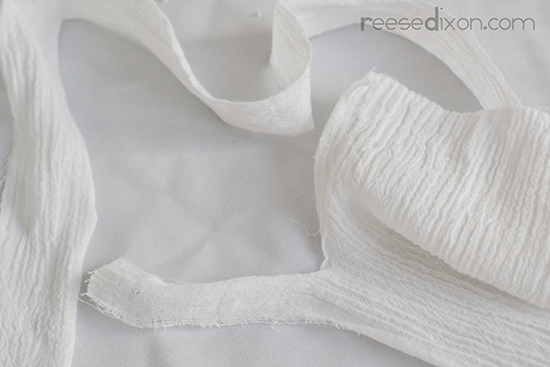
You’ll need a whole lot of bandages to properly dress this dude. Tear strips out of a gauzy material by ripping it with the grain of the fabric.
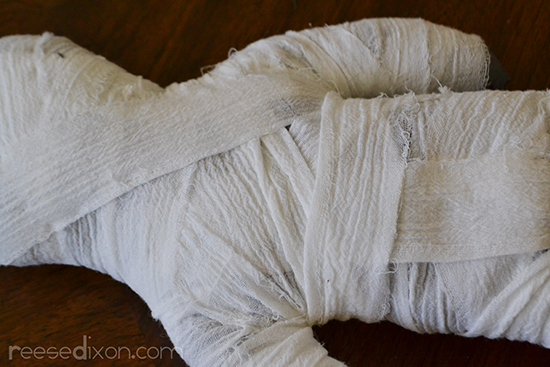
Sew one end of your strip onto the doll with a little running stitch and then keep wrapping, covering up as much of the doll as you want to. I ended up covering more than I would have liked, but I got very picky about getting the head covered. Same with the crotch and butt. I couldn’t stand to let those hang out. Which means my mummy ended up fully dressed. I probably didn’t need to overthink it so much.
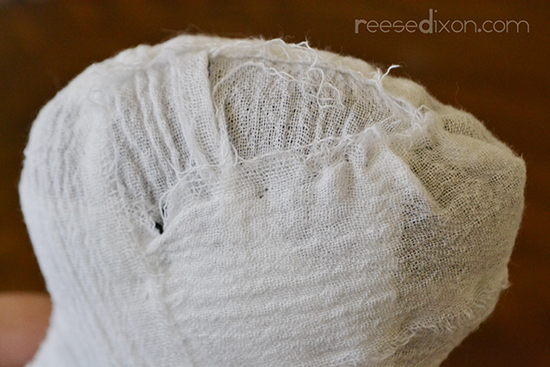
As you go around the head it can be tricky to get things to lay right. Just stitch down any edges that try and pop up, and stitch the ends of you wraps in place too.
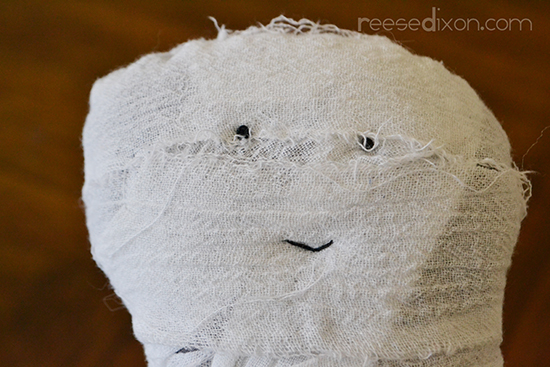
A mummy needs a face, and you can do that in any number of ways. I stitched a couple of french knots and a little mouth, but you could use markers to draw one on or even just glue googly eyes in place.
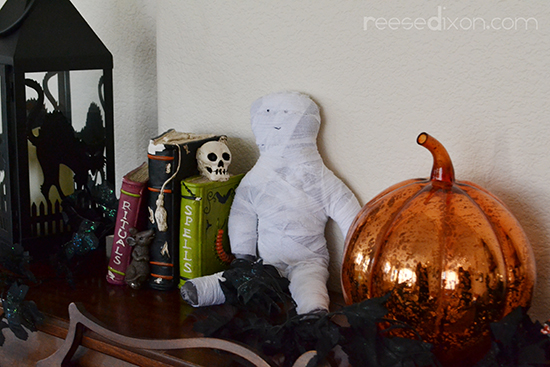
I always love a little handsewing project and this is a great one. Especially for kids or anyone just learning how to sew. Any mistakes you make just become part of the look, since mummies are supposed to look decrepit and threadworn. They’re not mistakes, they are style choices!