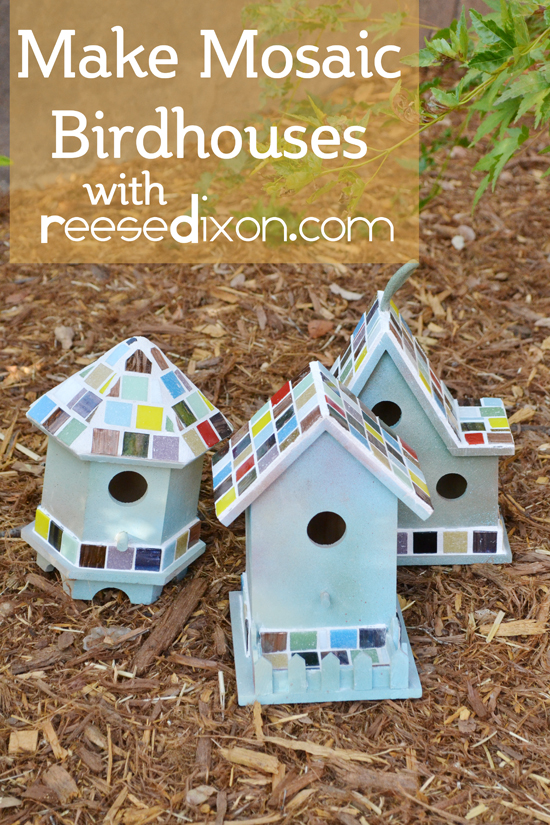
Every time I go to a craft store, from March until September, they feature a giant bin full of wooden birdhouses right outside the front door. They call to me every year and every year I think, eh, I don’t have anything to do with them. And I leave them in their bin as I walk on by. But since I’ve been so fixated on outdoor crafts this year, I knew it was finally time to listen to that siren song and make something adorable with those cute wee little bird houses.
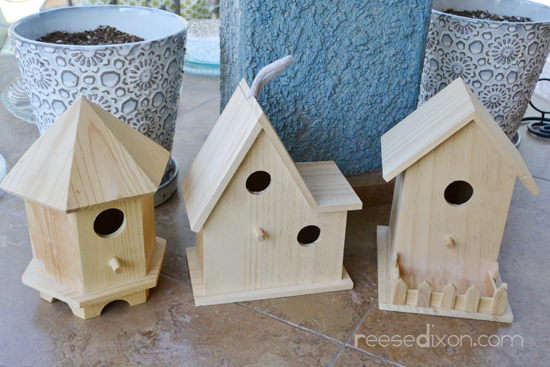
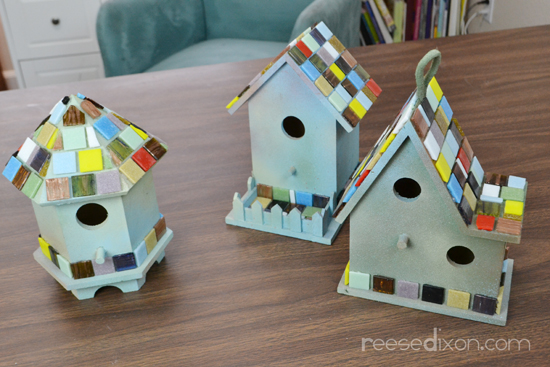
I wanted a selection of different shapes, but it does make mosaicing a little tricky. That octagonal roof in particular. So keep that in mind when you buy them. If you don’t also want to buy a tile snipper, stick to the roofs that don’t ask you to trim anything.
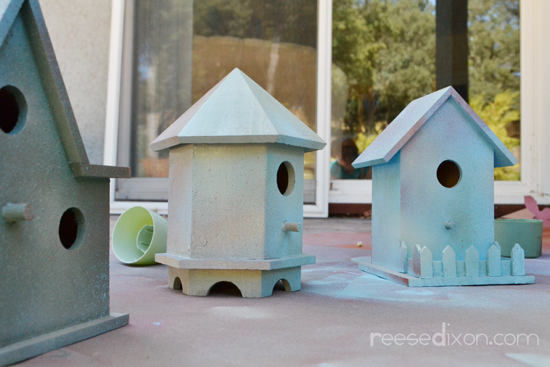
Paint your birdhouses, or at least the parts that won’t be covered in tile. I used spray paint to put on a solid color, and then contrasting colors of spray paint to mist over the top and create a mottled effect.
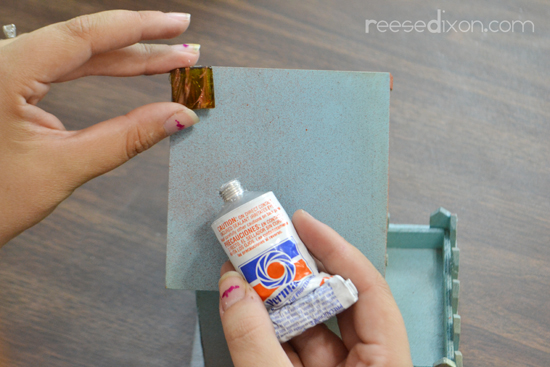
Since this will be outside, we have to use glue and grout that can stand up to the elements, particularly changing temperatures. Heat and cold are notorious glue busters, so instead of using a traditional tile adhesive, I used a silicone caulk like you would use to seal a tub or a window. It works great as a glue, but also has the flexible rubbery consistency to expand and contract without breaking.
Glue your tile all over the roof and around the bottom, leaving a fraction of an inch between each tile. You can buy mosaic tiles at the craft store, but I find it way cheaper to buy it at the hardware store. In the tile section you can find 12 x 12 tiles of smaller tiles glued to a piece of mesh so it’s ready to adhere to a backsplash or something, and you can pop those smaller tiles right off to use for a smaller project like this.
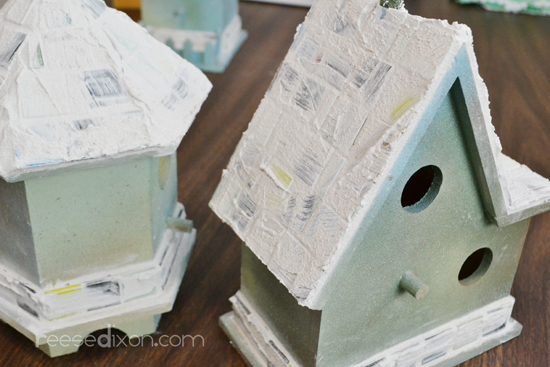
Once the caulk is good and dry, you need to grout your tile. Make sure you buy grout that is ready to go outside, or buy a sealer to put over the top of it. Mix it up according to the instructions on the package. A good consistency is like thick cake batter. Spread it all over the tile, making sure you get deep into the nooks and crannies. Use your finger to smooth the edges where the sides of the tiles are visible. Scrape off the extra and let it dry for a couple hours, then use a barely damp sponge to remove the extra.
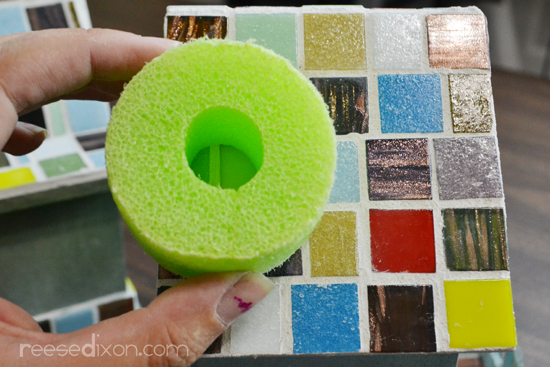
No matter how carefully you sponge the grout off, you will leave a film behind. In the sponging the goal is just to remove the clumps of grout, not make it clean. You can wipe and wipe until you remove all your grout and you won’t get it clean at this stage, so resist the temptation. Instead, let it dry again for a few more hours, and then it’s time to buff. The best tool for this job is this little foam piece, which is a piece from a pool noodle. This has a great texture to buff the grout film off the tiles without harming the rest of the grout that needs to stay. Rub it over the dry tile until the film is gone, then let it dry for at least 24 hours.
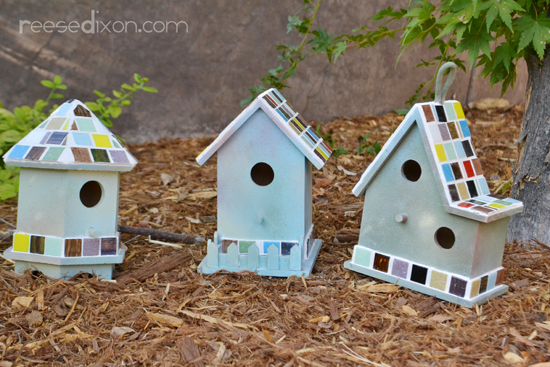
I now have these scattered all around the yard and I’ve already seen squirrels playing with them. It’s so fun to see these sweet little spots of color throughout the yard and making a home for my little outdoor neighbors. So far I haven’t seen any birds around them, but I suppose squirrels need a home too.


Nice information based article thanks for sharing it with us.