My bedroom makeover project has been finished for a while now, but with all of the horrors of the last couple of years, I couldn’t do the work to share it. There’s a tremendous amount of work to pull together a decent tutorial with video, and seeing how I’ve been pingponging between fertility procedures driving me to the mental hospital to surgeries for my baby and then more fertility procedures that ended badly and more surgeries for my baby, there has been no brainspace available for things like describing furniture builds. But now that I’m feeling like I’ve got my feet back underneath me (BRB gotta find some wood to knock), I can finally commit to sharing the big bedroom makeover I’ve been wanting to get to for over a year. I have A LOT of projects to share for this bedroom makeover, and I am THRILLED with the result. So buckle up, because I have tons and tons of ideas for you. Starting today with the centerpieces of any bedroom, the bedframe.
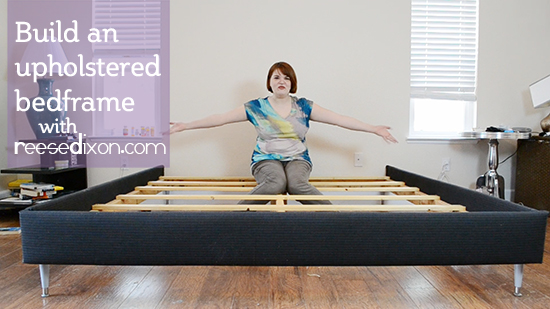
I wanted this room to be a kind of masculine take on a feminine bedroom. An androgynous bedroom. Something peaceful and restful and beautiful, that actually looked like it didn’t just belong to one or the other of us. I wanted to blend our styles. So if I was going to do something as soft as an upholstered bedframe, I wanted to do it in a fabric that would read masculine. So I bought myself 100 yards of suiting material and decided to make myself a pinstripe wingback bed.
Because we have a California King bed, I needed to make a giant bedframe. Beds can be surprisingly non-standard in their measurements, so since you’re building yours from scratch, the first thing you should do is measure your bed. I’ll give you the measurements I used, but unless you also have a giant bed, you’re going to need to customize them.
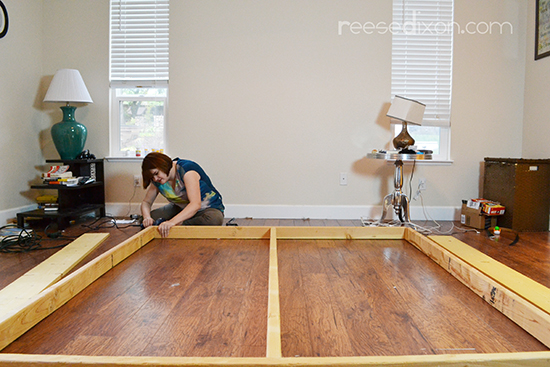
You’ll start by building yourself a great big box. Measure the length and width of your bed. I added an inch on each side to give myself room to maneuver. That extra inch means 1/2″ on each side so you don’t have to squish your bed into position. My bed measured 72″ x 83″, so the finished size I was shooting for was 73″ x 84″, except I made a bunch of mistakes with my measurements so learn from my example and measure everything three times and double check your math. Luckily as long as your mistakes are consistent, this project is pretty forgiving.
You need 2 2×4’s to make the top and bottom of your box, and those should be the finished width of your bed. I cut mine 74″ long, which was a mistake but one that was no biggie. Then you need 3 2 x 4’s to make the sides and middle of your box. These should be the finished length of your bed, minus the width of the 2×4’s you’re using for the top and bottom pieces. Those top and bottom pieces sandwich all the vertical pieces, so you need to take their width into account to get your finished length. 2×4’s usually measure about 1 1/2″ wide, so if you subtract 3″ from your finished size, you’ll know how long to cut your side and middle pieces. I cut mine 81″ long.
Set the pieces up together and drill pilot holes where they’ll be joined. Screw them all together with 2 1/2″ wood screws.
Those other pieces of wood you see outside the box are the pieces that you’ll be upholstering. Given how loosey goosey I was being with my measurements I had to make sure they’d be cut the right size so I laid them right up next to my 2×4 box to make certain. I cut 2 1×8’s 84″ long for the sides, and then one more 76″ long for the bottom. The side pieces should be the same size as the finished 2×4 box, and the bottom piece should be the same length of the 2×4 box plus the width of the 1×8’s which is about 3/4″ each. If I was being careful I would have cut it 1/2″ shorter, but I think I’ve already shown I was not being careful.

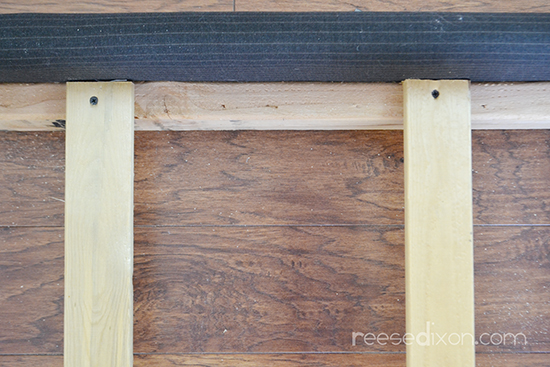
Set up your 1×8’s next to where you’ll be installing them on the box. They should be standing upright so that the wide sides of both pieces of wood are touching. Once they’re lined up, drill a hole from the inside of the box, through the 2×4, and into the 1×8. This pilot hole will tell you where you’ll need to keep the upholstery out of the way so you can screw the pieces together without ripping through your fabric. Fabric and drills are not friends.
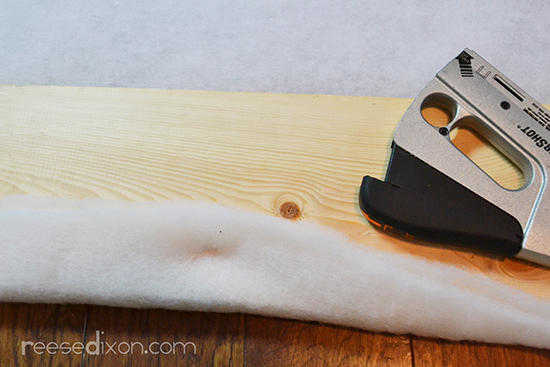
Wrap batting around the entire 1×8 piece, securing it with staples.
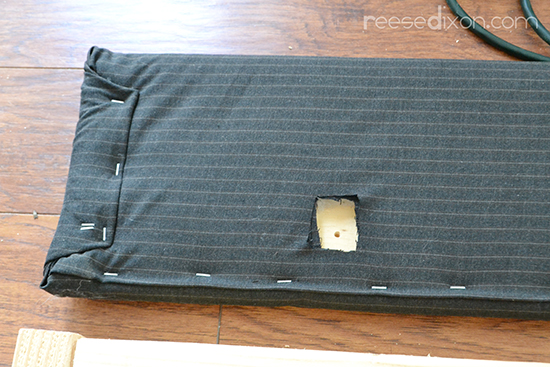
Wrap your upholstery fabric around your 1×8 pieces, continuing to secure it with staples. I wanted to keep the staples as hidden as possible, so I wrapped the wood like a present, keeping all my seams where they would be hidden by being attached to the 2×4 box. Fold your corners neatly and tuck raw edges under before stapling. Feel through the fabric for where those pilot holes are and cut the fabric away neatly to leave yourself room to attach it. Use 2″ wood screws to attach the 1×8’s to the 2×4 box, screwing through those pilot holes you drilled. Make sure you use wood screws that aren’t too long or you’ll go all the way through your 1×8 and have a screw poking through your fabric. I attached the 1×8’s in six different spots to make sure they’d be attached super strong and stand up to kids and pets climbing all over them.
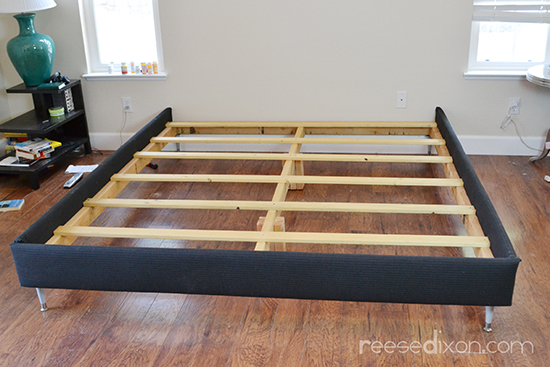
Now you need to add slats across the bed. Nobody likes sleeping on a saggy mattress, so you need to make a nice firm foundation. I used 1×3’s and cut them 74″ long so they’d fit nice and snug on top of my 2×4 box.
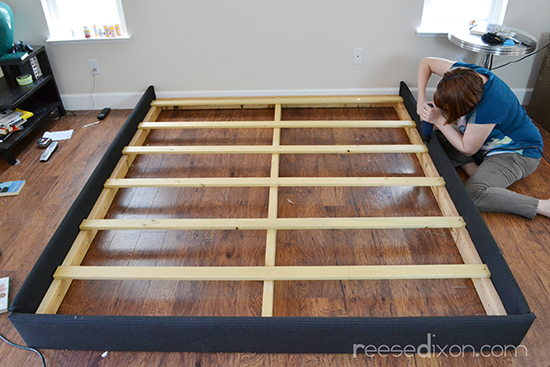
I attached six slats total, spread out across the length of the bed.
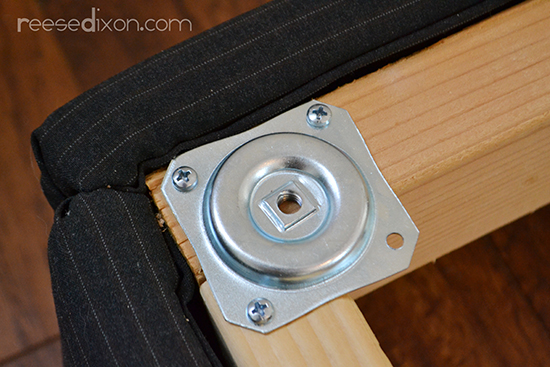
Now we need to get this thing up off the floor and add the legs. There’s many ways to do this, but the way I went with was to use this straight plate. I screwed it into three corners but if you add a little block of wood into the corner of the 2×4 box you can attach all four sides. I didn’t think it was necessary because I’ve got some extra steps coming, but if these legs are all you’re using to hold up all the weight of the bed and the people and jumping kids and pets in them, you probably should.
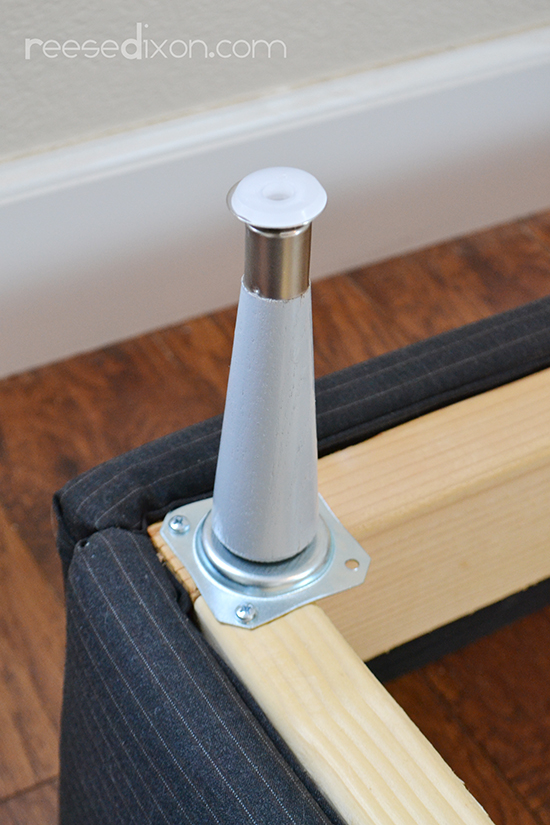
I found these great midcentury inspired legs online. These just screw into the straight plates.
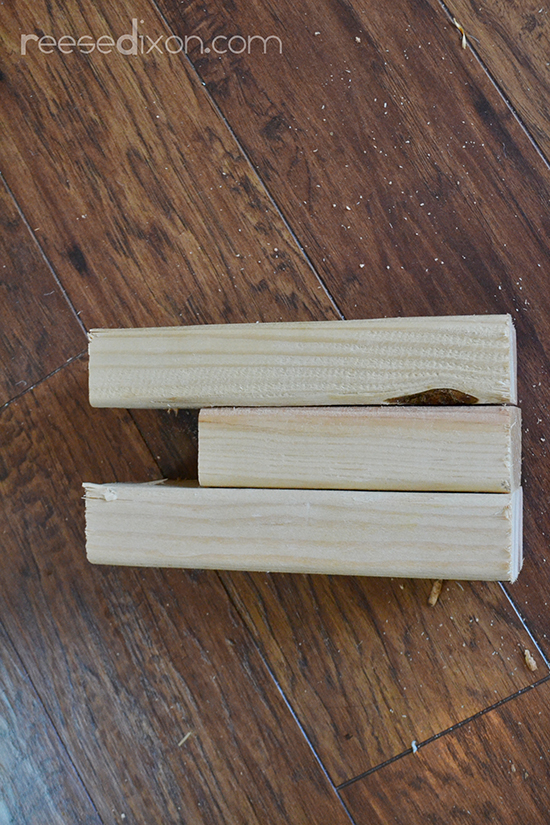
Now, a California King is heavy. Two tall grown adults are heavy. Wrestling kids who jump on the bed are heavy. And a California King is wide, so without a middle support, you’re going to end up eaten by a sagging bed. But a middle support is also hidden under the bed and doesn’t have to be pretty. So I took the scrap pieces of 2×4 and made two middle legs that will keep this thing so stable that a parade could march through and the bed would be rock solid at the end of it. The middle piece should be the height of the legs, including the straight plate. Basically the distance from the floor to the 2×4 box. Then the two outside pieces should be 2 1/2 – 3″ taller so that it can fit onto the middle beam and leave you room for screws. Use wood screws to stick those pieces together, making sure they’re flush on the bottom.
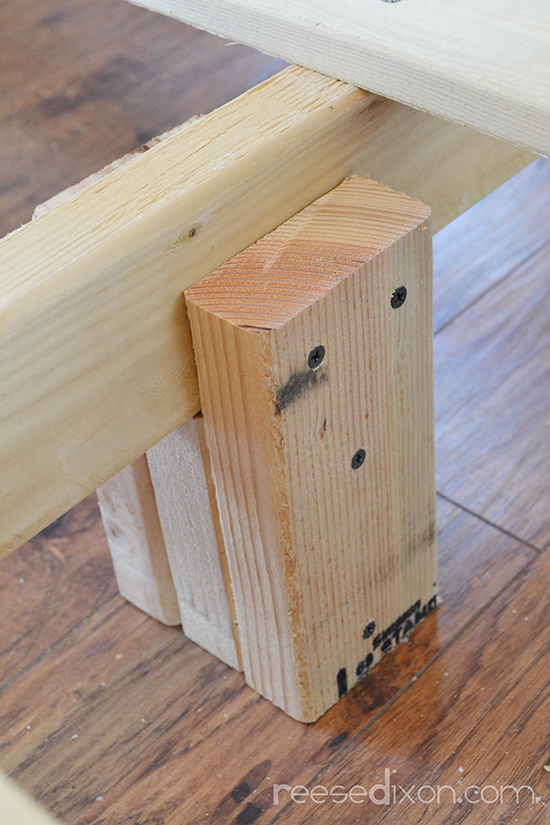
Slide those legs around the middle beam and use wood screws to attach it from both sides.
If you aren’t making a headboard, you’d probably want to finish the top of this bedframe with another upholstered piece at the top, but I didn’t want it to get in the way of the giant headboard I’ll be building. And that I’ll be showing you how to build next week.


This is amazing! How many hours did you put into it? I can't wait to see you do the headboard and then the finished bed.
Sinceramente, sólo puedo decir que eres ¡¡¡Fantástica!!!
This is really a awesome idea and i ever seen such an idea like this to create a form of idea to make a such a good bed to create for the bedrooms and measurements also good and nice and its such a very good creativity for creating such awesome bed.
Thank you so much for sharing this amazing paper trolling stuff on your website. With the help of your video and directions, we are able to make bed frame at home. The design is very attractive and simple to make. Thank you once again for sharing this video with us you done great help lots of people.
this helps me a lot in getting <a hrefs="http://reviewzfast.com/best-bed-frames-buy/">Best bed frames
wao!great post about bed frames.thanks a lot for sharing
great post and well written.keep sharing good stuff.
I won’t be easier for me to create such a beautiful bed frame on my own. Anyway, I will surely like to give it a try. ~ Office Support Recruitment Agency
Child exploitation is a grave issue, and the entire society should stand united to ensure the safety of all kids. ~ Office Support Recruitment Agency
Good Post
This came out so beautifully! What an accomplishment to have done this yourself since it looks professionally done. Great job and thanks for the tips!
wow, amazing. Thank you for inspiring.
I love this blog and I’m always so impressed with the high quality of your posts (that you put out EVERY DAY. How do you do that and stay sane???). It’s always a treat to read your blog in the morning before I tackle my day as a stay at home mom of four young kiddos. Thanks for helping me stay sane! ☺️
Your website is so informative and this article is very helpful. I will visit again on your site in future.
Good work.
Thank you for taking the time to provide us with your valuable information. We strive to provide our candidates with excellent care and we take your comments to heart.As always, we appreciate your confidence and trust in us
interior designers in chennai