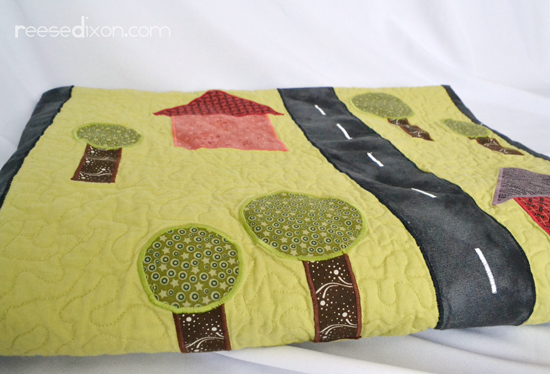
So yesterday I showed you how to use my favorite technique – machine applique – to make a city street scene your kids can use for playtime. Today I want to show you how to take that play cloth – or any other quilt top or even large piece of fabric – and turn it into a quilt.

Before you begin quilting the first thing to do is make what we call a “Quilt Sandwich.” You sandwich the batting between the top and bottom layers of the quilts. Take your backing fabric – it’s easiest if this is larger than your quilt top so you don’t have to struggle to keep things lined up – and tape it to your floor with the right side facing down. Take your time with this, you want to get it as flat and smooth as you possibly can. Any care you take in the sandwich step will pay off with no wrinkles and neat quilting later on.
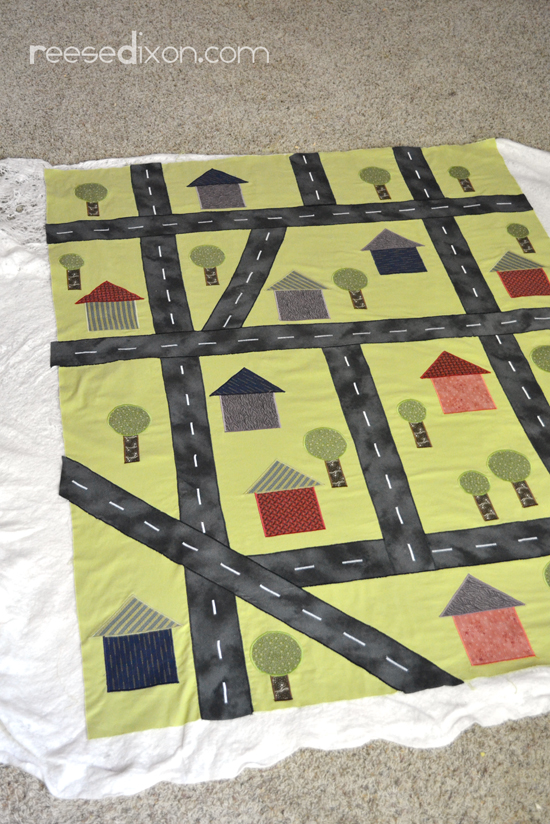
On top of that lay out your batting, and then your quilt top, taking care to smooth and stretch each piece.

Now you need to get that quilt sandwich to stay put, which means basting. There are many ways to do this, some old fashioned hand stitches, some spray glues, but I just like to grab every single safety pin in the house and shellac the quilt with them. I don’t think you can pin too much. Once you start quilting, especially if you use a small sewing machine like I do, the fabrics will be pulled and pushed and rolled in so many different directions that you’ll sew pieces together if they’re not held tightly in place. This is so so so easy to do. So take the time and lock everything in.
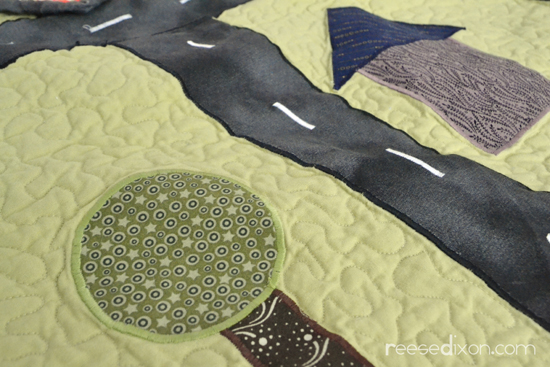
Now it’s time to quilt. The pattern you choose is just as much a feature of the design as the fabric you pick out. A great quilting pattern can make an otherwise ho-hum quilt sing. But for something like this play quilt, I just used a freeform stipple pattern. The video goes into great detail about this including the sewing machine foot I use and some gloves that offer enough friction to help push the quilt through the sewing machine easier. If you want to keep things as simple as possible, you could always just sew along the edges of your appliqued pieces and that would be enough for this project.
The last part of every quilt project is the binding. This part is difficult to write out, but I go through step by step in the video, so again, refer to that if anything I say here is confusing.
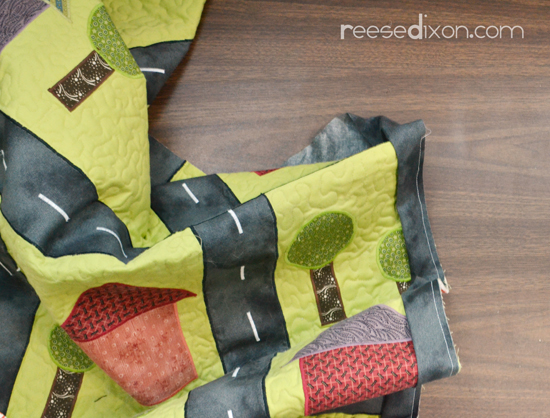
Trim the quilt so you get a clean edge and all the layers match up. For the binding I like to cut strips of fabric to 3″ wide and then sew them all together to create a long chain. Fold the strip in half with the wrong sides in and line the edges of the binding strip up with the edge of the quilt, so all the raw edges are facing the same way. Start sewing about 18″ from the start of the strip and sew all the way to the corner.
When you get to the corner, lift the needle and presser foot and turn the quilt to feed through the next side. Pull the binding strip up behind the side you’ll be sewing, making a triangle at the corner where the binding strip changes direction. Then, keeping that triangle in place, bend the binding strip over the top of it and down to line up with the side you’ll be sewing. Then just sew.
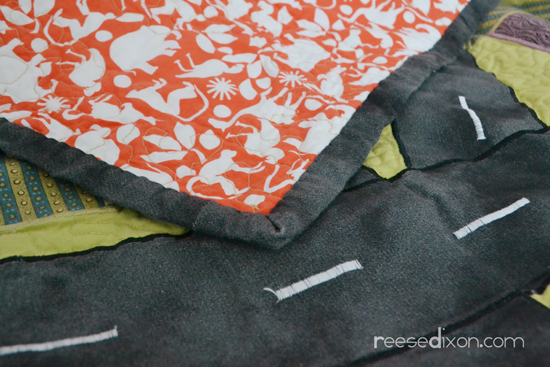
Now the binding is sewn onto one side, but the raw edges are still exposed on the back. So we have to wrap the binding around to the back and sew it in place. If you’re in a rush you can do this on the machine. You just hide the second line of stitches in the seam where the binding meets the front of the quilt. But I really prefer to take my time and do it by hand. It really doesn’t take that long and it just looks immaculate.
Quilting was always one of those things that lived in my imagination as something Super Women did. They quilted and made their own bread and canned fruit. It seemed so intricate and hard to me, and it can be, like any artform there are advanced and beginner techniques, but the entry isn’t as hard as I imagined it was. It probably isn’t as hard as you’ve imagined either.


I opened up the case of my best quality sewing machine a day or two ago to make a last-ditch attempt at fixing it myself, and discovered – lo and behold! – that the problem was just a cracked plug-receptacle and a loose wire. (This is what the shop was going to charge me $150+ to fix??) Mike and I have ordered a part from Digikey and are going to try soldering down the loose wire ourselves. Hopefully it will work, and then my beloved machine will be back in working order!
But if not…at least now I know what to look for!
Thanks again!