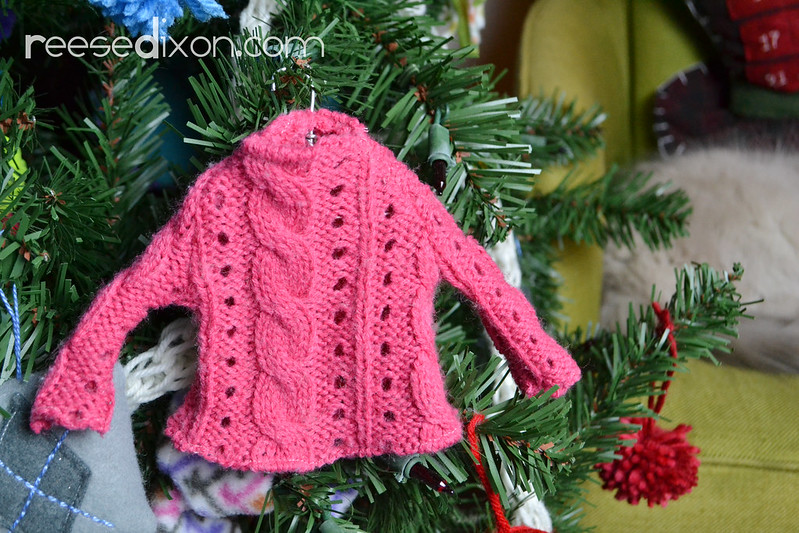
 In my brainstorming, this is the ornament that started it all. The tree never would have been complete without it, and the sweaters I picked up from the thrift store with this project in mind were what set the whole color story for the tree. But it took me a while to get it right. Knit is tricky to sew, and pattern construction on knit fabric was a little bit of a nightmare, but I persevered. And now my nightmare will be a total breeze for you.
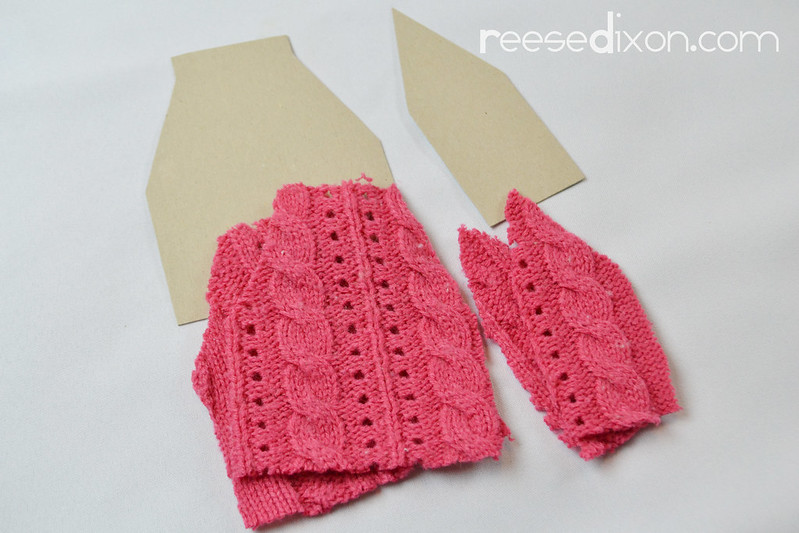 Download the handy little pattern I made for you and make yourself a cardboard pattern. I found it really helpful to have a kind of rigid surface to hold against the wiggly stretchy knit as I was cutting. The cardboard really helped. You’ll need two pieces for the body, and two pieces for the sleeves.
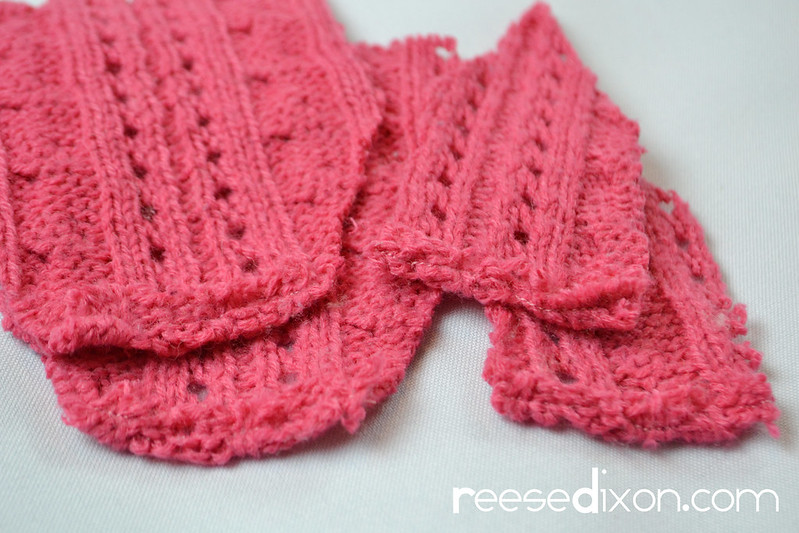 Working with pieces this tiny you’ll definitely want to hem as much as you can before you put the pieces together. Hemming a sleeve can be a bit of a wrestle when it’s for a full grown person, A hem on something the size of your finger will make you swear. Hem the neckline and the sleeve cuffs by just folding it over. You could fold it twice to make a cleaner hem, but second hand knit is going to look a bit raggedy no matter what, so I didn’t sweat it.
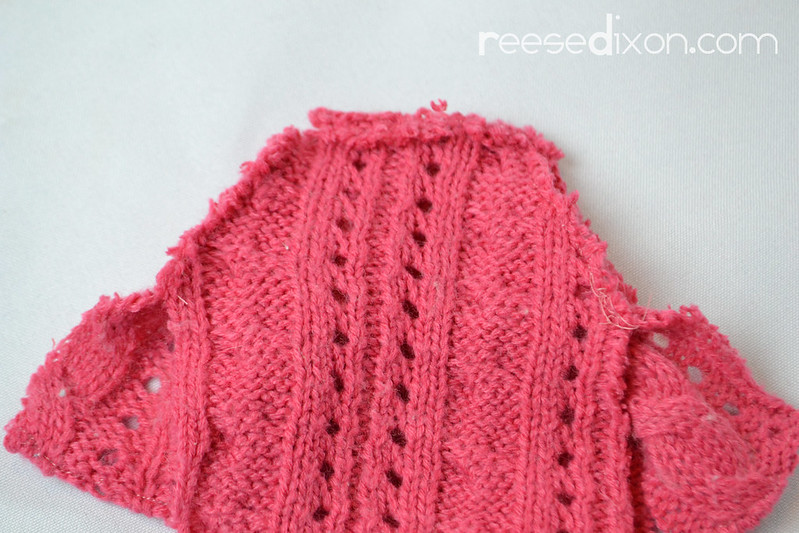
 This style of sleeve is called a raglan sleeve and it is the simplest thing in the world. Line one of the body pieces up with one of the sleeve pieces, right sides together, matching up one of those angles by placing the point of the sleeve right up to the neck hem. Repeat for the other side.
 Sew the other body piece on in the same way by lining it up with the other side of the sleeves.
 Sew the sides closed by sewing one long seam from the sleeve cuff to the armpit, pivoting, and then sewing down the body to the waist. Repeat for the other side.
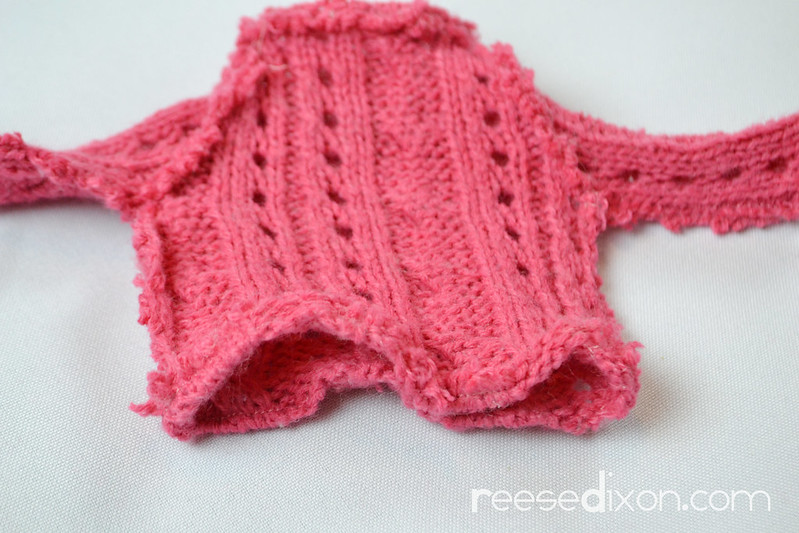 Hem the bottom of the sweater. You could do this step at the same time you do the rest of the hemming, but I like waiting until the sides are together so that the hem can be all one piece.
You could stop here if you want to just have a sweater, but if you want to hang it up neatly on your Christmas tree, you need a hanger.
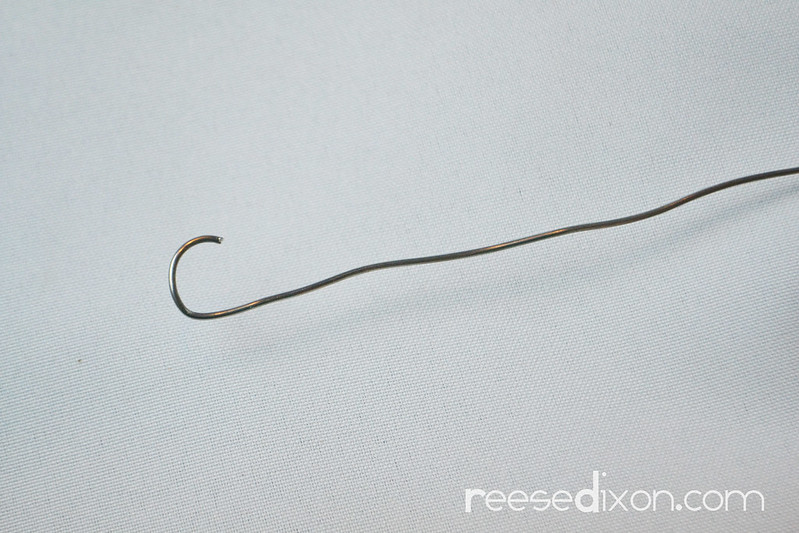 I used a piece of electric fence wire because I had a whole bunch of it and it was a good width. Mine measured about 10″ long. Bend the first 3/4″ or so into a little hook.
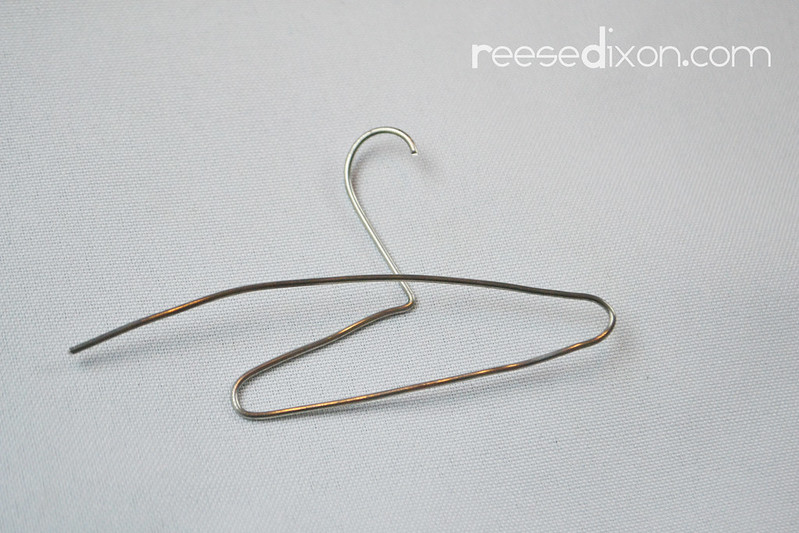 Then bend it into a hanger shape…
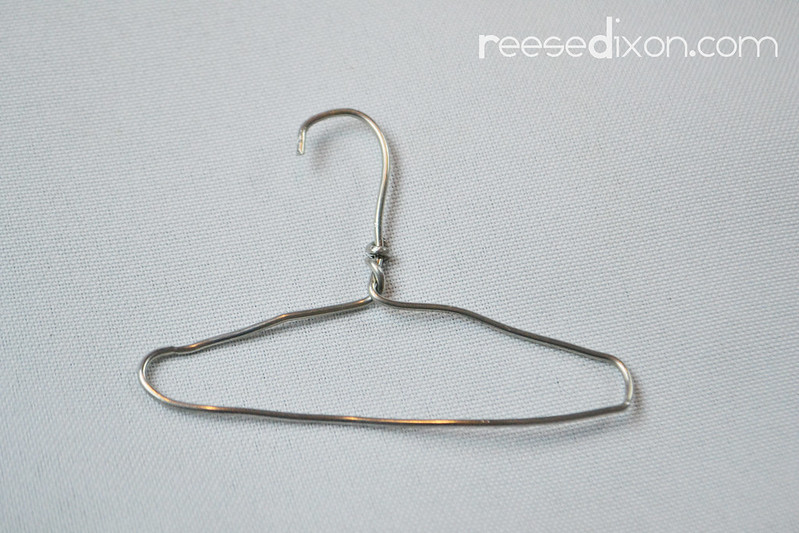 …and twist the end around the neck of the hook, cutting off any extra.
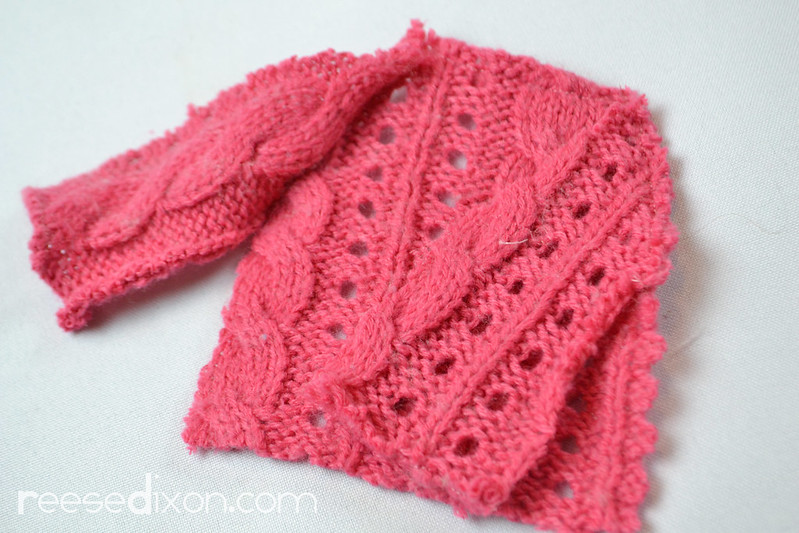
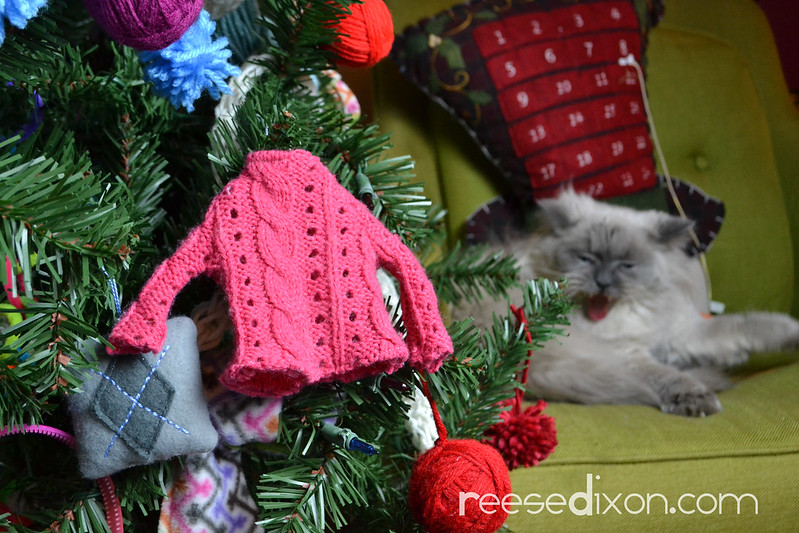 A couple of hems and two seams and you have an adorable little sweater. Despite the fact that knit can be a bit challenging to work with, because it’s so stretchy, I think this would make a great first sewing project. You could always use a polar fleece or other fabric that doesn’t have as much give as a full on sweater knit, and since it doesn’t have to fit anybody it’s an easy way to make a few mistakes without it spoiling the fun of the project.

Click the picture and download the original size.


I love this! I couldn't locate the pattern you spoke of. Could you give me measurements and I could cut my own cardboard patterns?
Thanks for this and the many others you have posted for Christmas.
Thanks for helping me out! It’s all fixed up now, right there at the bottom of the post.