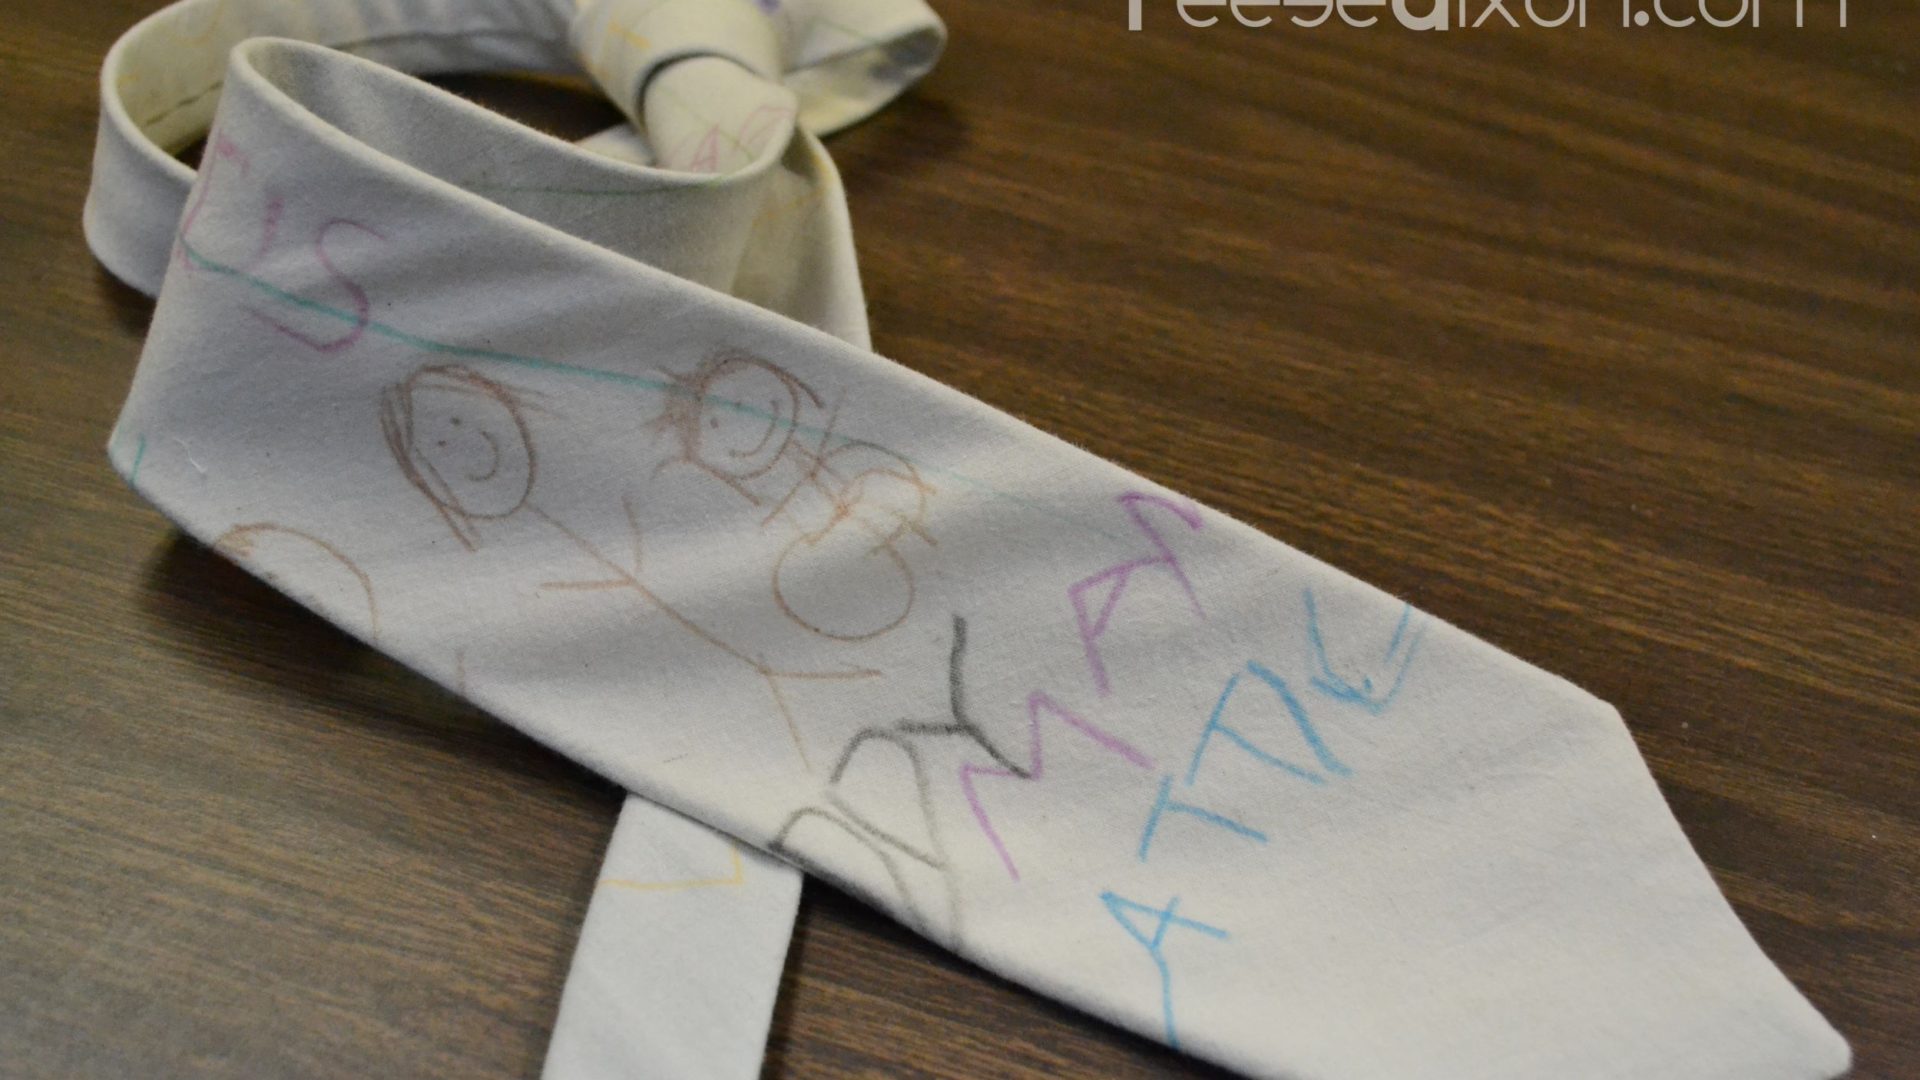
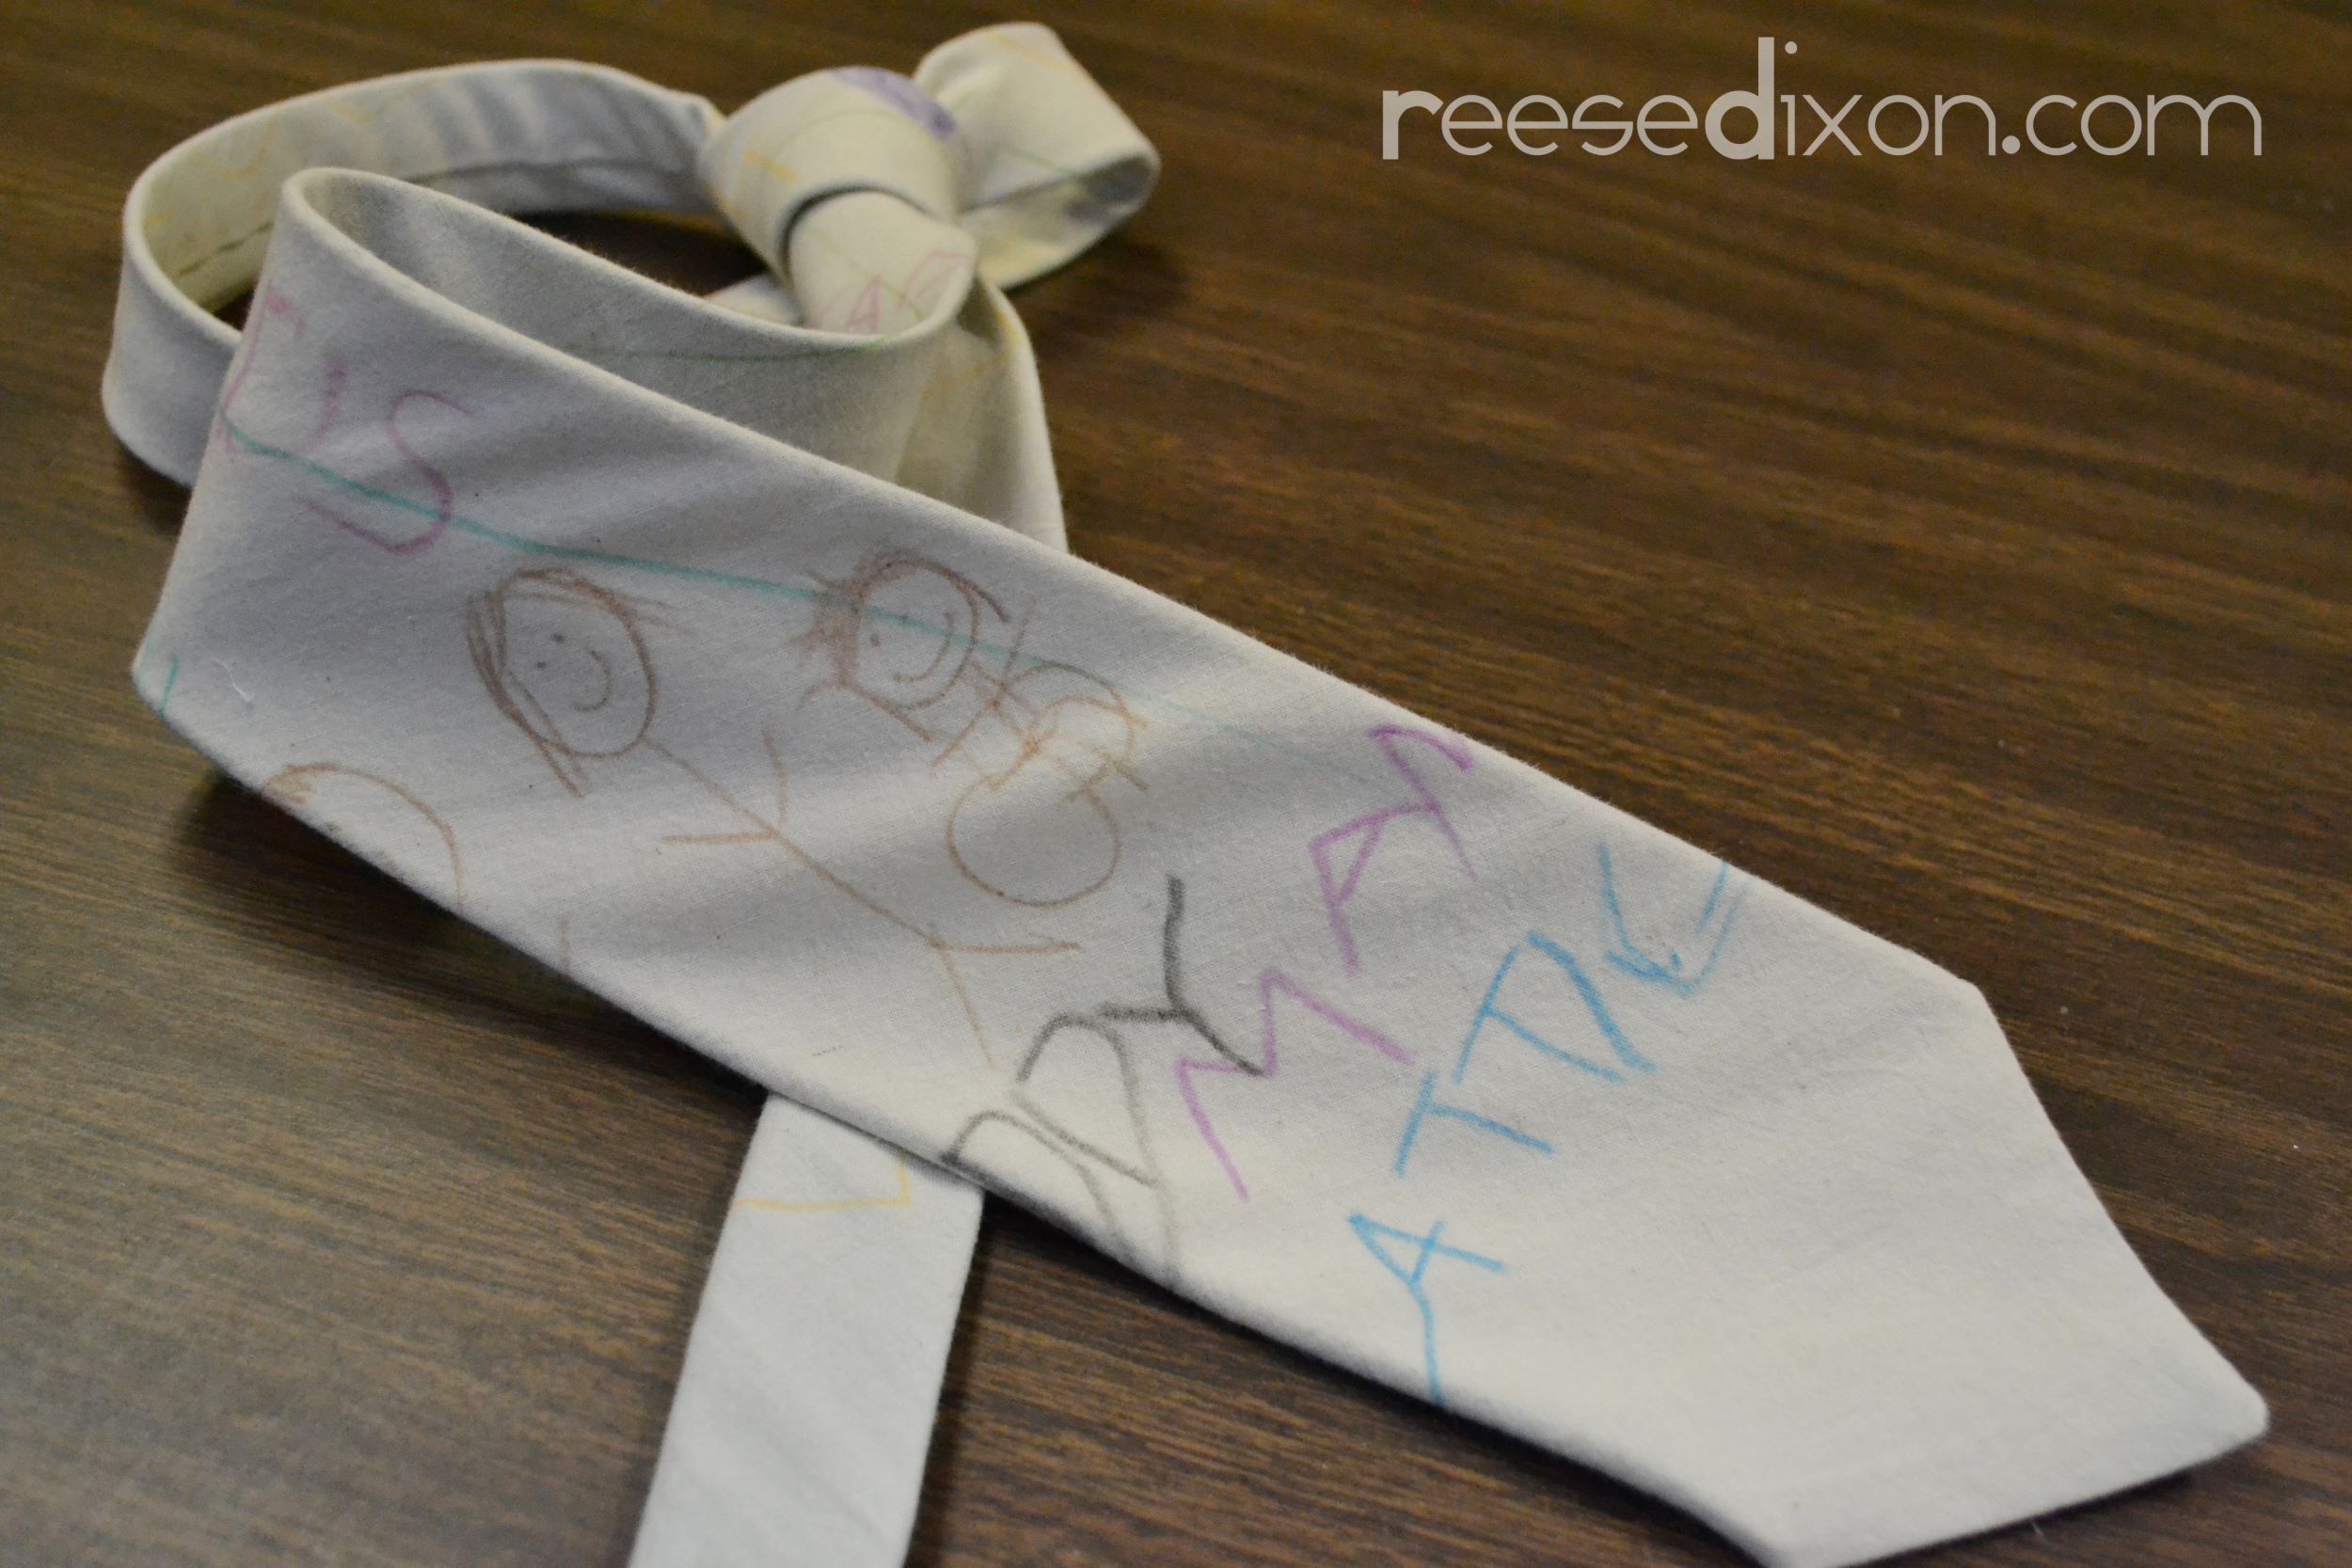
Men are the hardest to shop for, and especially for kids. Dad stuff is either obscure, expensive, or obscure and expensive. So most often we seem to go for ties. But I thought it might be great to take that usual old tie and make it a little unusual. You can sew a tie out of just about any fabric, but I wanted something personal to commemorate Atti’s first letters, so I went for some of his artwork.
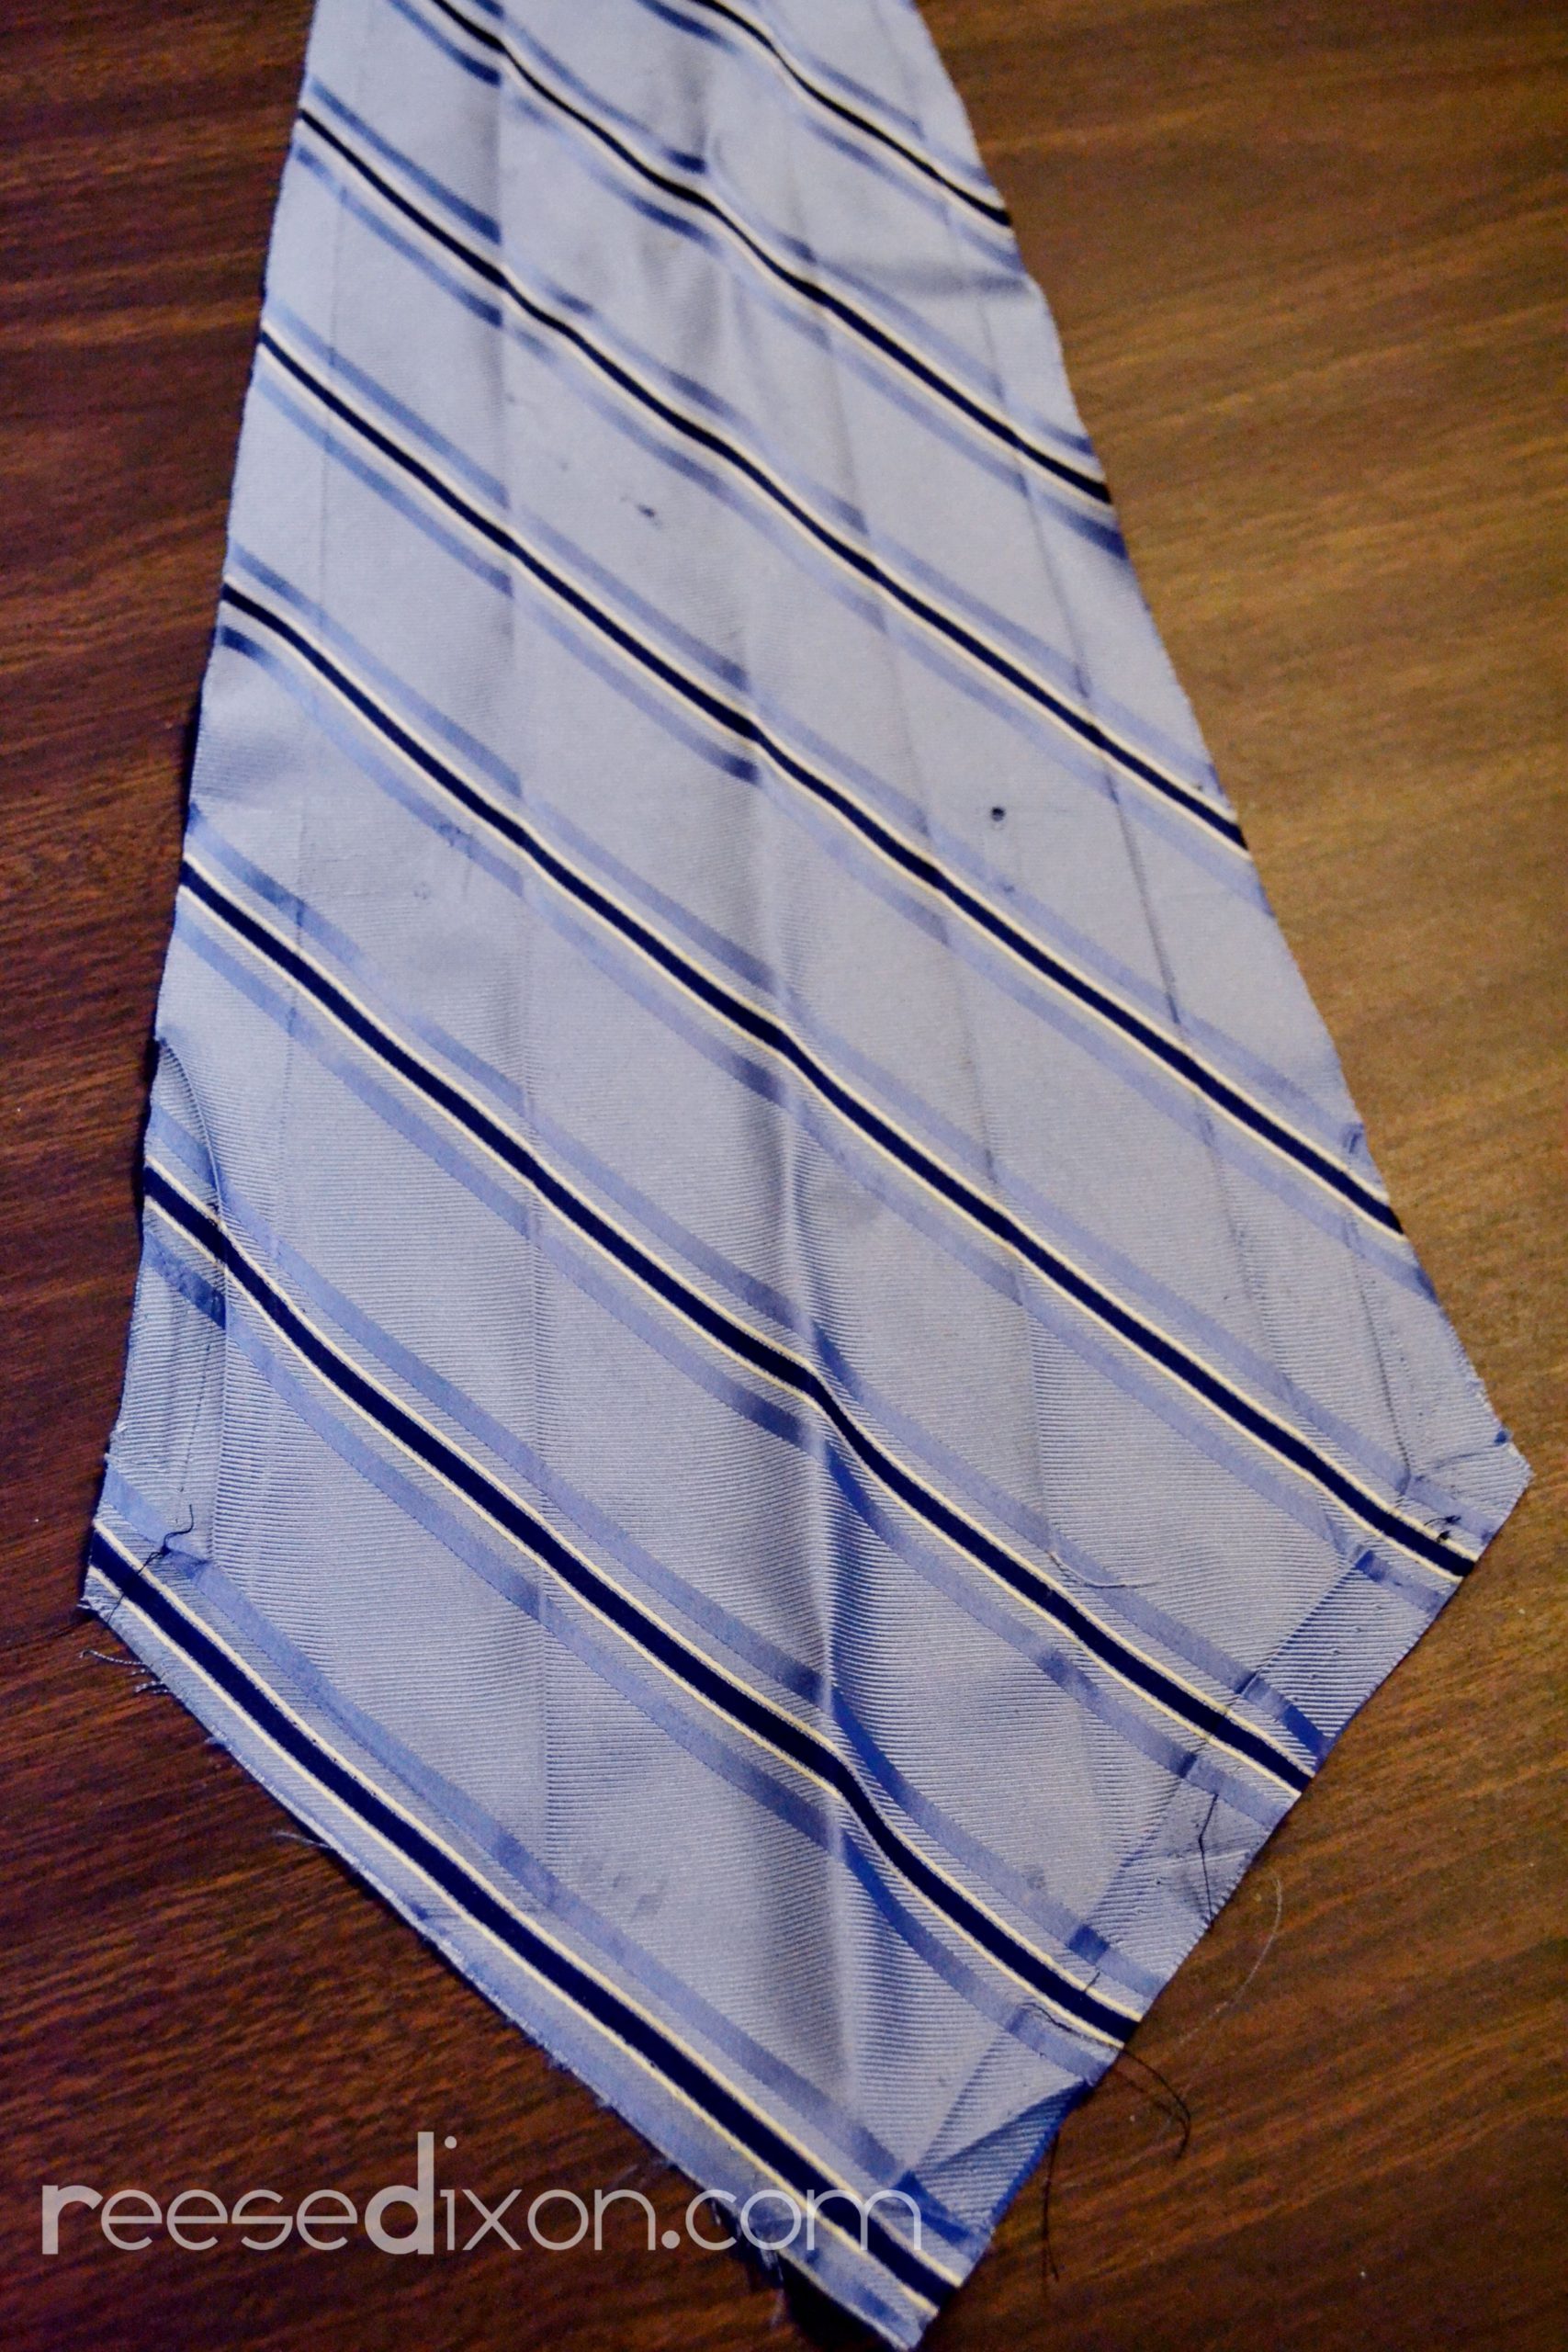
There are plenty of tie patterns available at the fabric store and online, but Bear happens to have a whole mountain of ties that are stained or ugly or inherited from somebody who bought them ten years ago. I used one of those ties as my pattern, and the bonus is that I could reuse the interfacing that came inside of it.
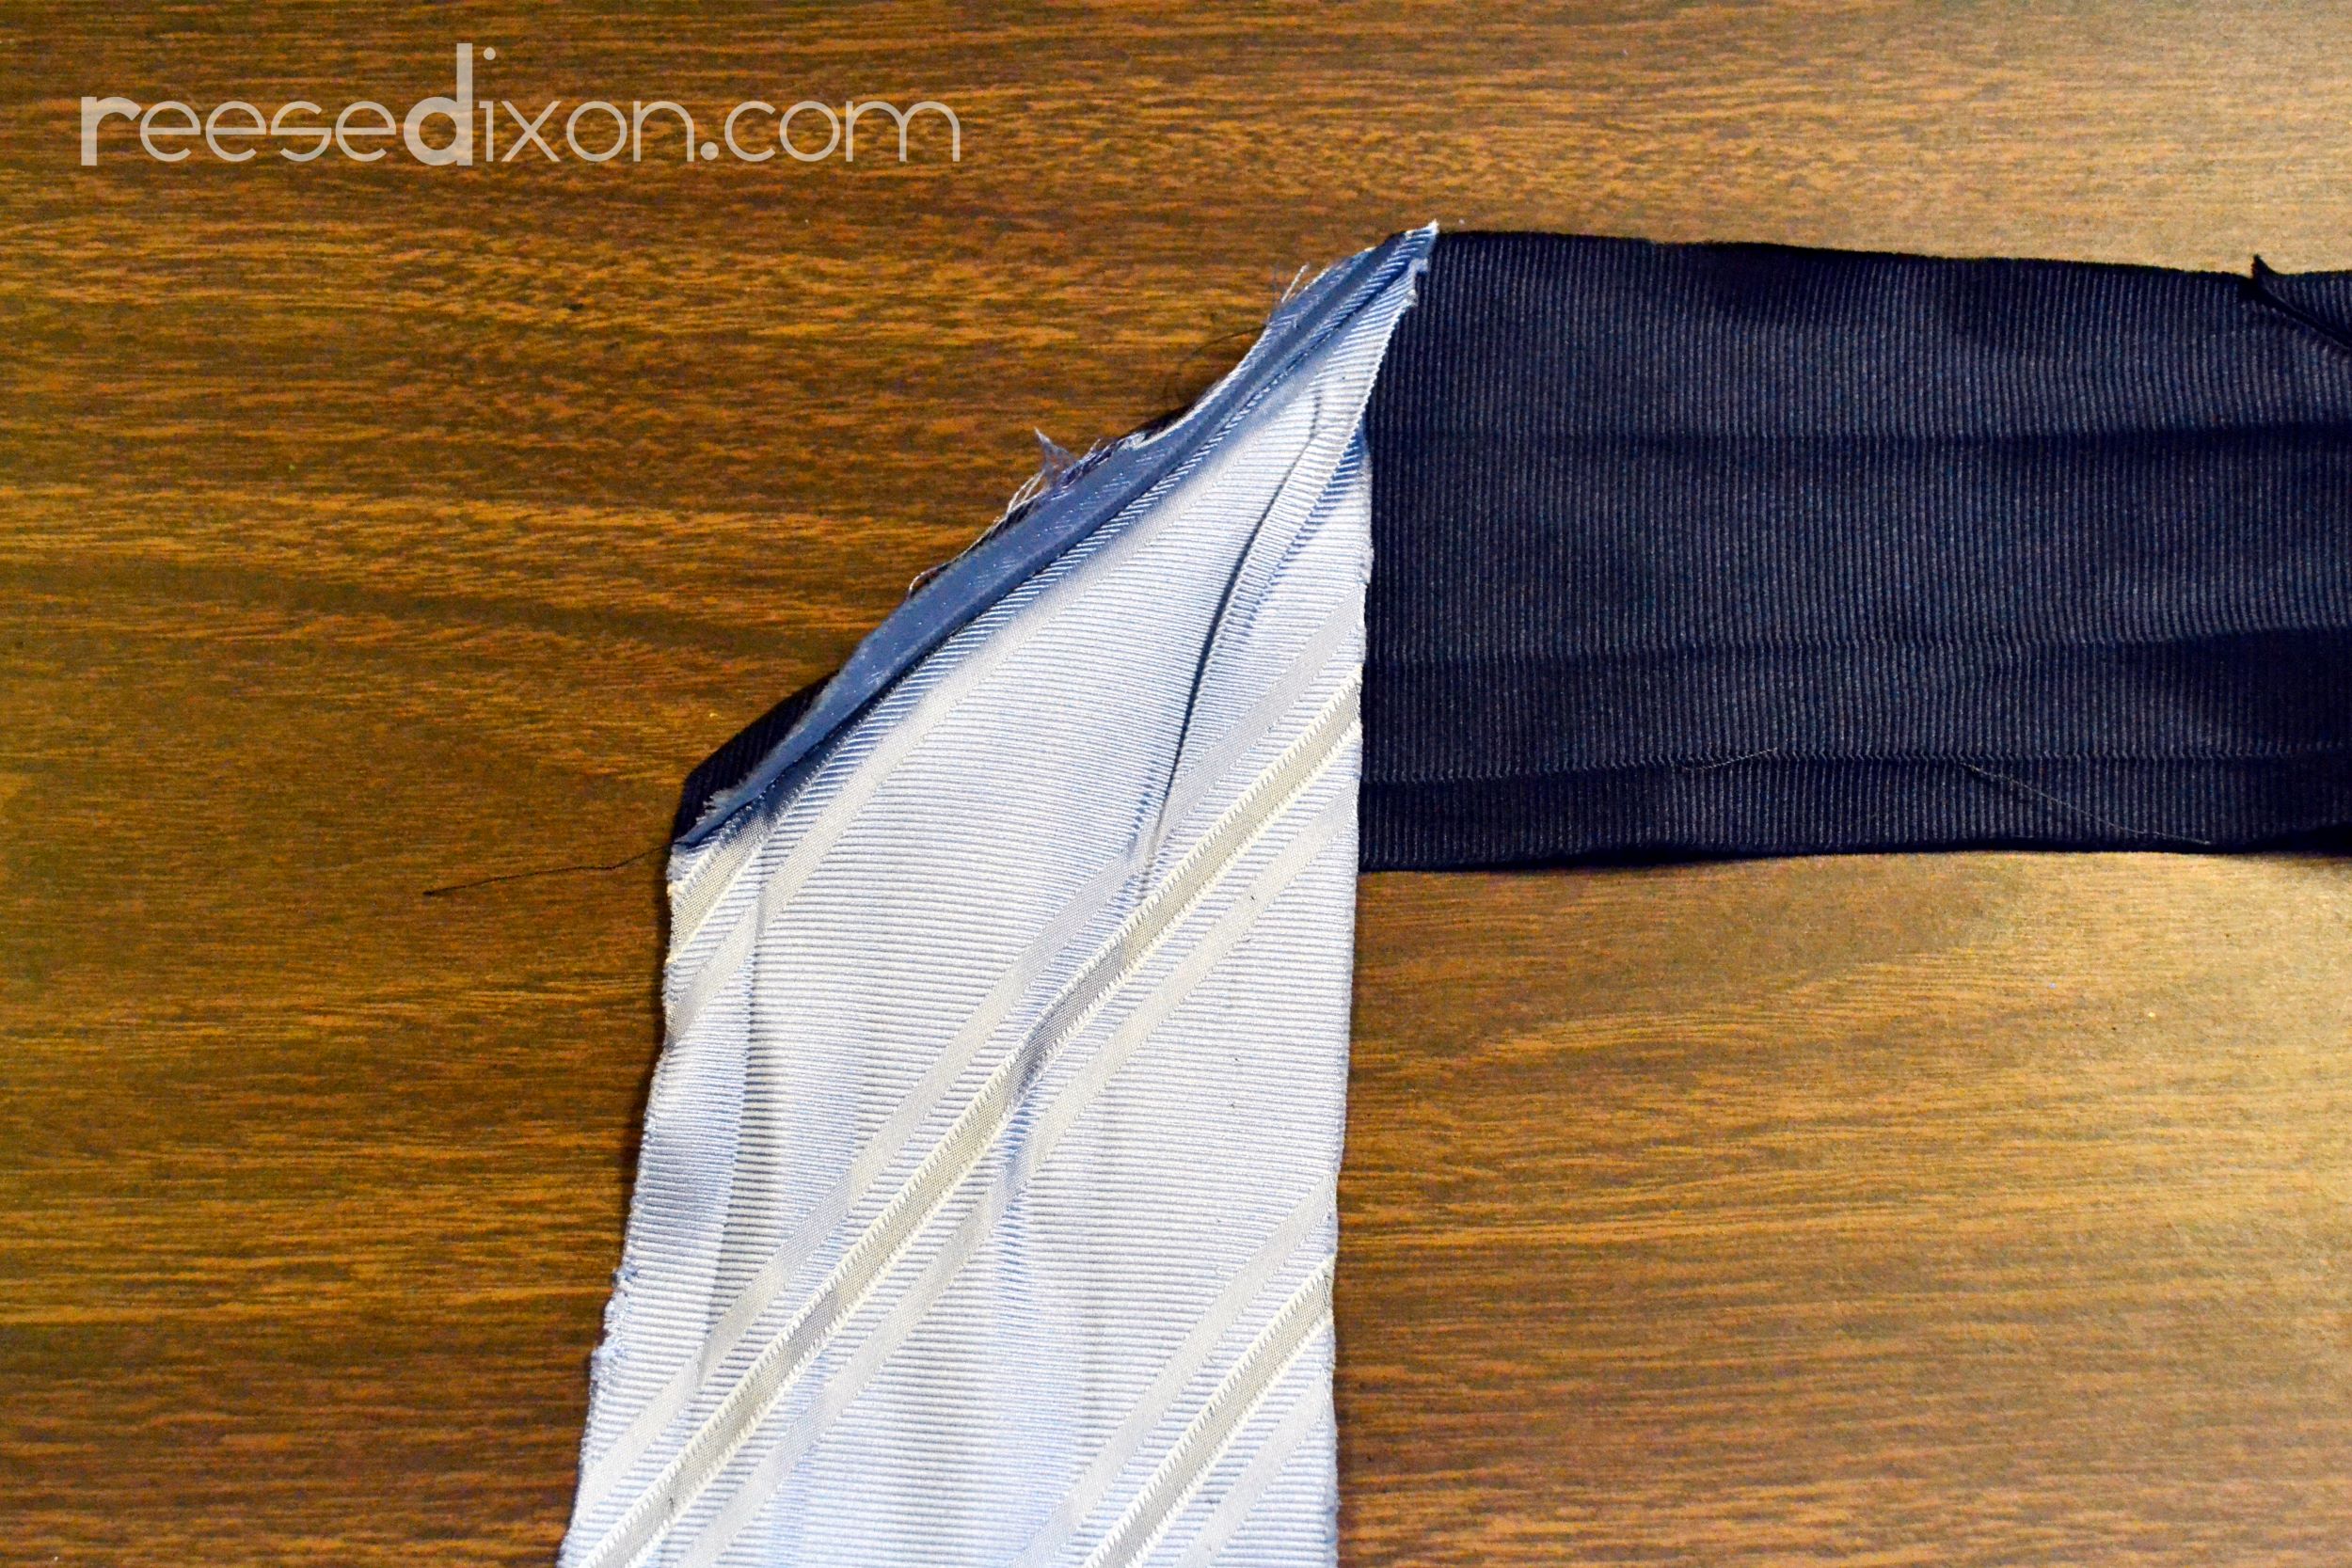
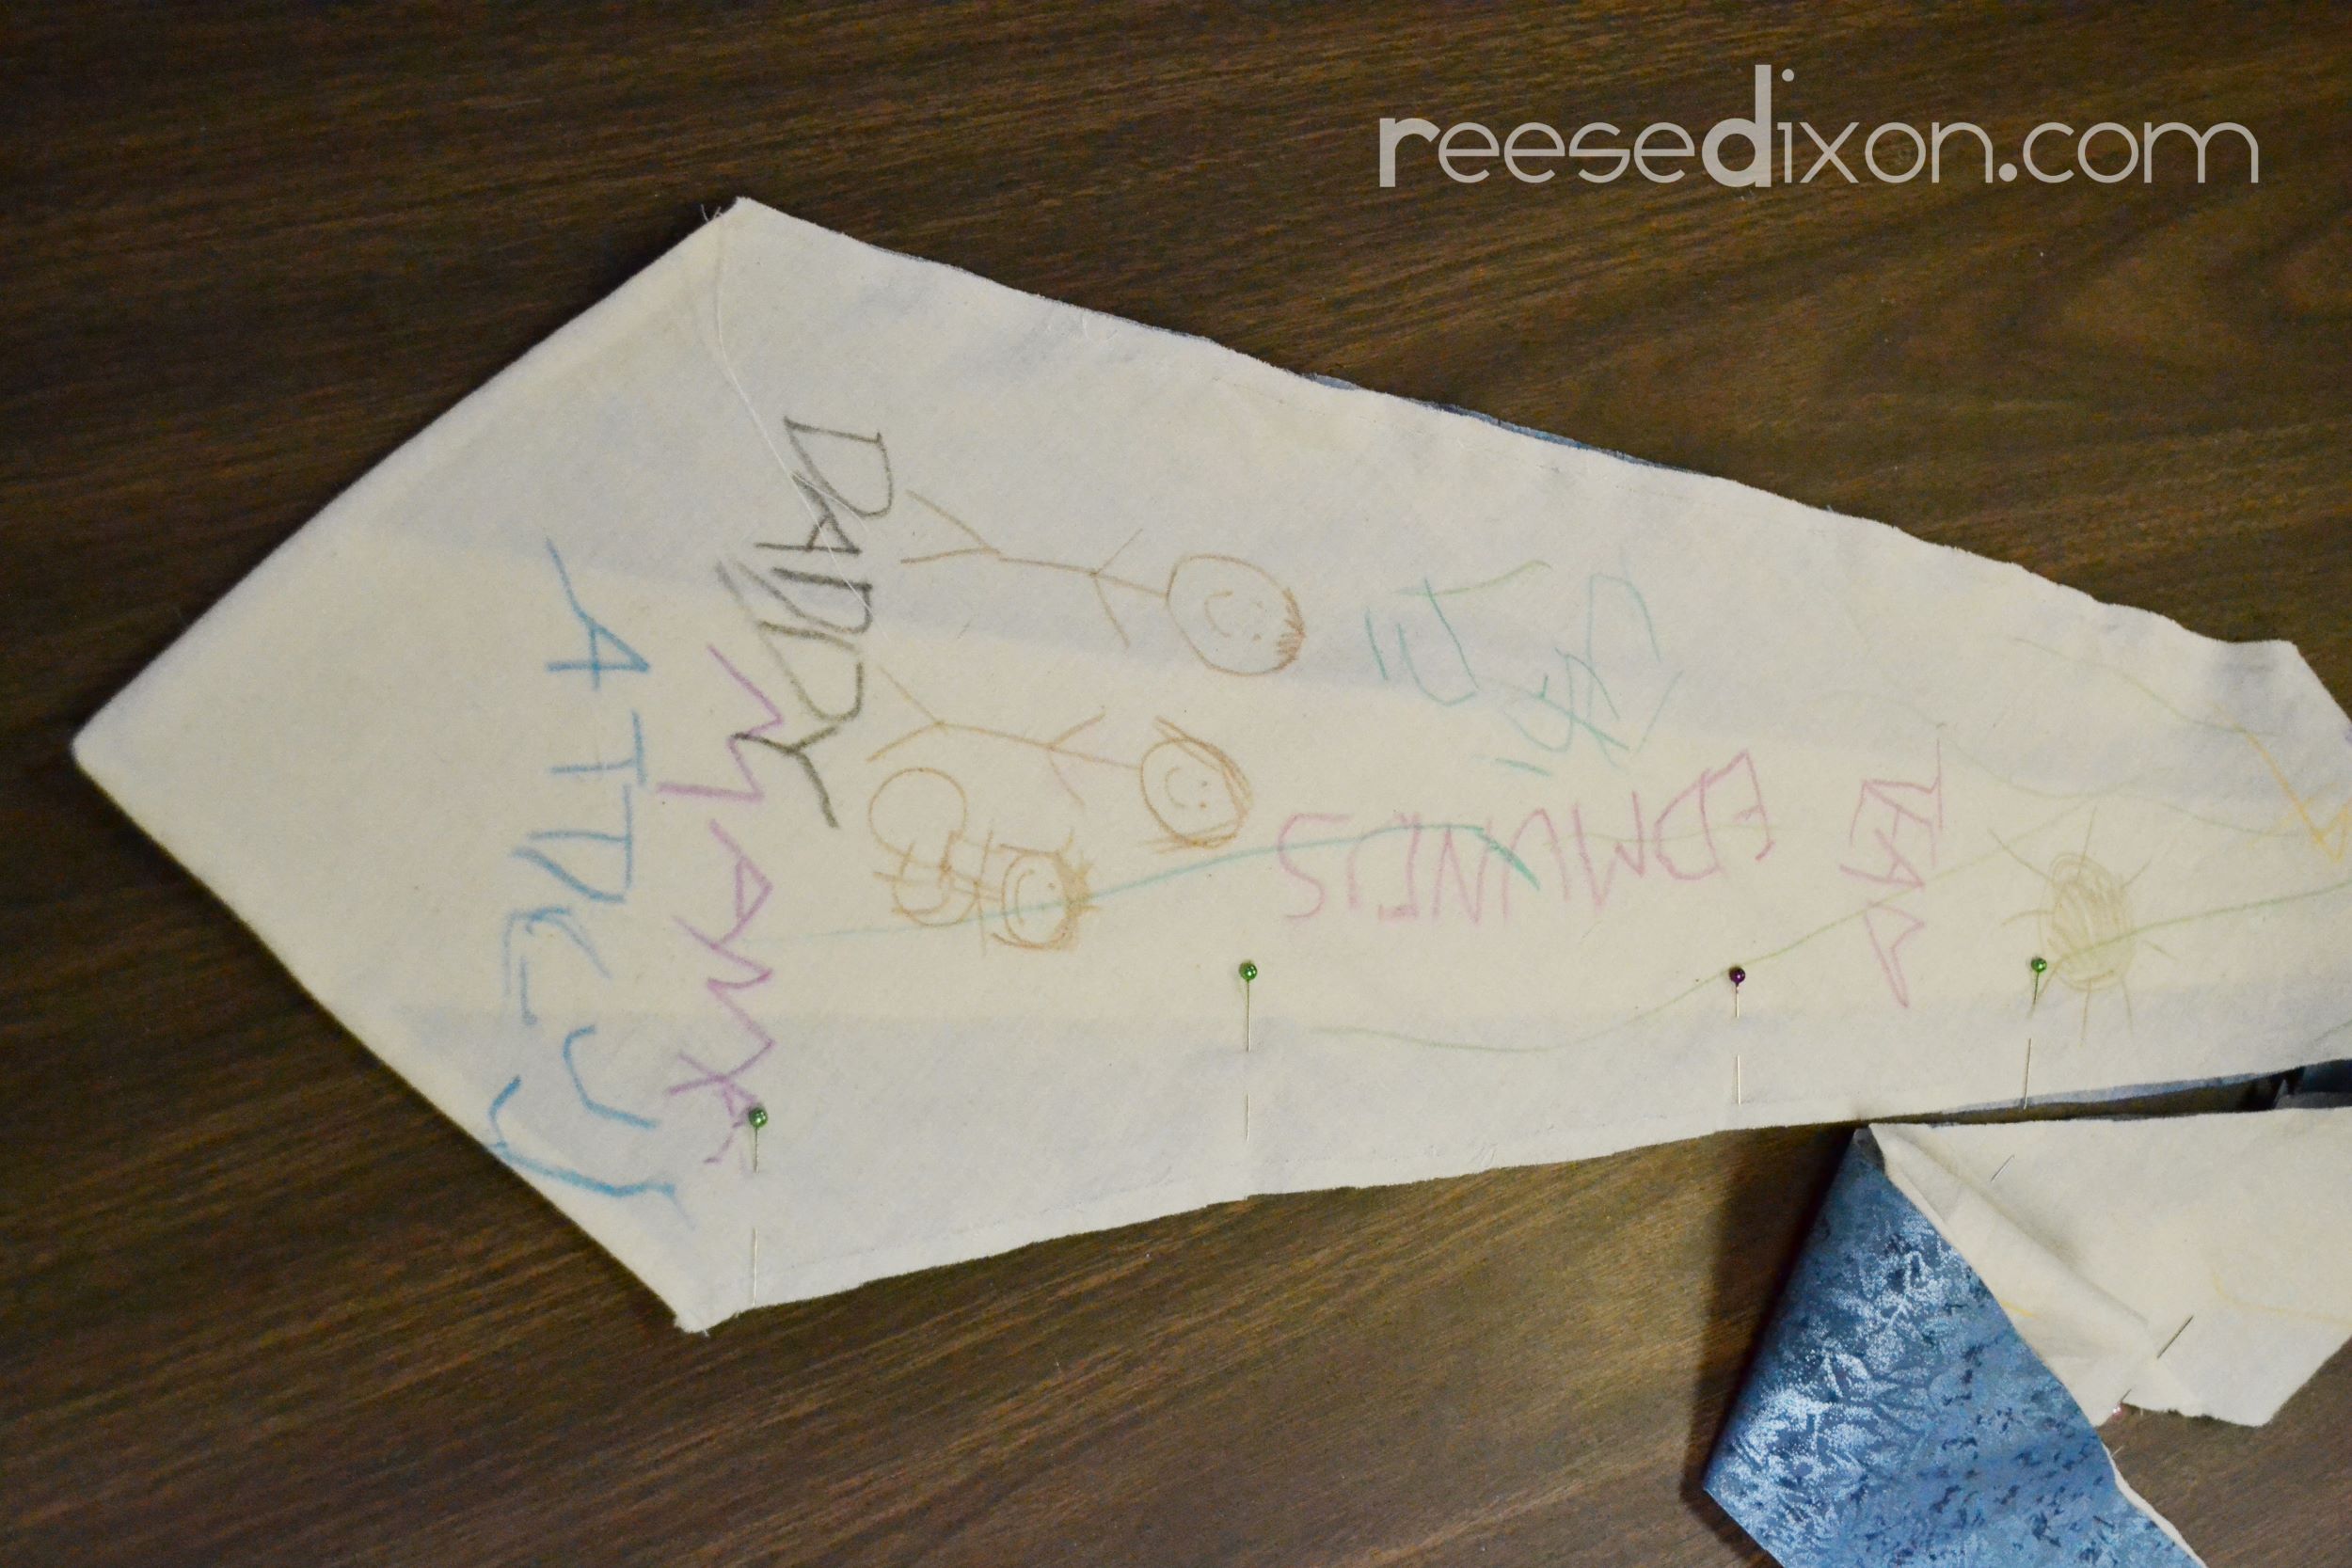
As you can see from our pattern, a tie has to be cut on the bias. This means cut diagonally on the fabric to get the fabric at its stretchiest. Unless you buy a ton of fabric you’re probably going to have to piece your tie together to get the length you need, but all you have to do is place the two pieces perpendicular to each other and sew a diagonal seam.
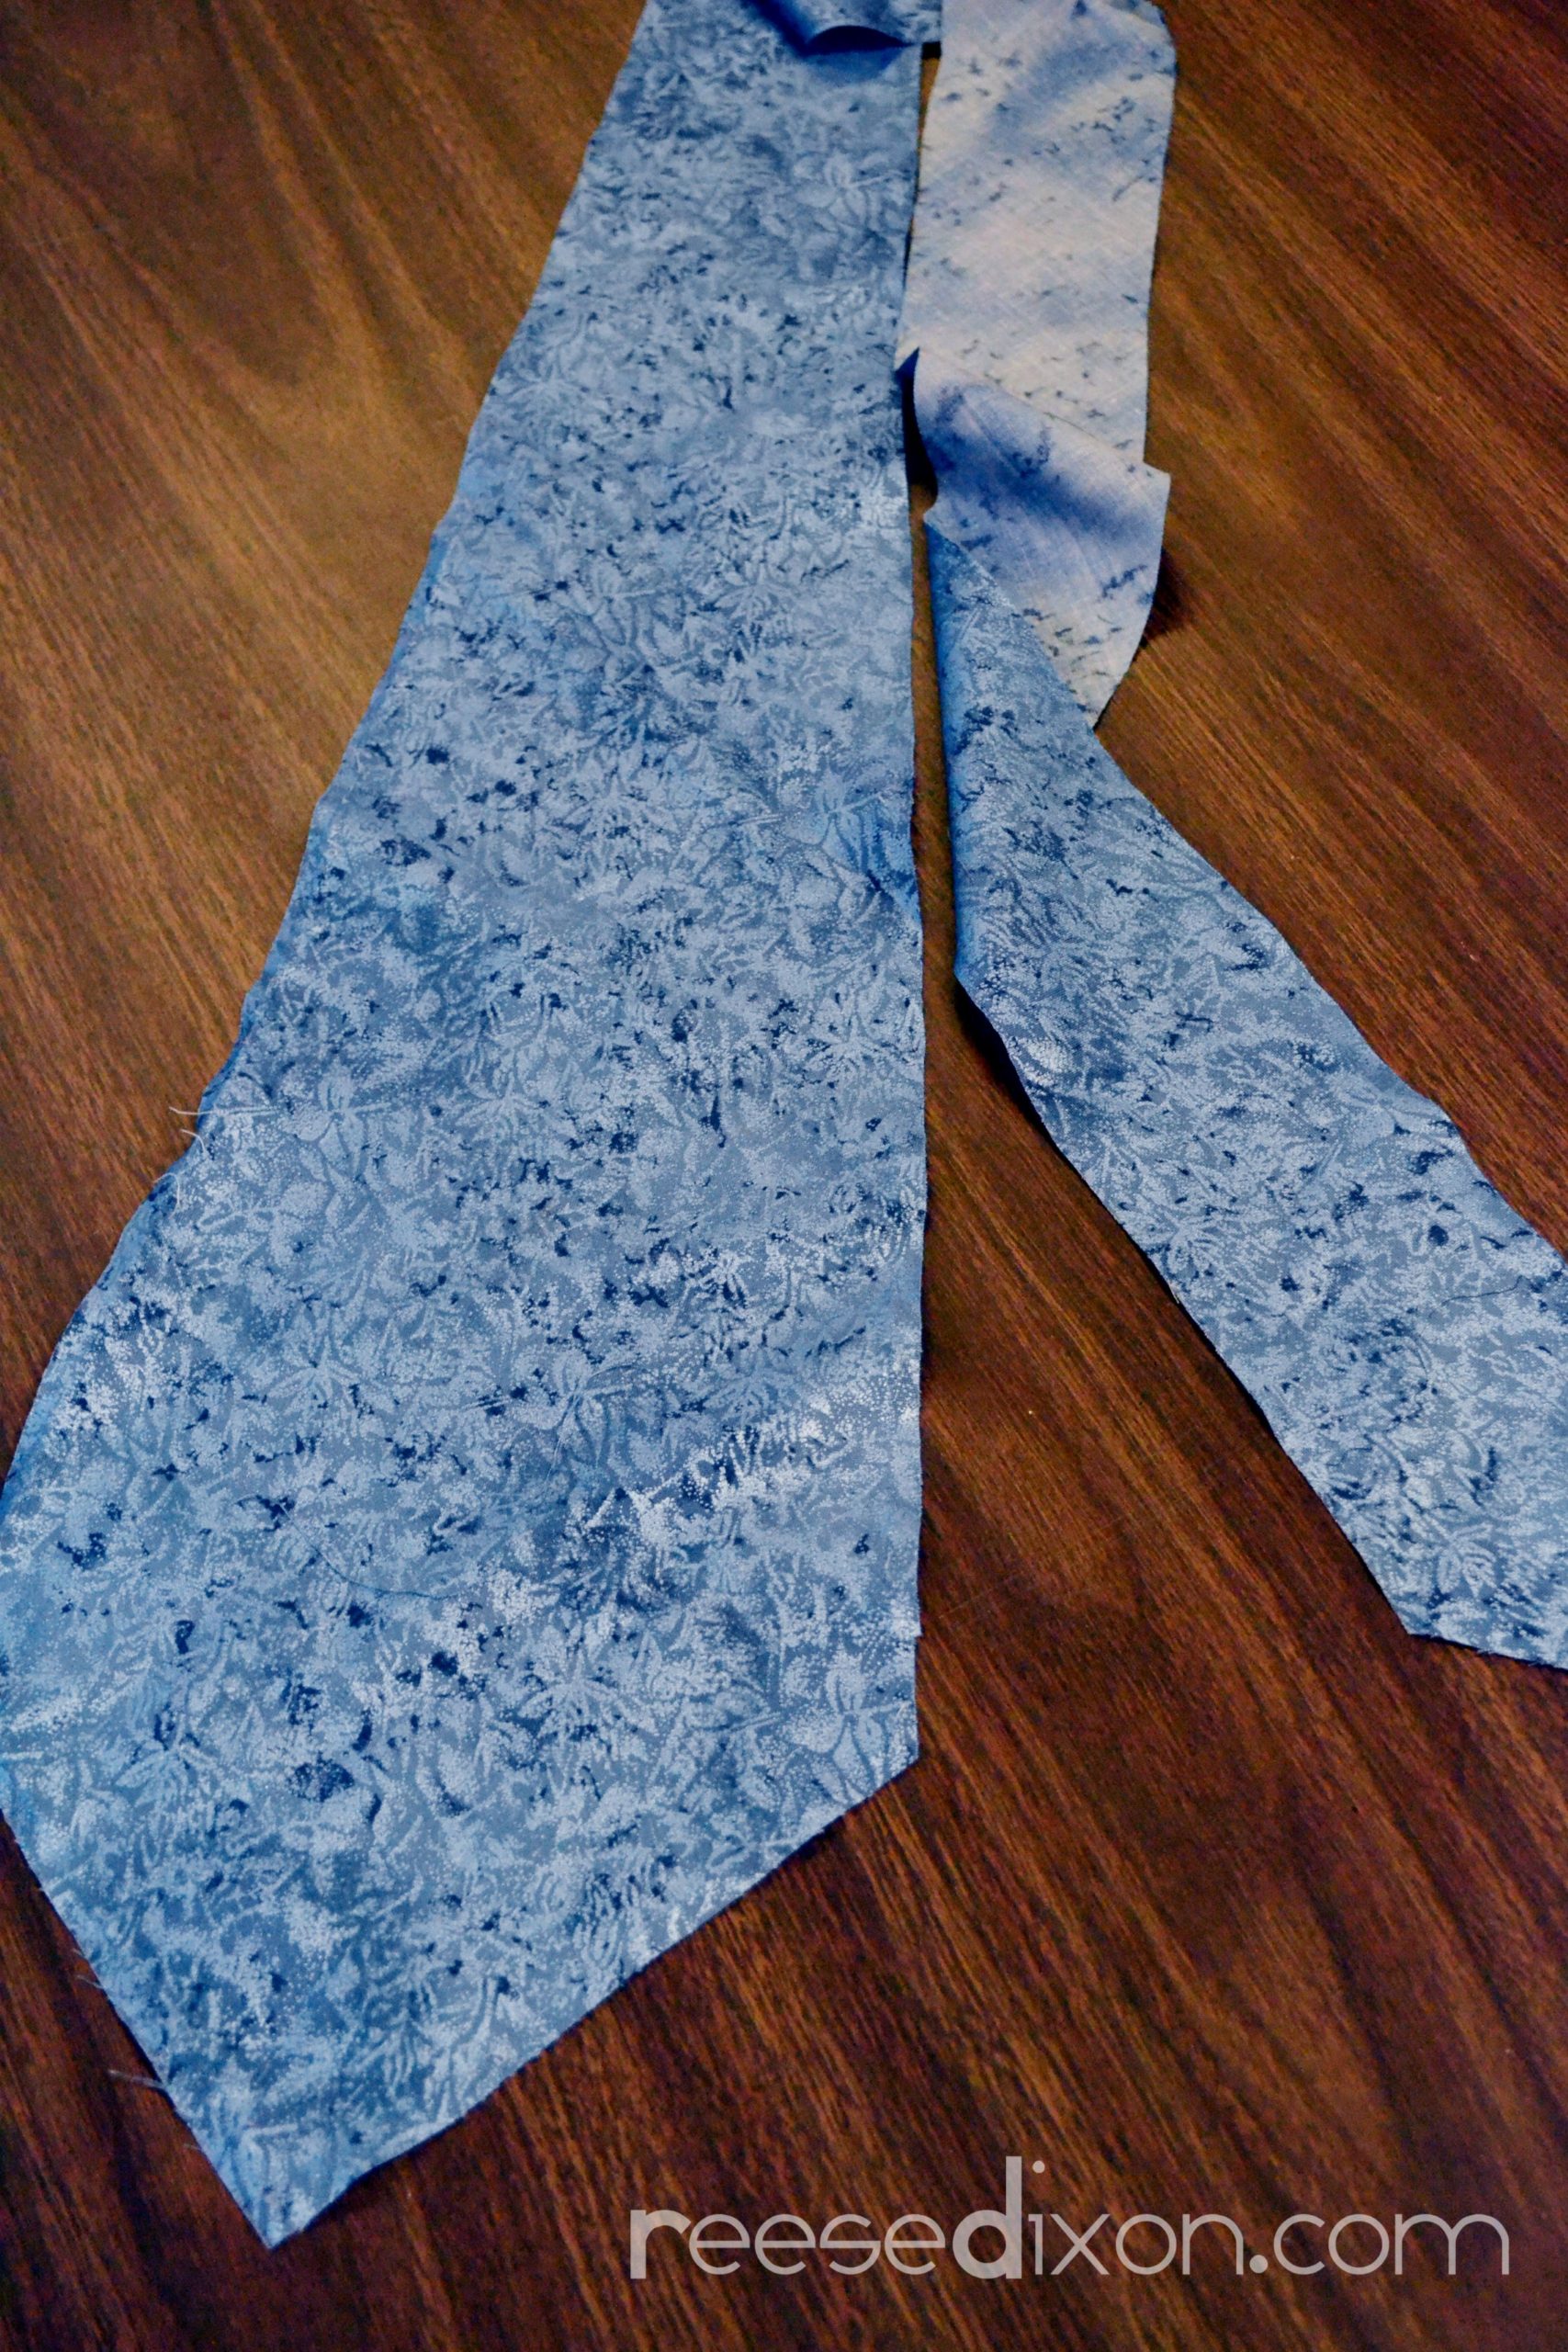
Cut one piece out of a lining fabric, and one piece out of a plain fabric suitable to be your canvas, piecing as necessary to get the length you need.
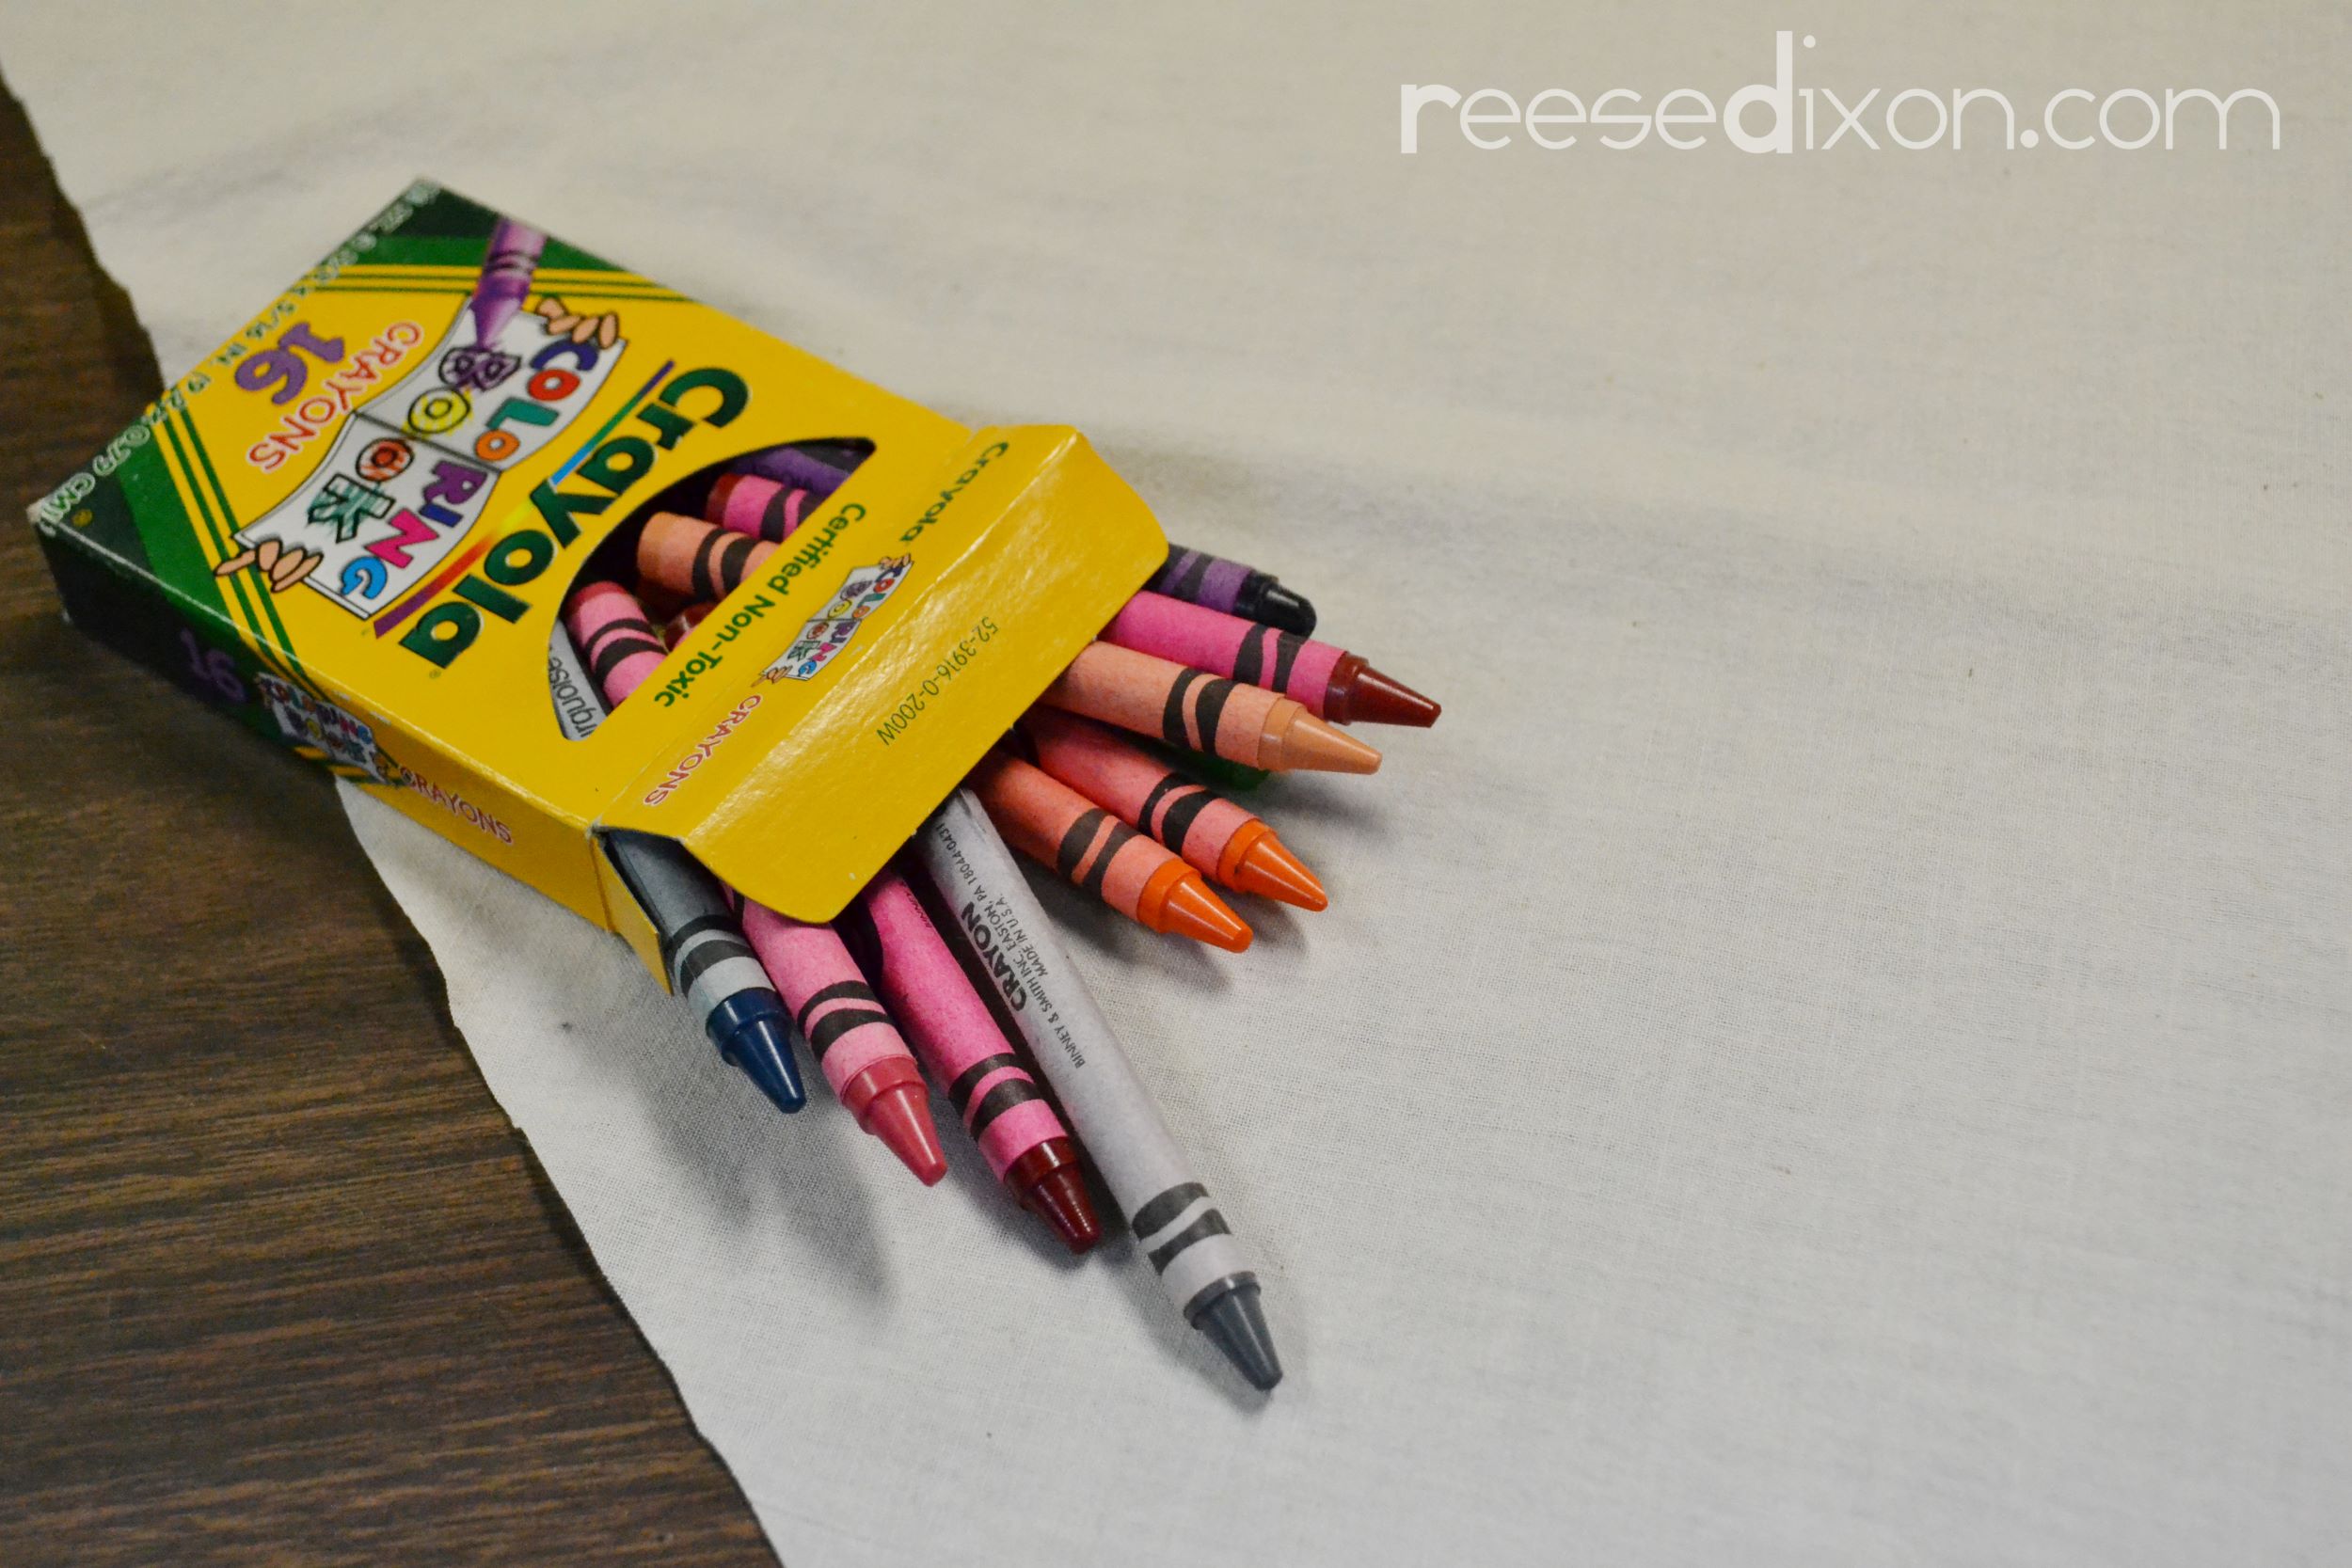
Decorate your main fabric. I used regular old wax crayons because Atti knows how to use them and they’re cheap, but you can use all kinds of things that are specially made for fabric decorating. I used an unbleached muslin as my main fabric so Atti could color his heart out and it would look great. If you use wax crayons you’ll need to heat set them so they don’t wash out or melt off. Place a rag or piece of paper on top of the coloring and then iron it with a dry iron. The wax will melt and be absorbed into the press cloth and leave the pigment behind.
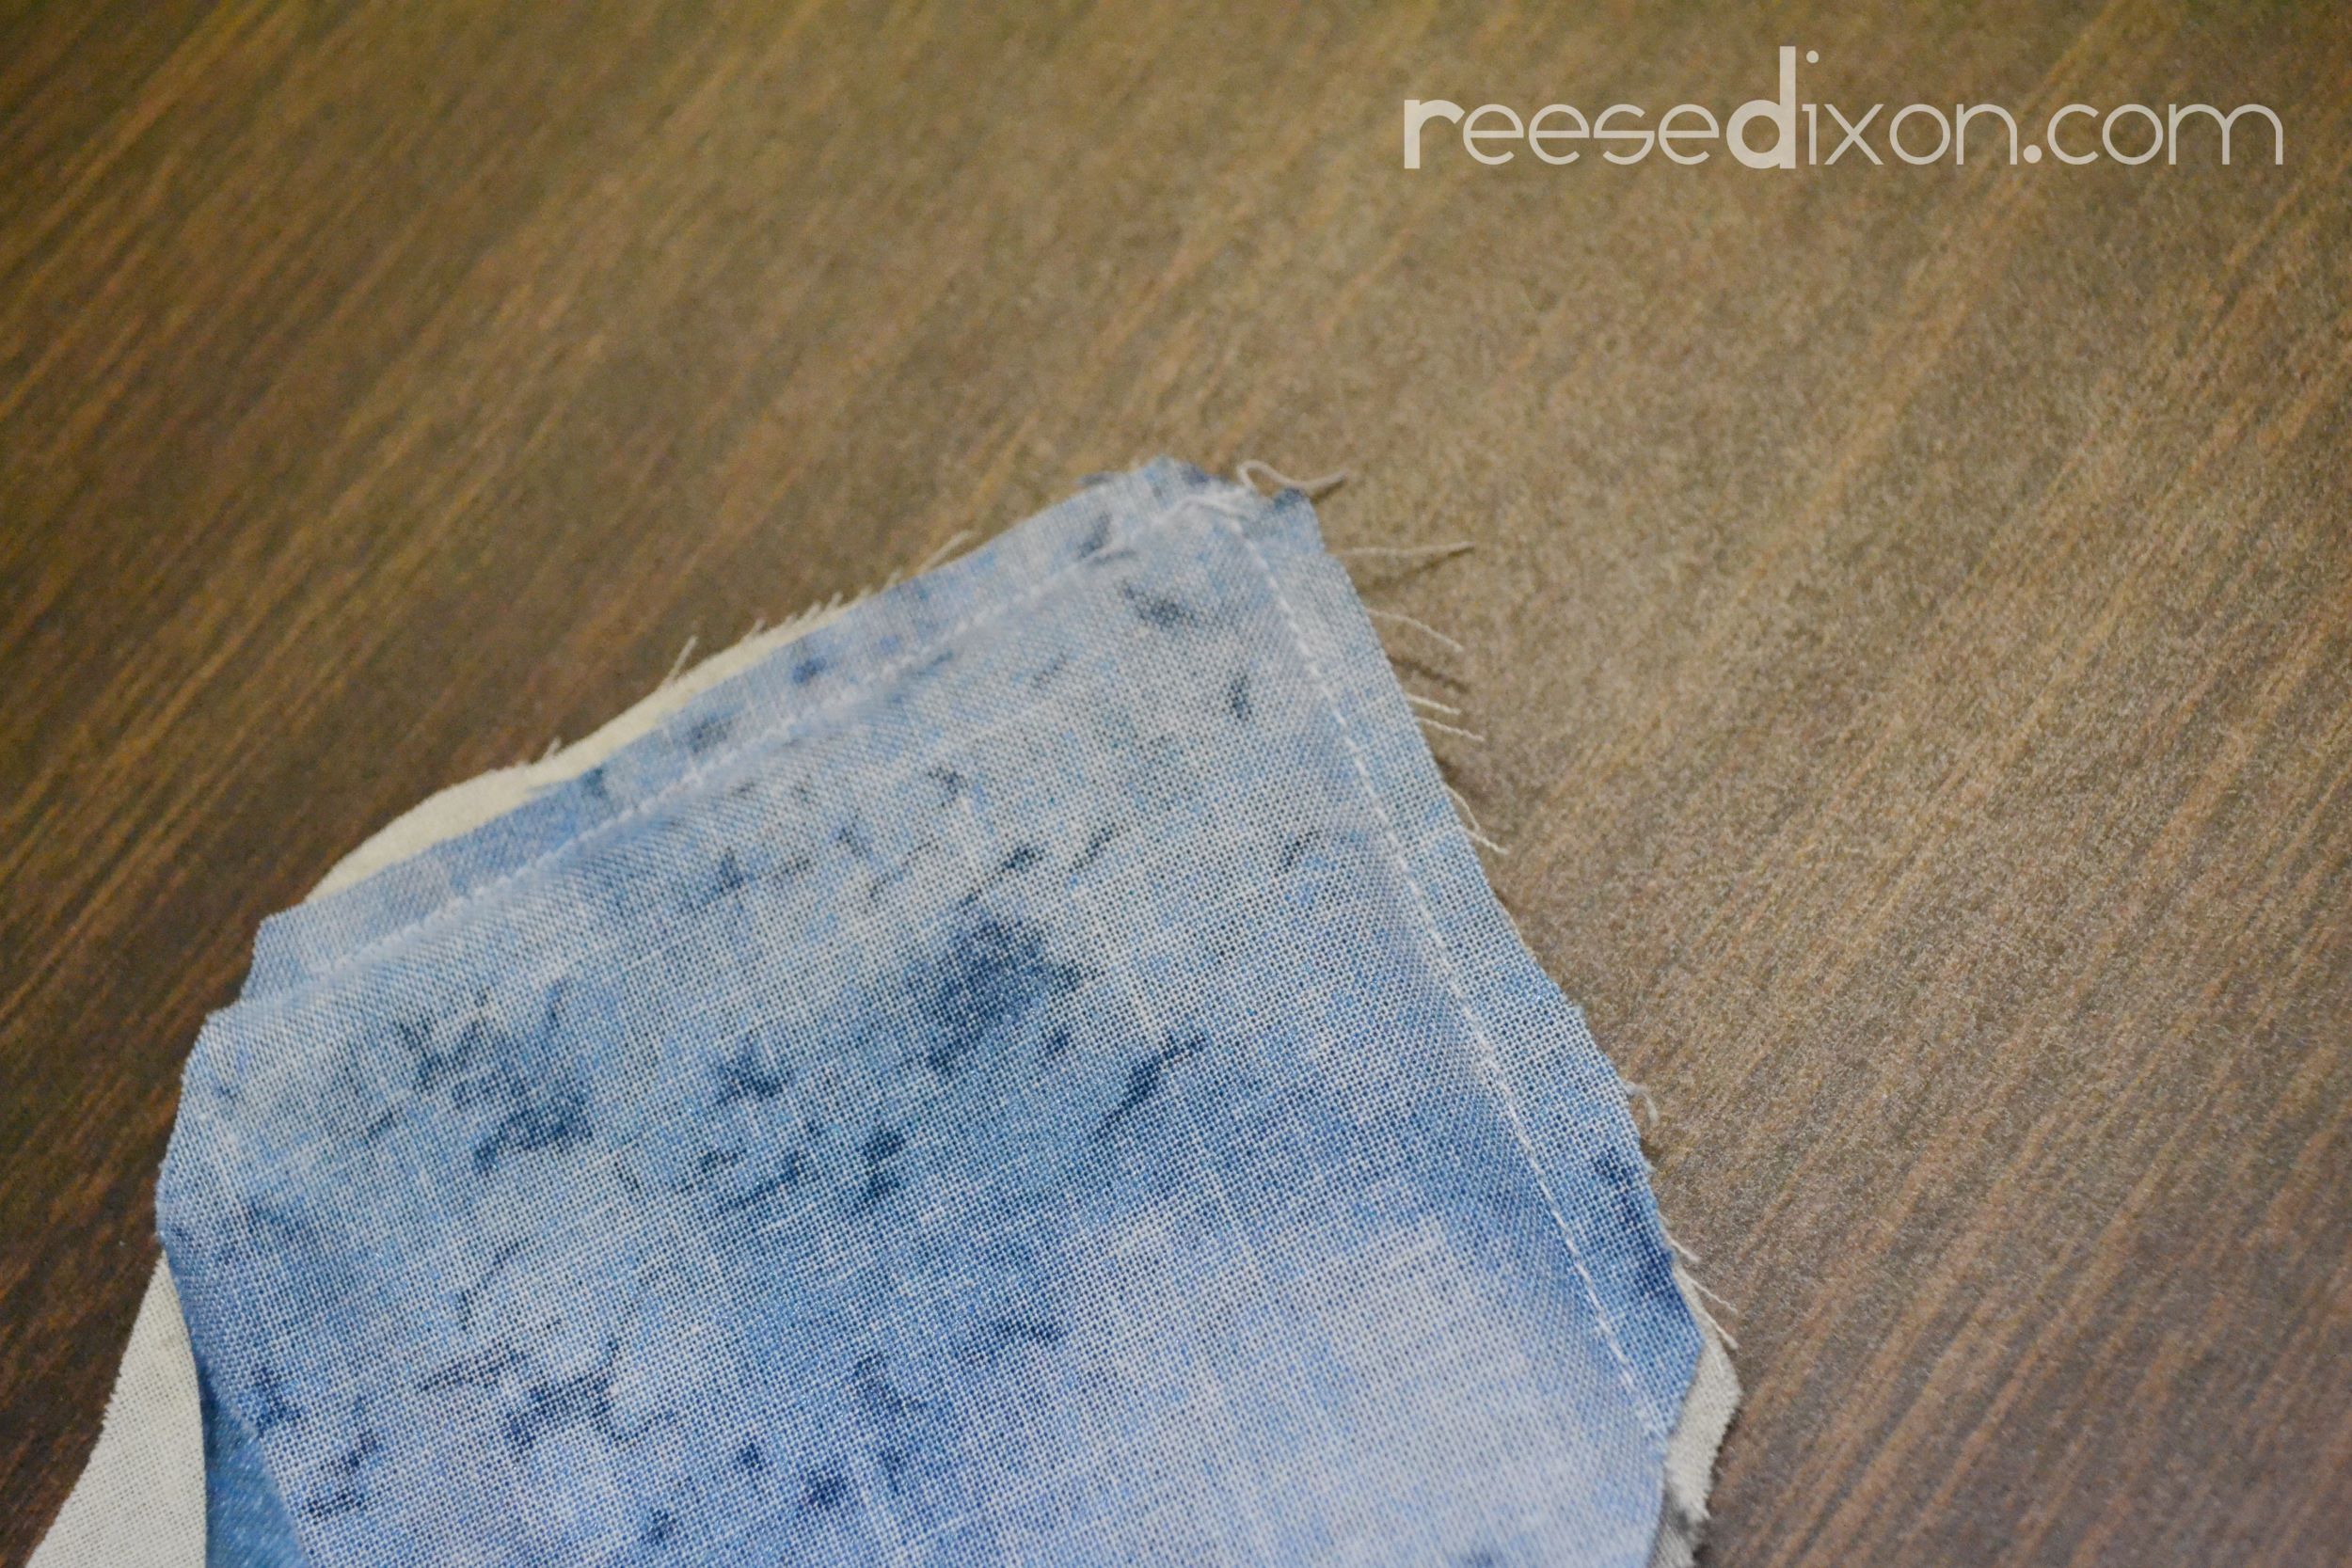
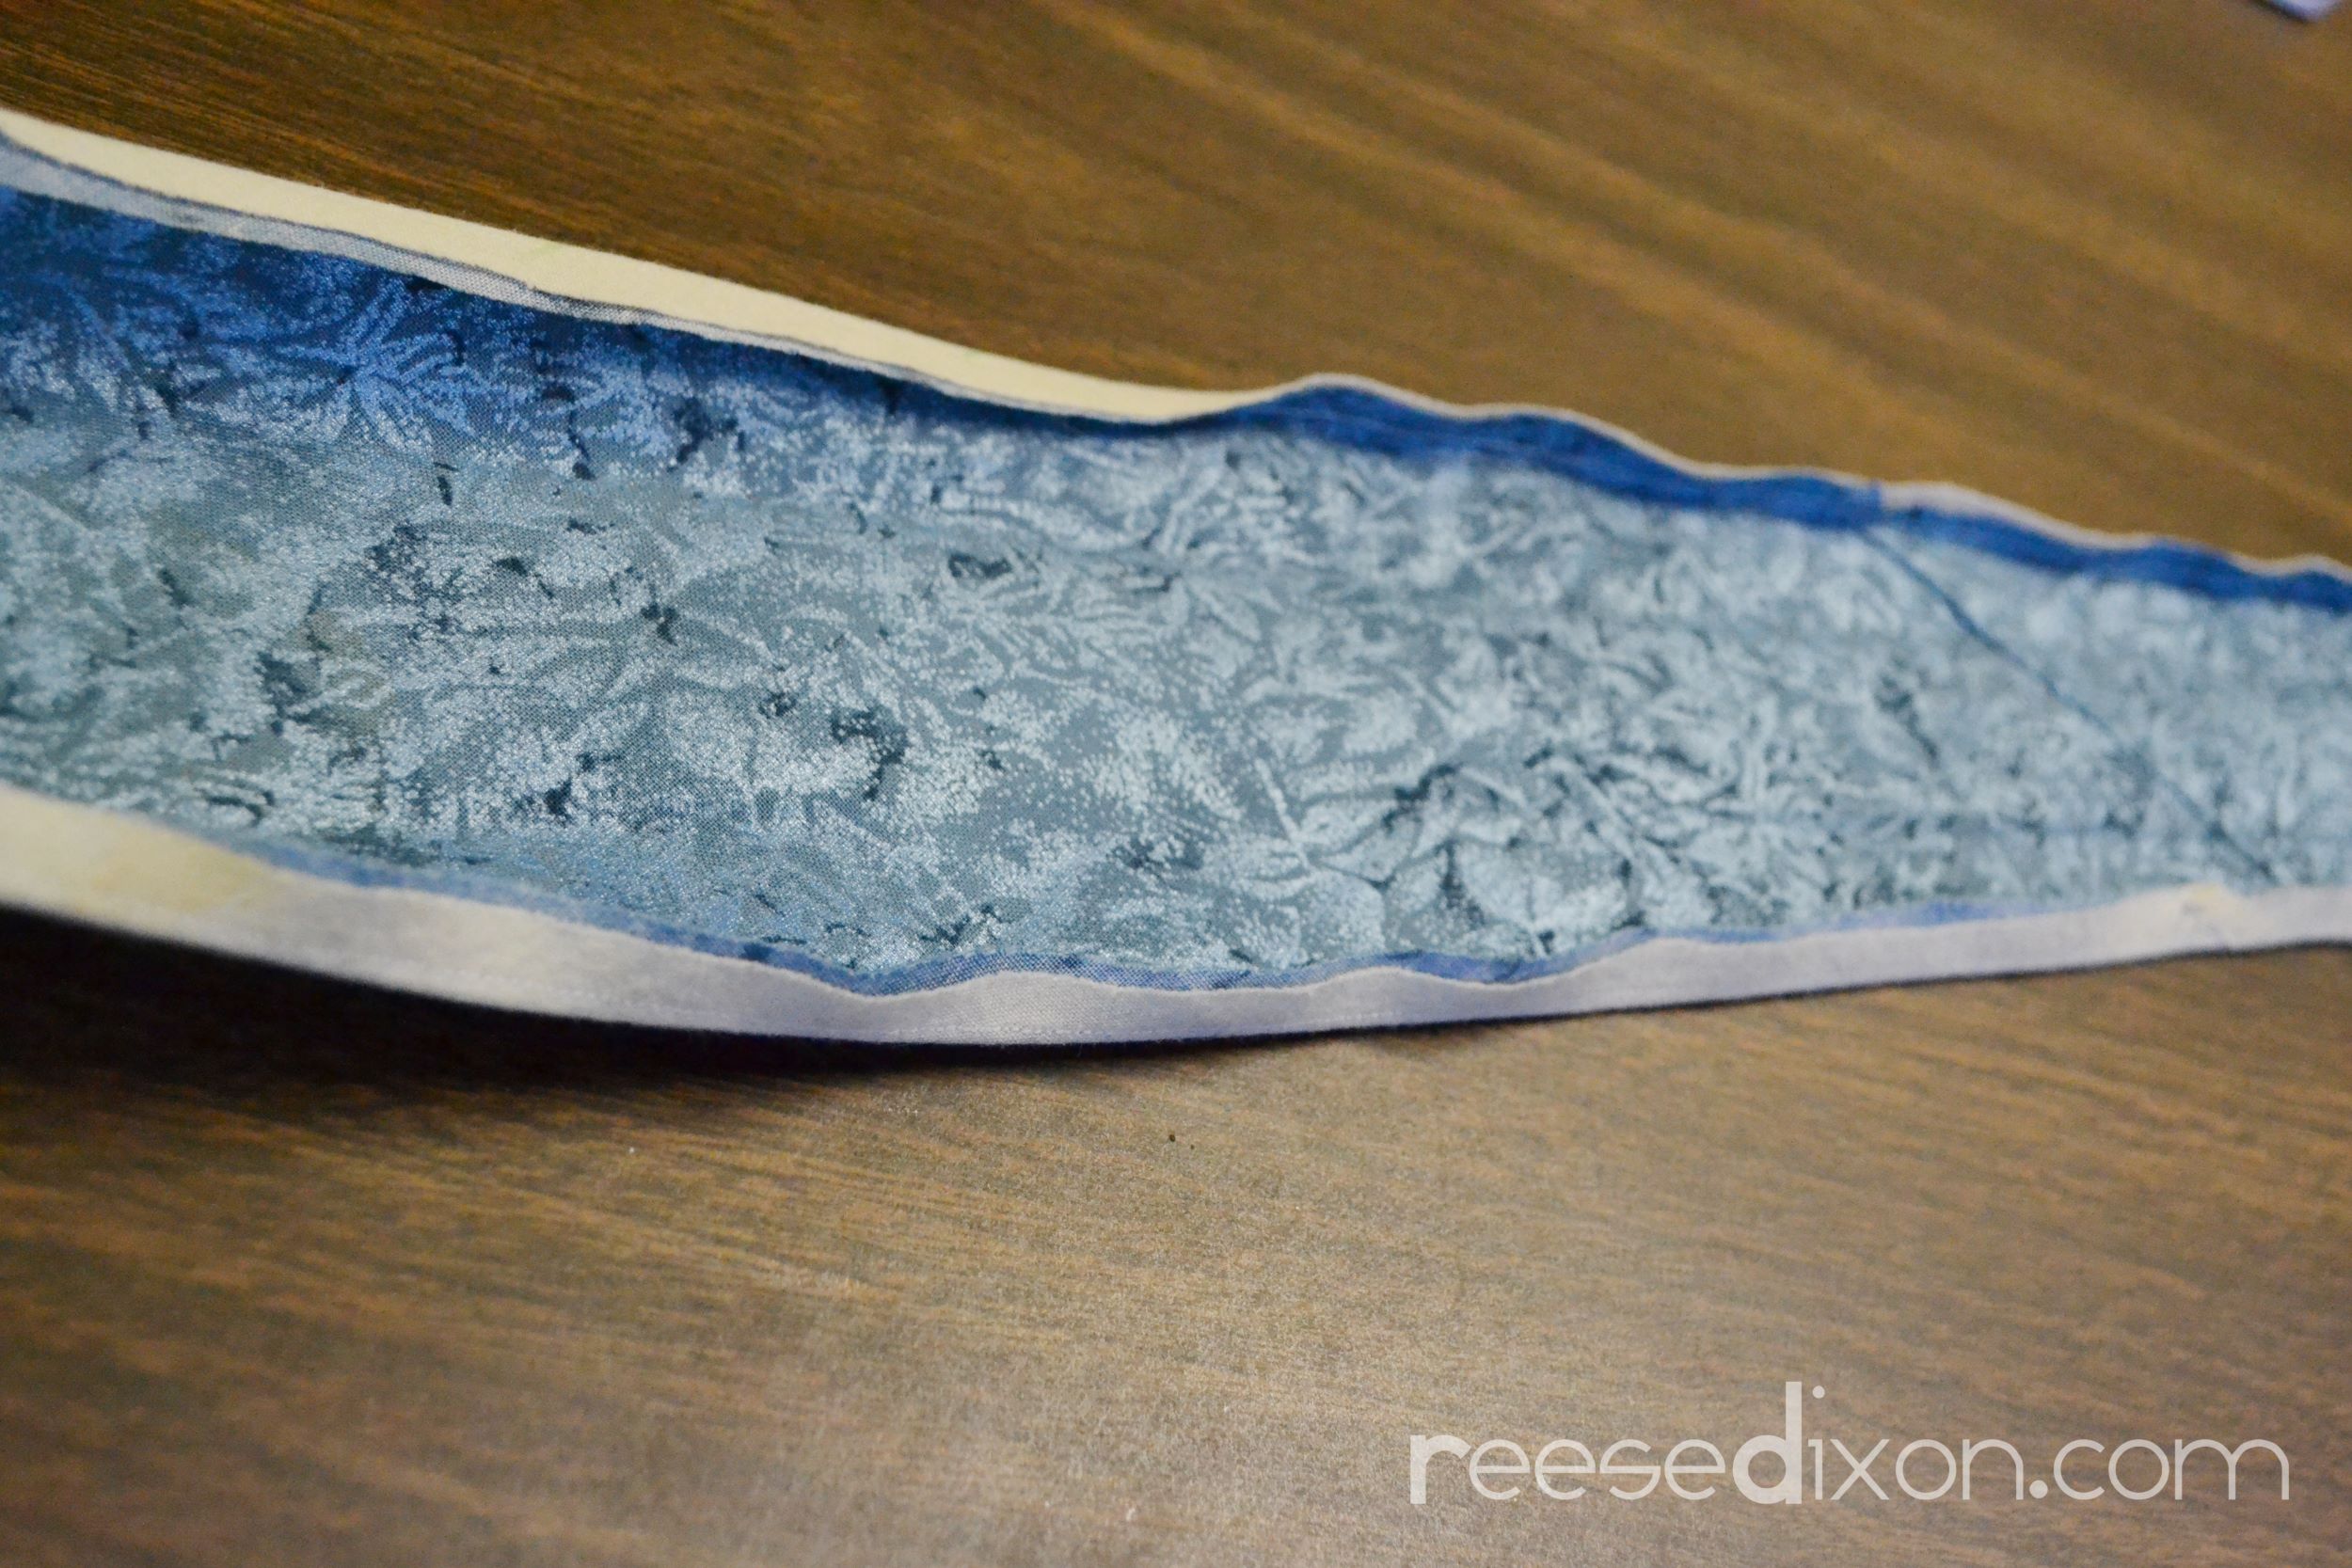
With your design finished it’s time to assemble the tie. Lay the front and lining fabrics on top of each other, right sides together, and sew the points of each end. Cut the tip of the seam allowance off for easy turning.
Turn the tie right side out and iron the points. Take the interfacing you saved and center it between the front and the lining fabrics, using a fusible web or adhesive spray if you need to. Pin the sides together and sew them closed down the whole length of the tie. Don’t fold the edges in, leave the raw parts out.
Fold the edges towards the lining, using your seam line as a guide. Iron in place.
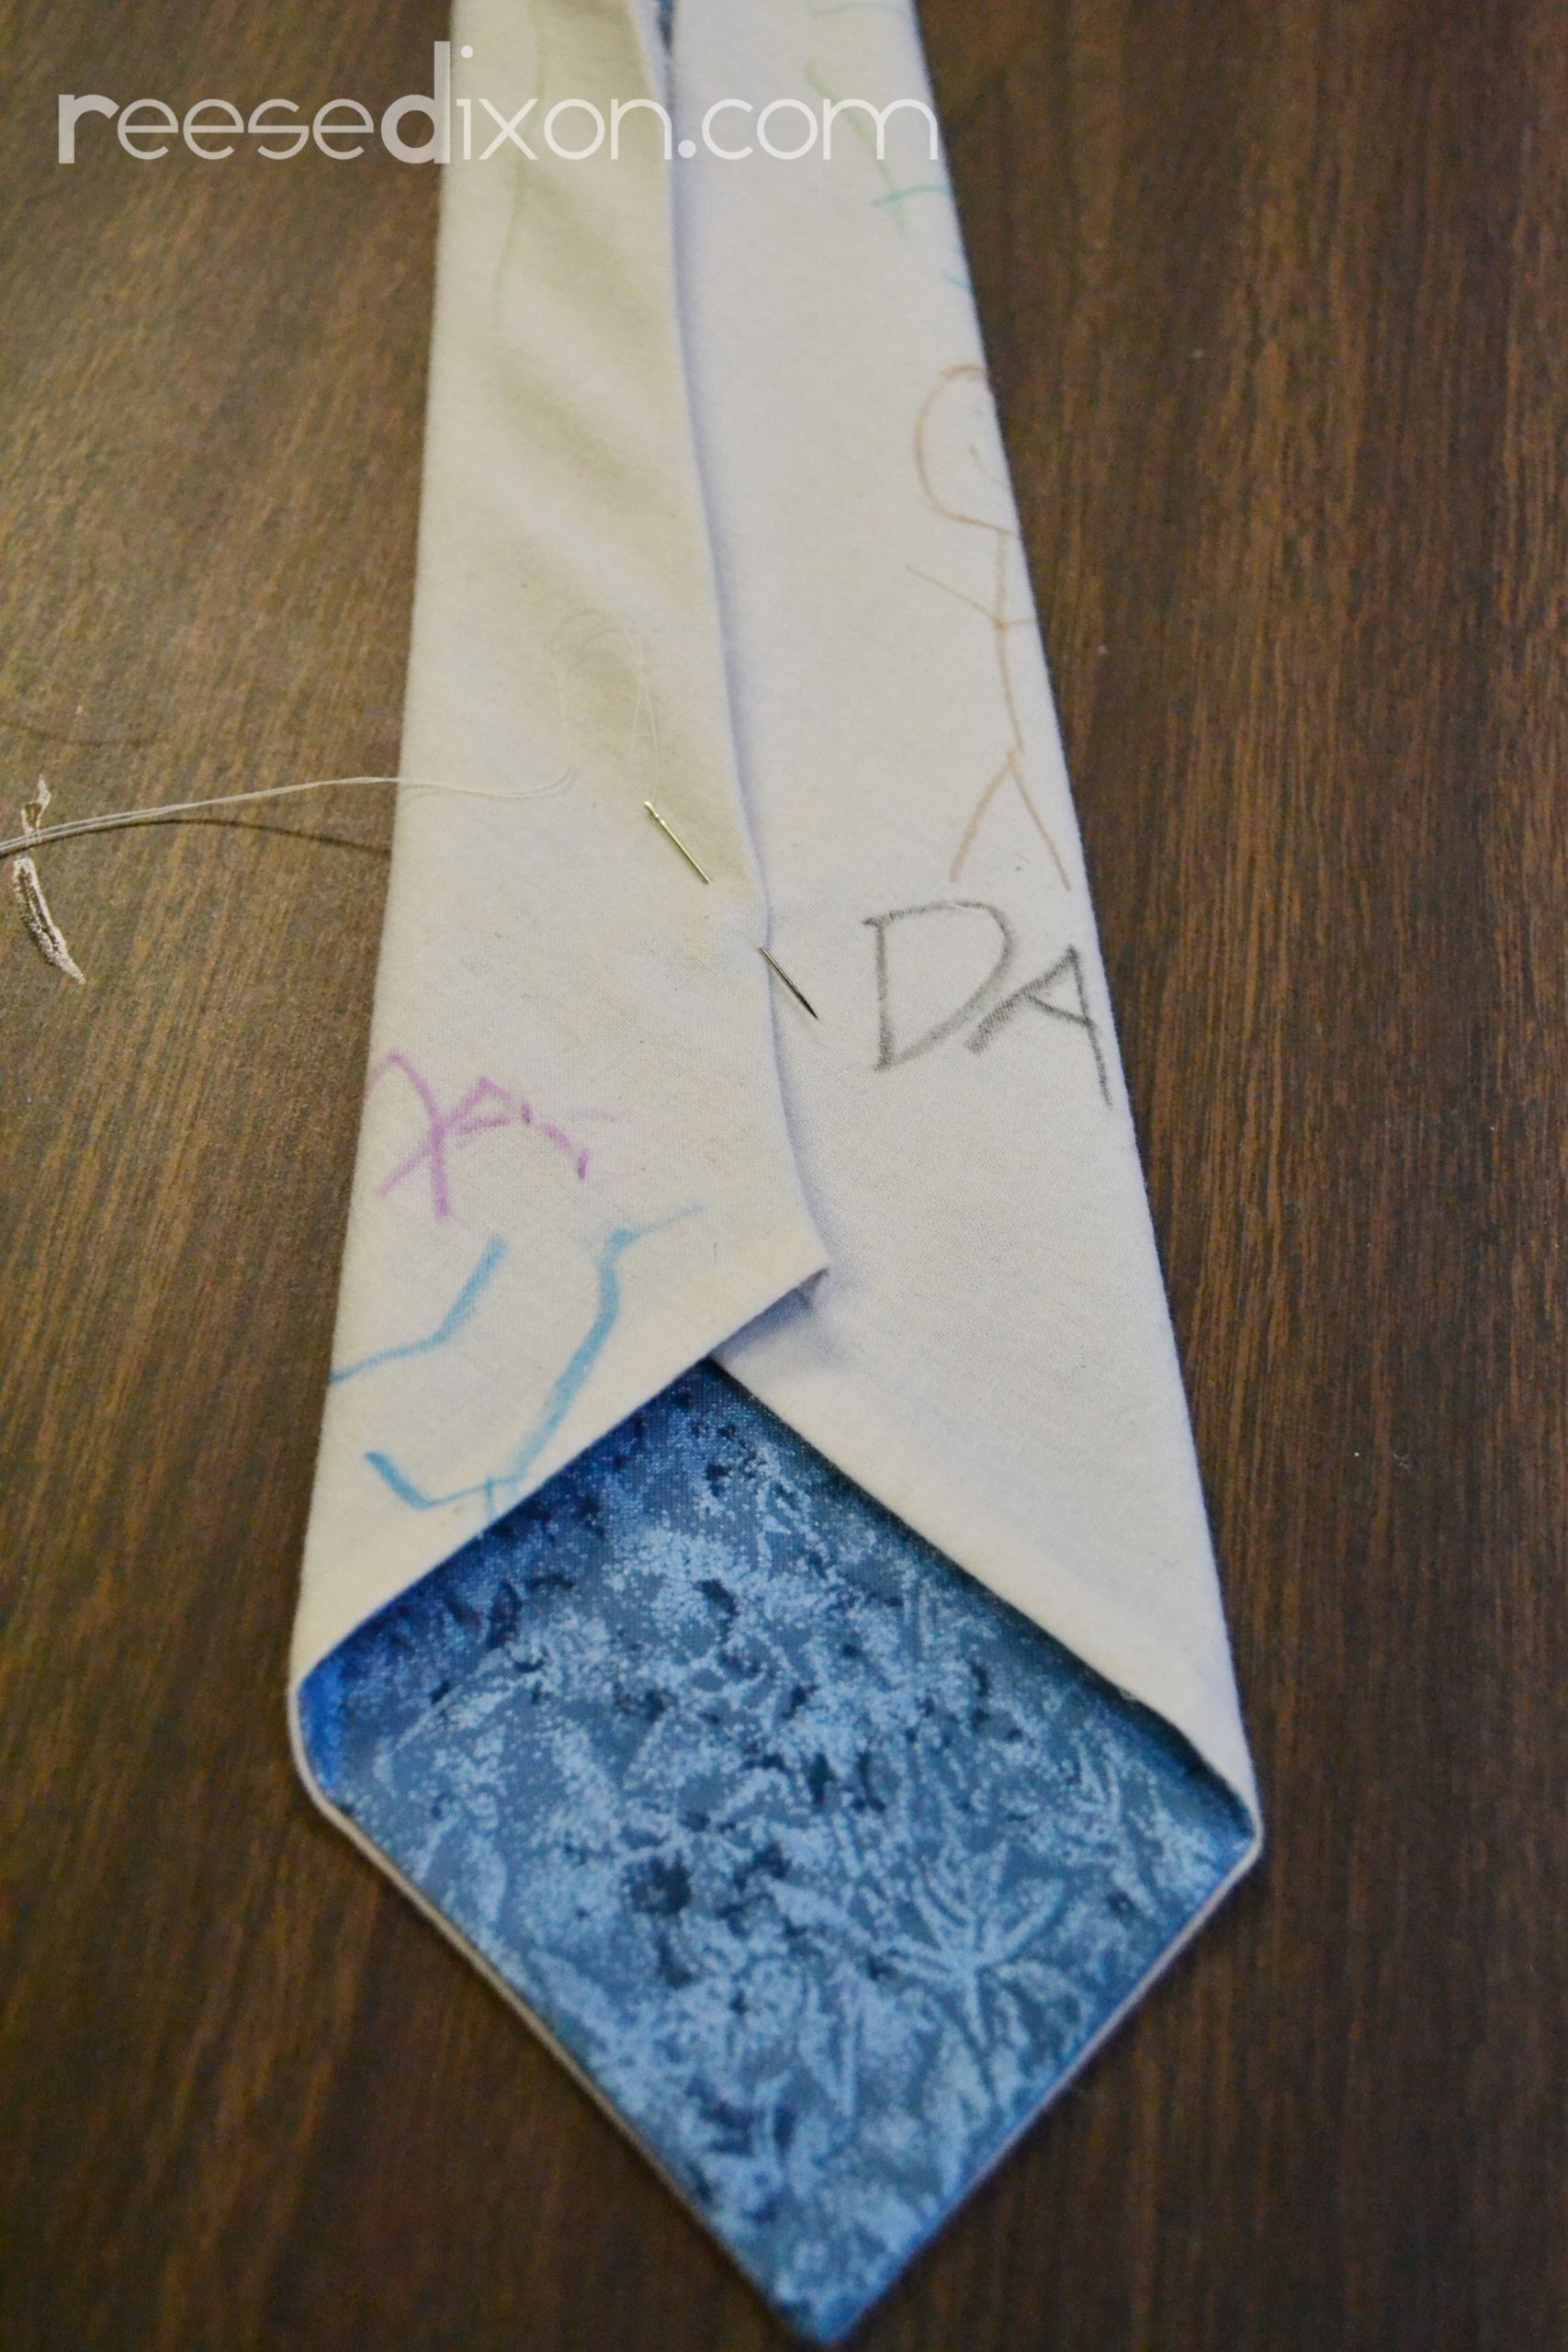
Using your interfacing as a guide, fold the edges towards the center to make your final tie shape. Use a needle and thread to sew the tie closed.
We obviously colored this together, Atti’s not exactly to the “drawing people in wheelchairs” stage of his artistic development, but the letters are all his own. I’ll be giving this to Bear next week as his birthday present, and I predict tears!