

Lion Brand issued me a challenge. Come up with a project using their new BonBons line of products, and make it something that other people would want to make for themselves. The first part wasn’t even a question. New yarn? Um, yeah. Don’t mind if I do. Whether or not anyone else will want to make this is up in the air, but I thought to give myself a fighting chance I’d make something that could utilize everybody’s favorite part of crochet, and the part that most new crocheters have a hard time getting past. The Chain Stitch.
I’ve taught so many crochet classes where every person leaves chaining like blacksmith, but unable to move on to the next row. For this necklace that chaining skill is all you need.
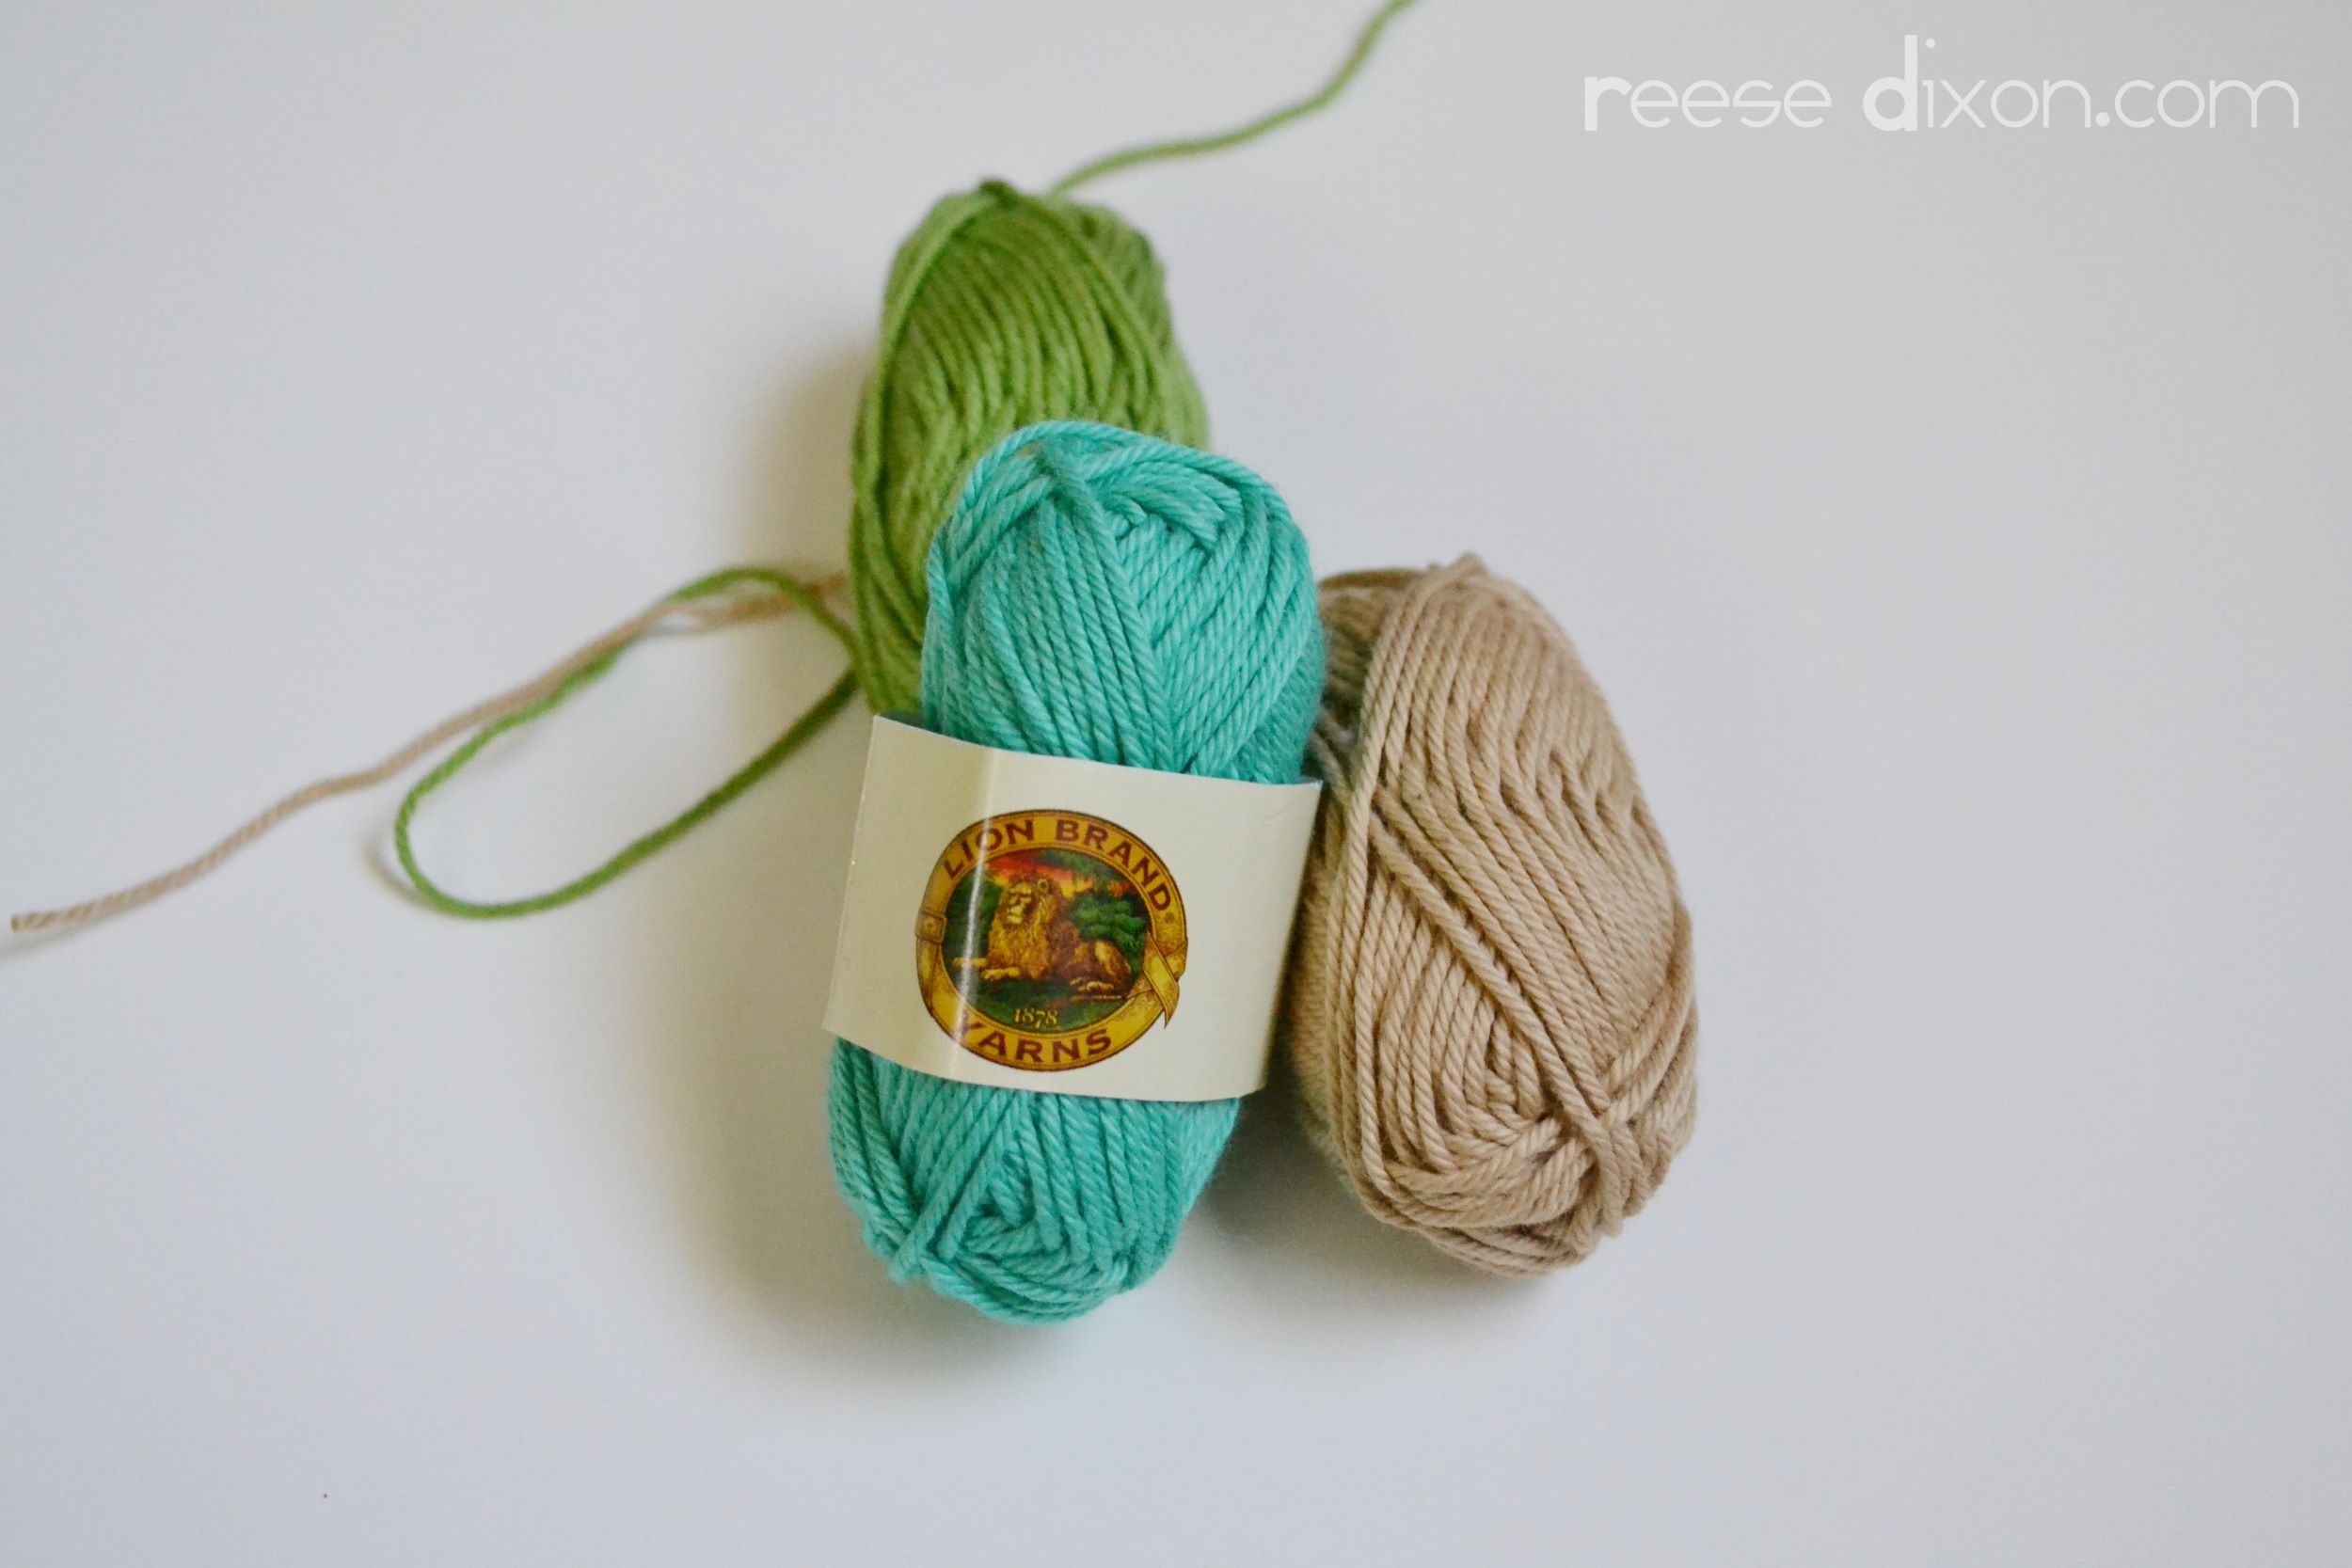
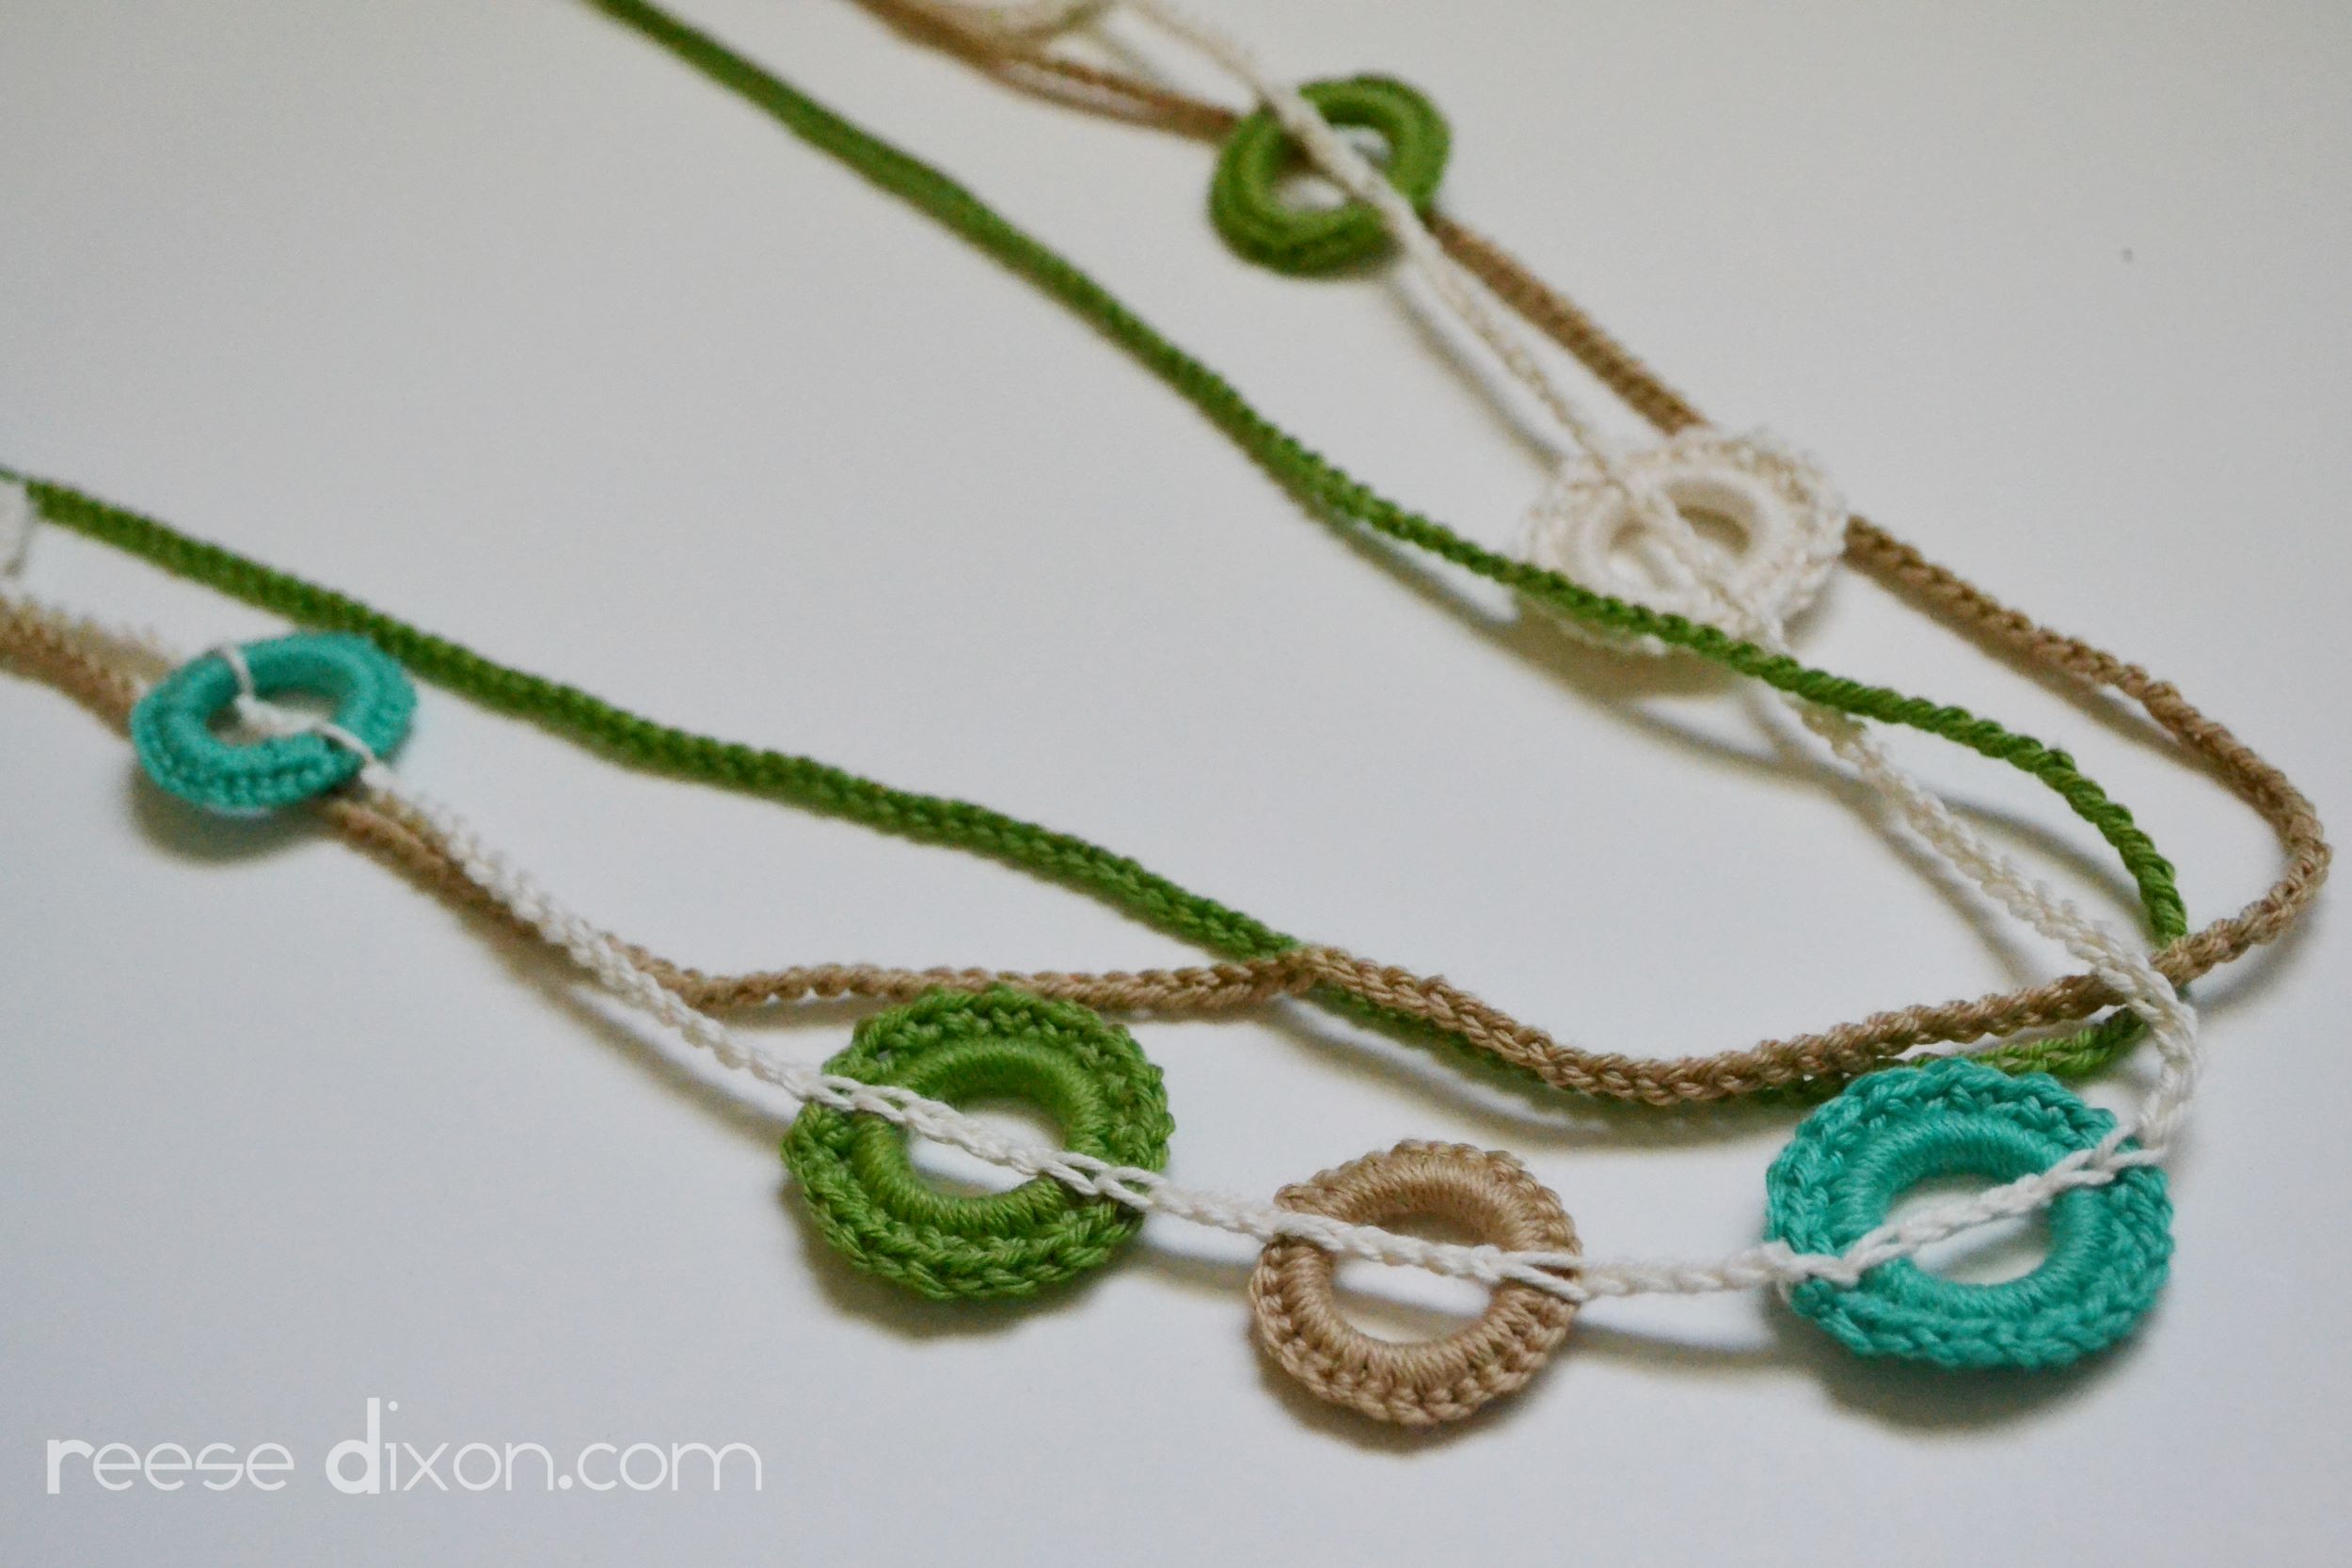
I used a few colors of the cotton Bonbons. They come in acrylic, cotton, and a metallic acrylic that’s sparkly and festive, but I liked the cotton for the quality, and for the weight. These little skeins are so adorable they look like something an American Girl doll would be carting around in a basket.
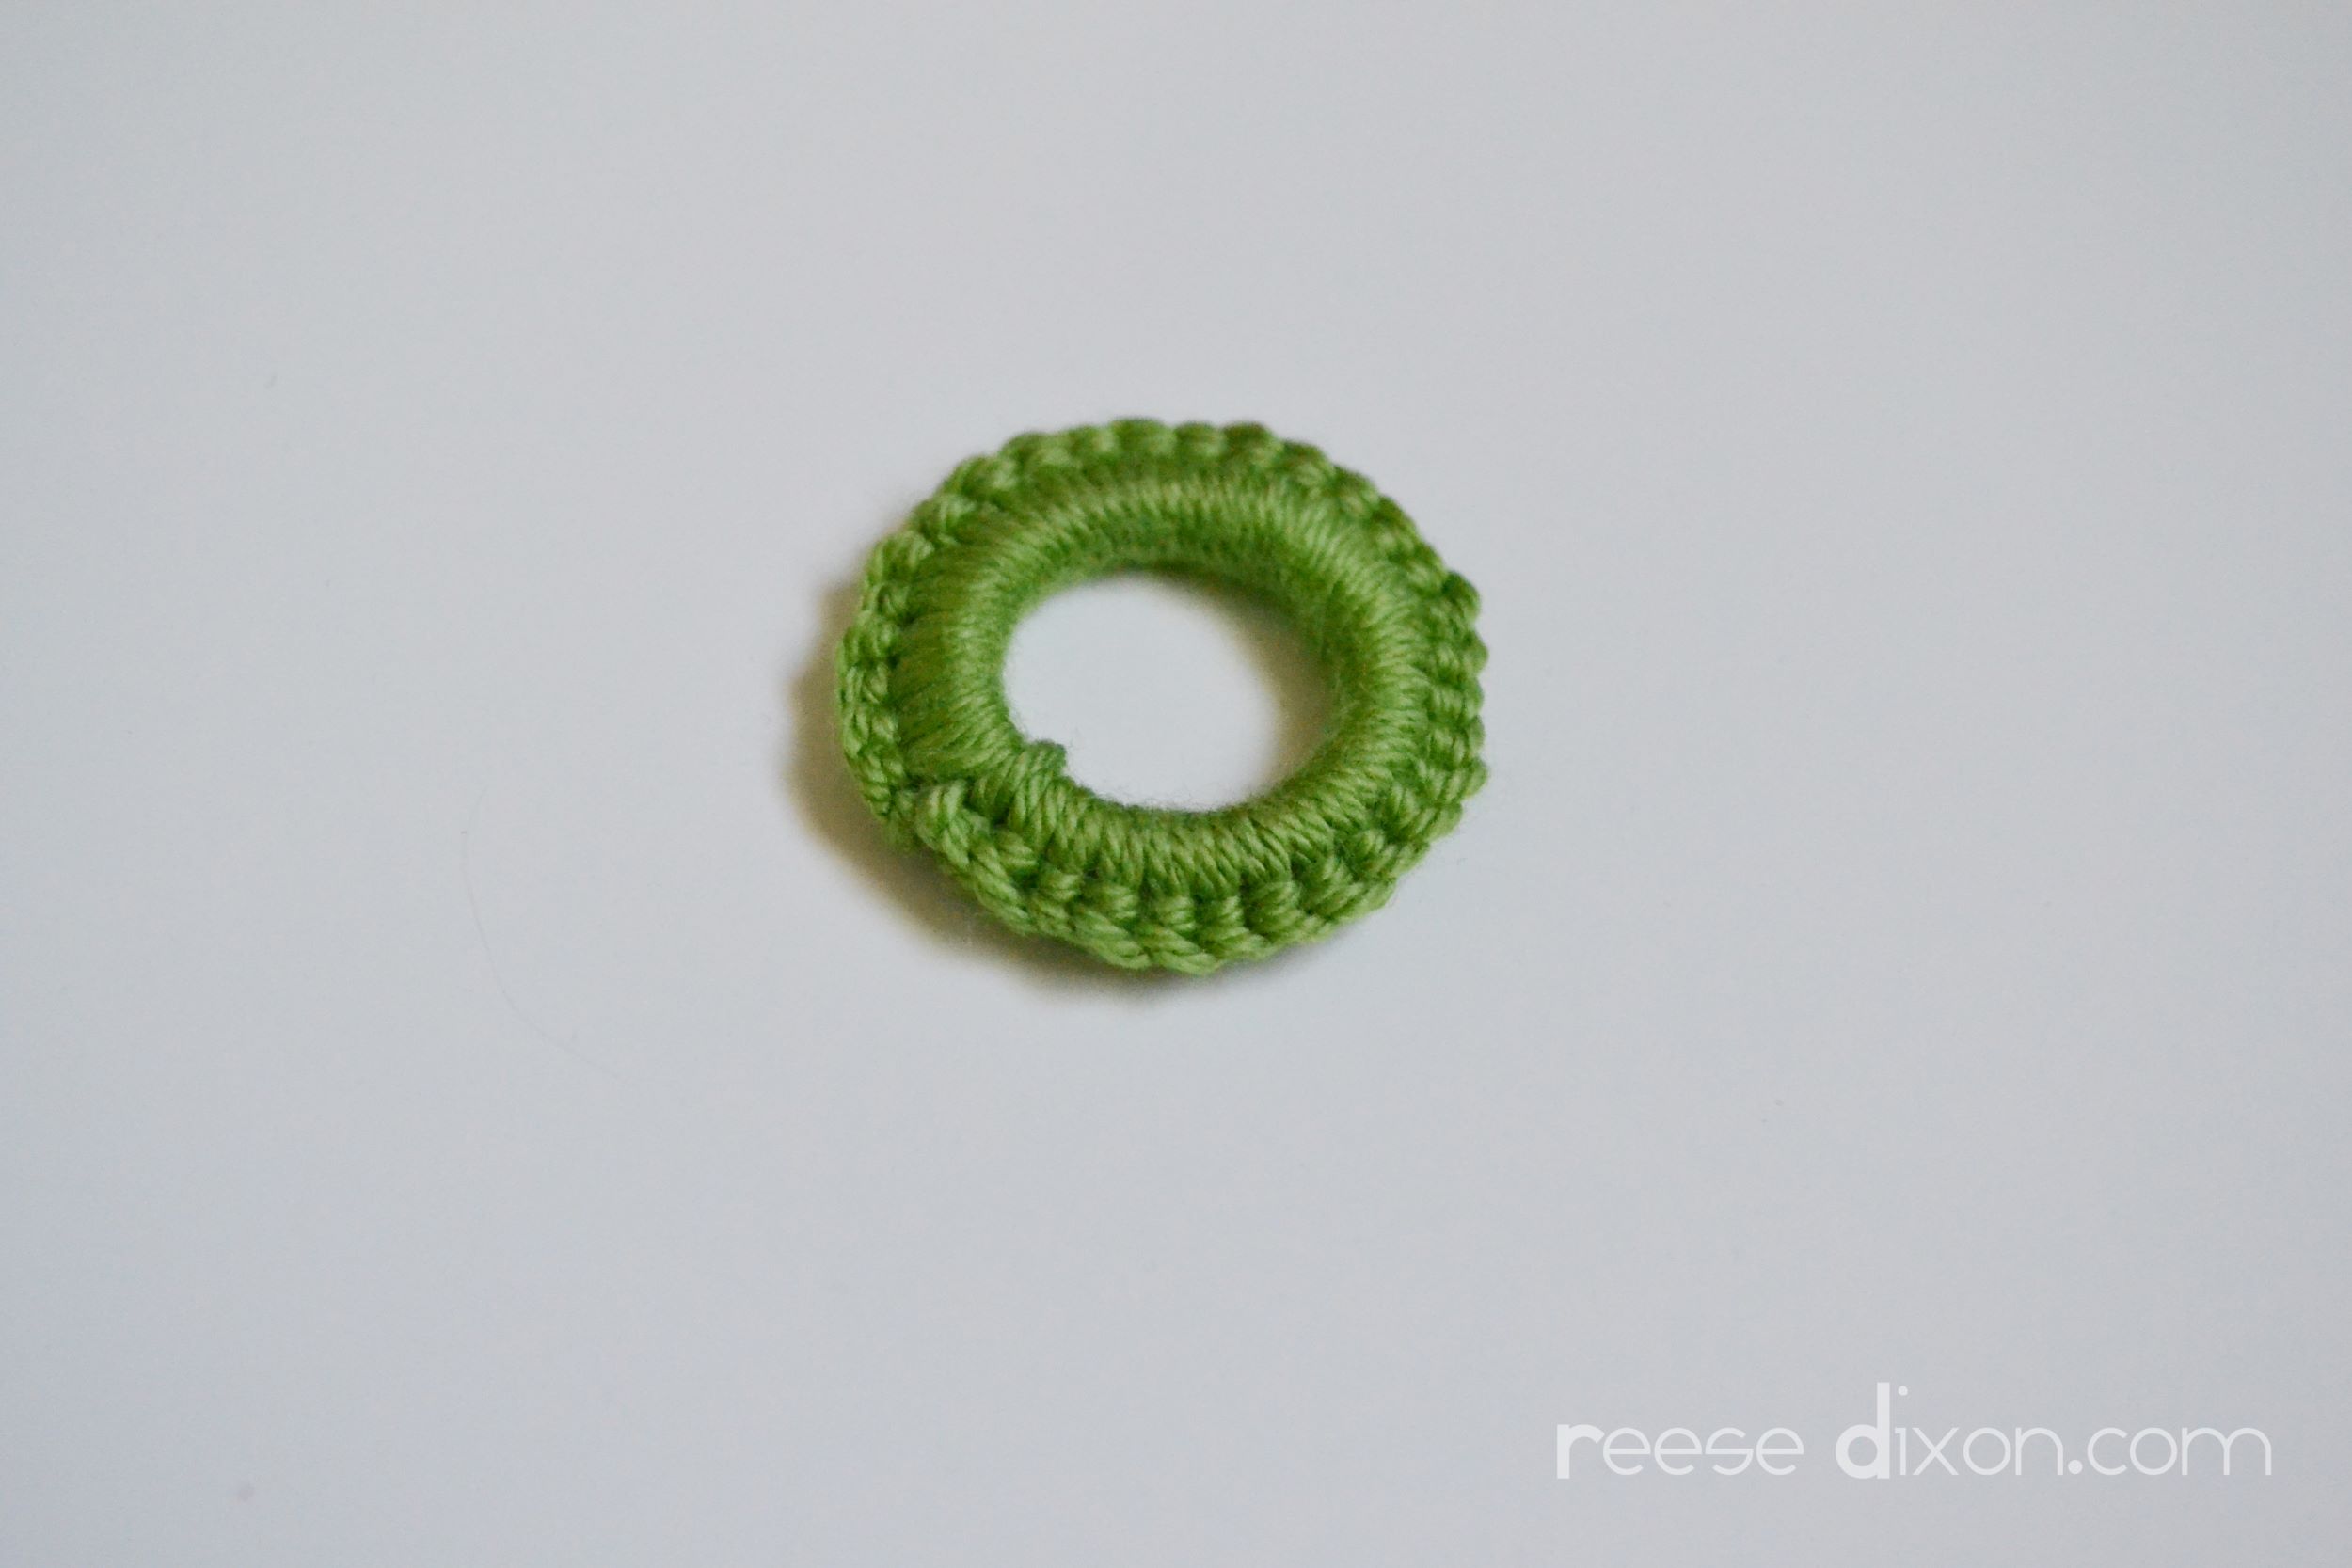
In just about every notions aisle you can find plastic rings. This is the kind of thing you use them for. I single crocheted around the ring, but a chain would work just fine too, and to change things up a little I even went around twice on a couple of them. I wanted my necklace really long, so I used about 12 1 inch rings.
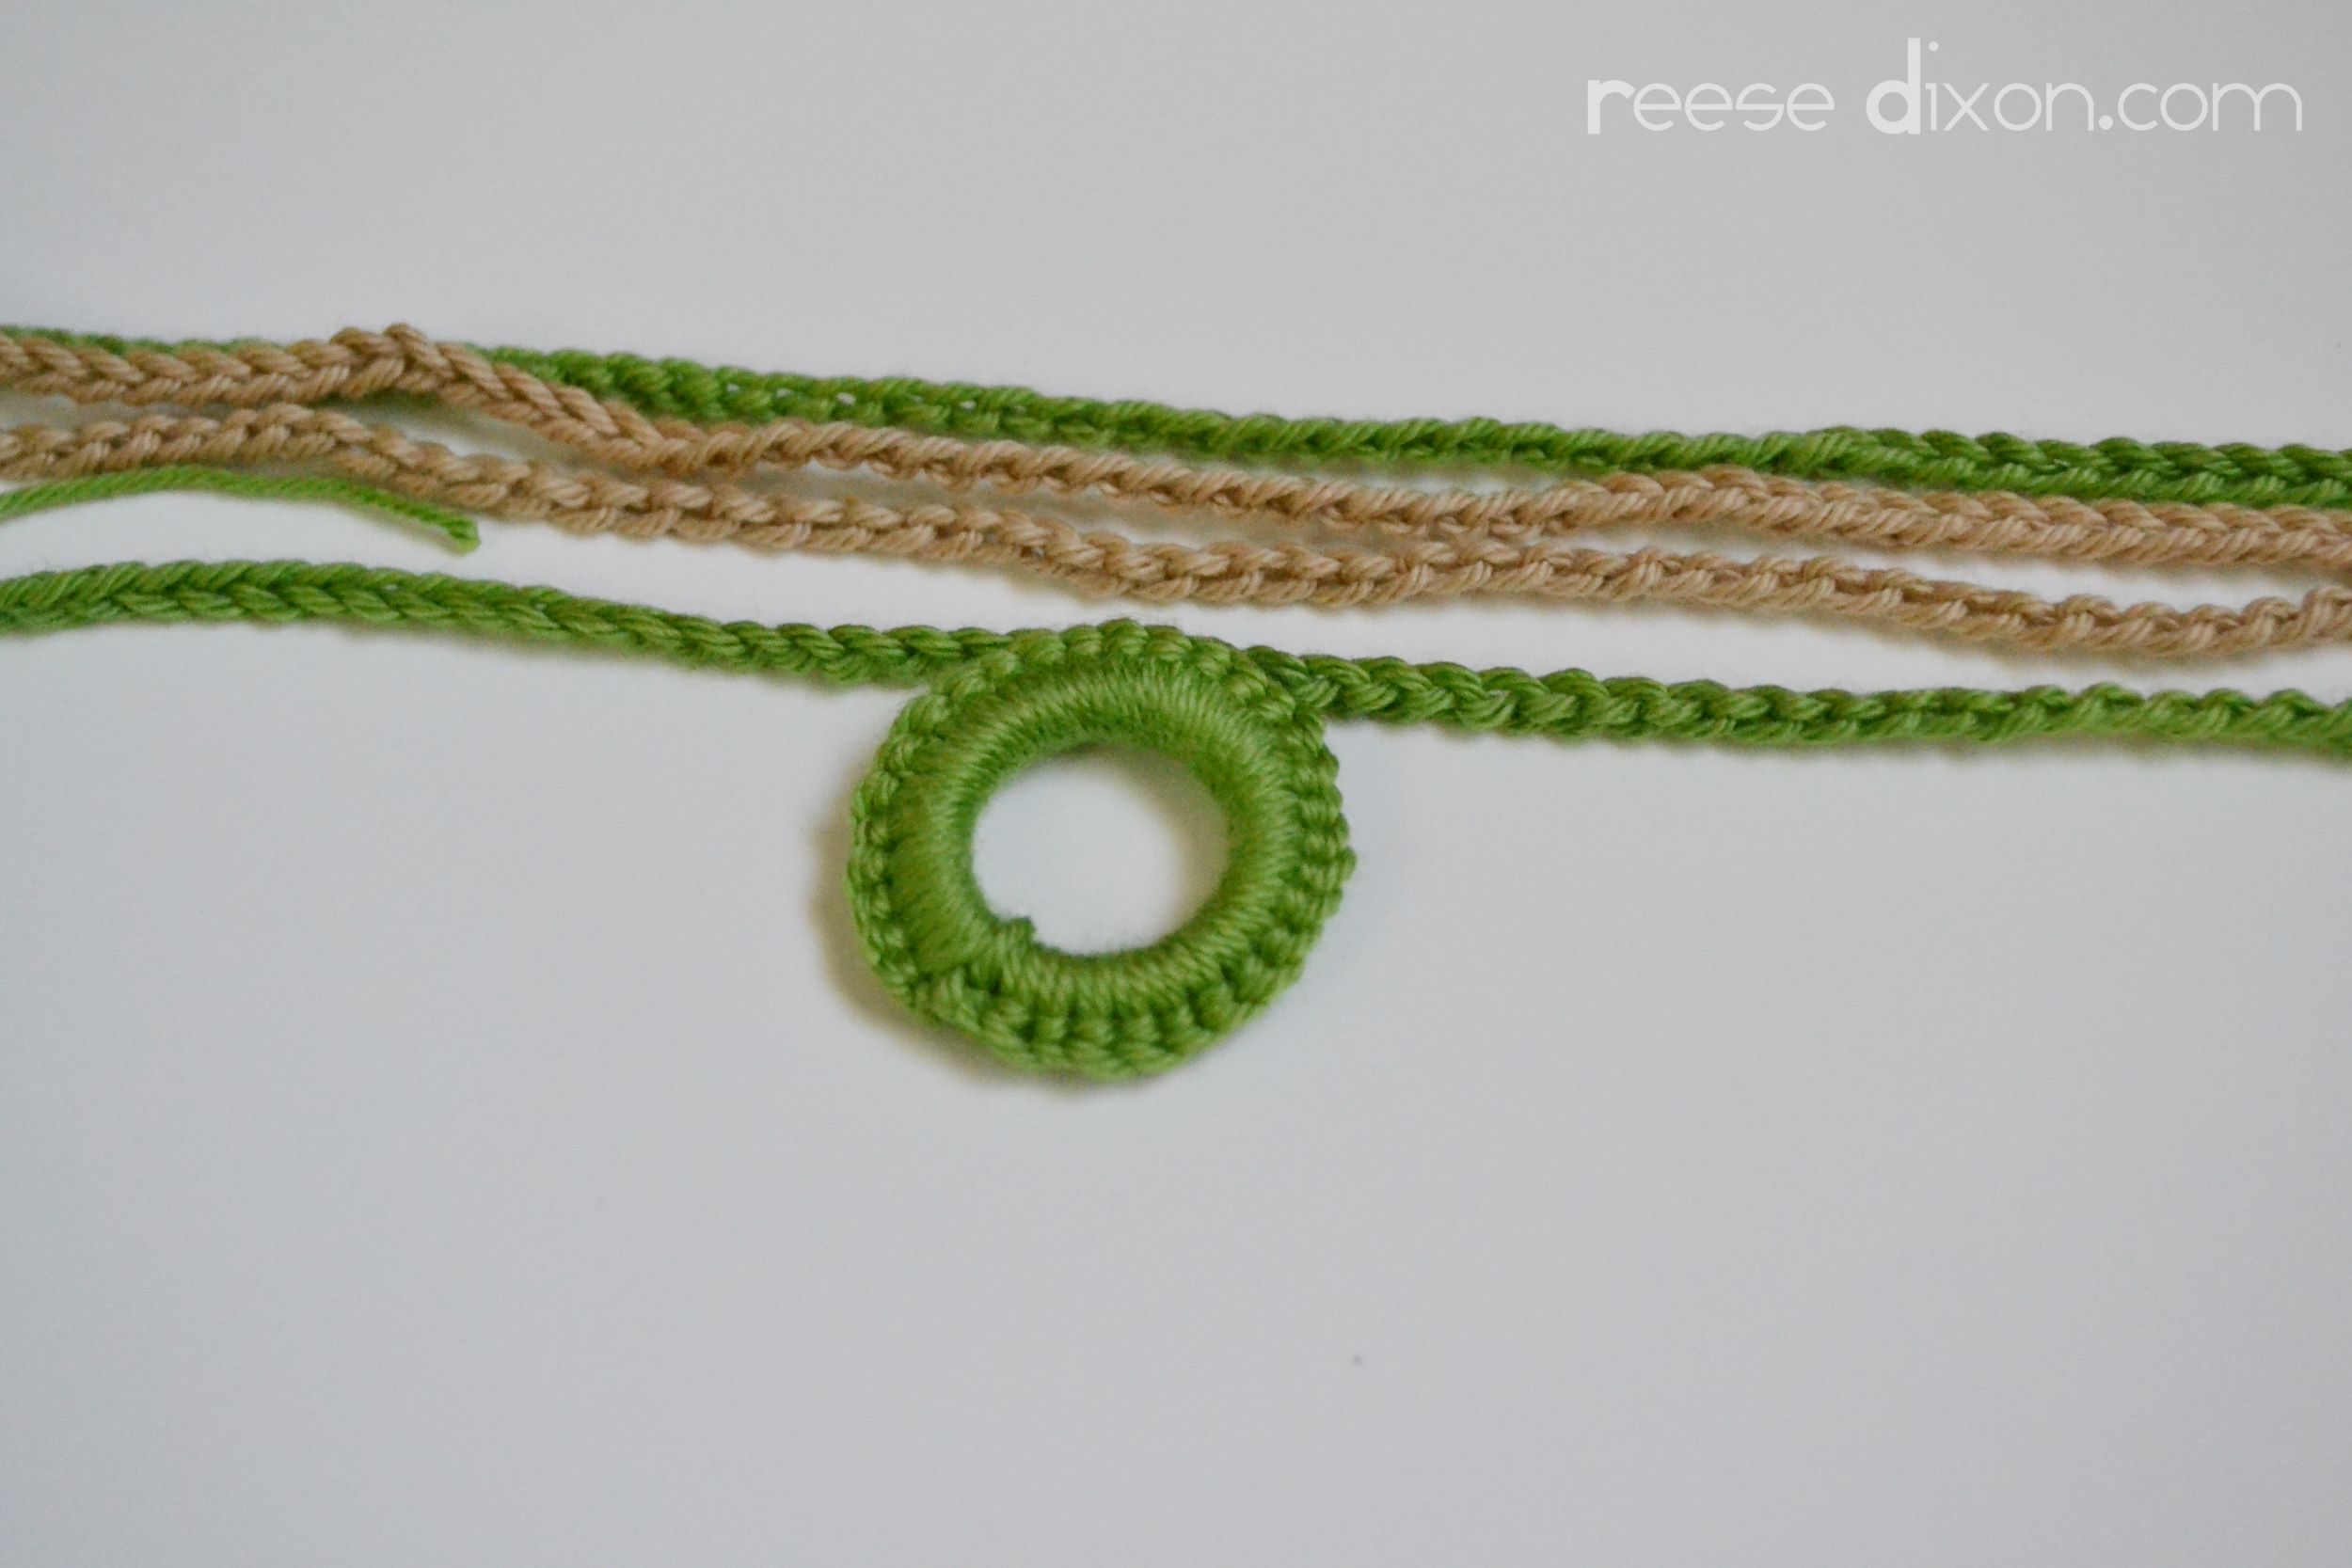
I chose three different colors I wanted to make chains out of, so I set one aside that I thought would work best close to the rings, and out of the other two colors I made super long chains. I didn’t measure, but I wanted it to be a long opera length necklace, so I just kept going until it was long enough to do the job. I specifically didn’t count my chains because I wanted a little difference in the length of each one, and I found a little chaos got me what I wanted.
With your chains as your template, arrange your rings in the way you want them to lay on the necklace.
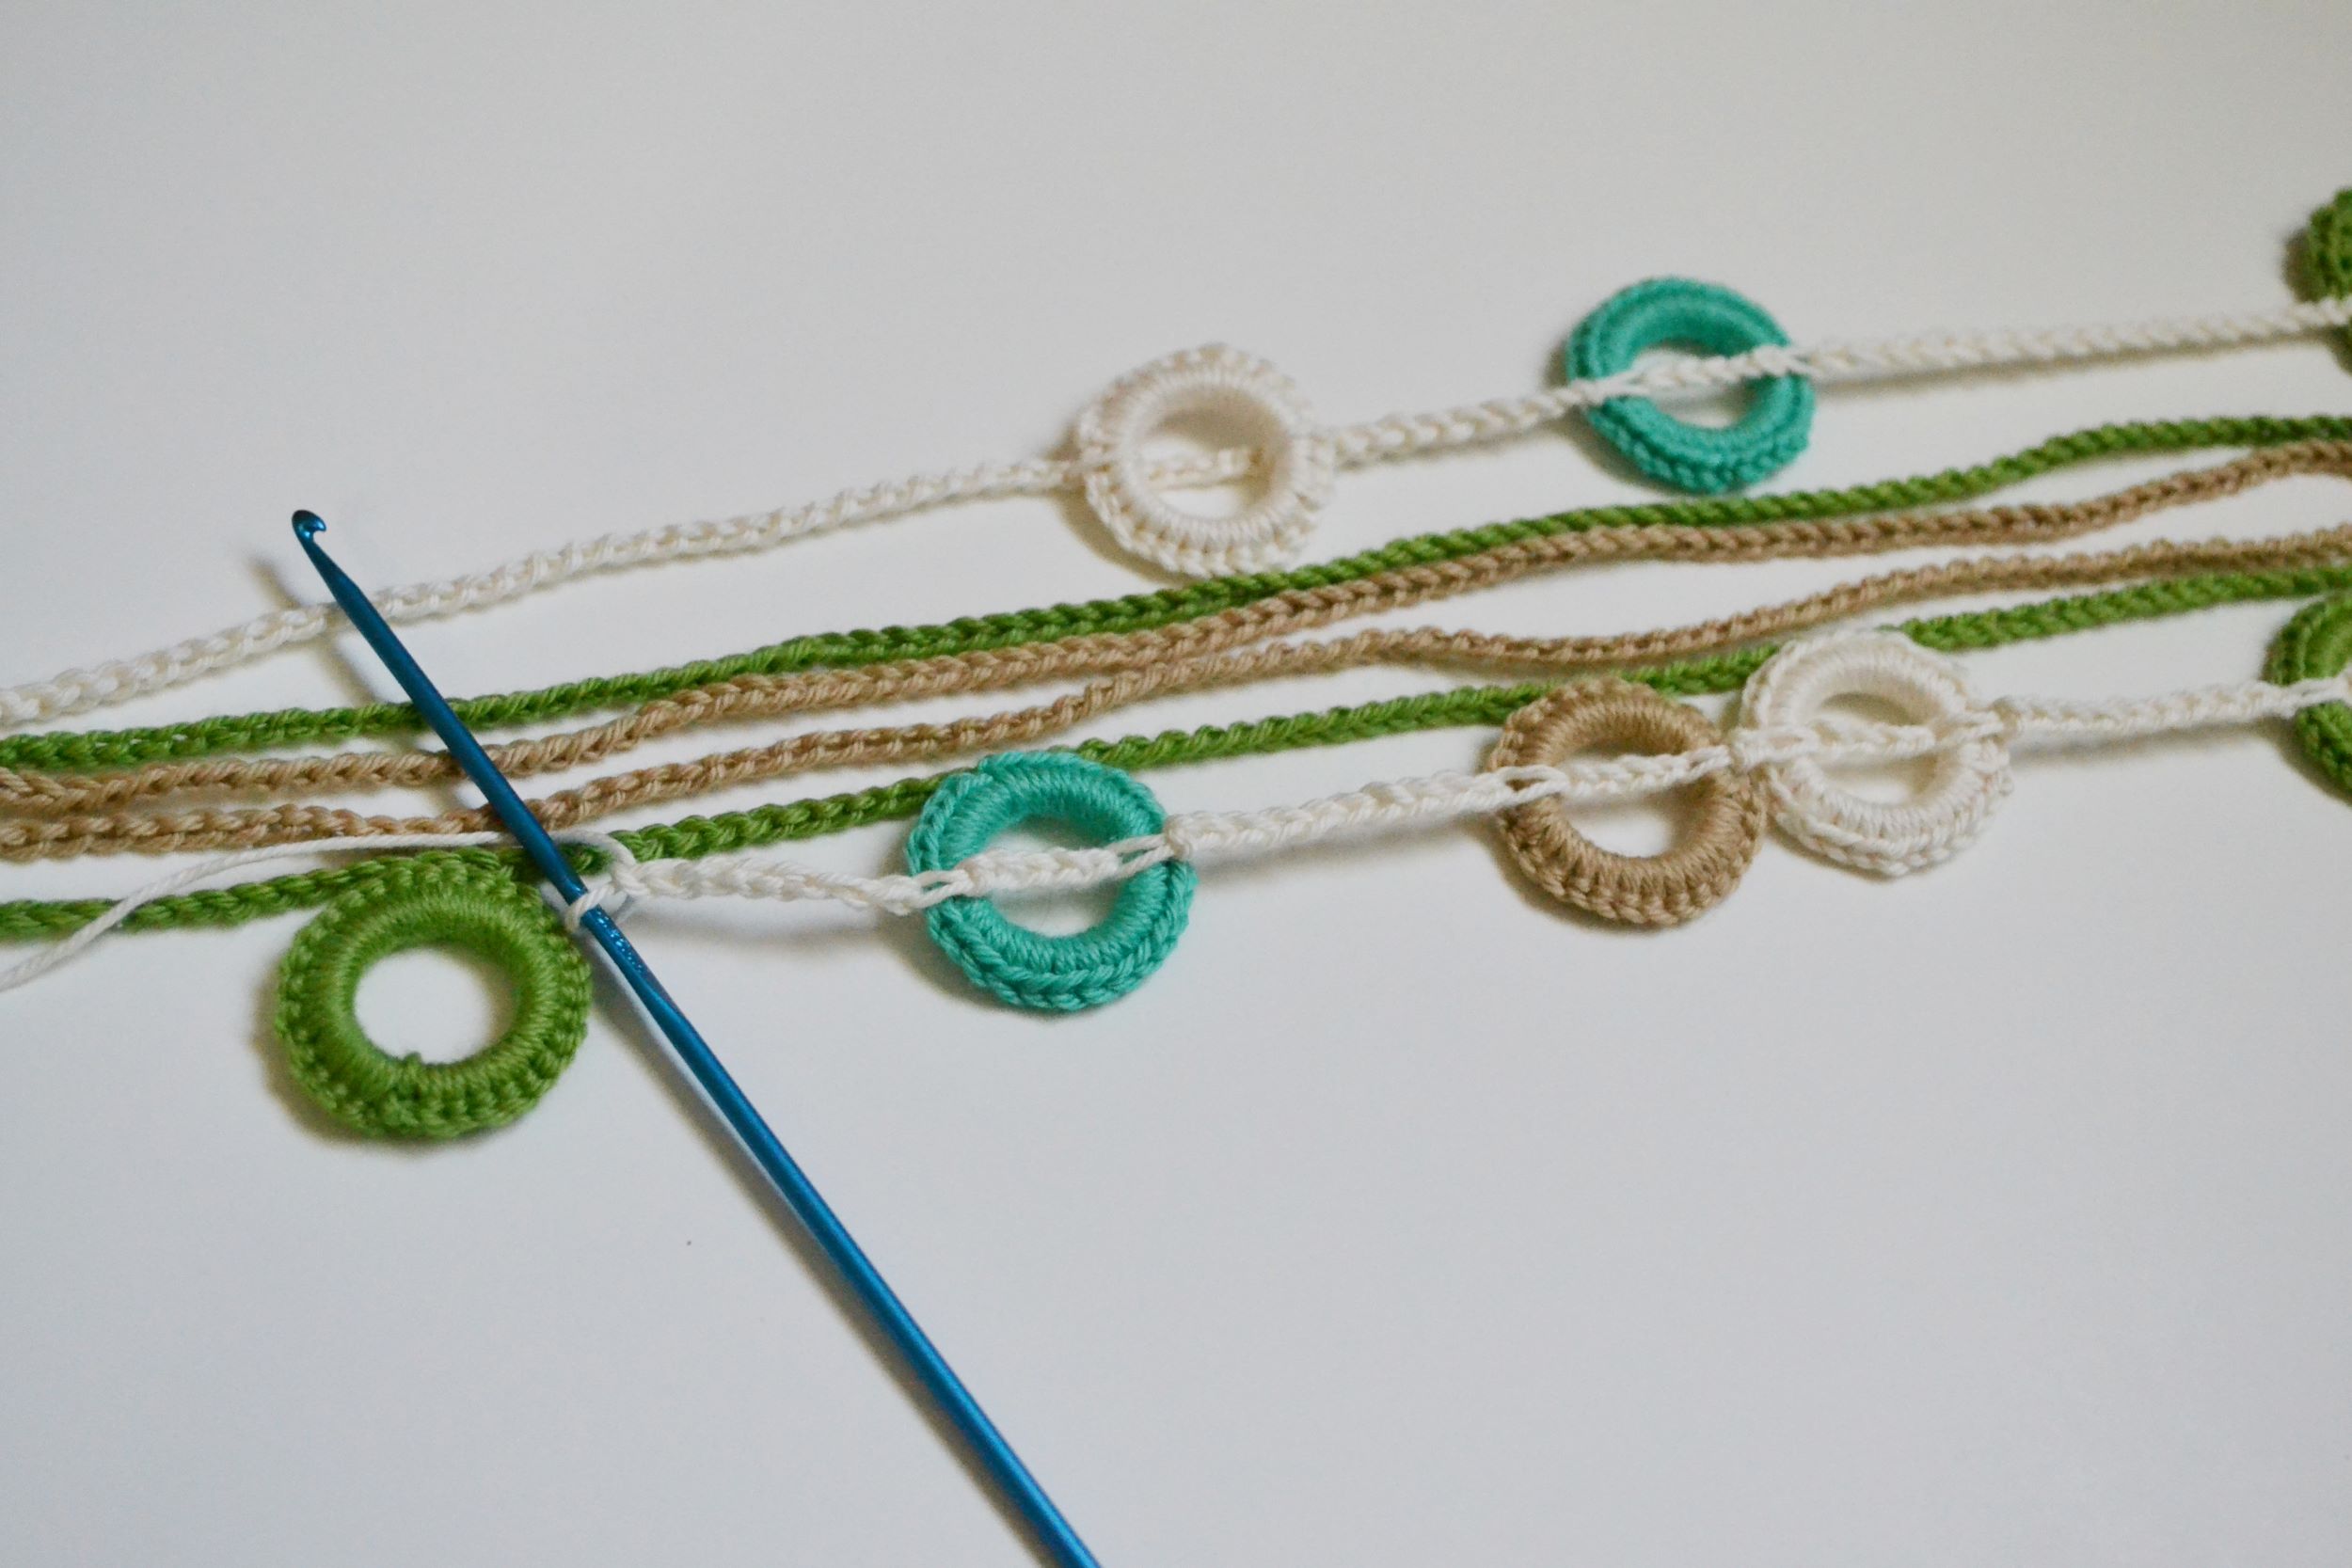
For the final chain, the chain that will hold all your rings, start by chaining as normal until you get to the spot you laid out your first ring. You can see I’ve already added several rings, but it works the same way every time.
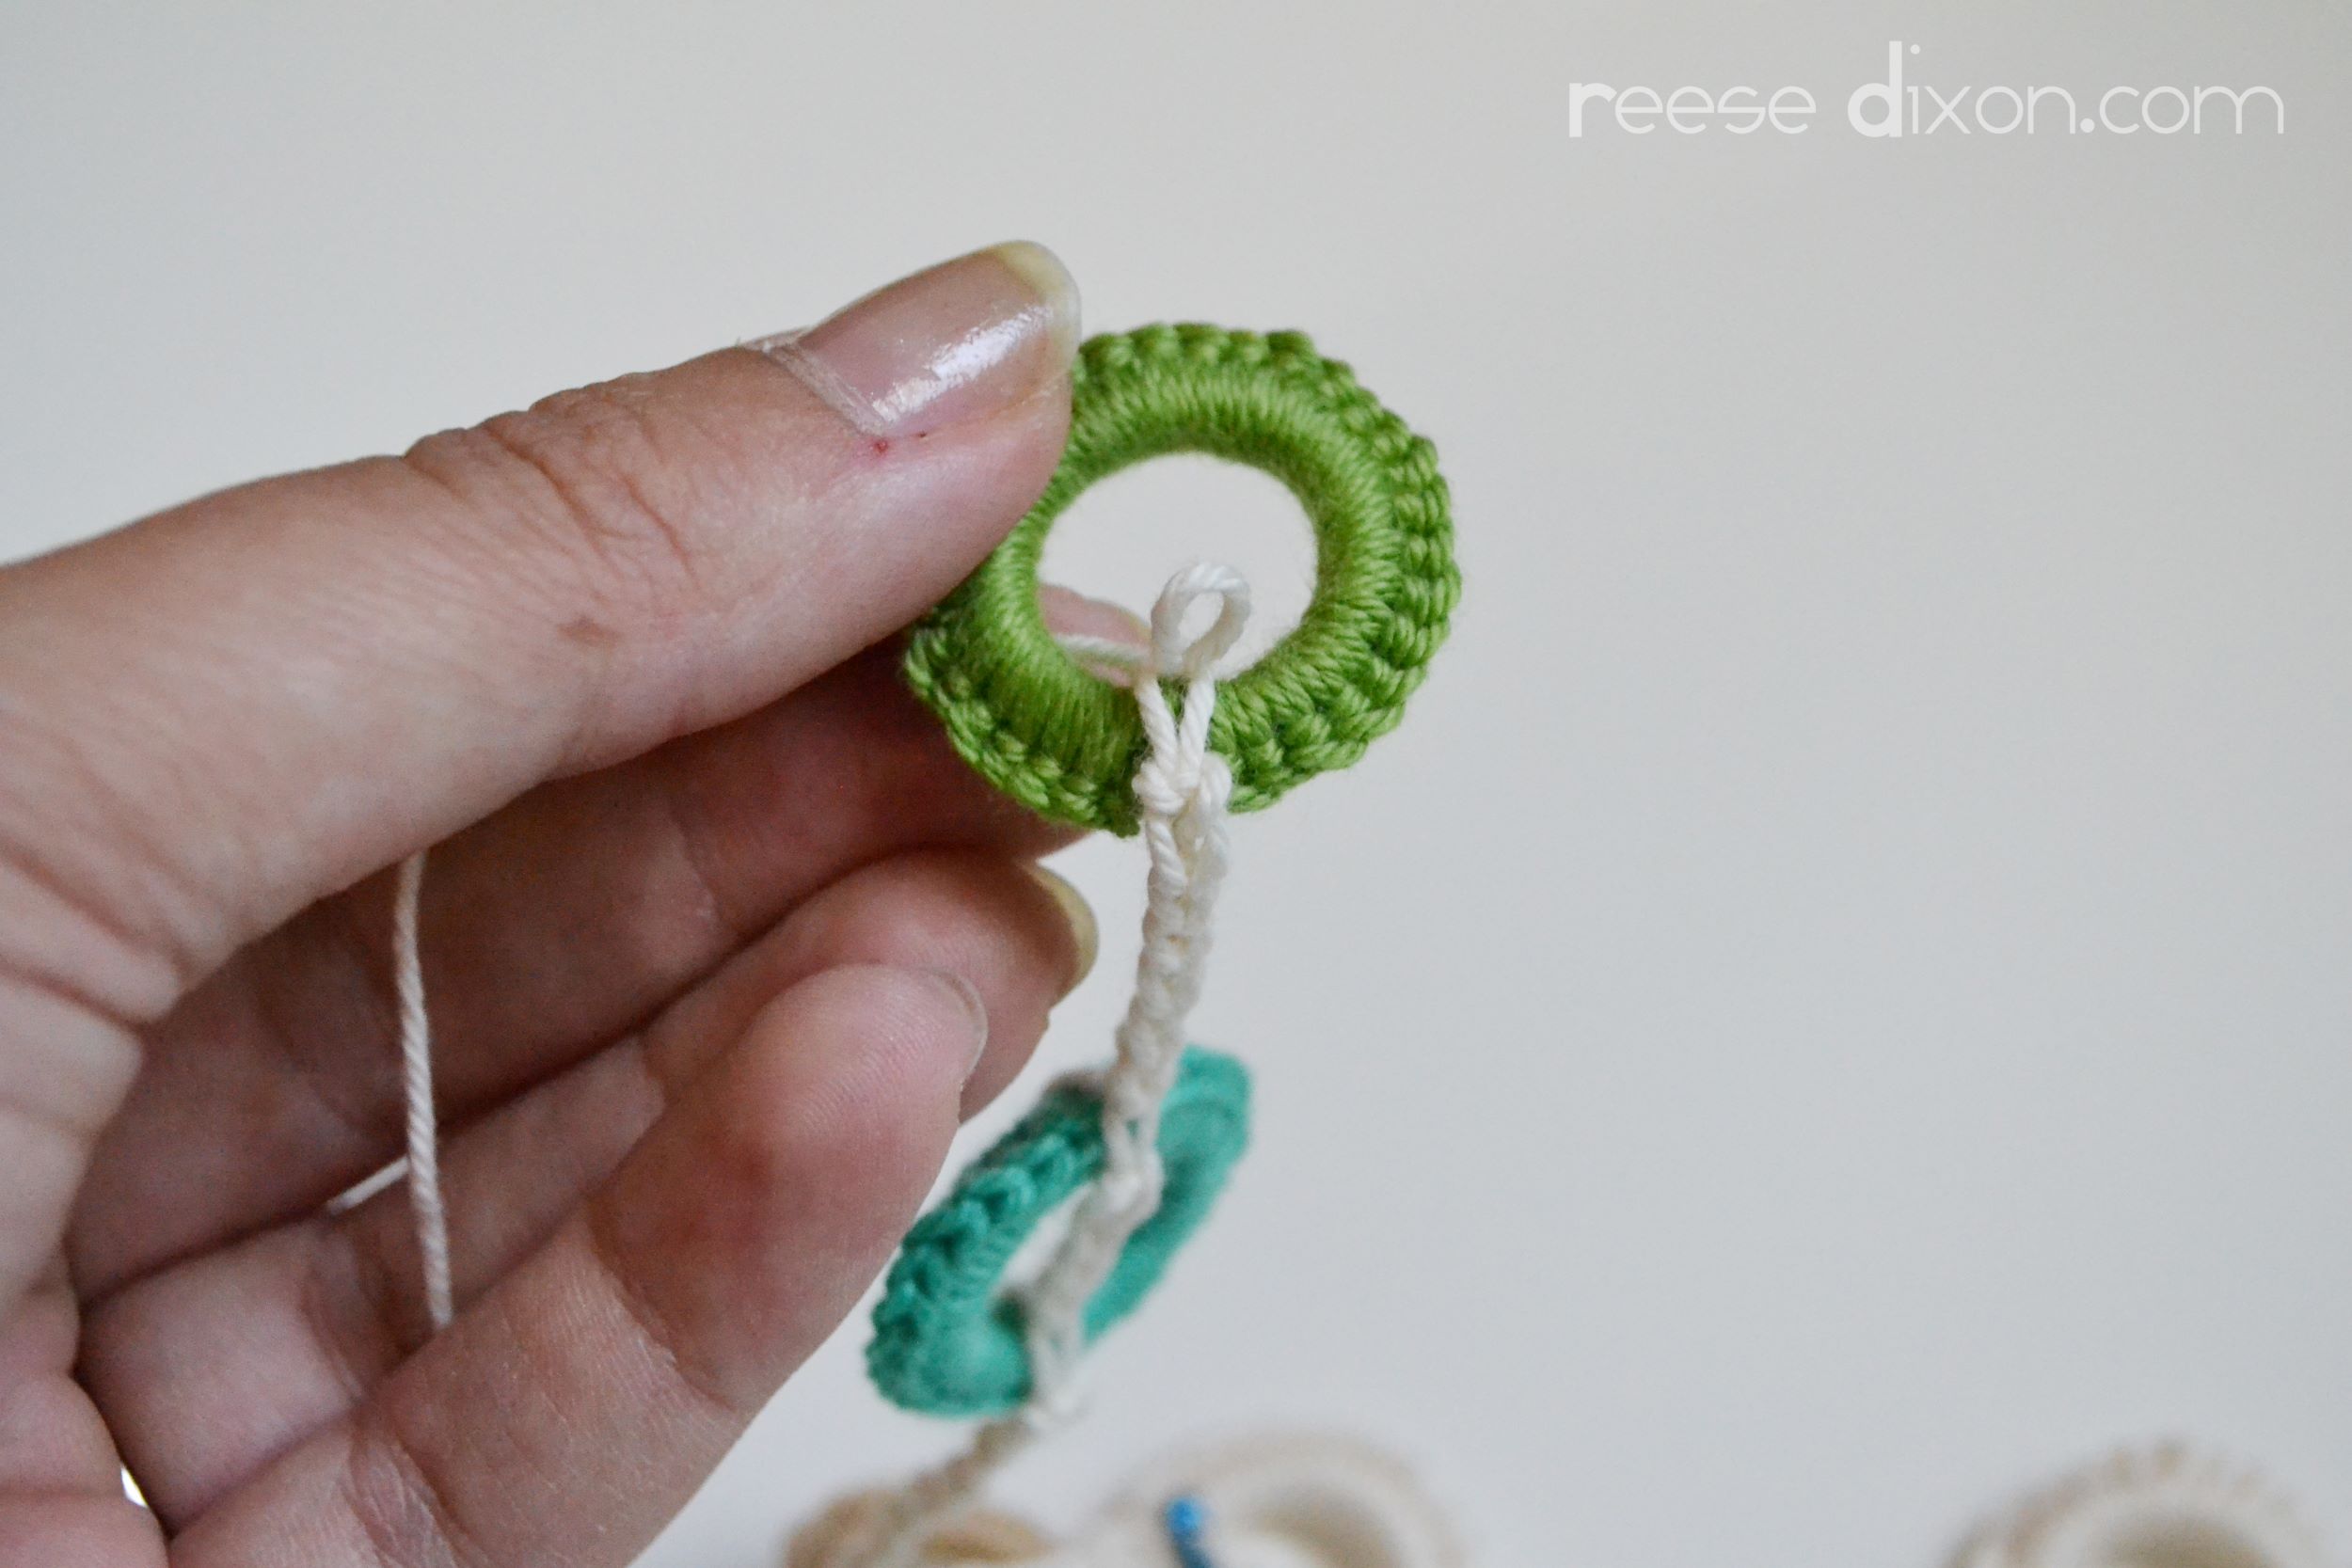
Hold your ring right up to your chain, reach your needle through the center of the hole, grab your thread, and pull it all the way through the loop on your hook. You’re still chaining, you’re just chaining around an obstacle.
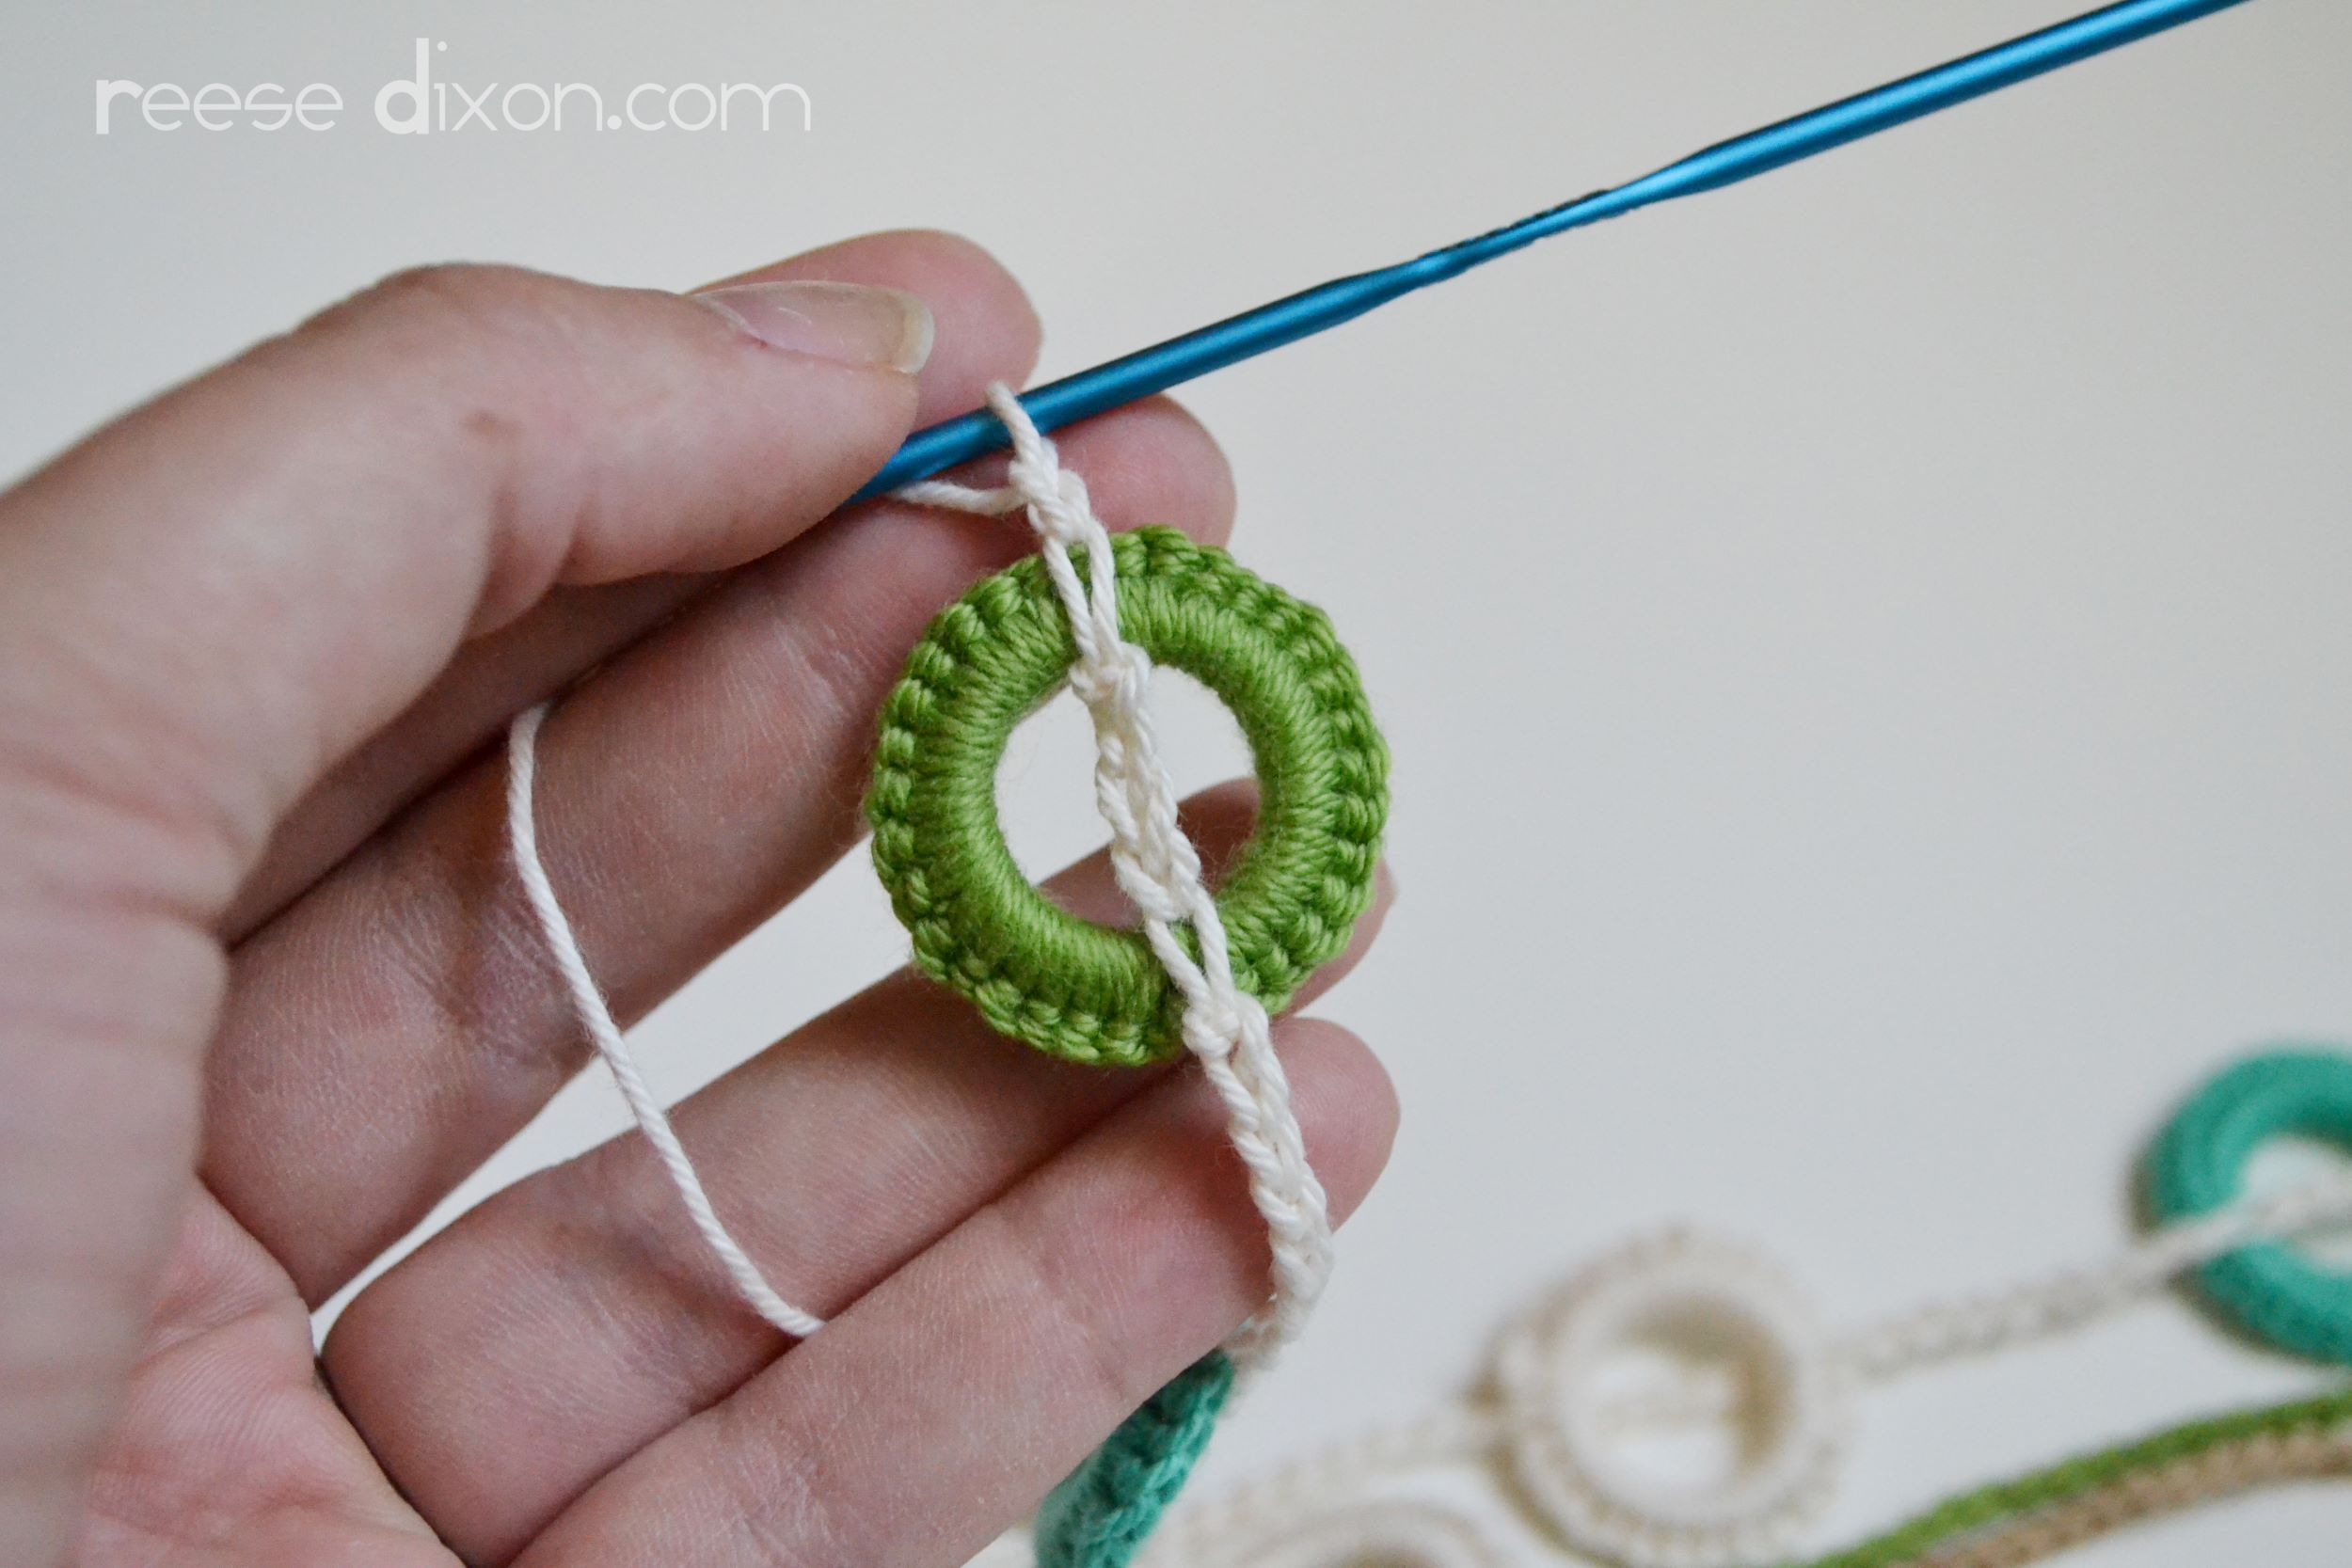
Chain a few more stitches – somewhere between 4 and 6 depending on the size of your hook and your tension – and then chain around the top end of your ring in the same way you did the bottom.
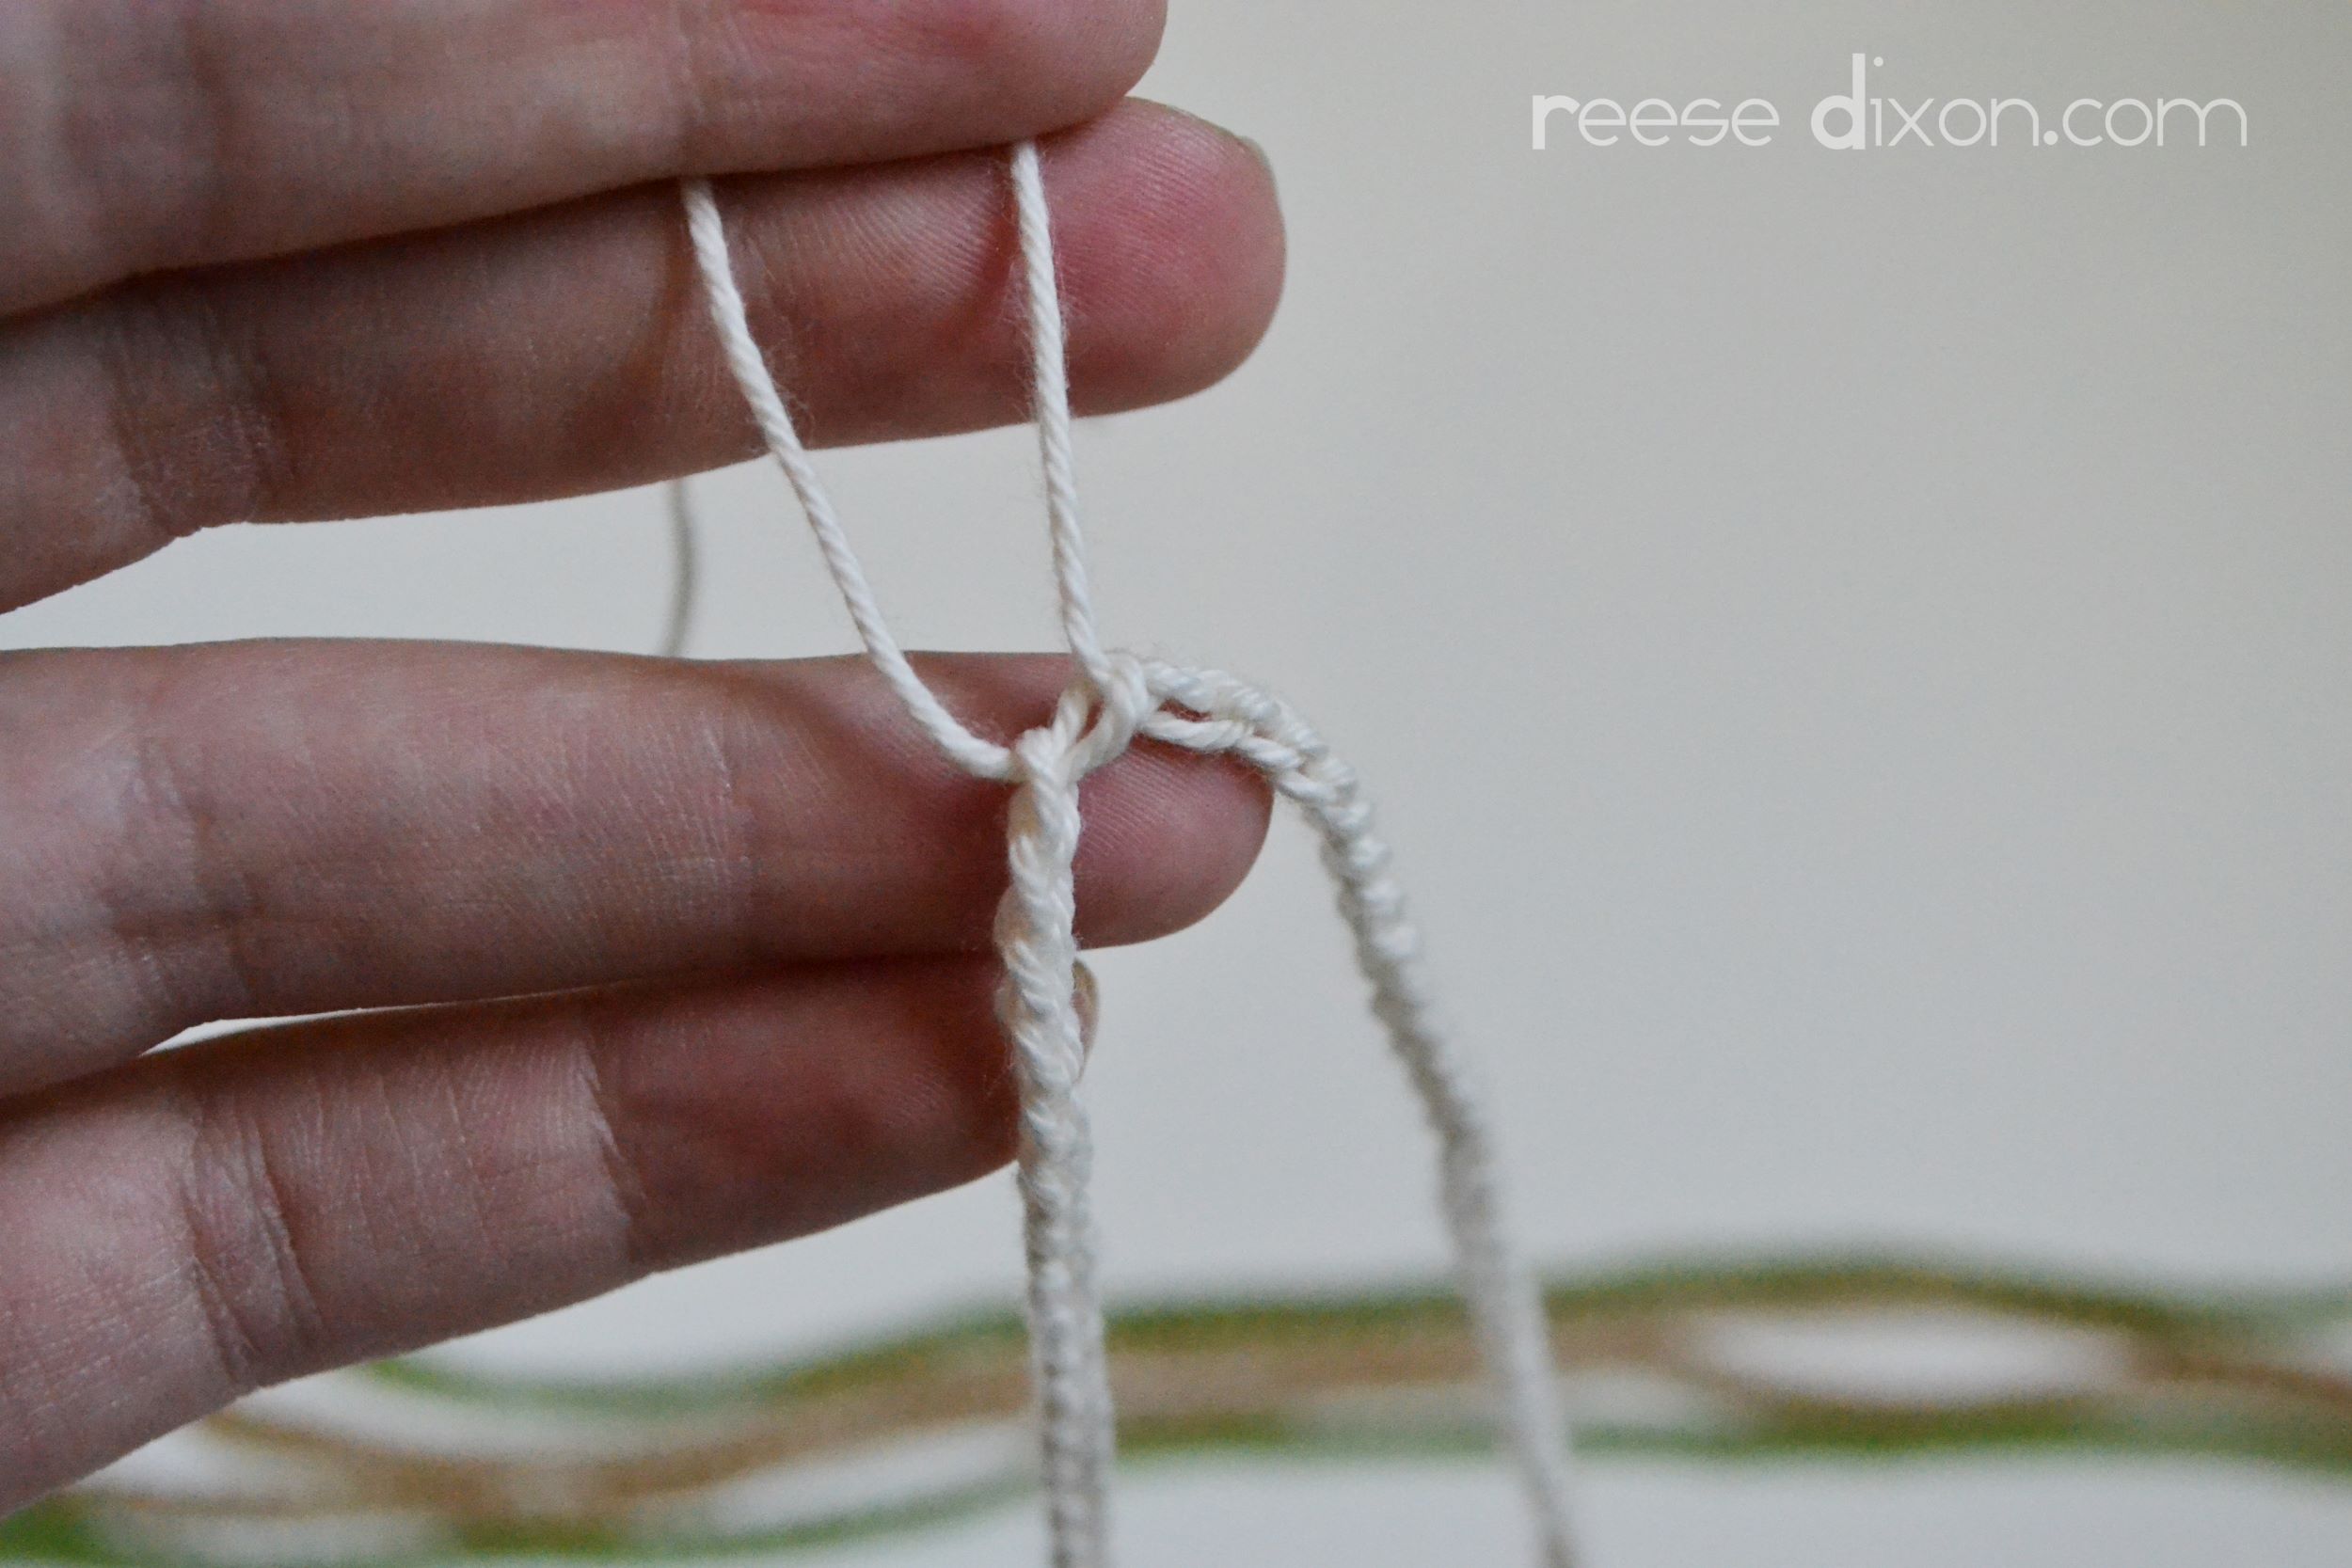
When you’ve attached all your rings and your chain is long enough for the whole necklace, draw one end through the loop left on the other, and pull until it’s tight.
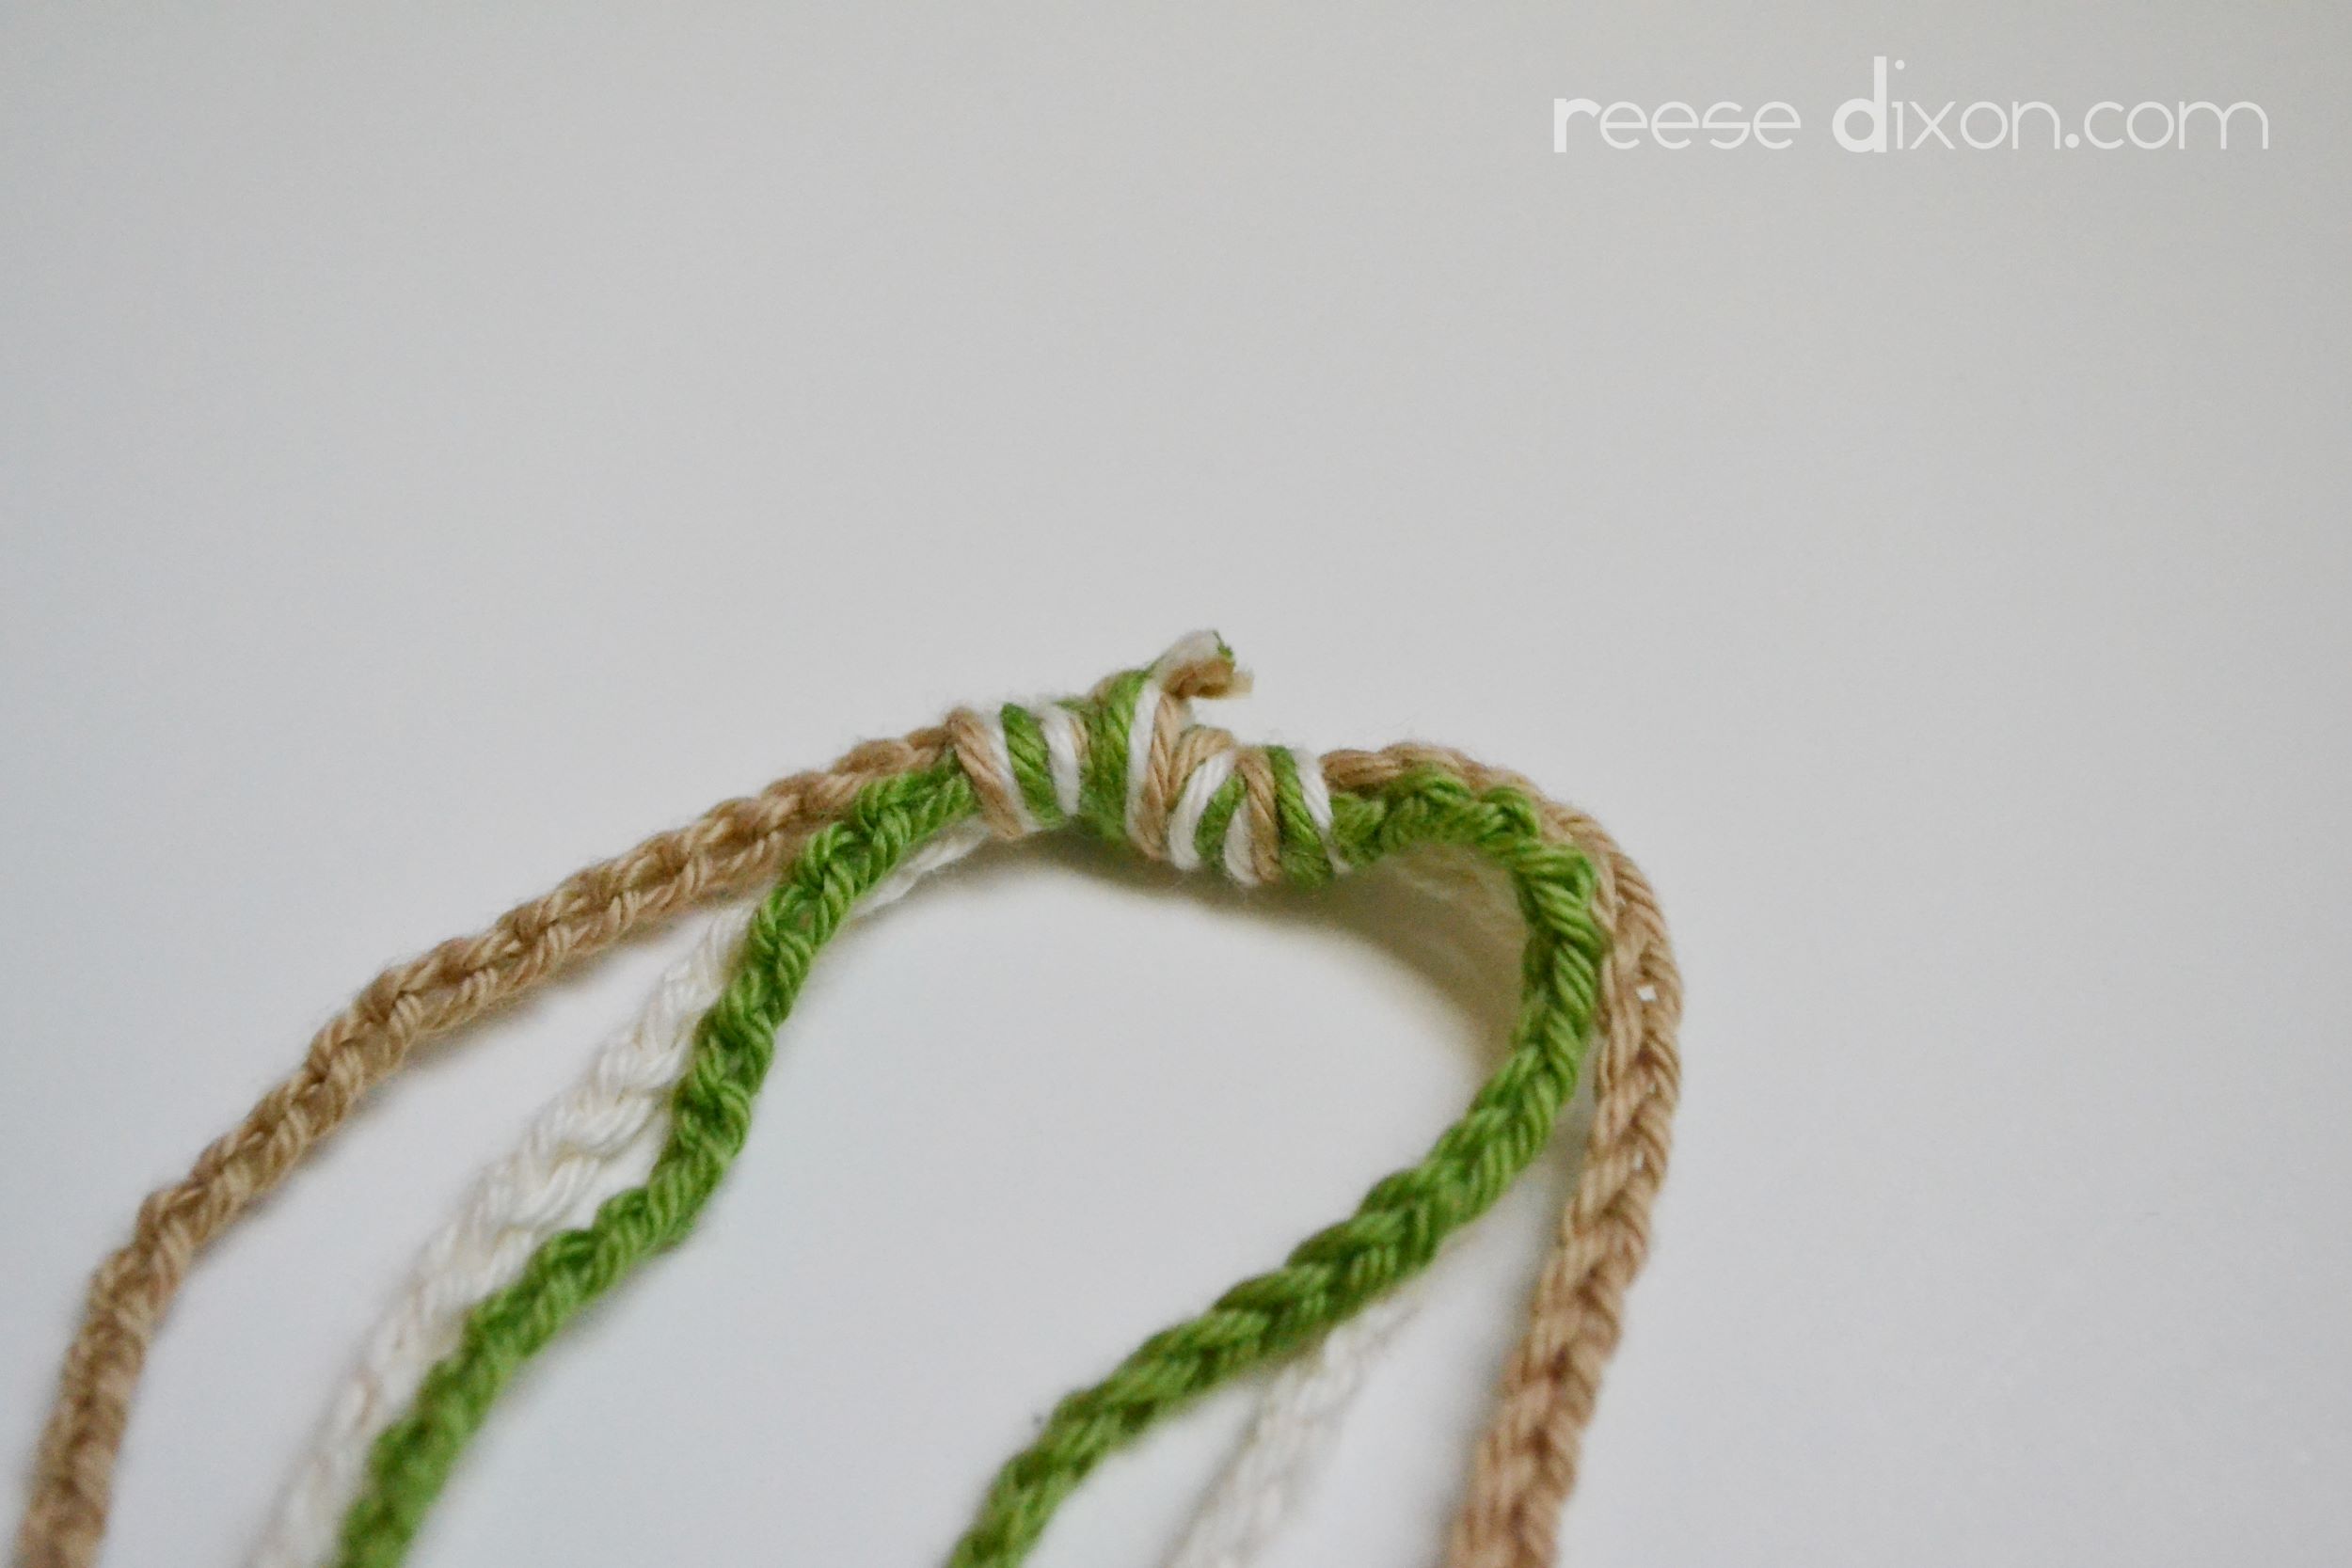
Then, group all of your chains together and use those tail ends to lash them all together. Finish with a knot and a little glue to keep it extra secure.
I love how this necklace turned out, and I love that I got to play with so many different colors without being stuck with 100’s of yards of yarn I won’t use.
If you like your examples in motion, you’re in luck. I made this video just for you!


That necklace is fantastic … it reminds me of something I saw at Anthro. Great job!
Thank you Randi! Anthro-like was exactly what I was going for!
Great tutorial! Thanks for a great idea to use up yarn leftovers and those little rings I’ve been wondering what to do with for years!
Love this idea! A nice alterative to a scarf in the summer, too cute! I need to make several to go with everything I have. Thanks Reese
Hey folks also visit Ideal Engagement and Wedding Jewelry