My crafting tends to take some predictable rhythms. In the spring I favor home improvement, summer is all about piecing quilts, I get completely caught up in the chaos of Christmas, and once it’s done I want to just collapse and swear off crafting altogether. That never lasts for long, but after the hard core marathon of Christmas, I do have to take my next projects a little easier. My post Christmas workout routine is a combination of soothing long-term projects – knitting, embroidery – combined with some quick projects to provide me with some quick gratification. Polymer clay is a favorite for that category since I can start a project and have it displayed in an hour.
With my accessory obsession, it was a no brainer what I’d make.

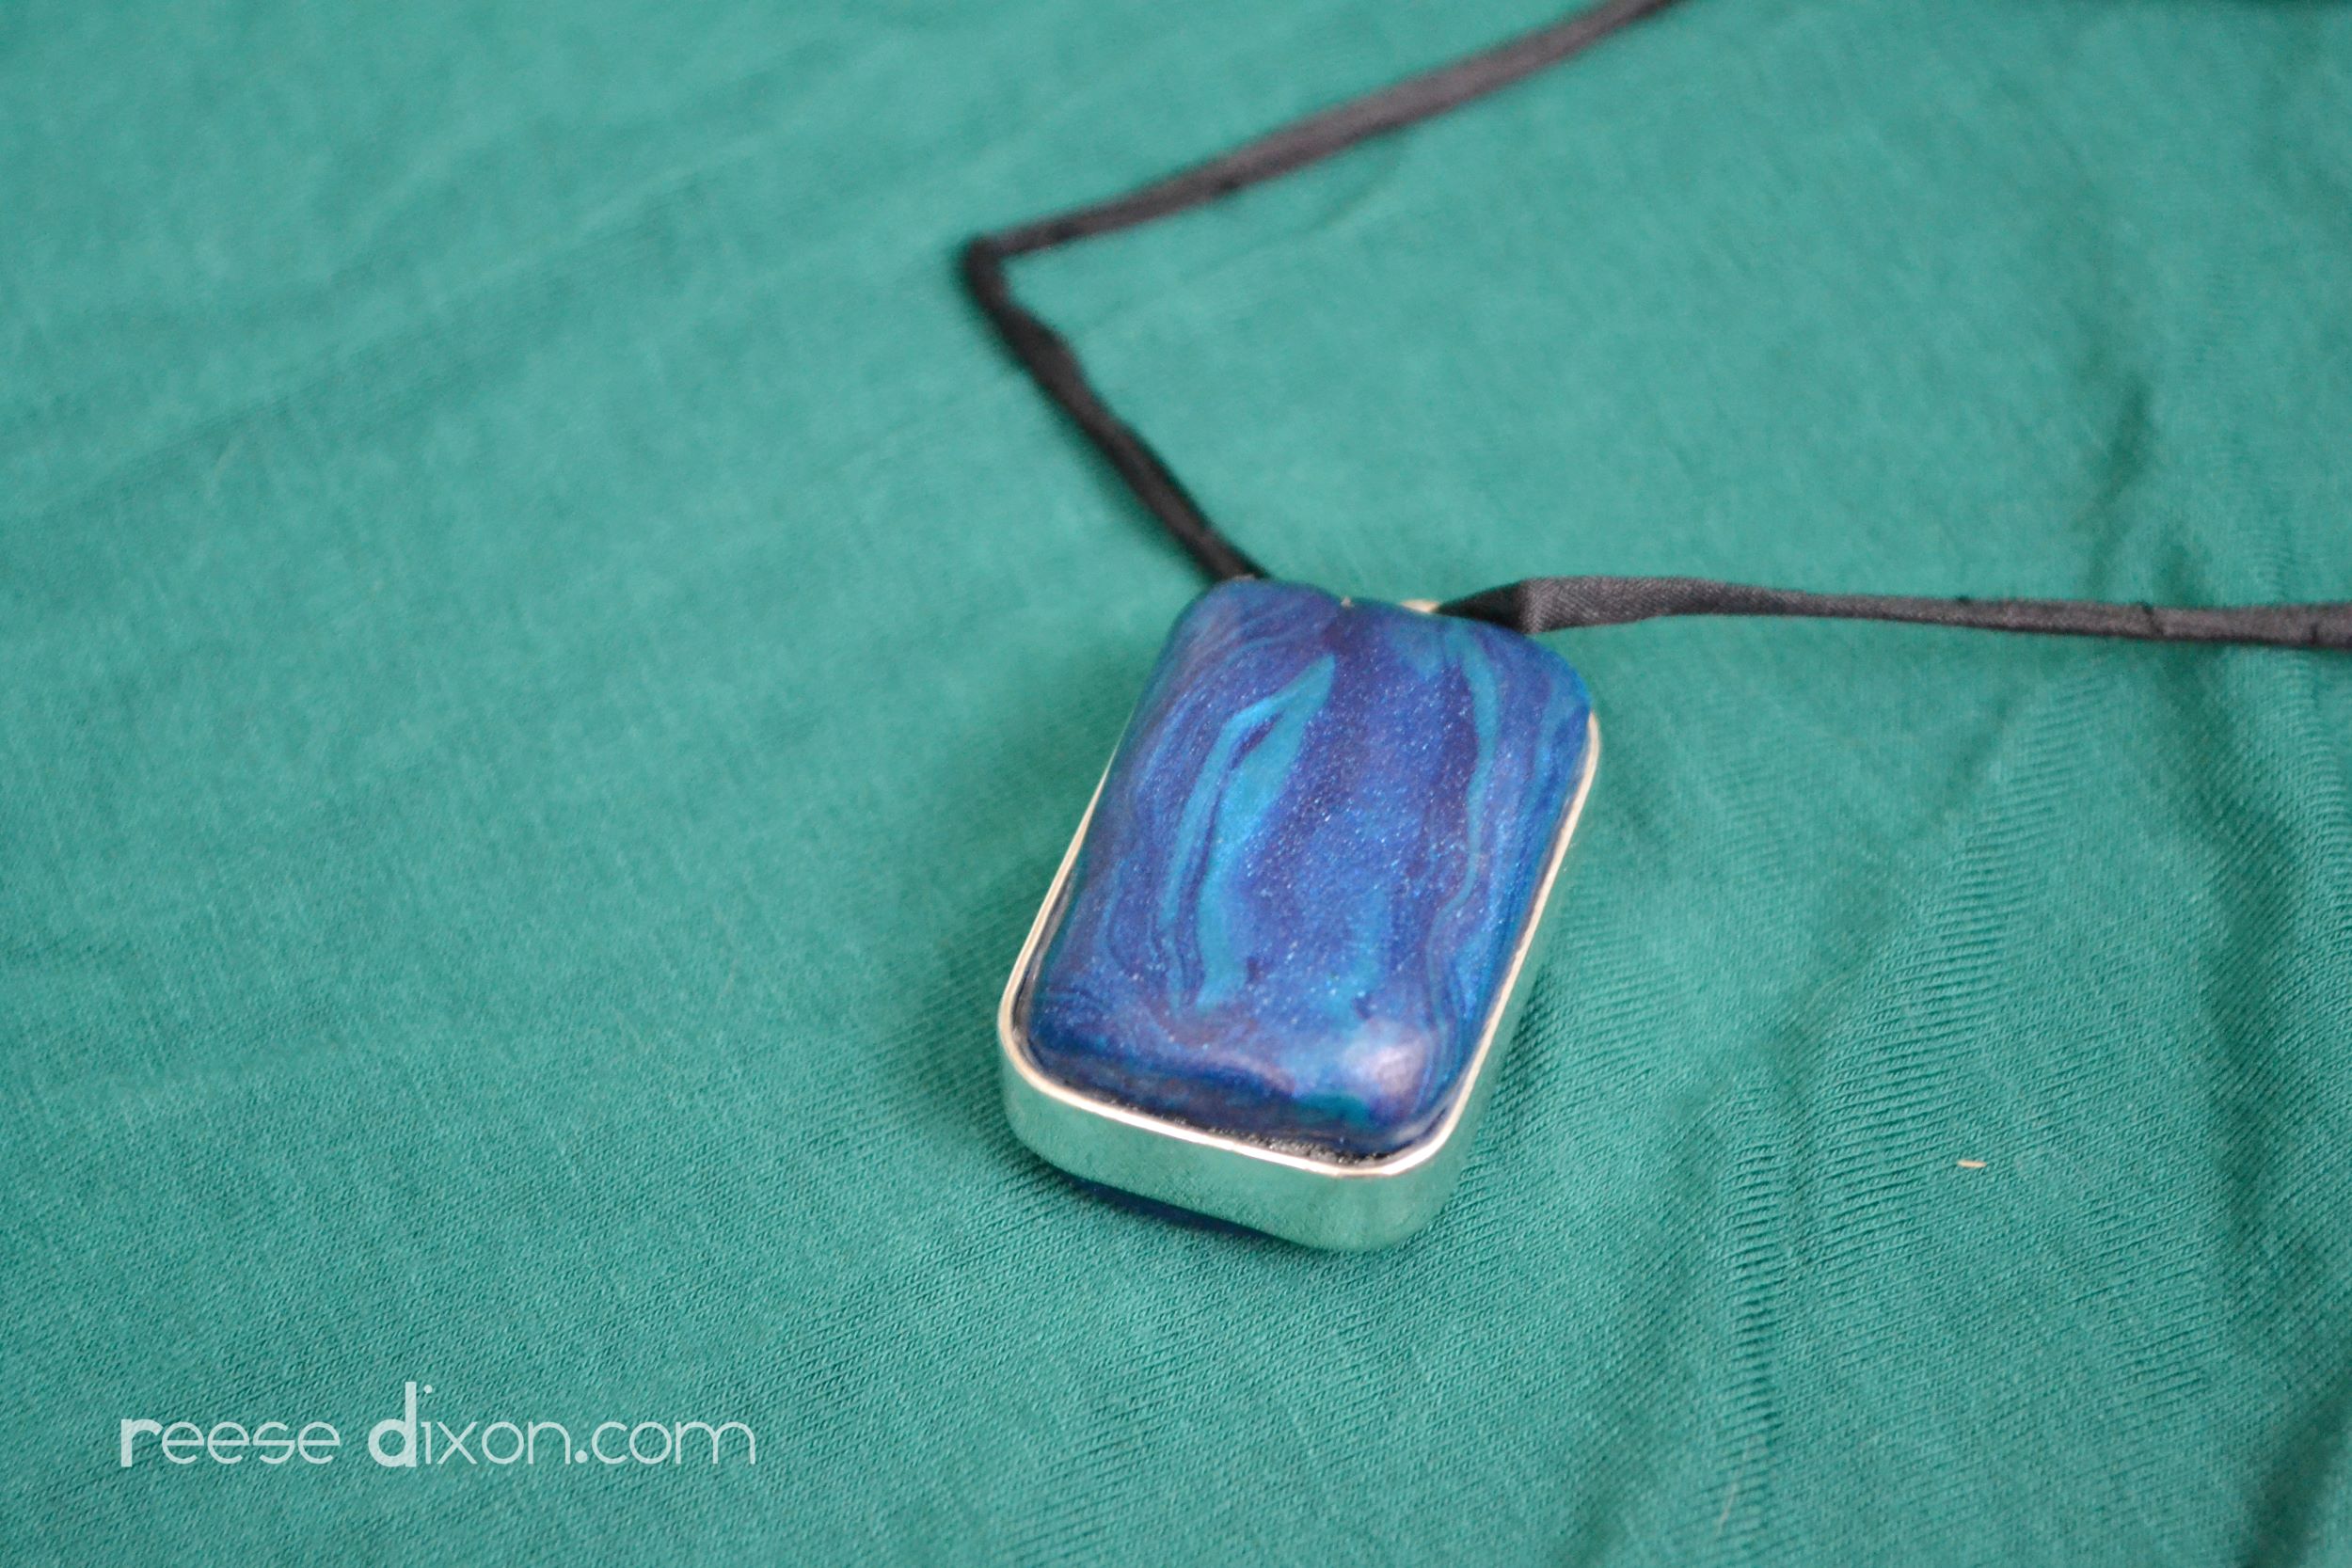
Polymer clay jewelry can be as simple or as complex as you’d like it to be. I found a double sided blank bezel pendent, so I just shoved some polymer clay inside it. On one side I made it plain navy, and on the other I took two balls of clay…
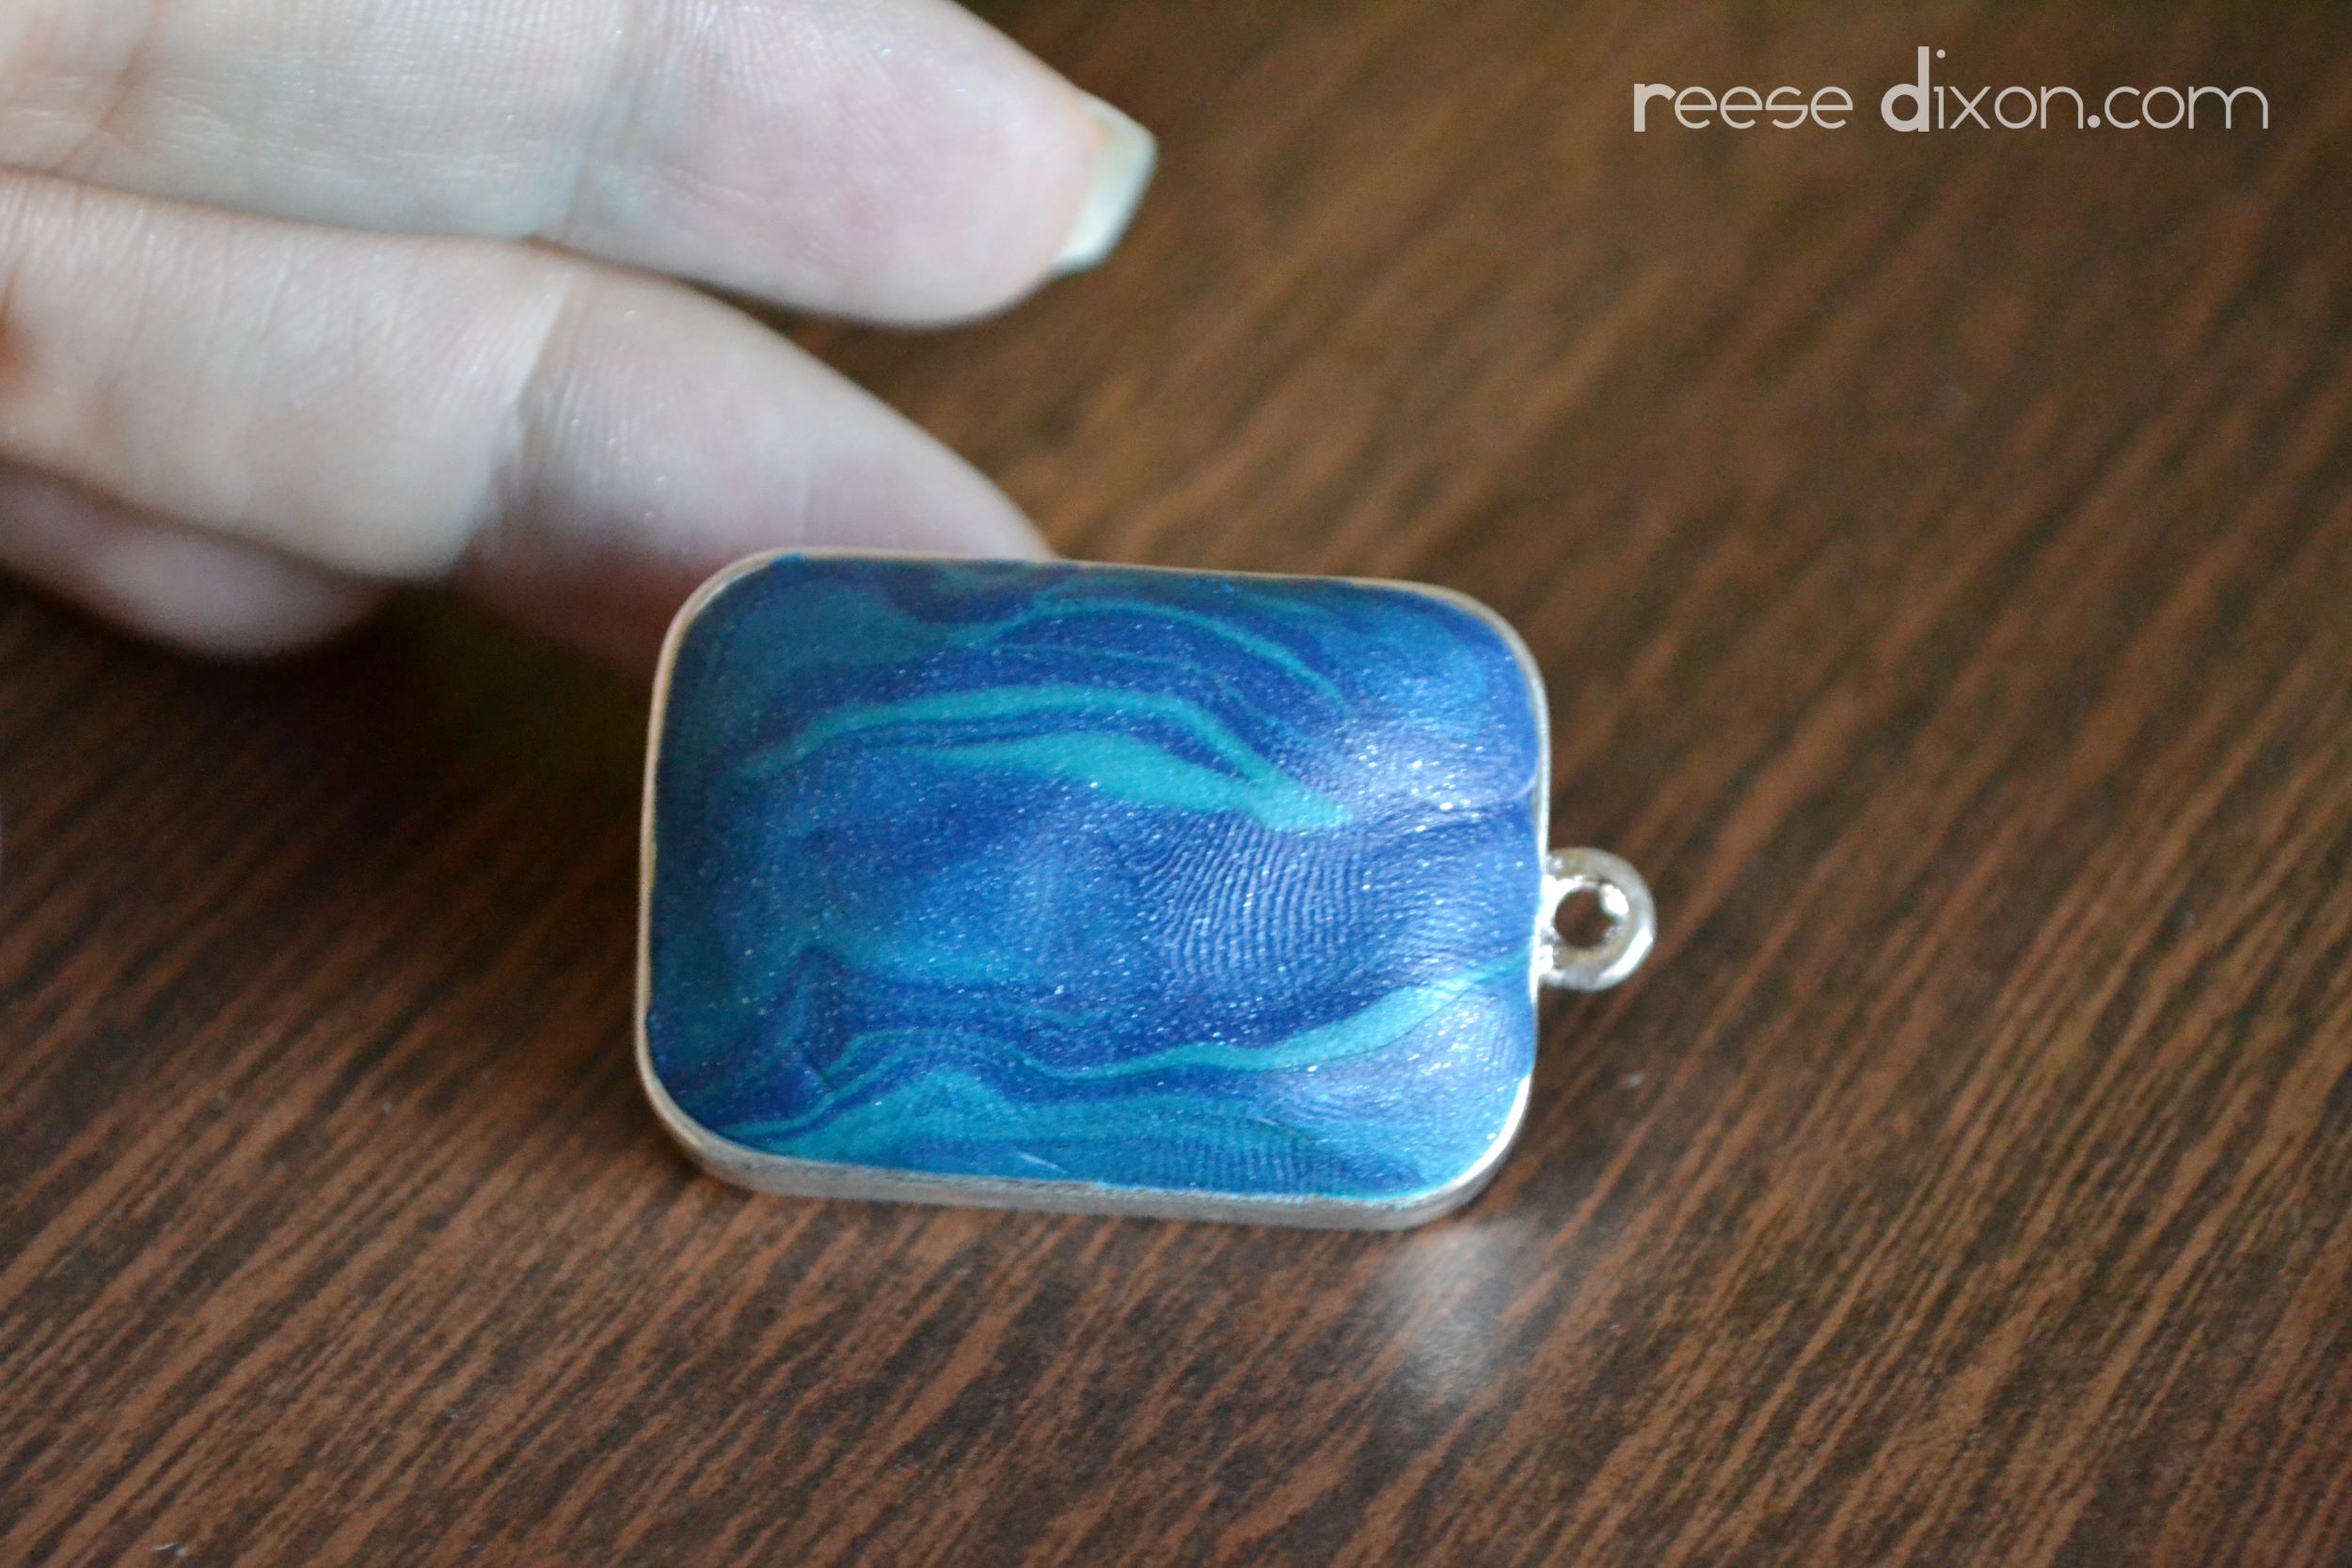
And mushed them together to make a marbled pattern. I wasn’t sure how the pendant would hold up in the oven, so I took the clay out and baked it before gluing it back in place.
How simple, right?
But you can also get a little more complicated and make some faux turquoise beads. But it’s only a very little more complicated.
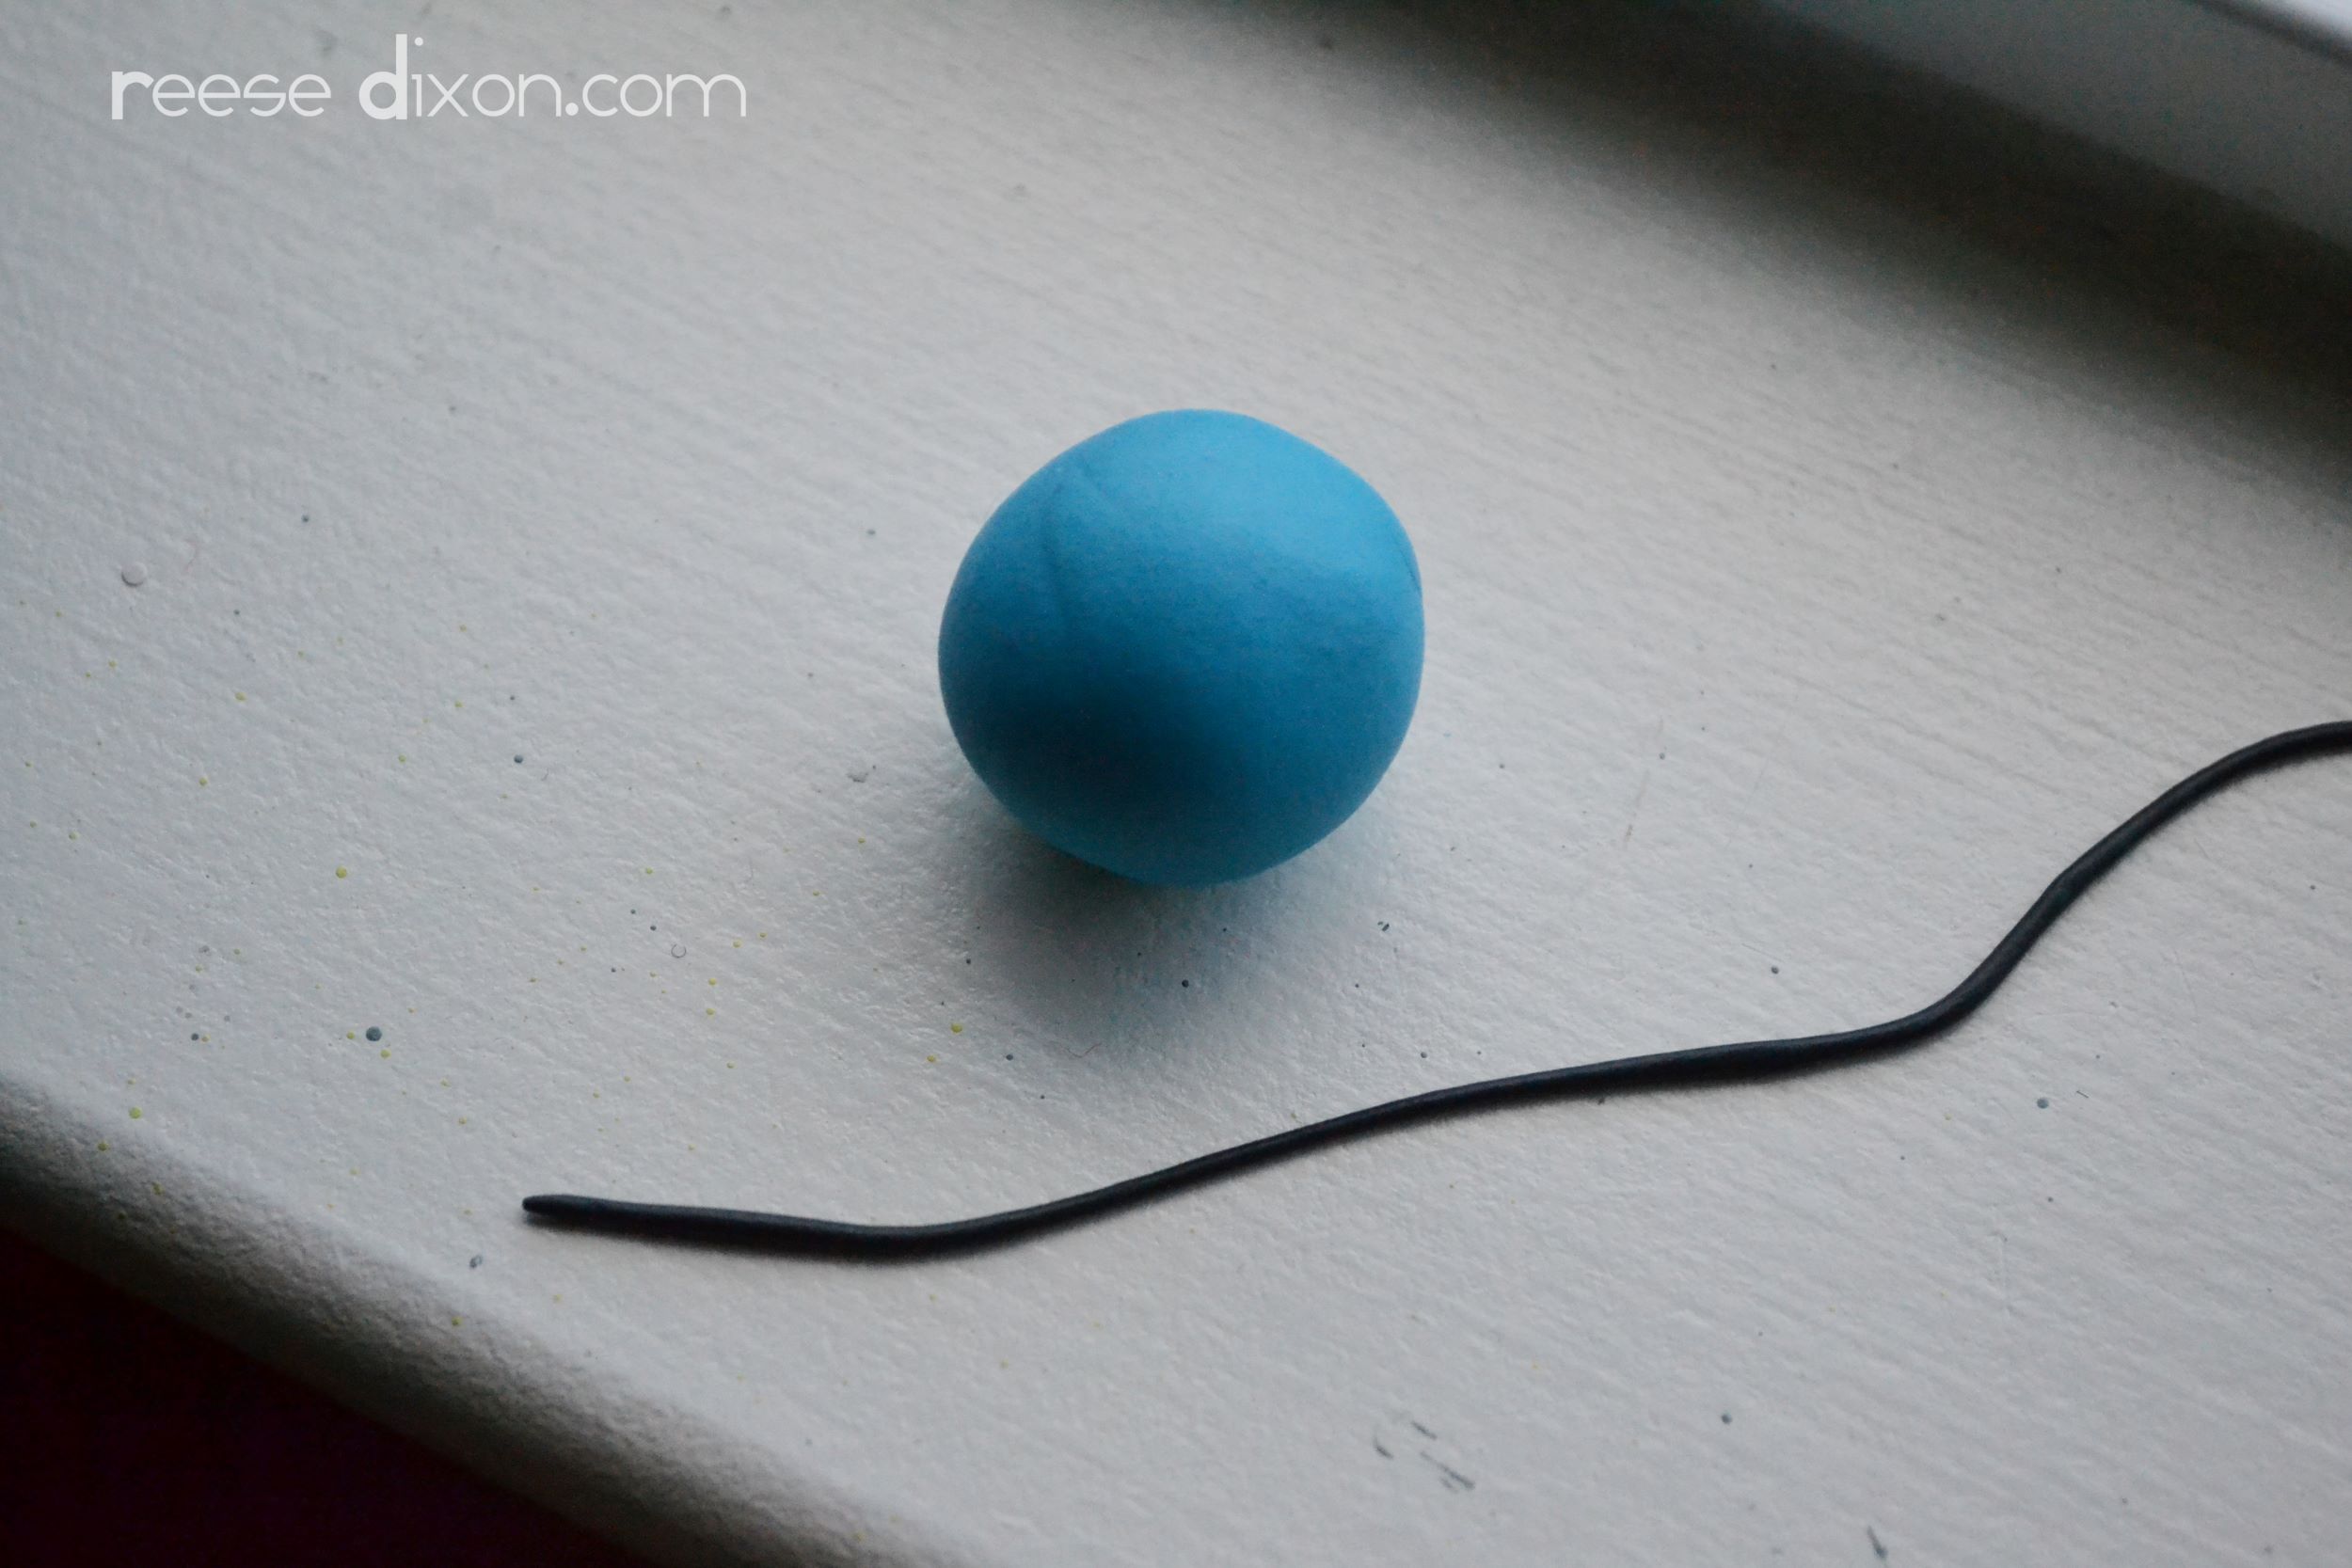
Start with a ball of turquoise colored clay and a tiny bit of black clay, rolled into a super thin rope.
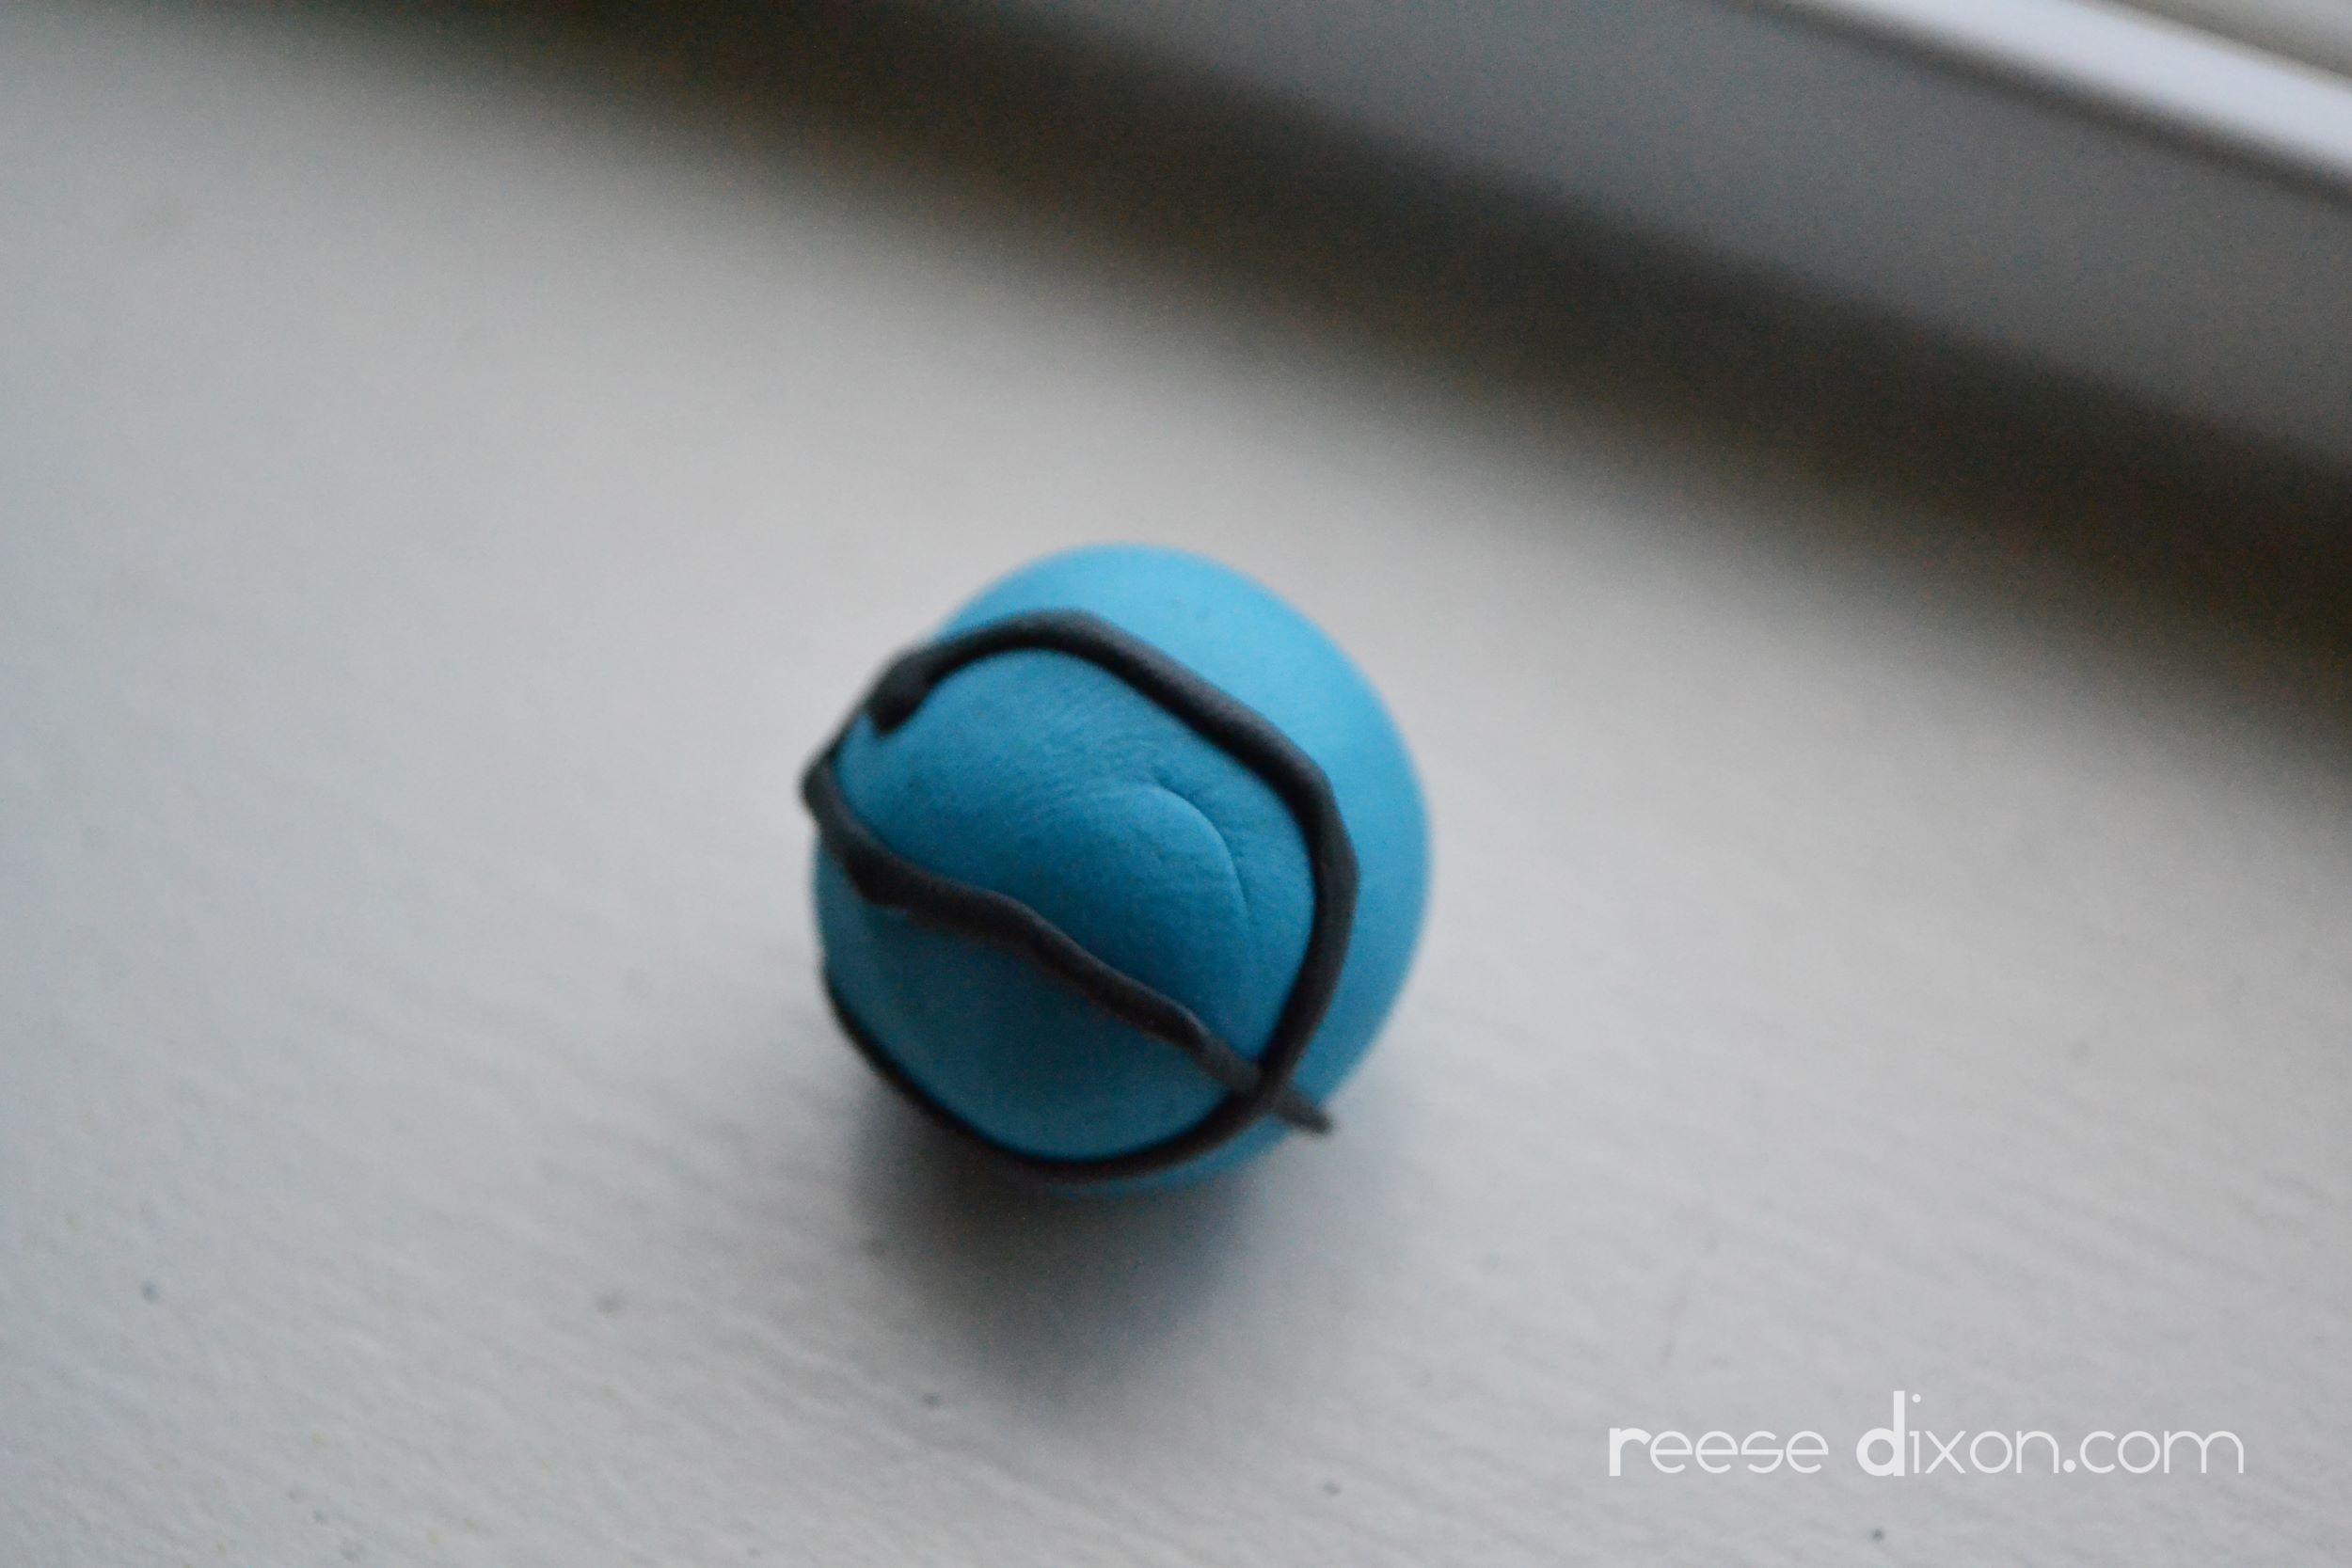
Drape a little bit of the black haphazardly around the turquoise. Don’t use too much, a little goes a long way.
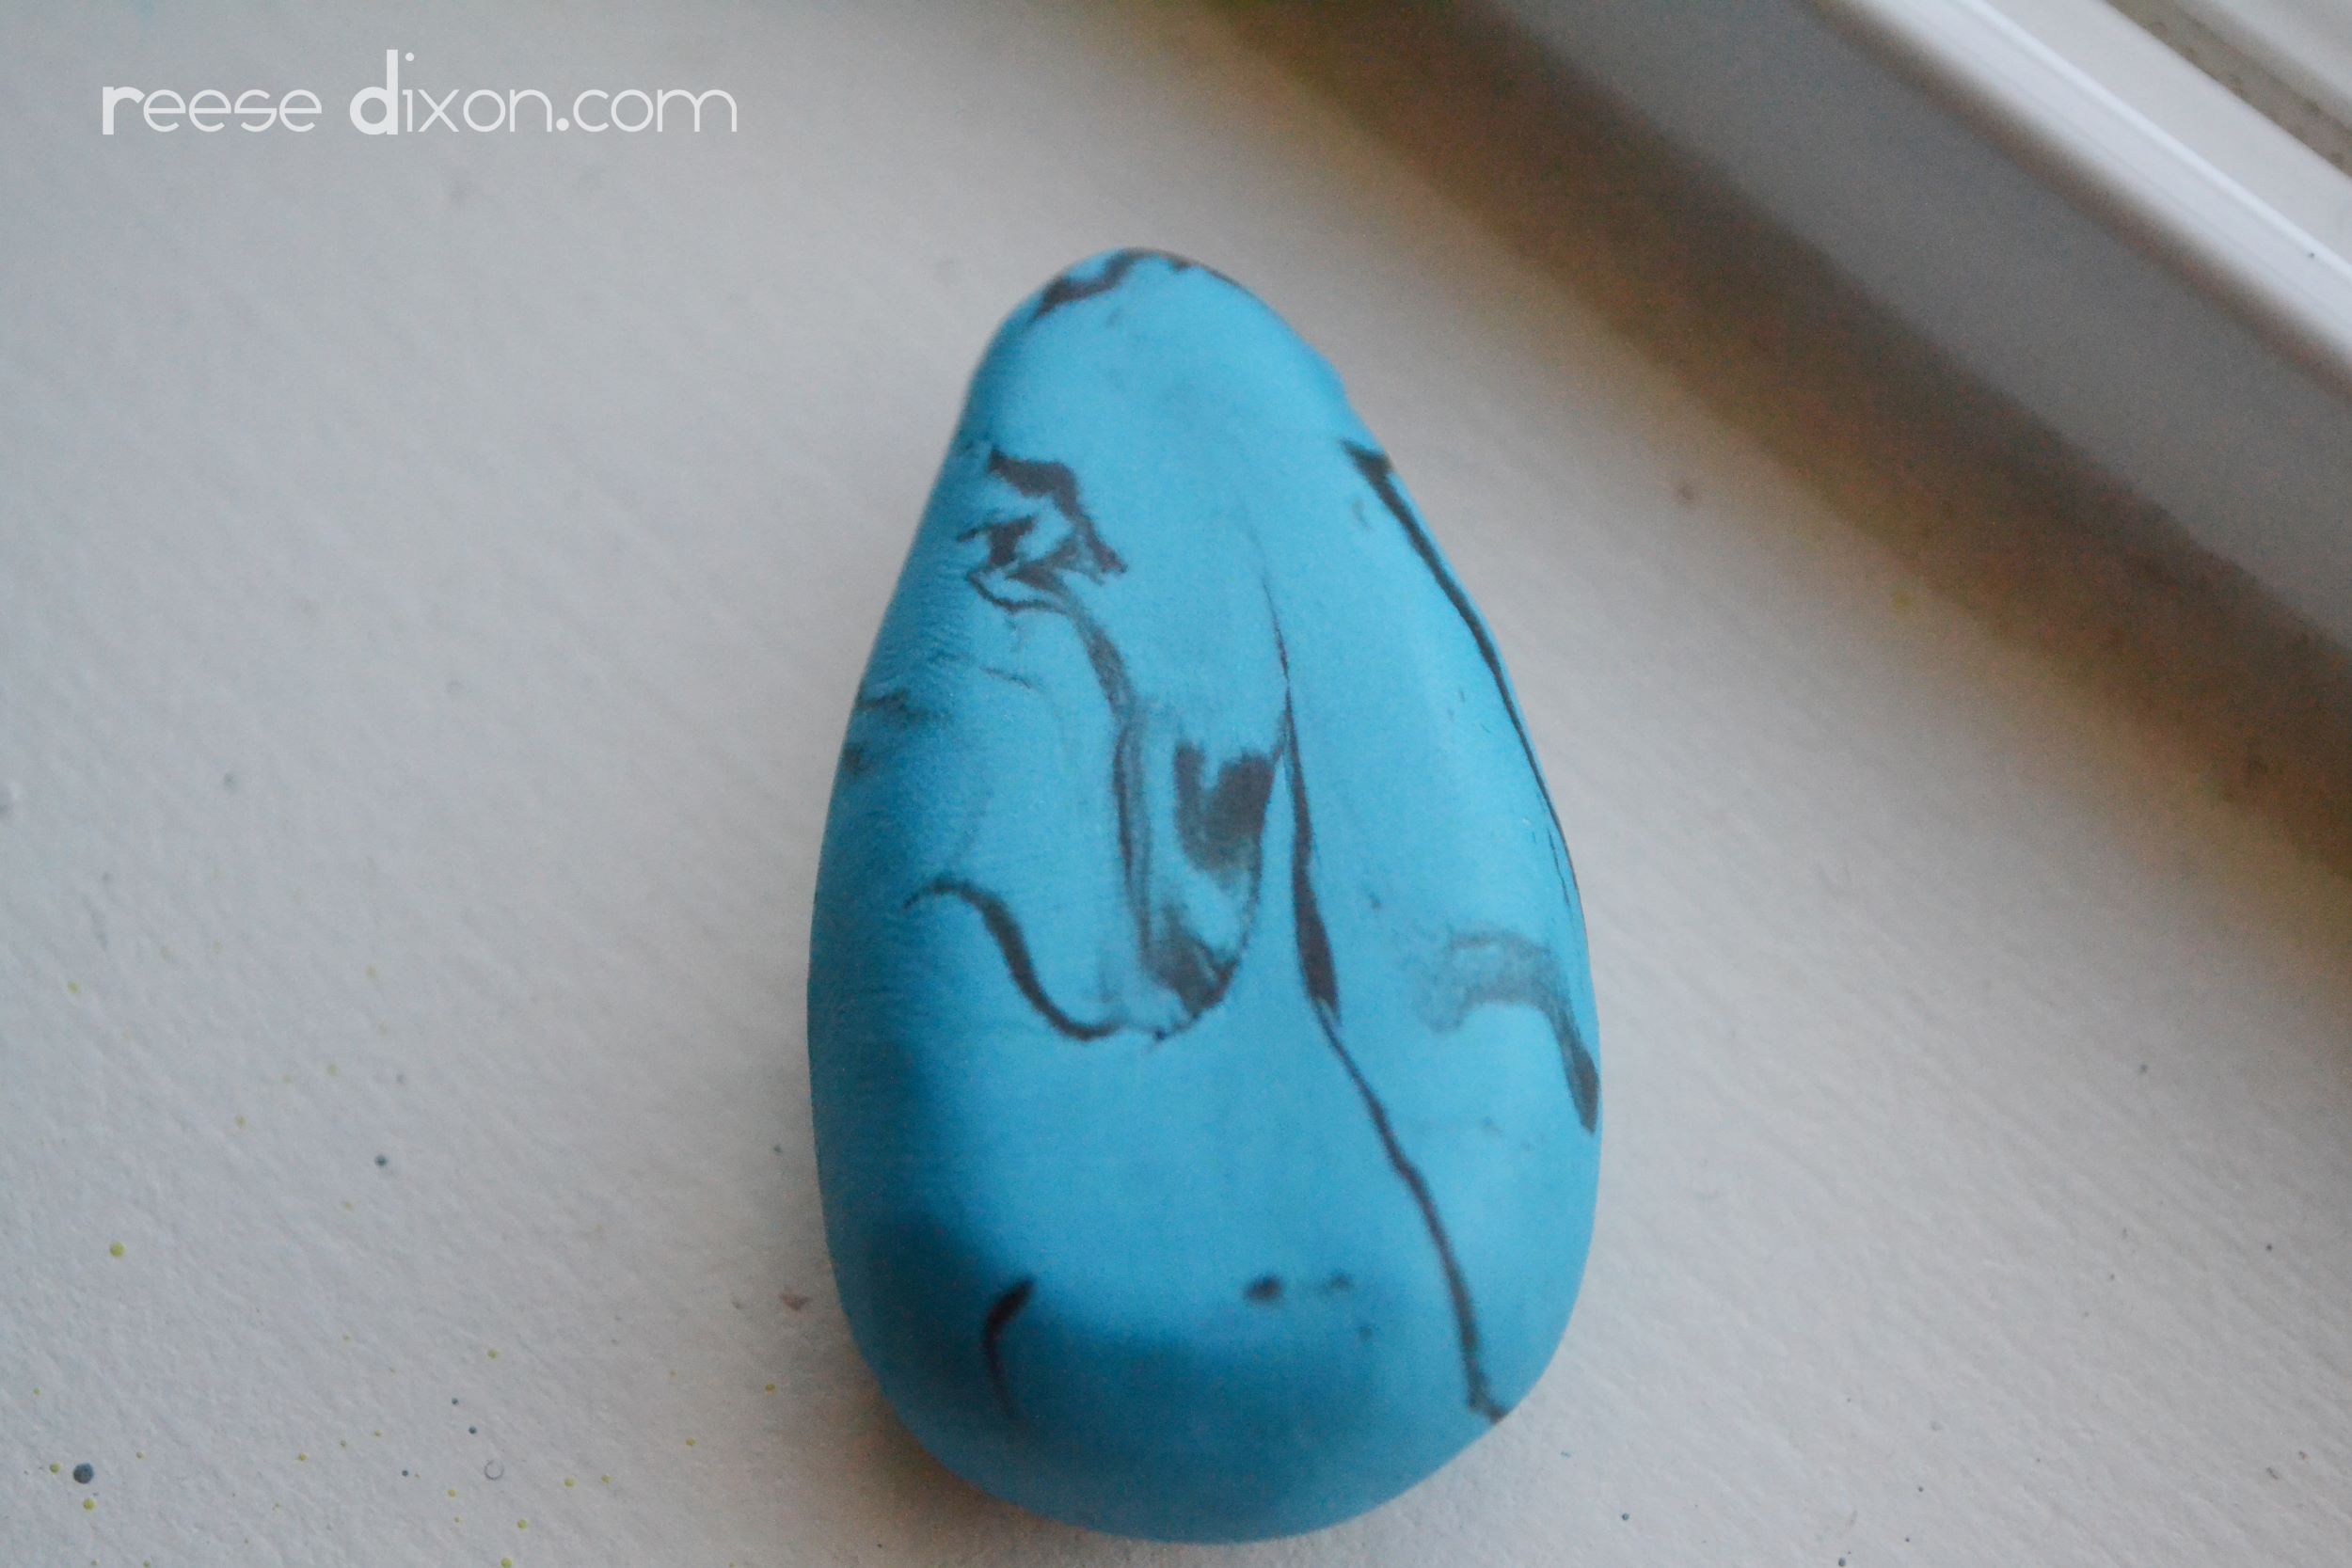
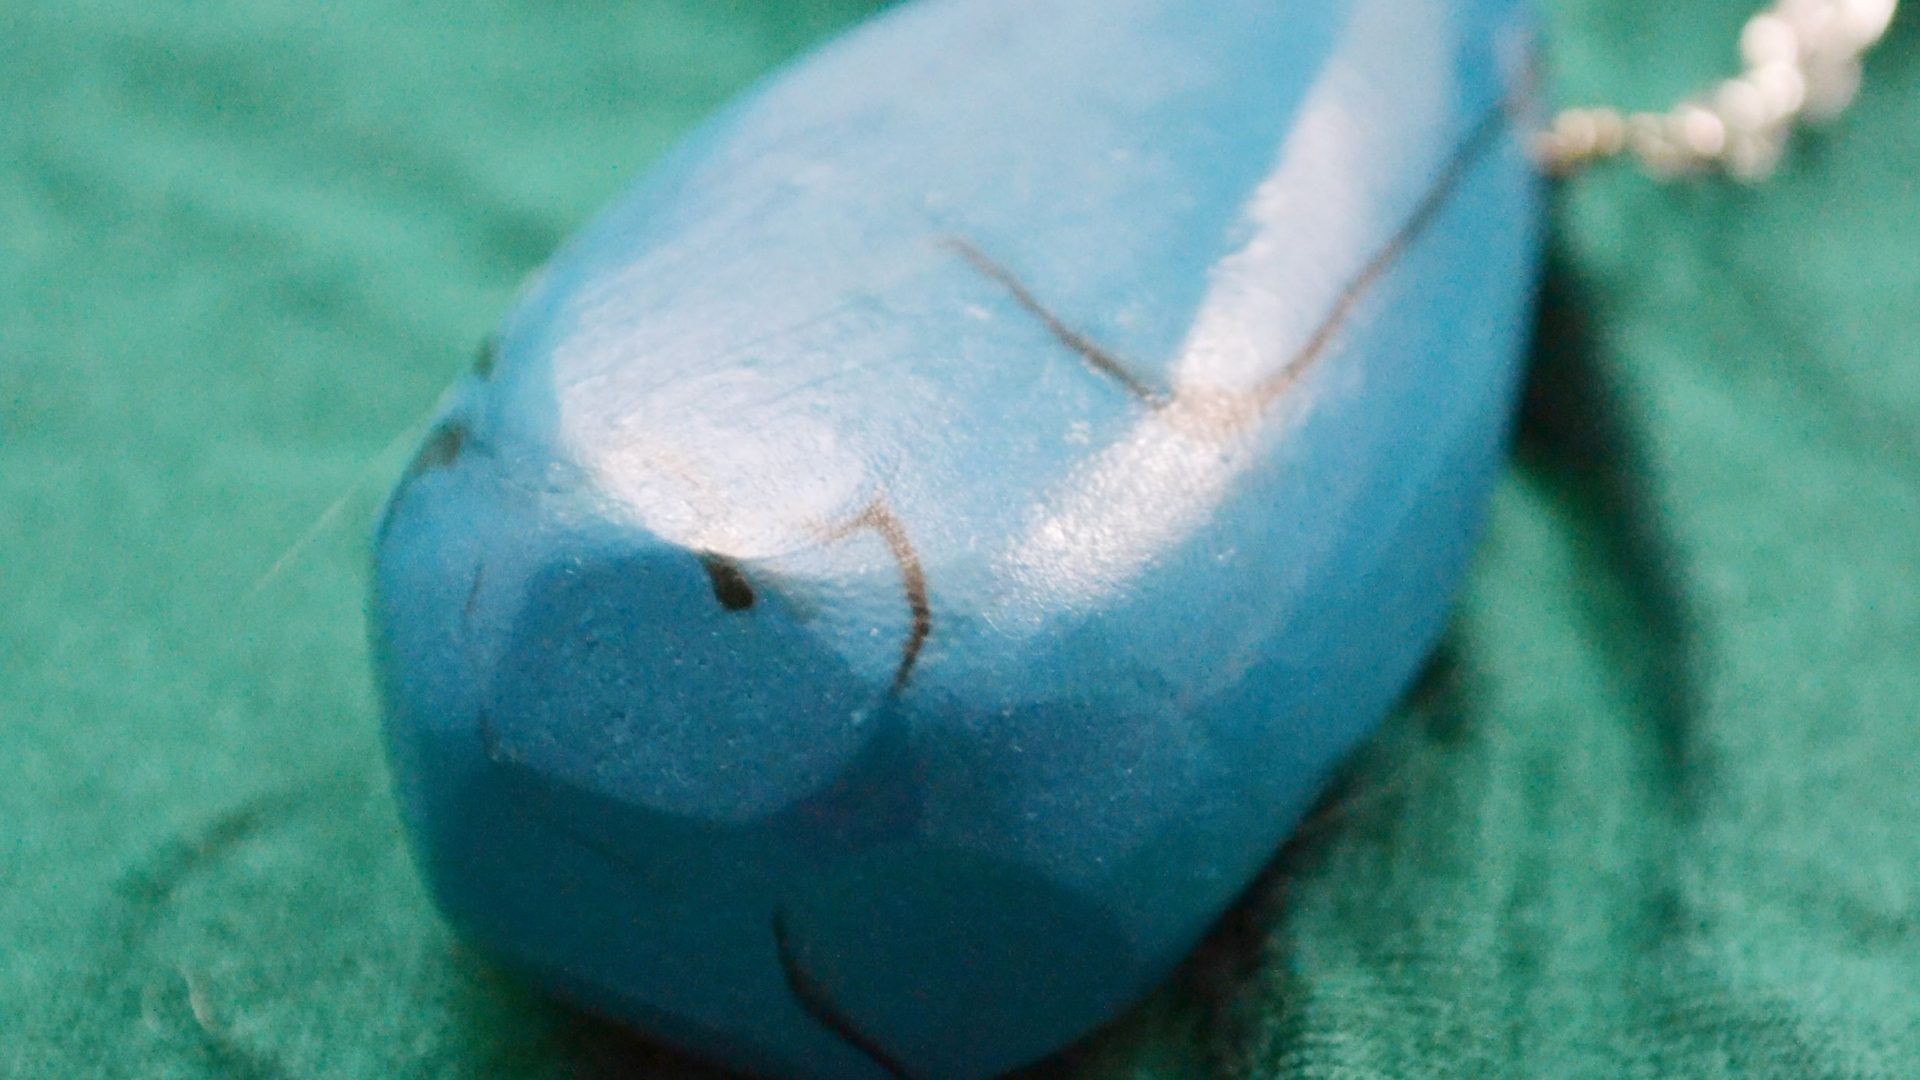
Then you just manipulate the clay around until the black becomes subtly incorporated (NOT blended in) and some interesting ripply patterns come out. Sculpt the clay into the shape you want your bead.
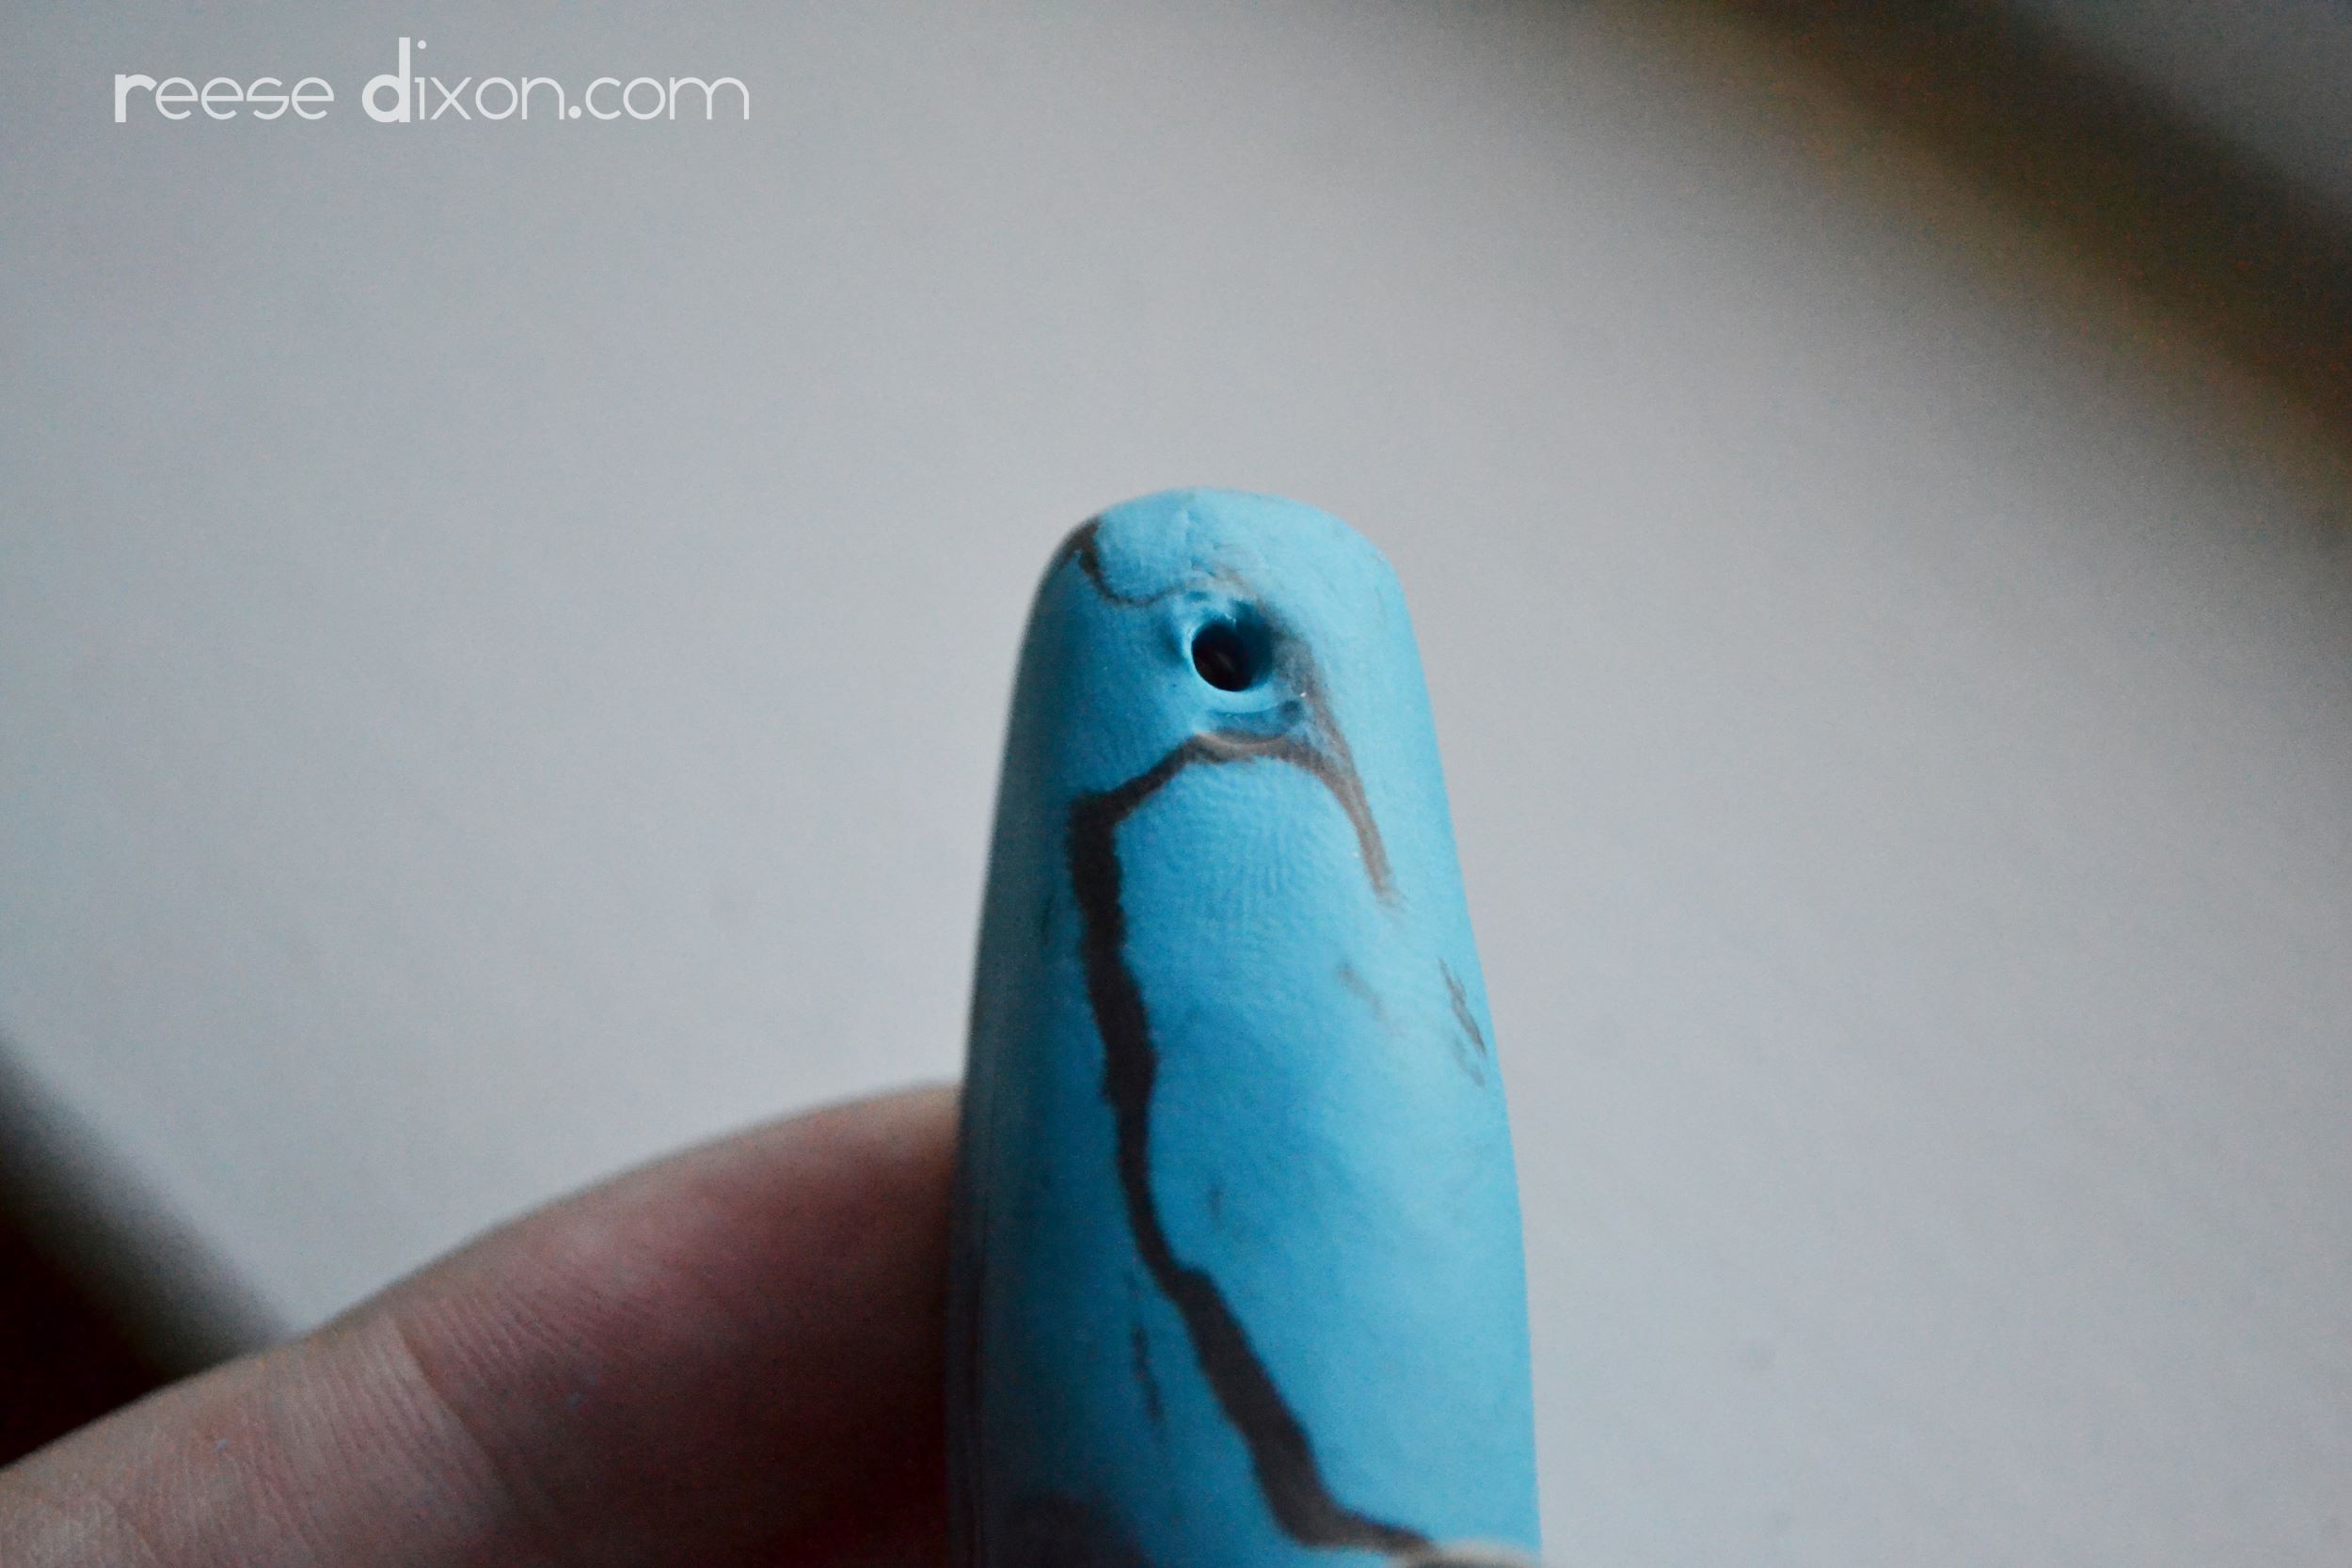
Remember to make a hole for stringing an bake as the package instructs. You could stop here and use the beads you’ve made, or you can go through a few more steps to make something really pretty and finished looking.
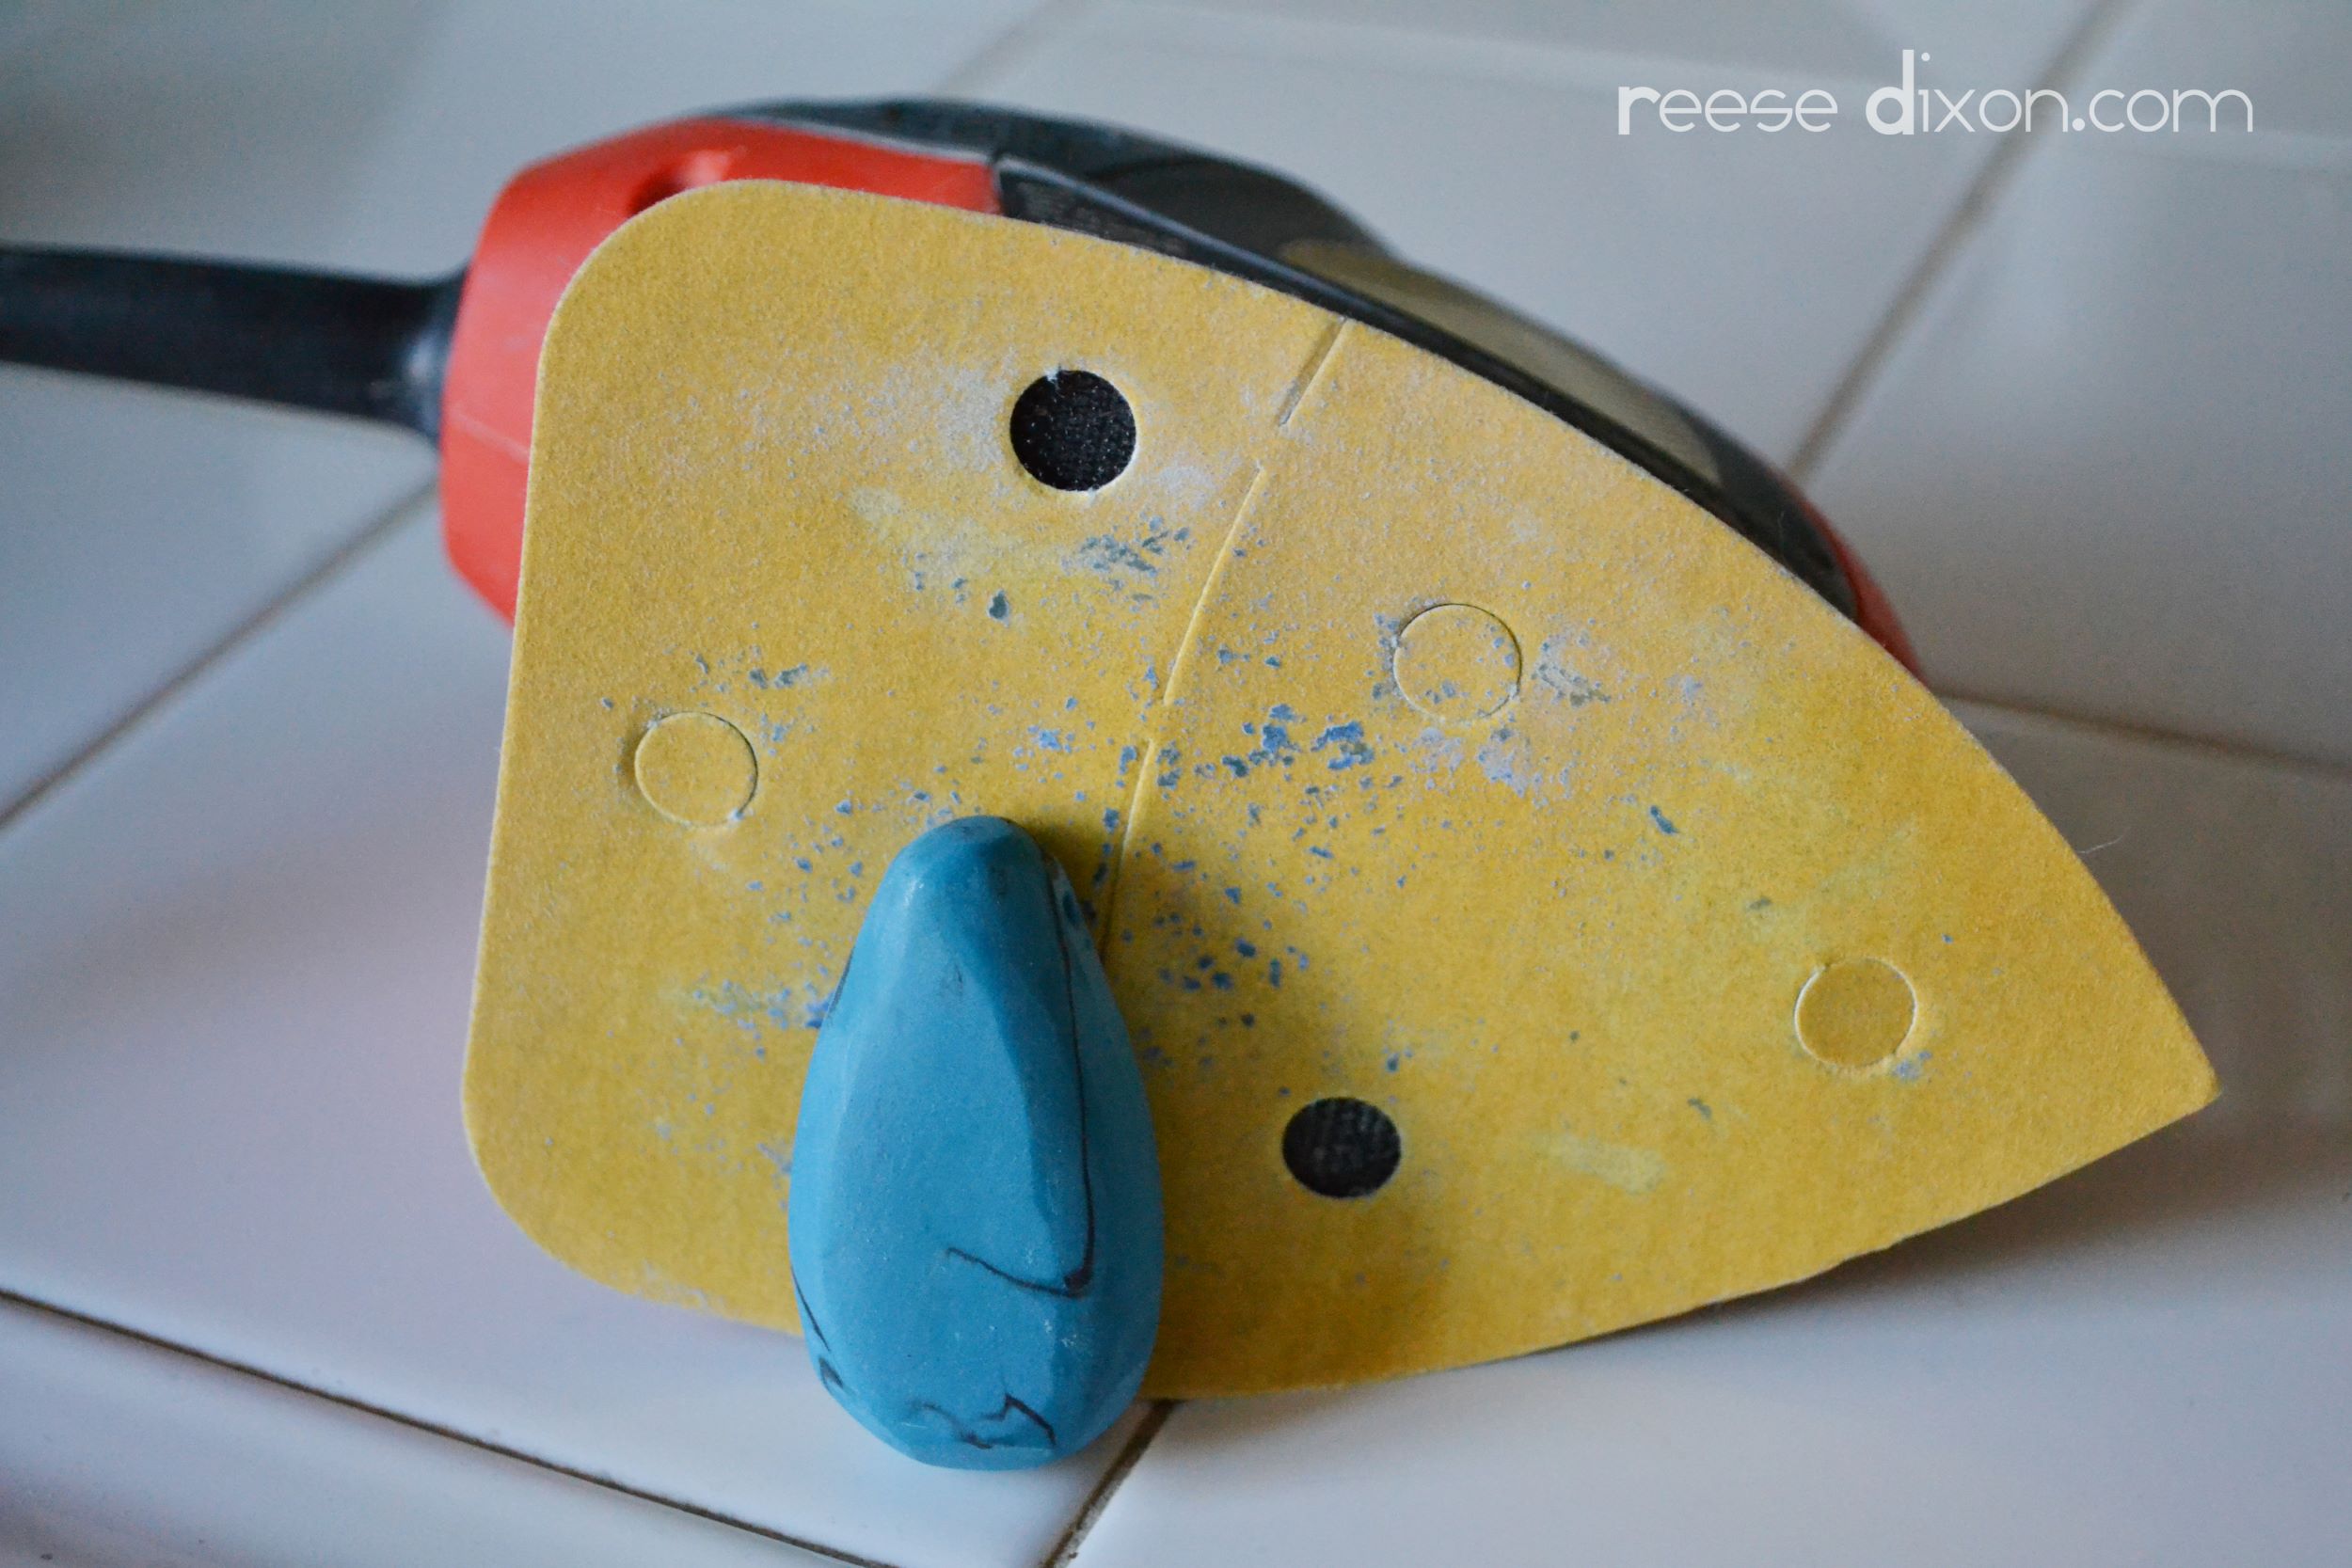
With the finest grade sandpaper you can get your hands on, give your bead a good sanding. For smaller beads just sand by hand, but with this big pendant I used my palm sander with great results. I used the sander to get rid of any fingerprints I left behind or uneven spots, but I also used it to make facets like you’d see on a cut stone.
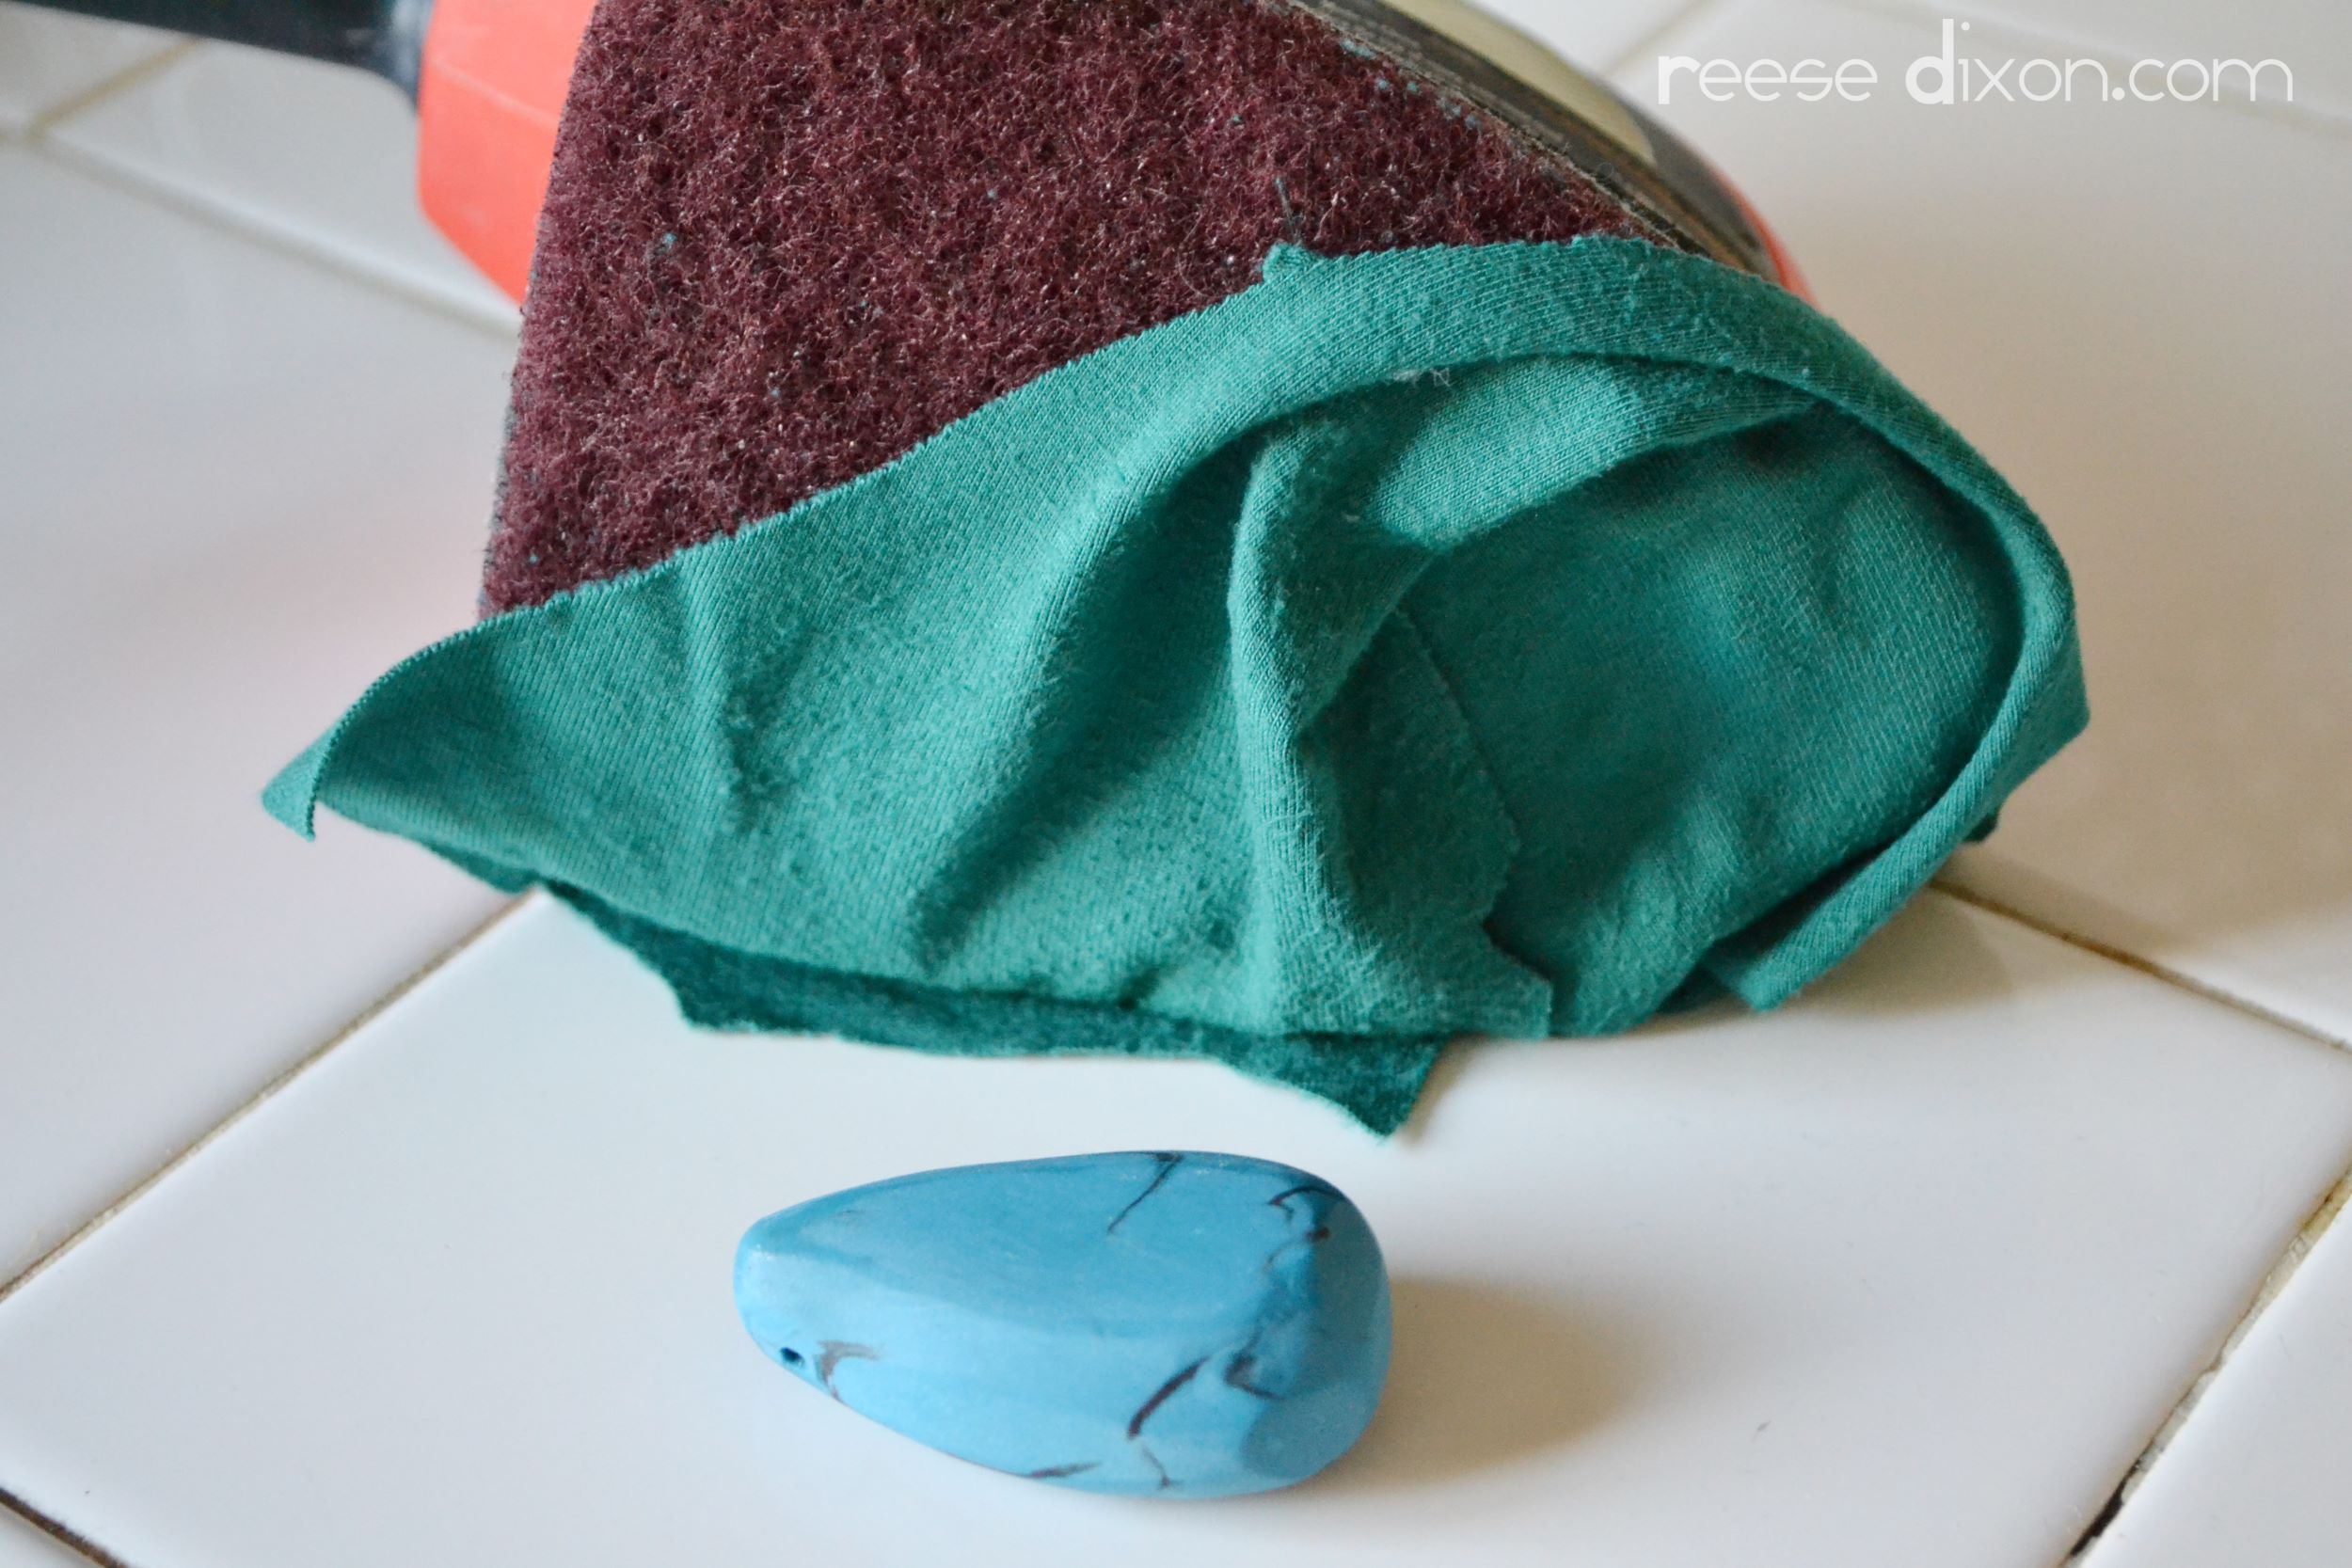
Sanding leaves a rough texture, so after sanding you have to buff. This basically just involves taking a soft cloth – a scrap of leftover jersey from a sewing project in my case – and rubbing the bead with it. I used my palm sander again to save myself some elbow grease.
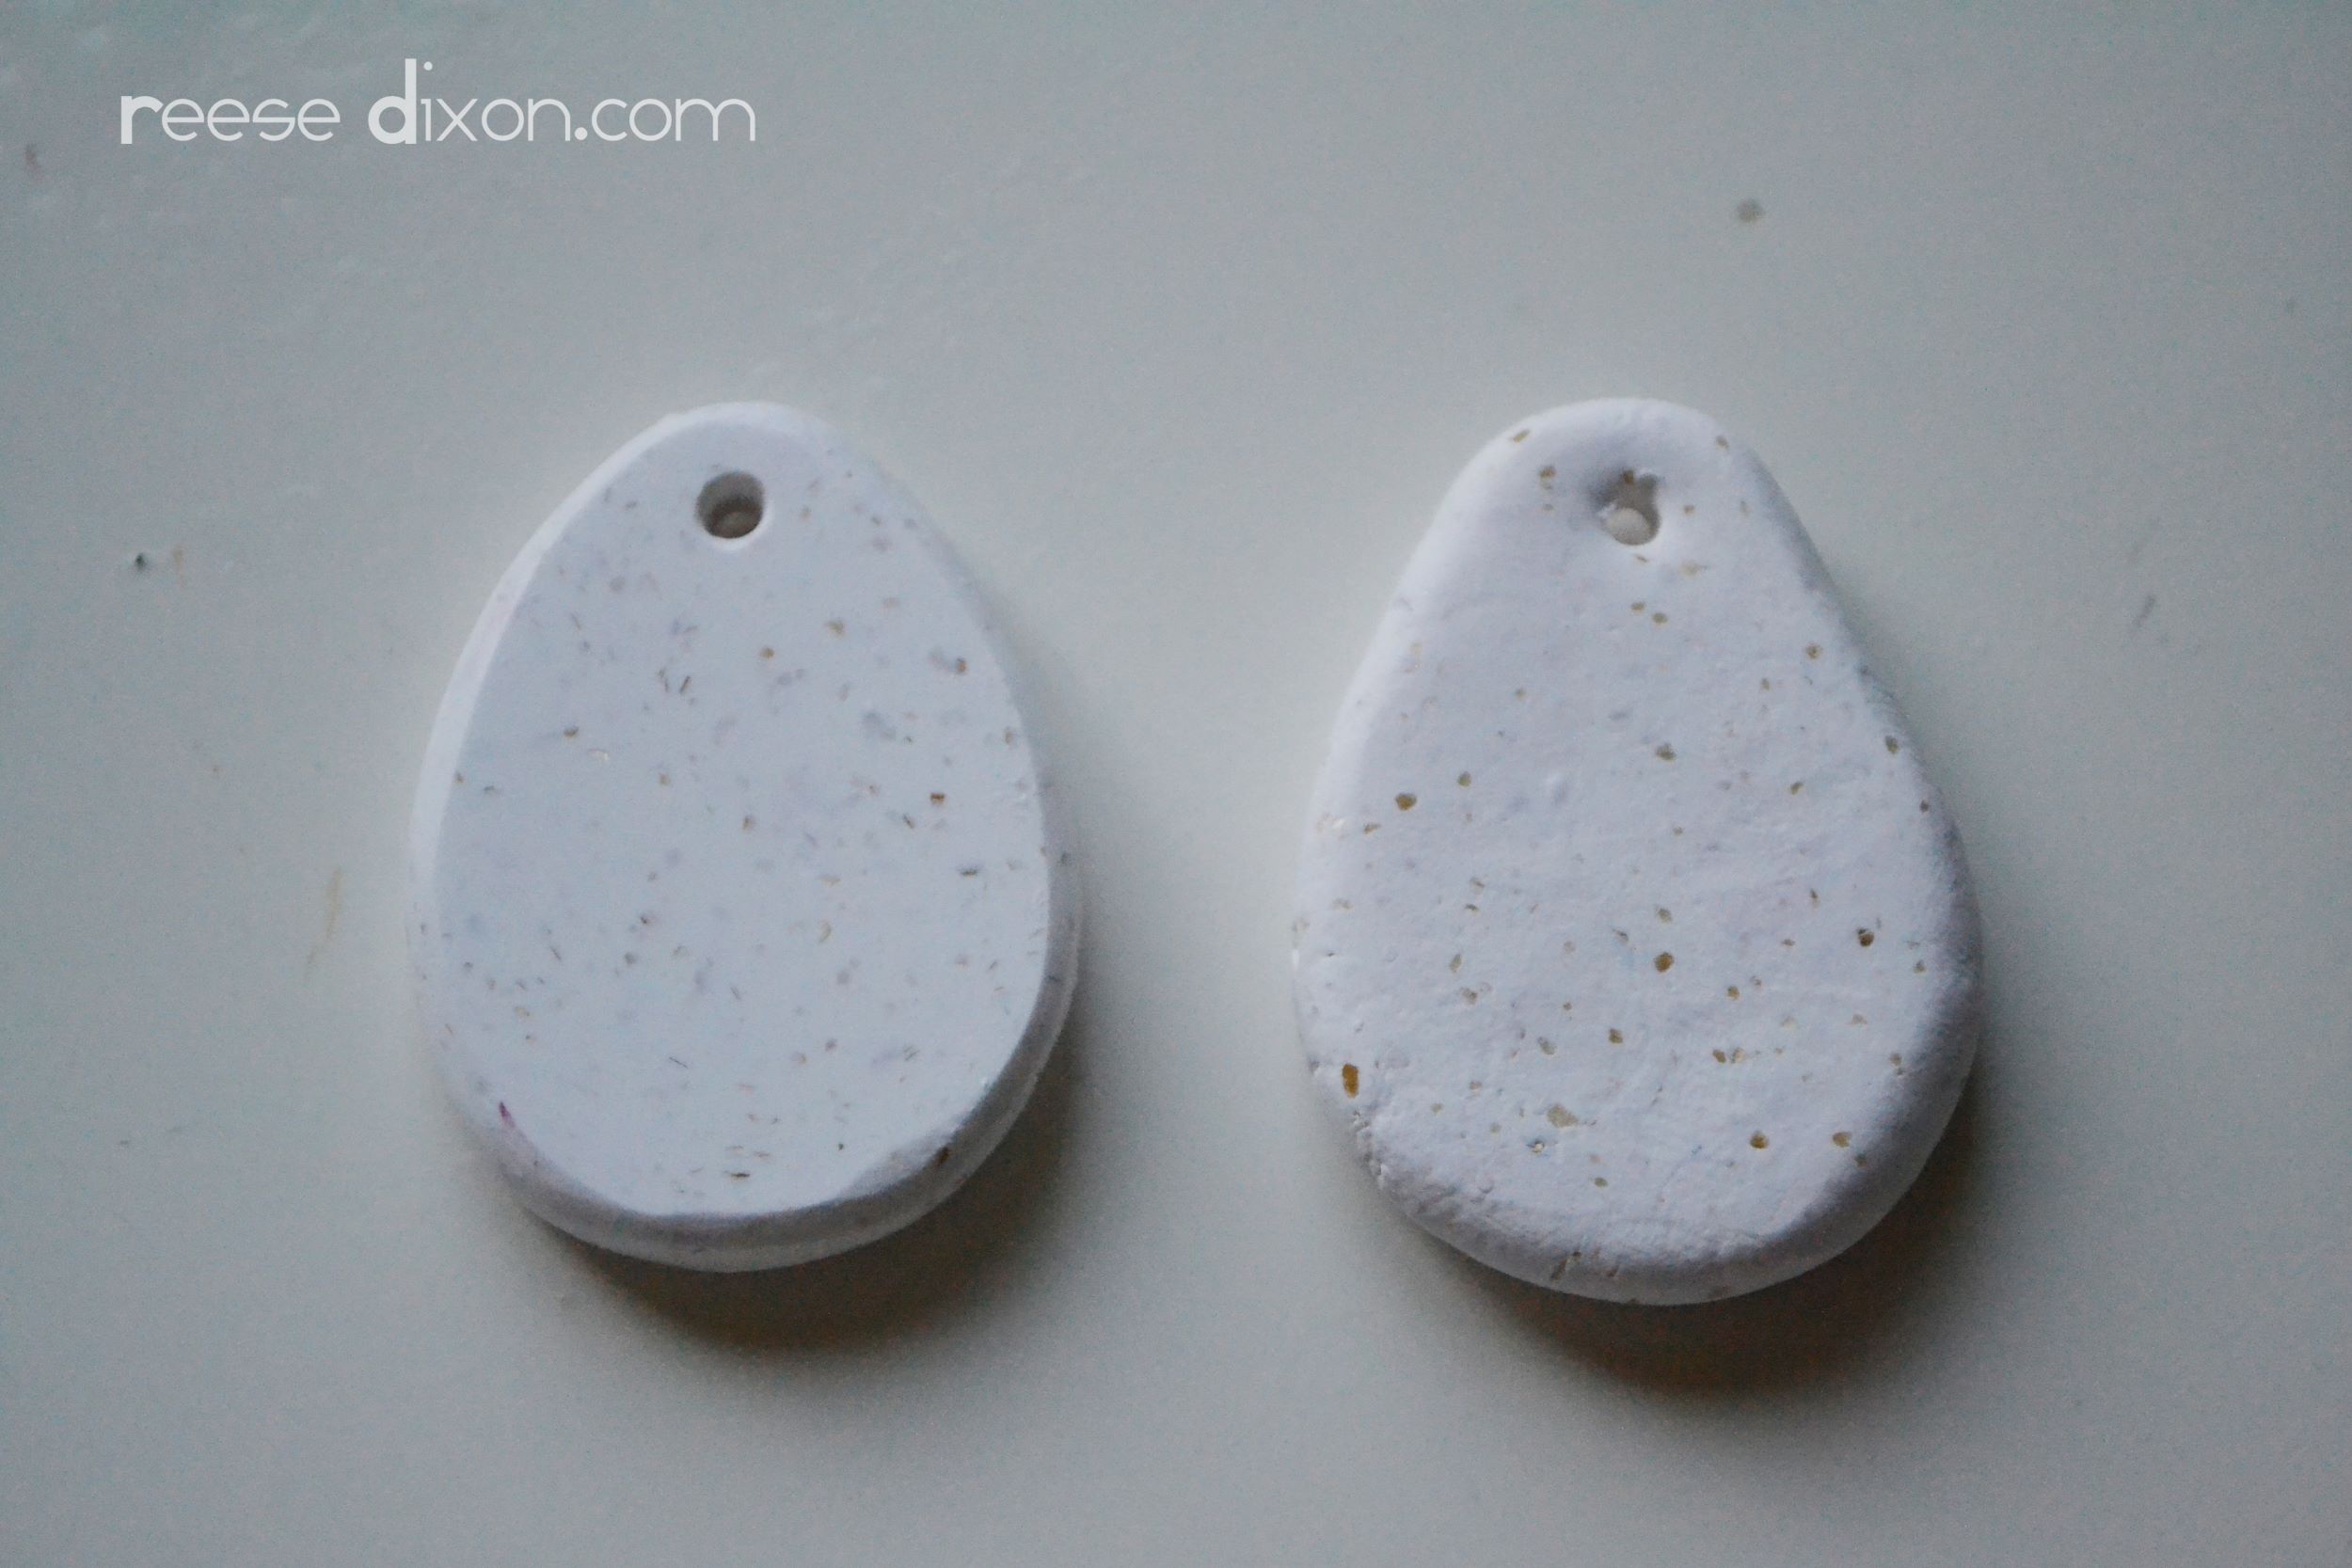
If you’re tempted to skip these steps, check out this before and after. One looks crafty and homemade, the other looks like a bead. What a difference, eh?
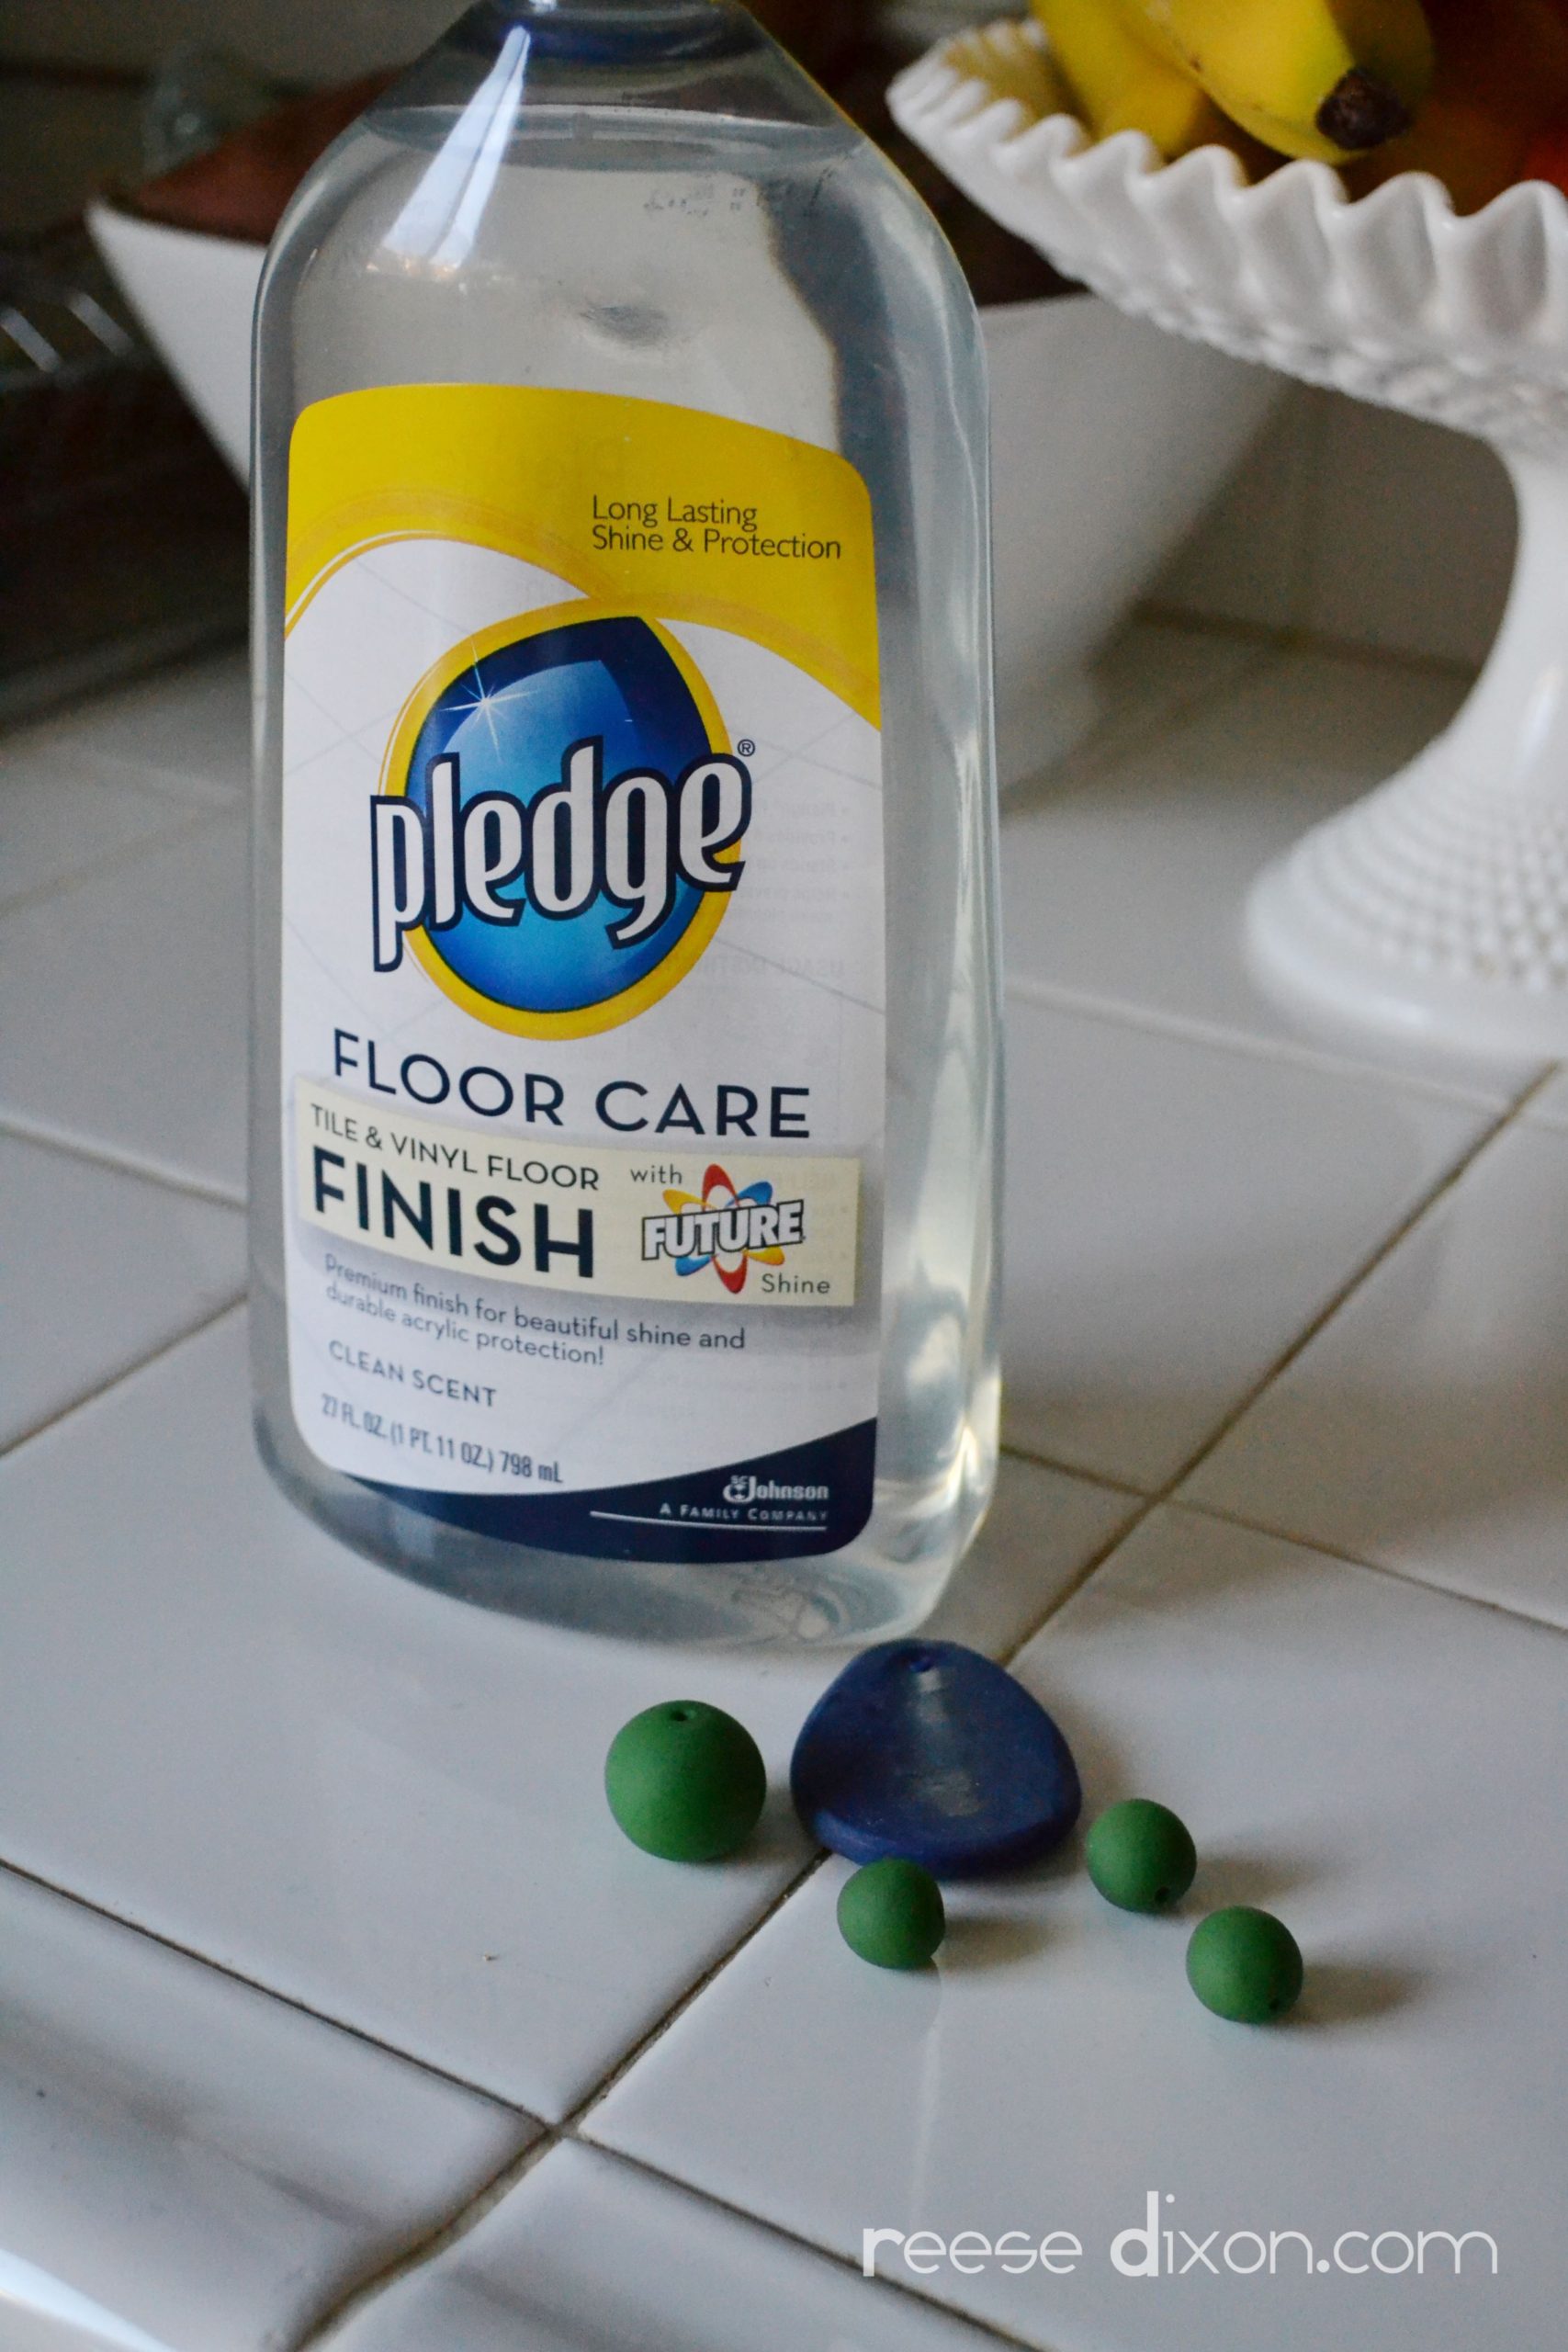
I wanted a SUPER high gloss shine on these beads, so after consulting with the internet I decided to try floor wax. According to some experts, using anything but Future floor wax will eventually get sticky, but they don’t seem to make Future floor wax anymore, so I’m hoping this is the same stuff. So far, so good. I just rubbed on about a dozen coats, letting it dry between layers. But I was going for SUPER high gloss. One coat will still look great.
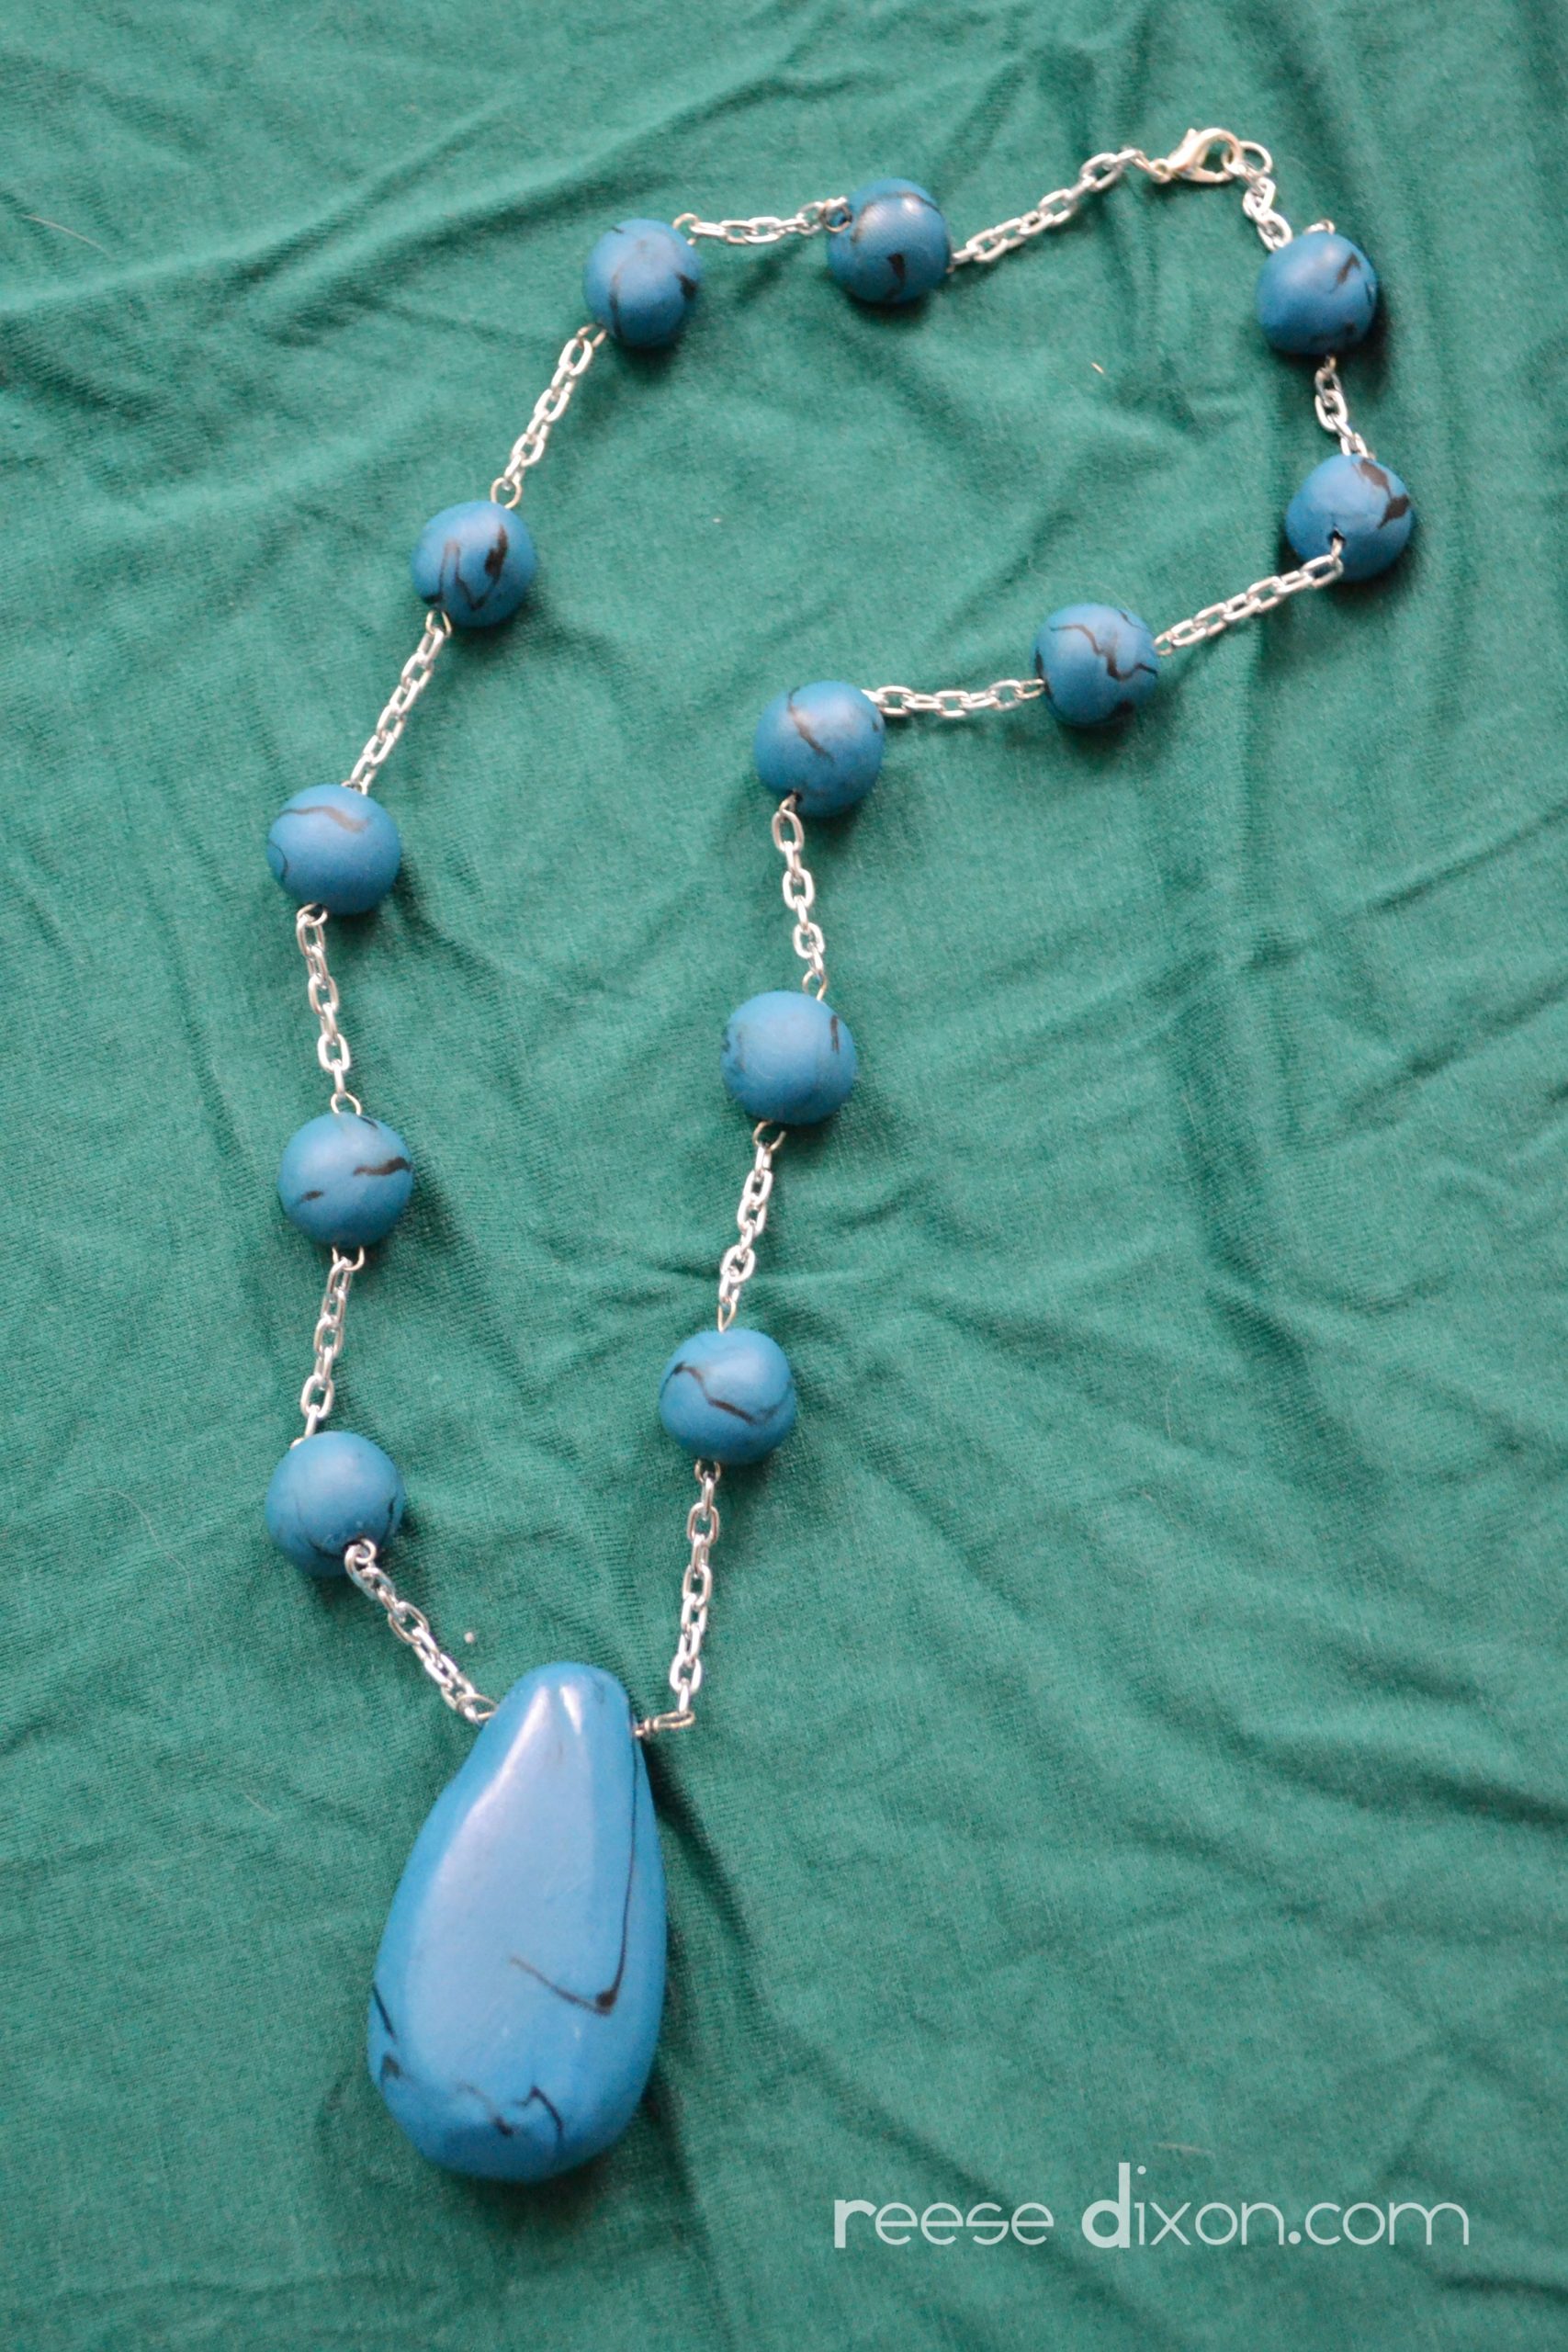
I don’t think this necklace will fool anybody into thinking I’ve been spending time in New Mexico, but I’m not really interested in tricking anybody. I’m interested in cute stuff that actually fits into my budget, and polymer clay is even cheaper than the jewelry bar at Forever 21.
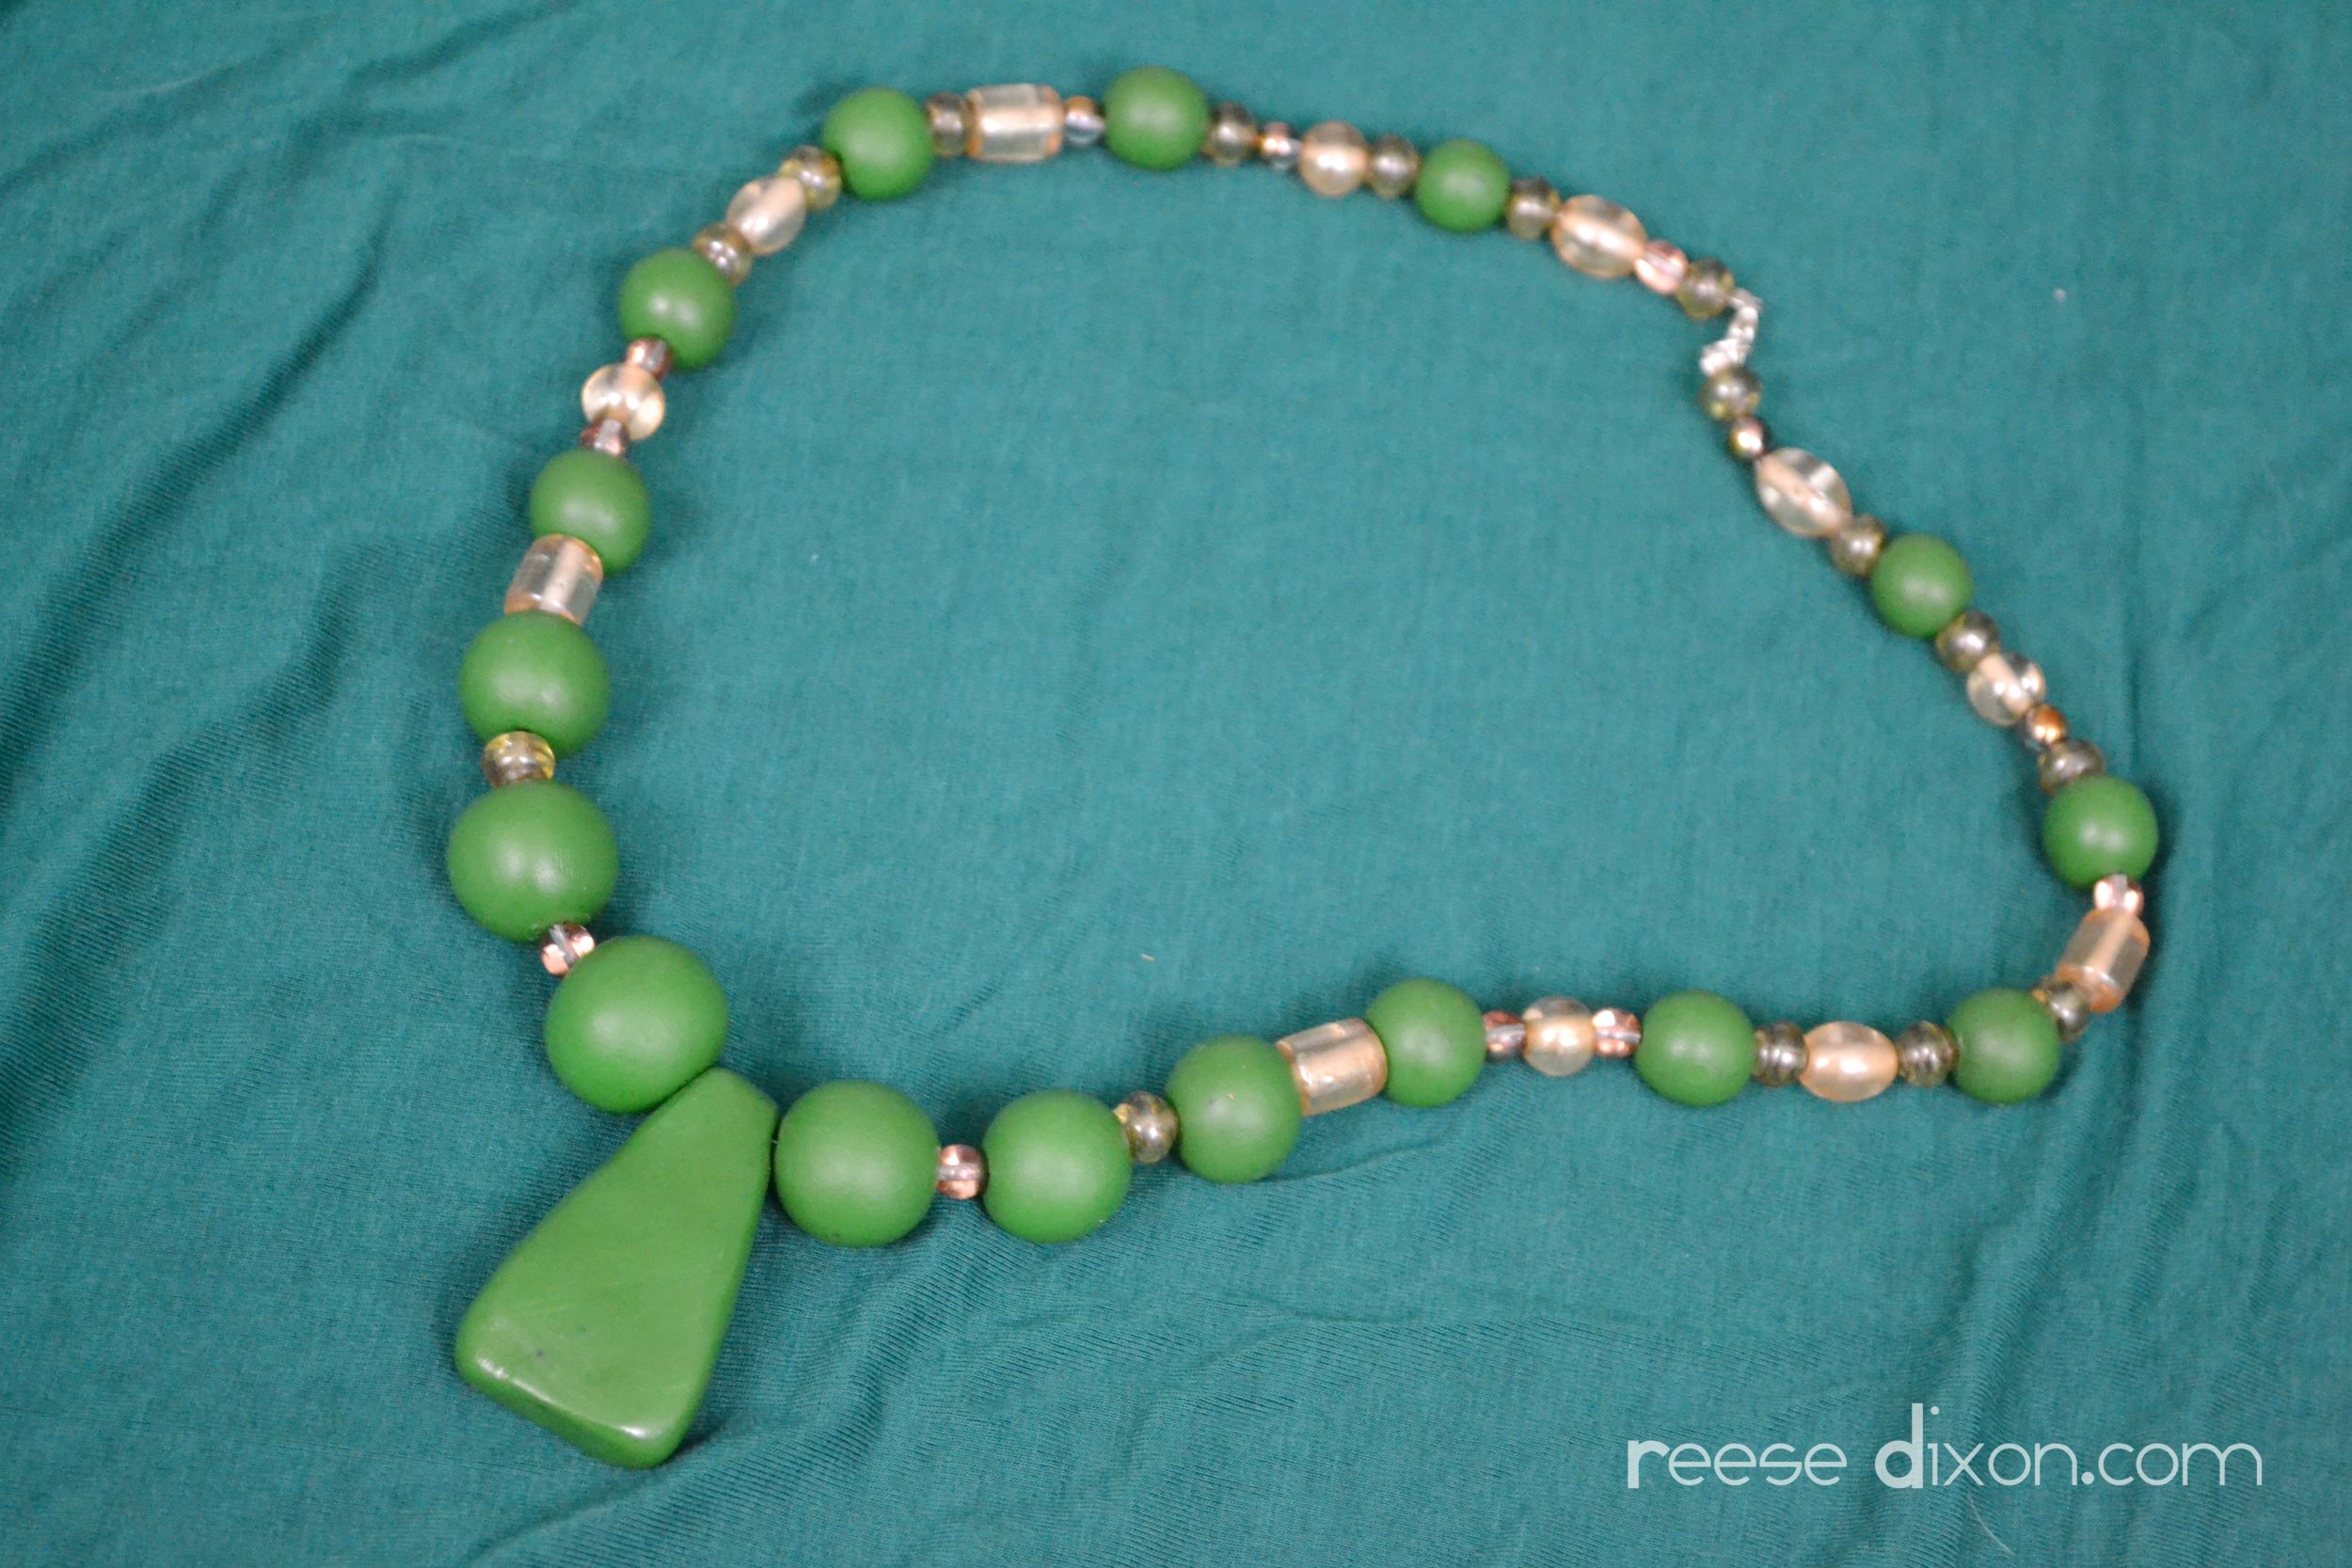
While I had the clay out I made a few other necklaces too. I tend to get my messy crafting done in batches.
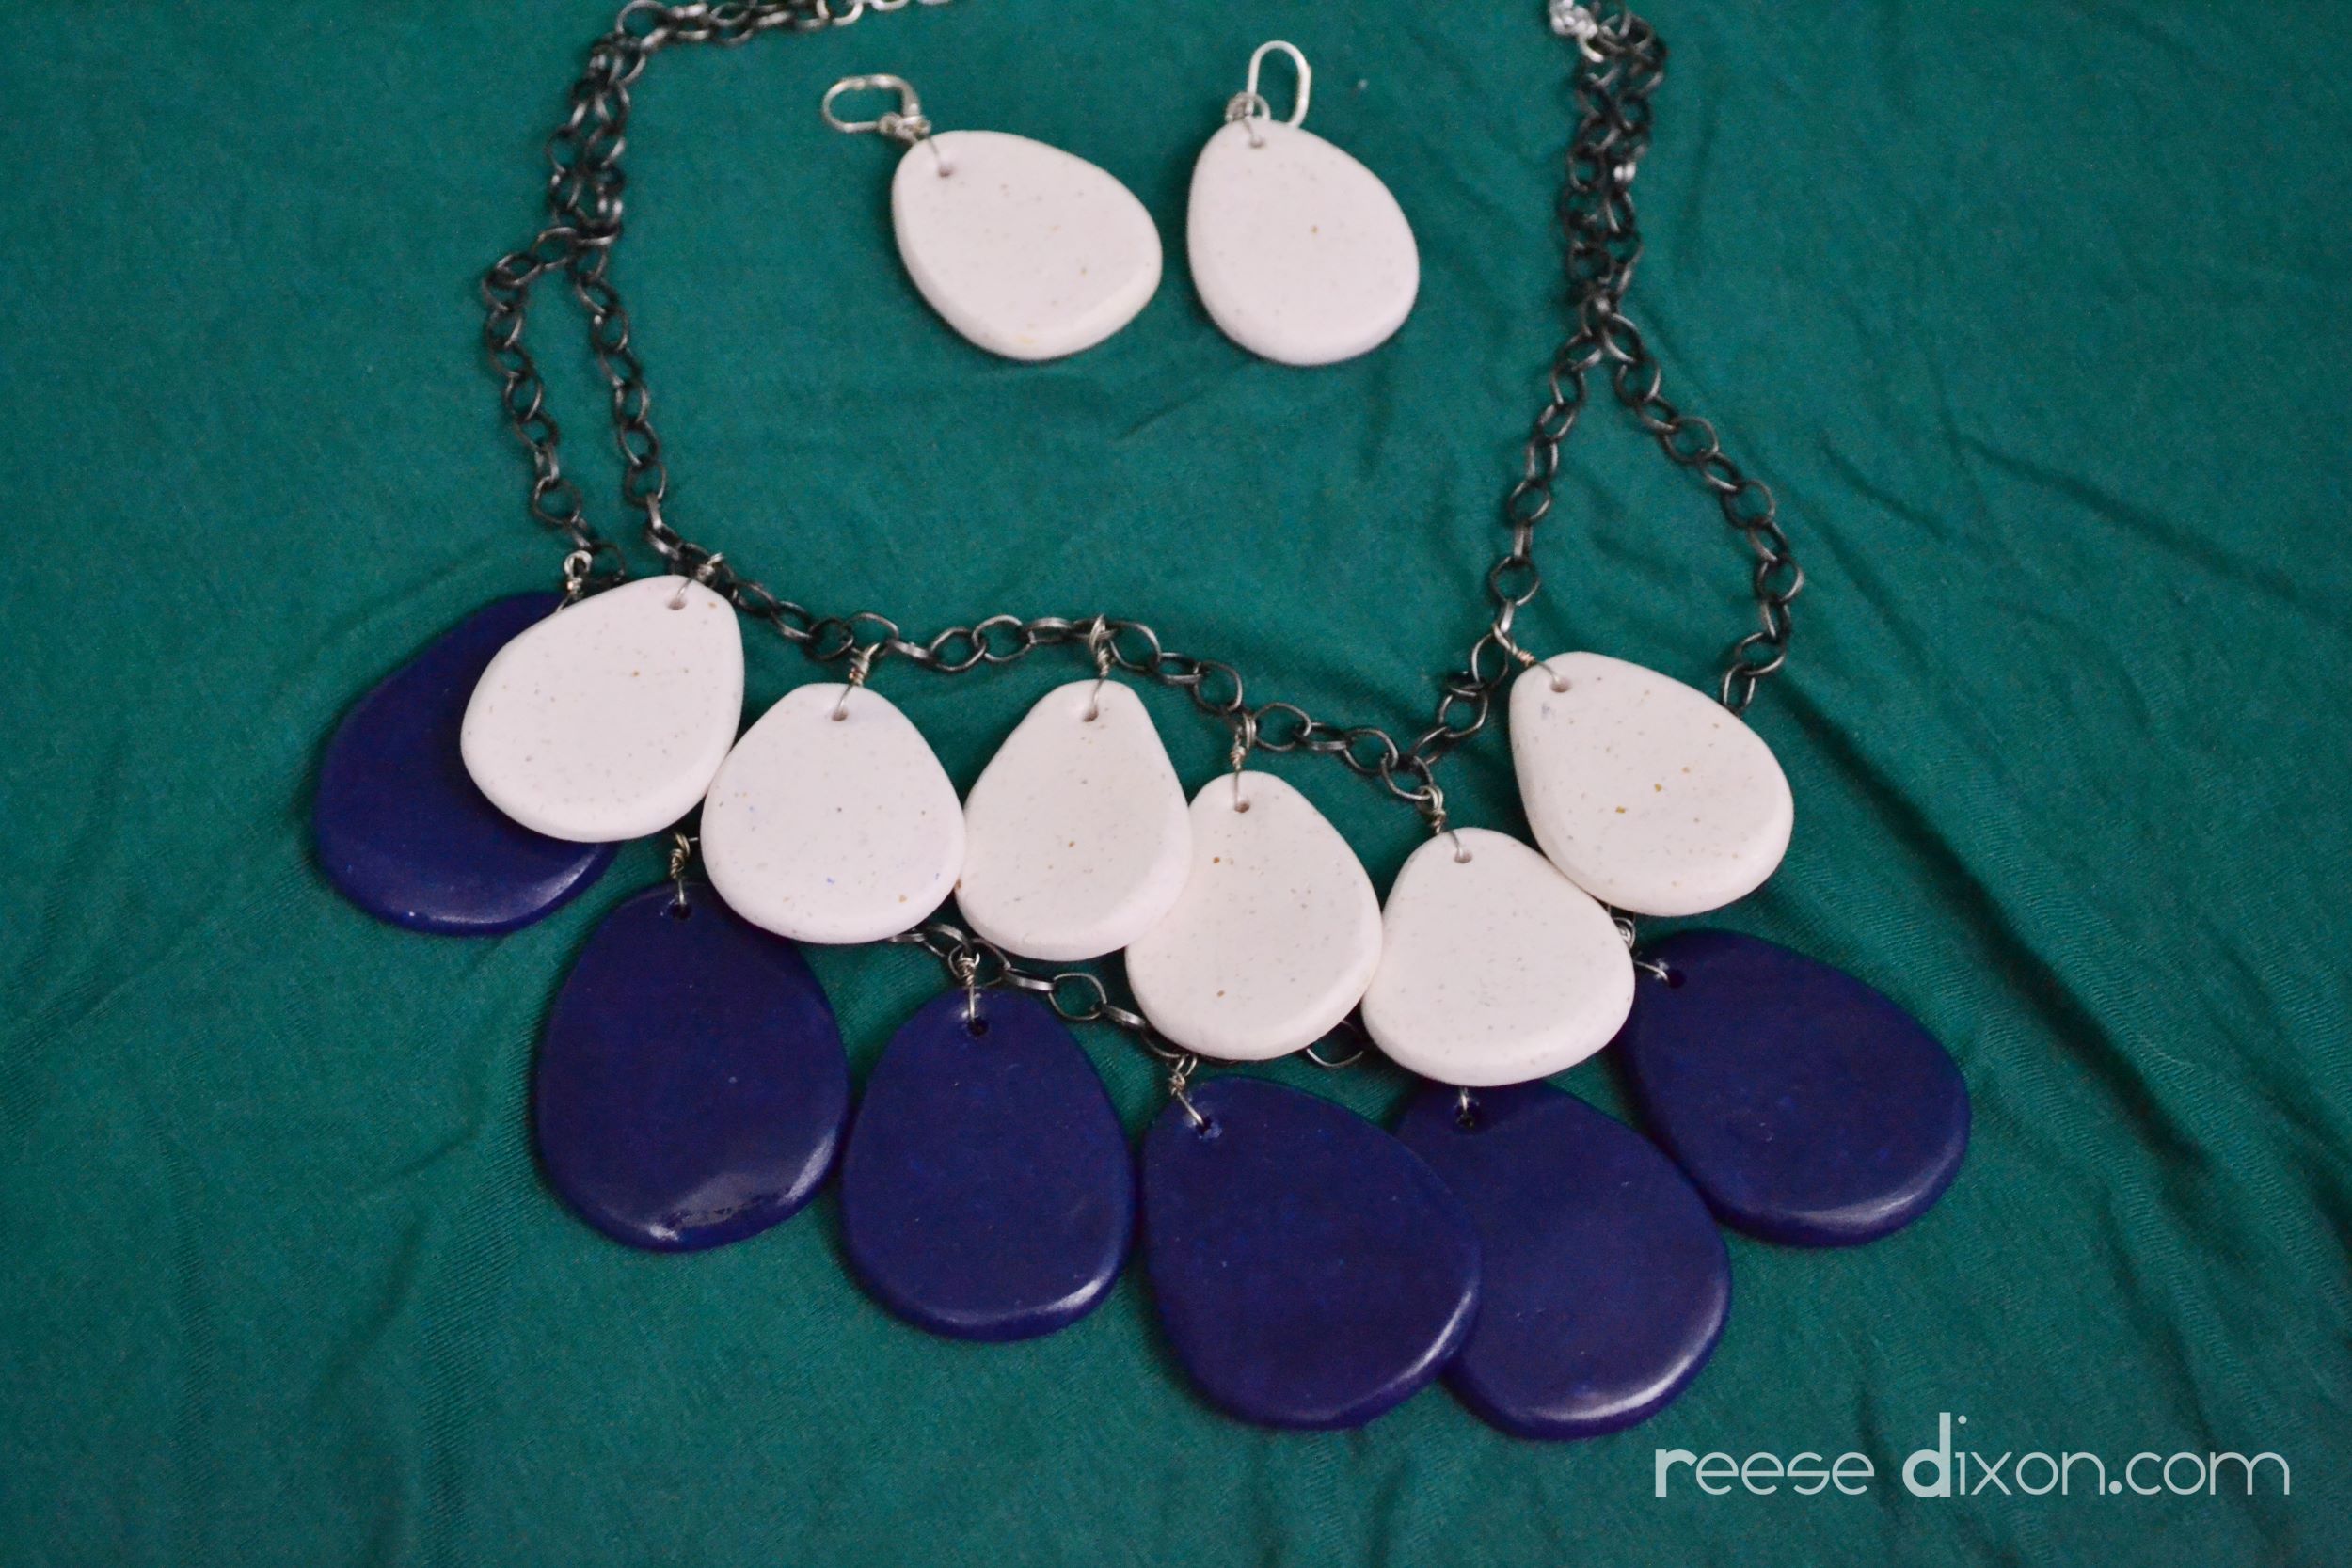
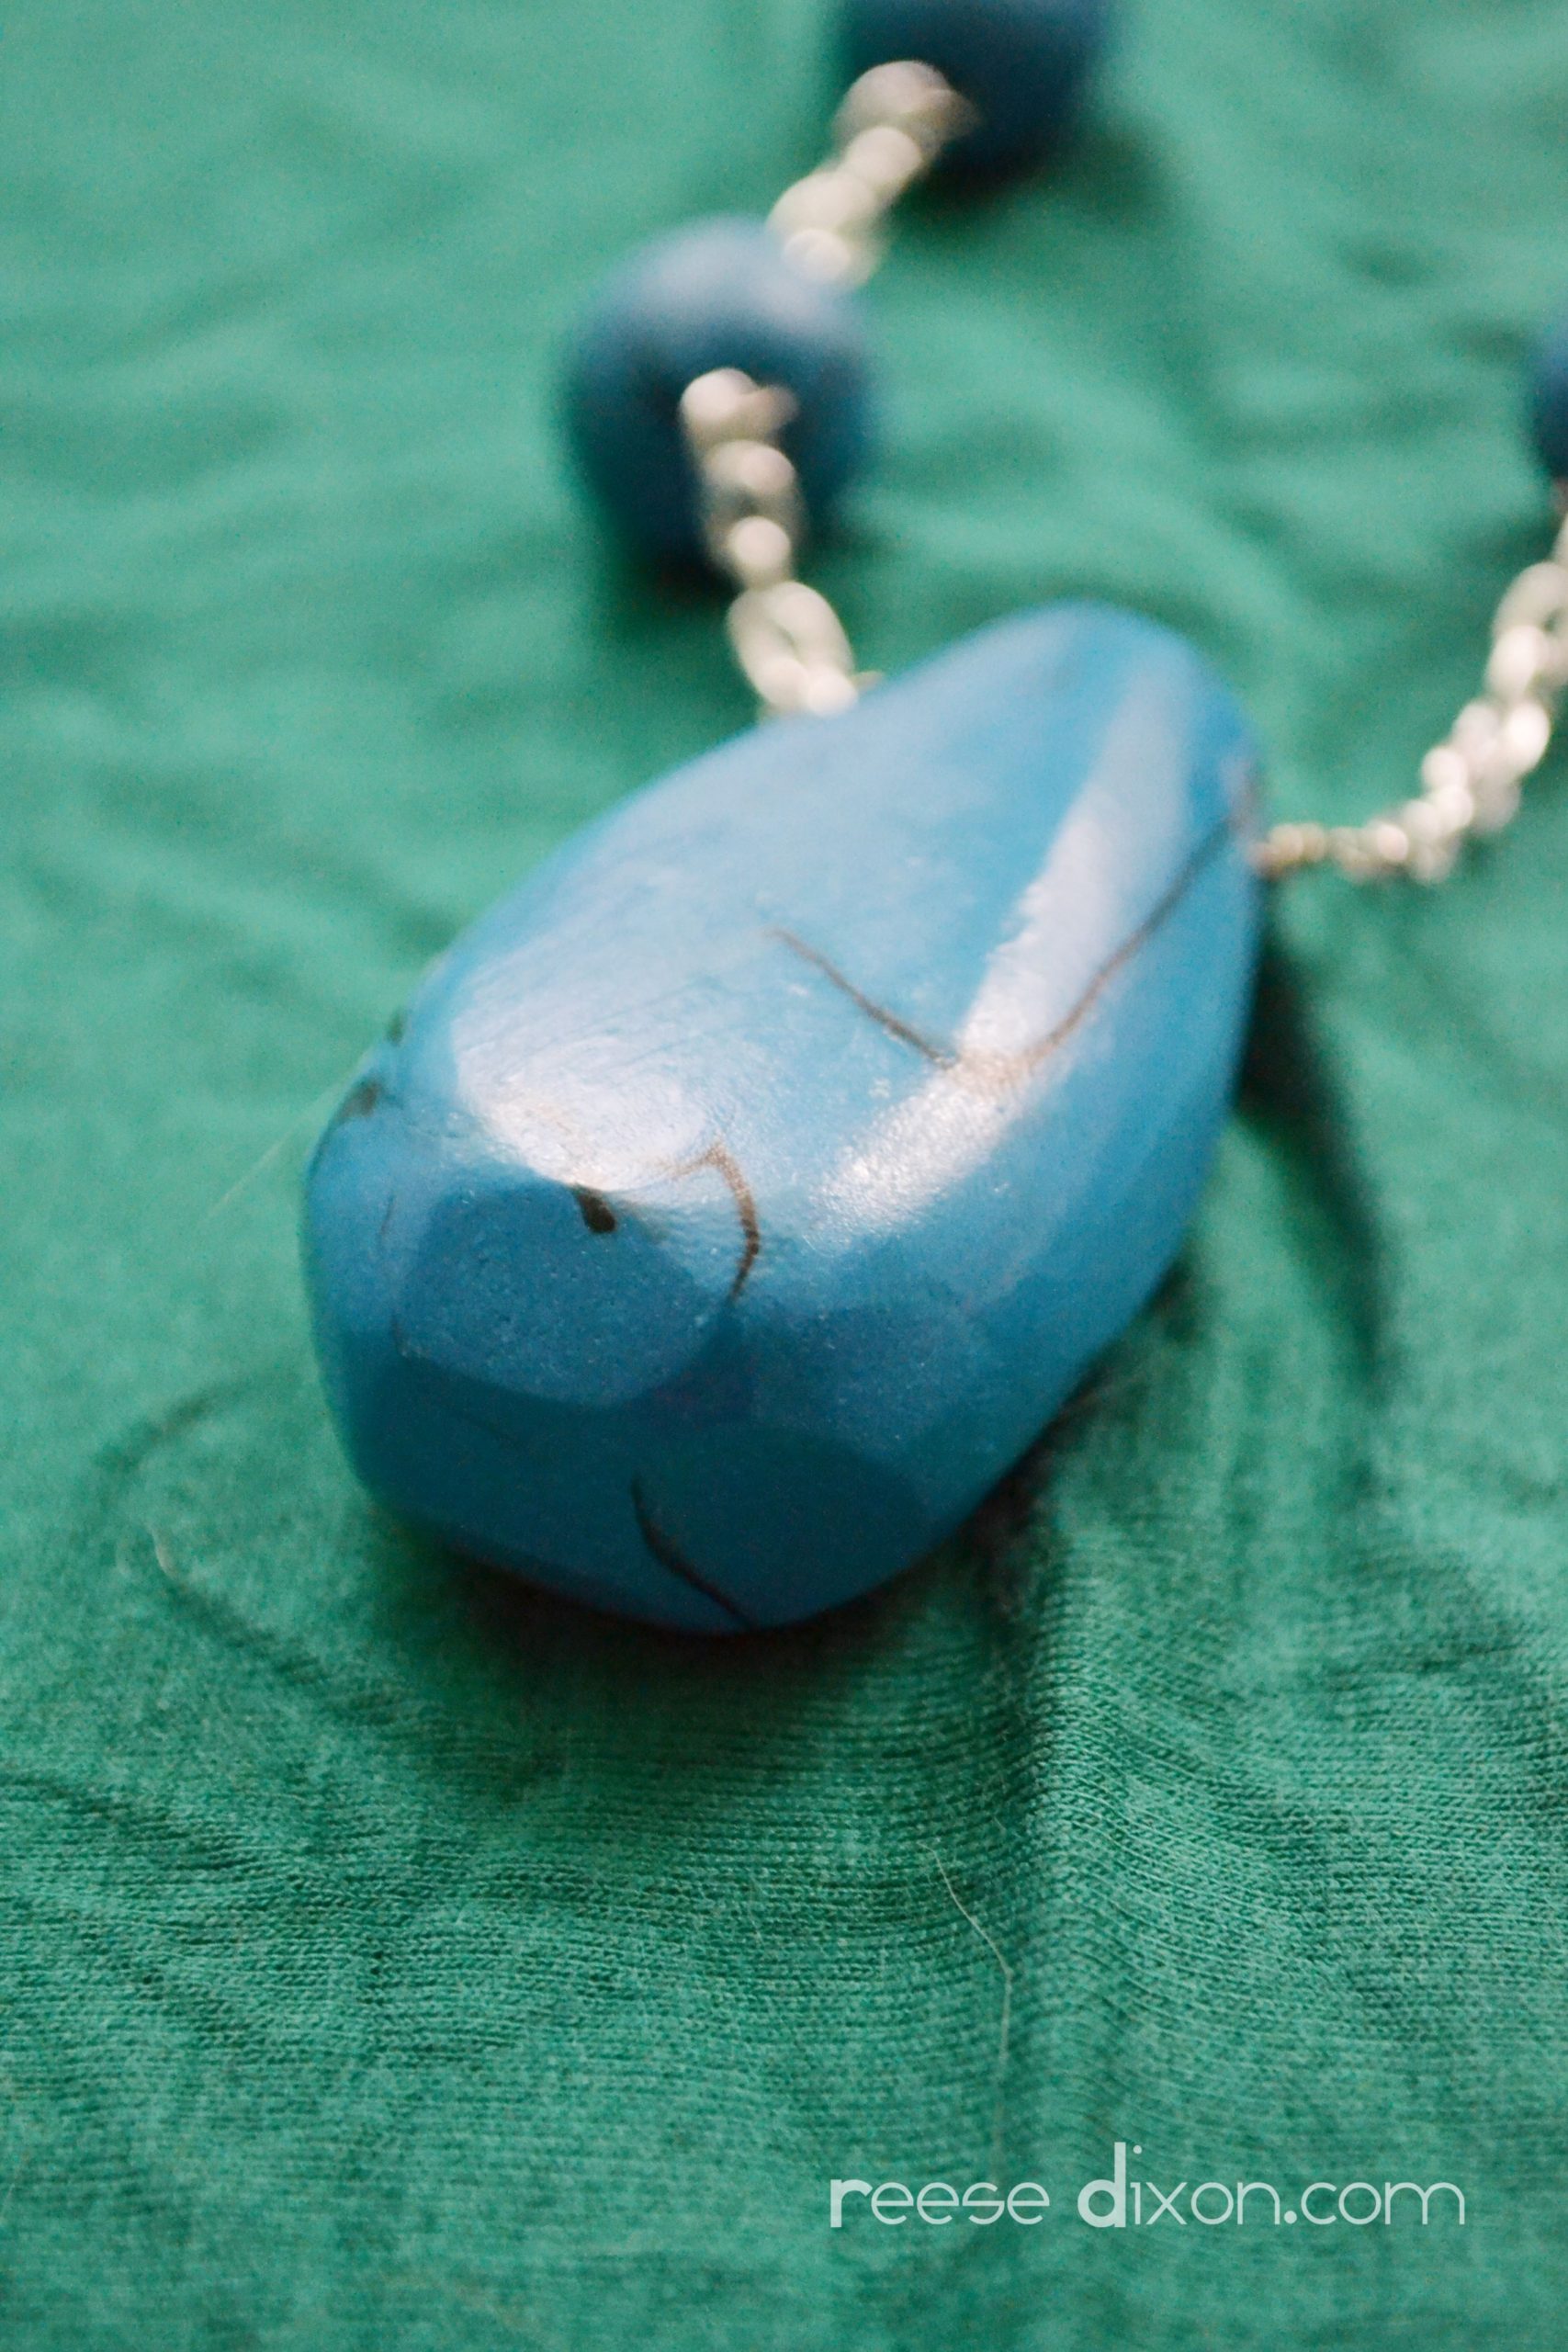
This one is probably my favorite. I love a big statement necklace, and this one worked out to cost me $4 and an afternoon. That is some serious gratification to get my crafting mojo back.


Very pretty! I love the glossy blue flat teardrops in the blue and white necklace.
And yes, Pledge with Future is essentially the same thing as the discontinued Future floor wax…at least that's my understanding.
Thanks Kelsey! I'm glad to know this necklace won't suddenly melt on me. 😉
Thank you for these great ideas, polymer clay is what originally got me started on jewelry making, looks like I'll have to go back to where I started 🙂
i want to learn how make crystal ball studs
Good idea, thanks for share with us.
this is nice, but can a whole squash blossom necklace be made with both polymer and silver clay?
They assisted her quite a bit and she offers some of her items through other jewellery shops, stores and at summer time art revenue. Best Place To Sell Watches Online For Cash, Largest Estate Jewelry Buyers, Best Place To Sell Your Gemstones For Cash, Gold Buyers in US, Diamond Buyers in USA
She in comparison a lot of locations. She experienced excellent about this one because it was presented in USA Nowadays, and she liked the point that they are individuals the BBB. Large Diamond Buyers San Diego, Used Jewelry Buyers San Diego, Best Place To Sell Used Jewelry, Diamond Buyers in USA, Best Jewelry Buyers, Gold Buyers in US
Excellent post.
decision -one with a unclear clustered area to keep pellets and steel parts from moving away, little blemishes to keep the pellets structured and to keep everything in one place. Wholesale Jewelry Making Supplies
thank you very much for sharing info i really liked. cleaning makka
Cool! I have seen turquoise dots made in books, however it causes so especially to really SEE it done! I will utilize this strategy when my internal identity turns out and truly needs to make mud pies! I truly like your more extended article like this one. I truly get ingested into what you are stating and doing. I generally wish the articles weren't finished at this point when they are, you are so wonderful, and your articles are so natural to comprehend with so much good data inside.