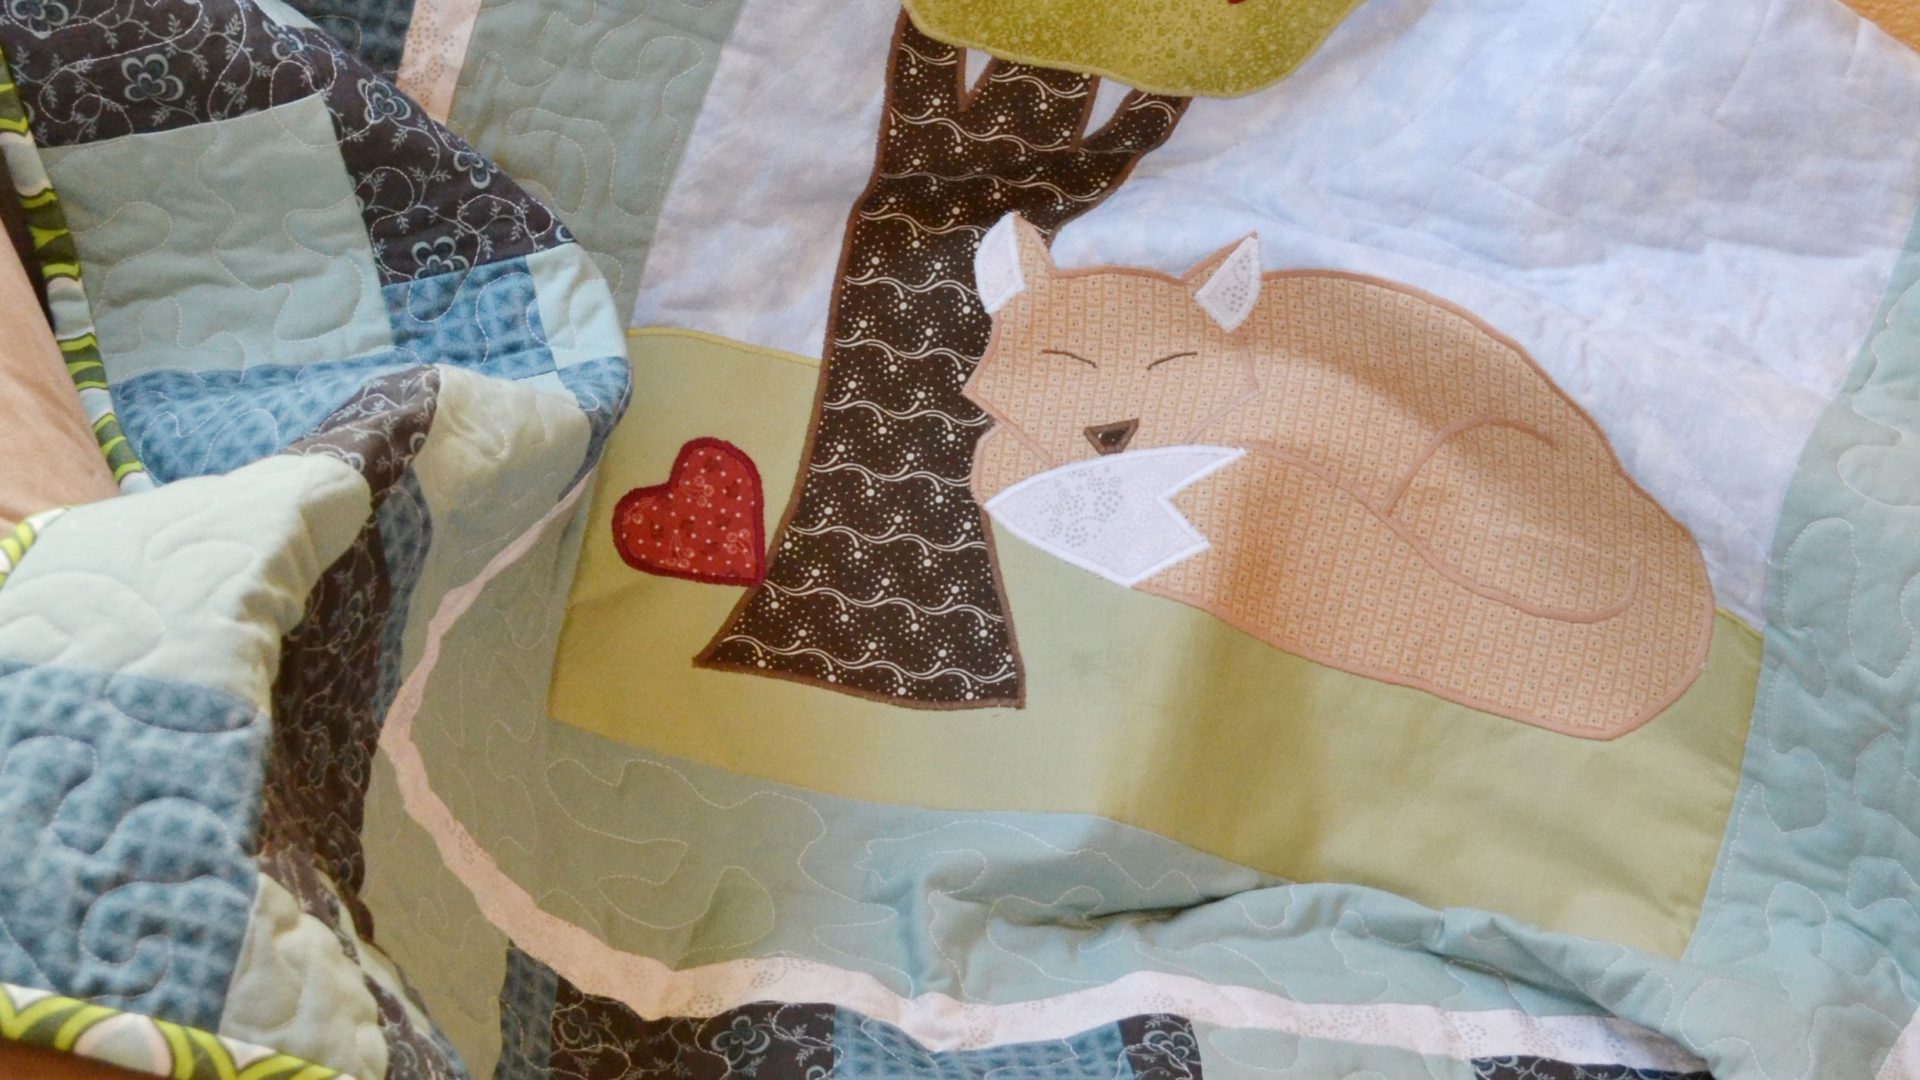
I think it’s safe to say that I am a fan of machine applique. In all my earlier tutorials I’ve offered tips and brief instructions, but today I thought I’d get a little more specific. I made this quilt for my dear dear friend Sara and her new little pumpkin Emerson. In her family foxes have special meaning, and in my family trees have special meaning, so I designed this little image to show Em that Auntie Tree will be watching over him.
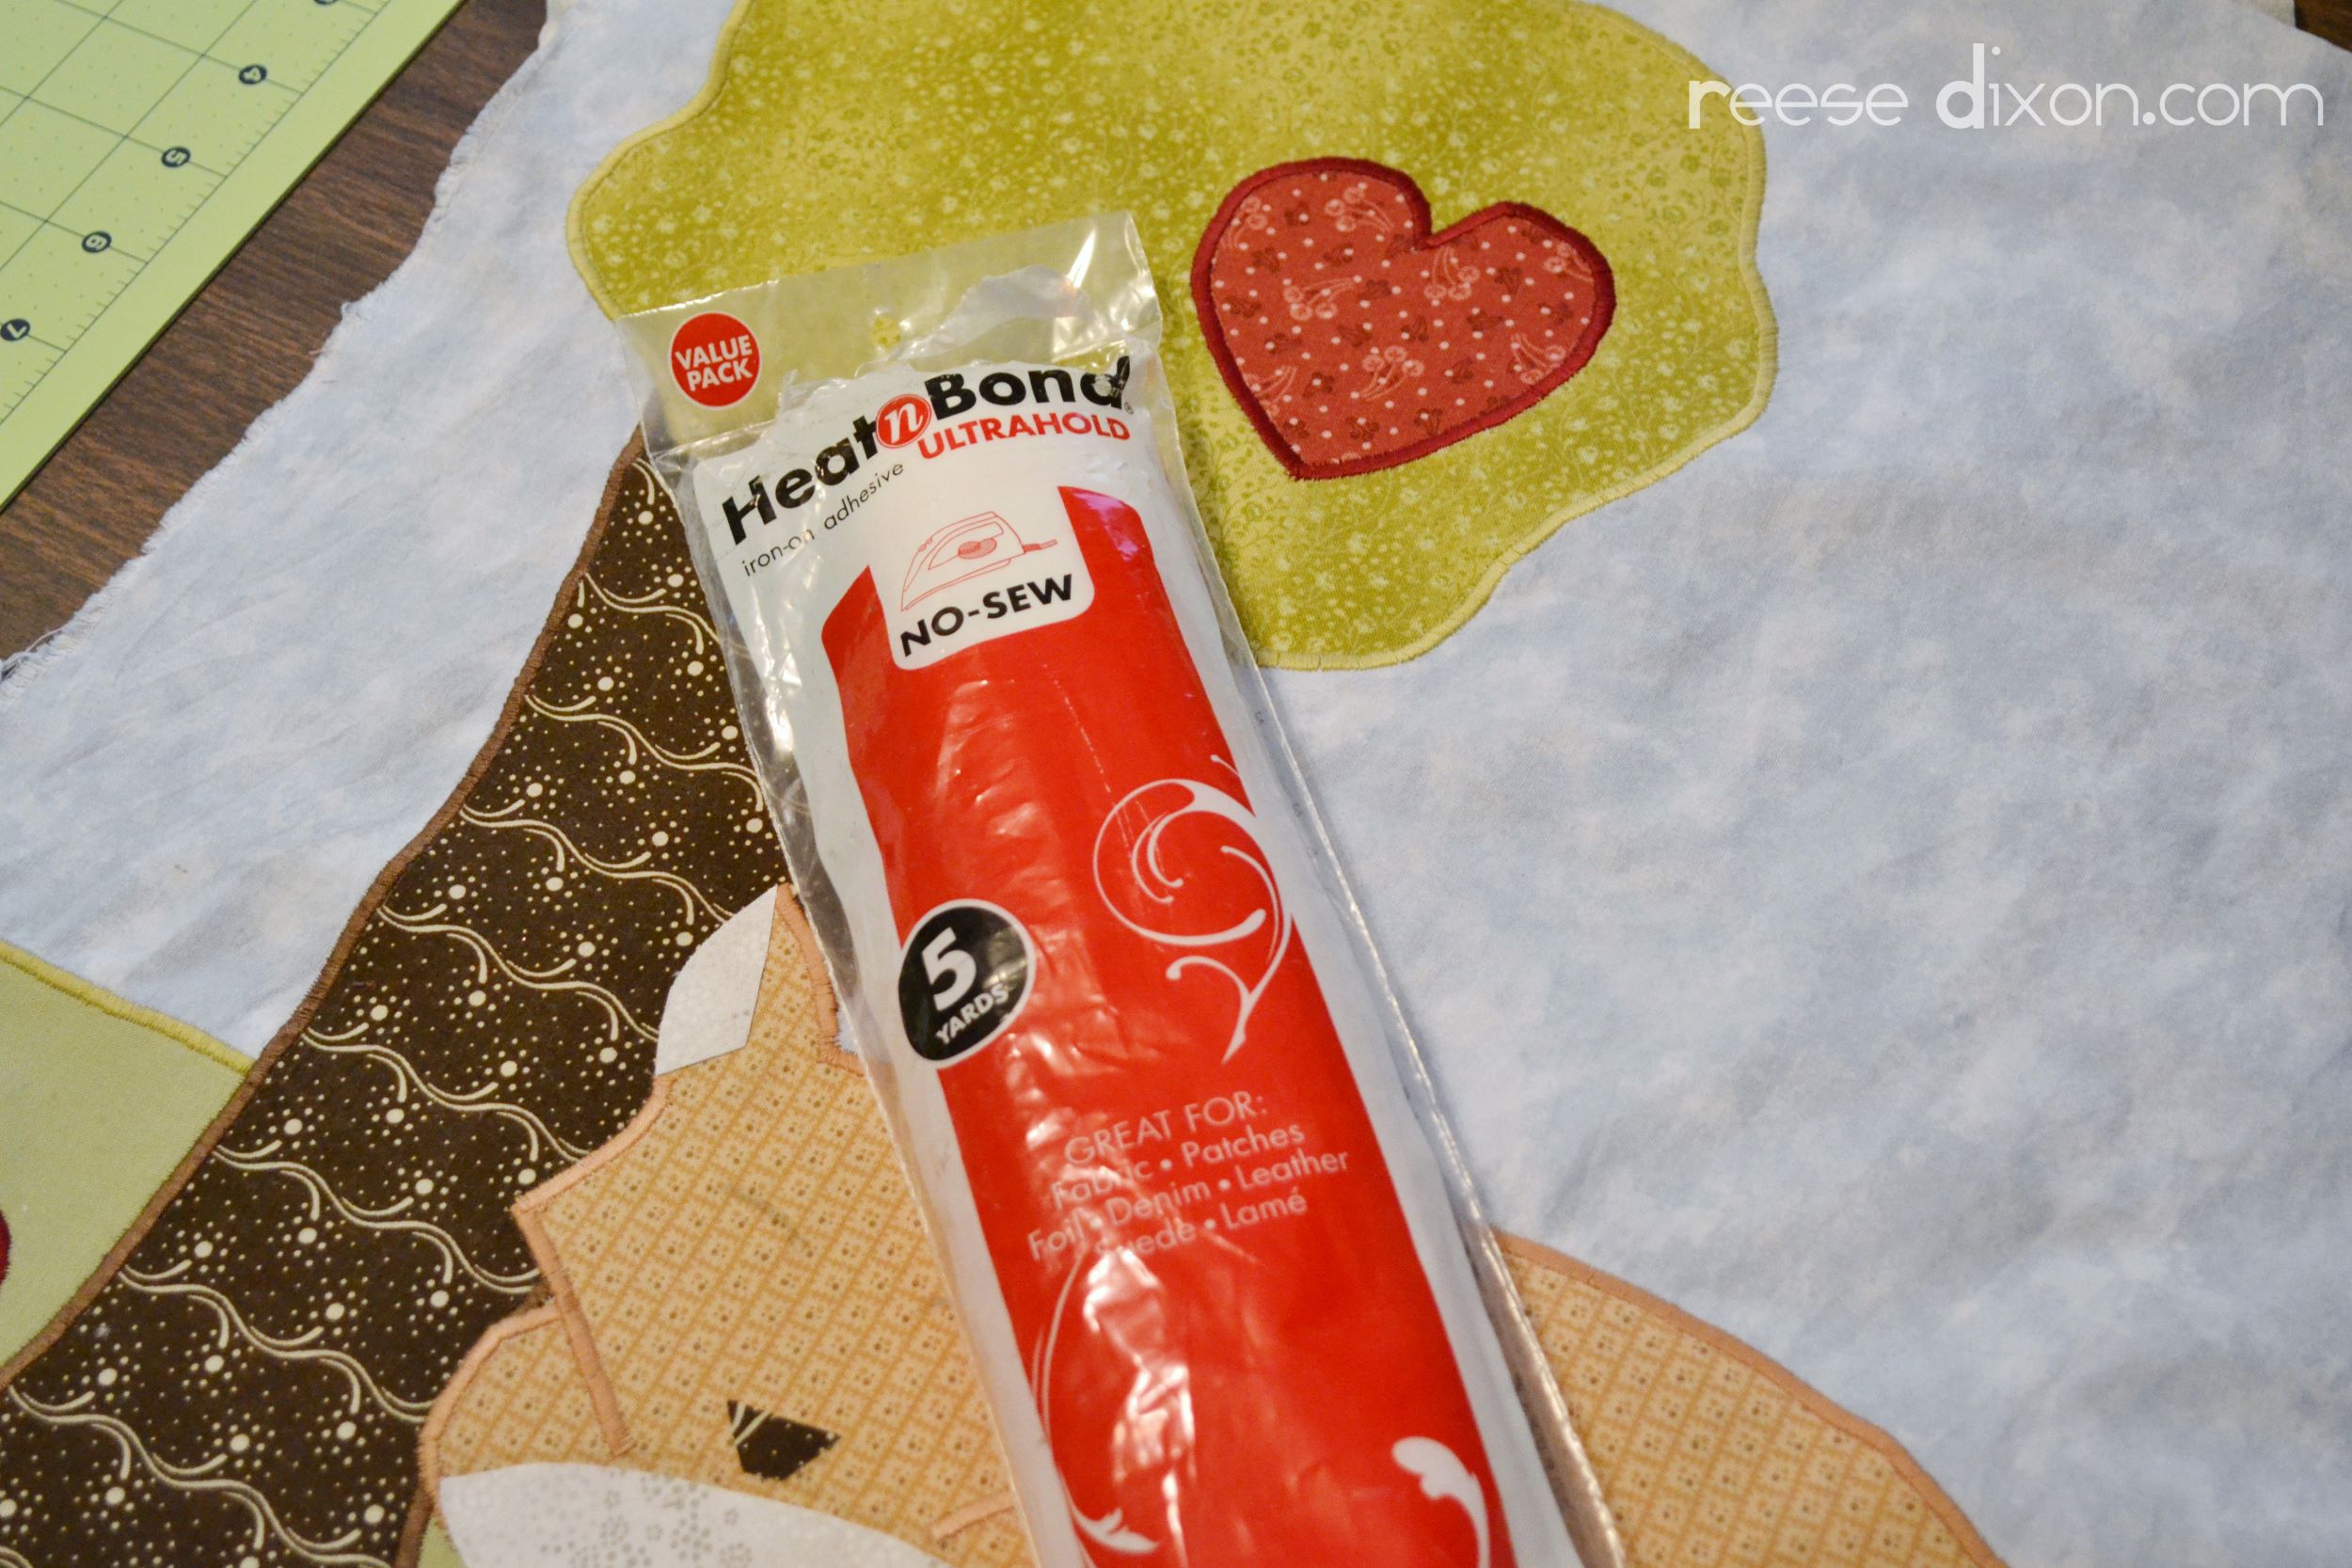
The first thing you need is some fusible web. I go through this stuff faster than milk. It’s basically a double sided tape that becomes sticky when you iron it. This will hold your pieces tightly in place while you’re sewing around them.
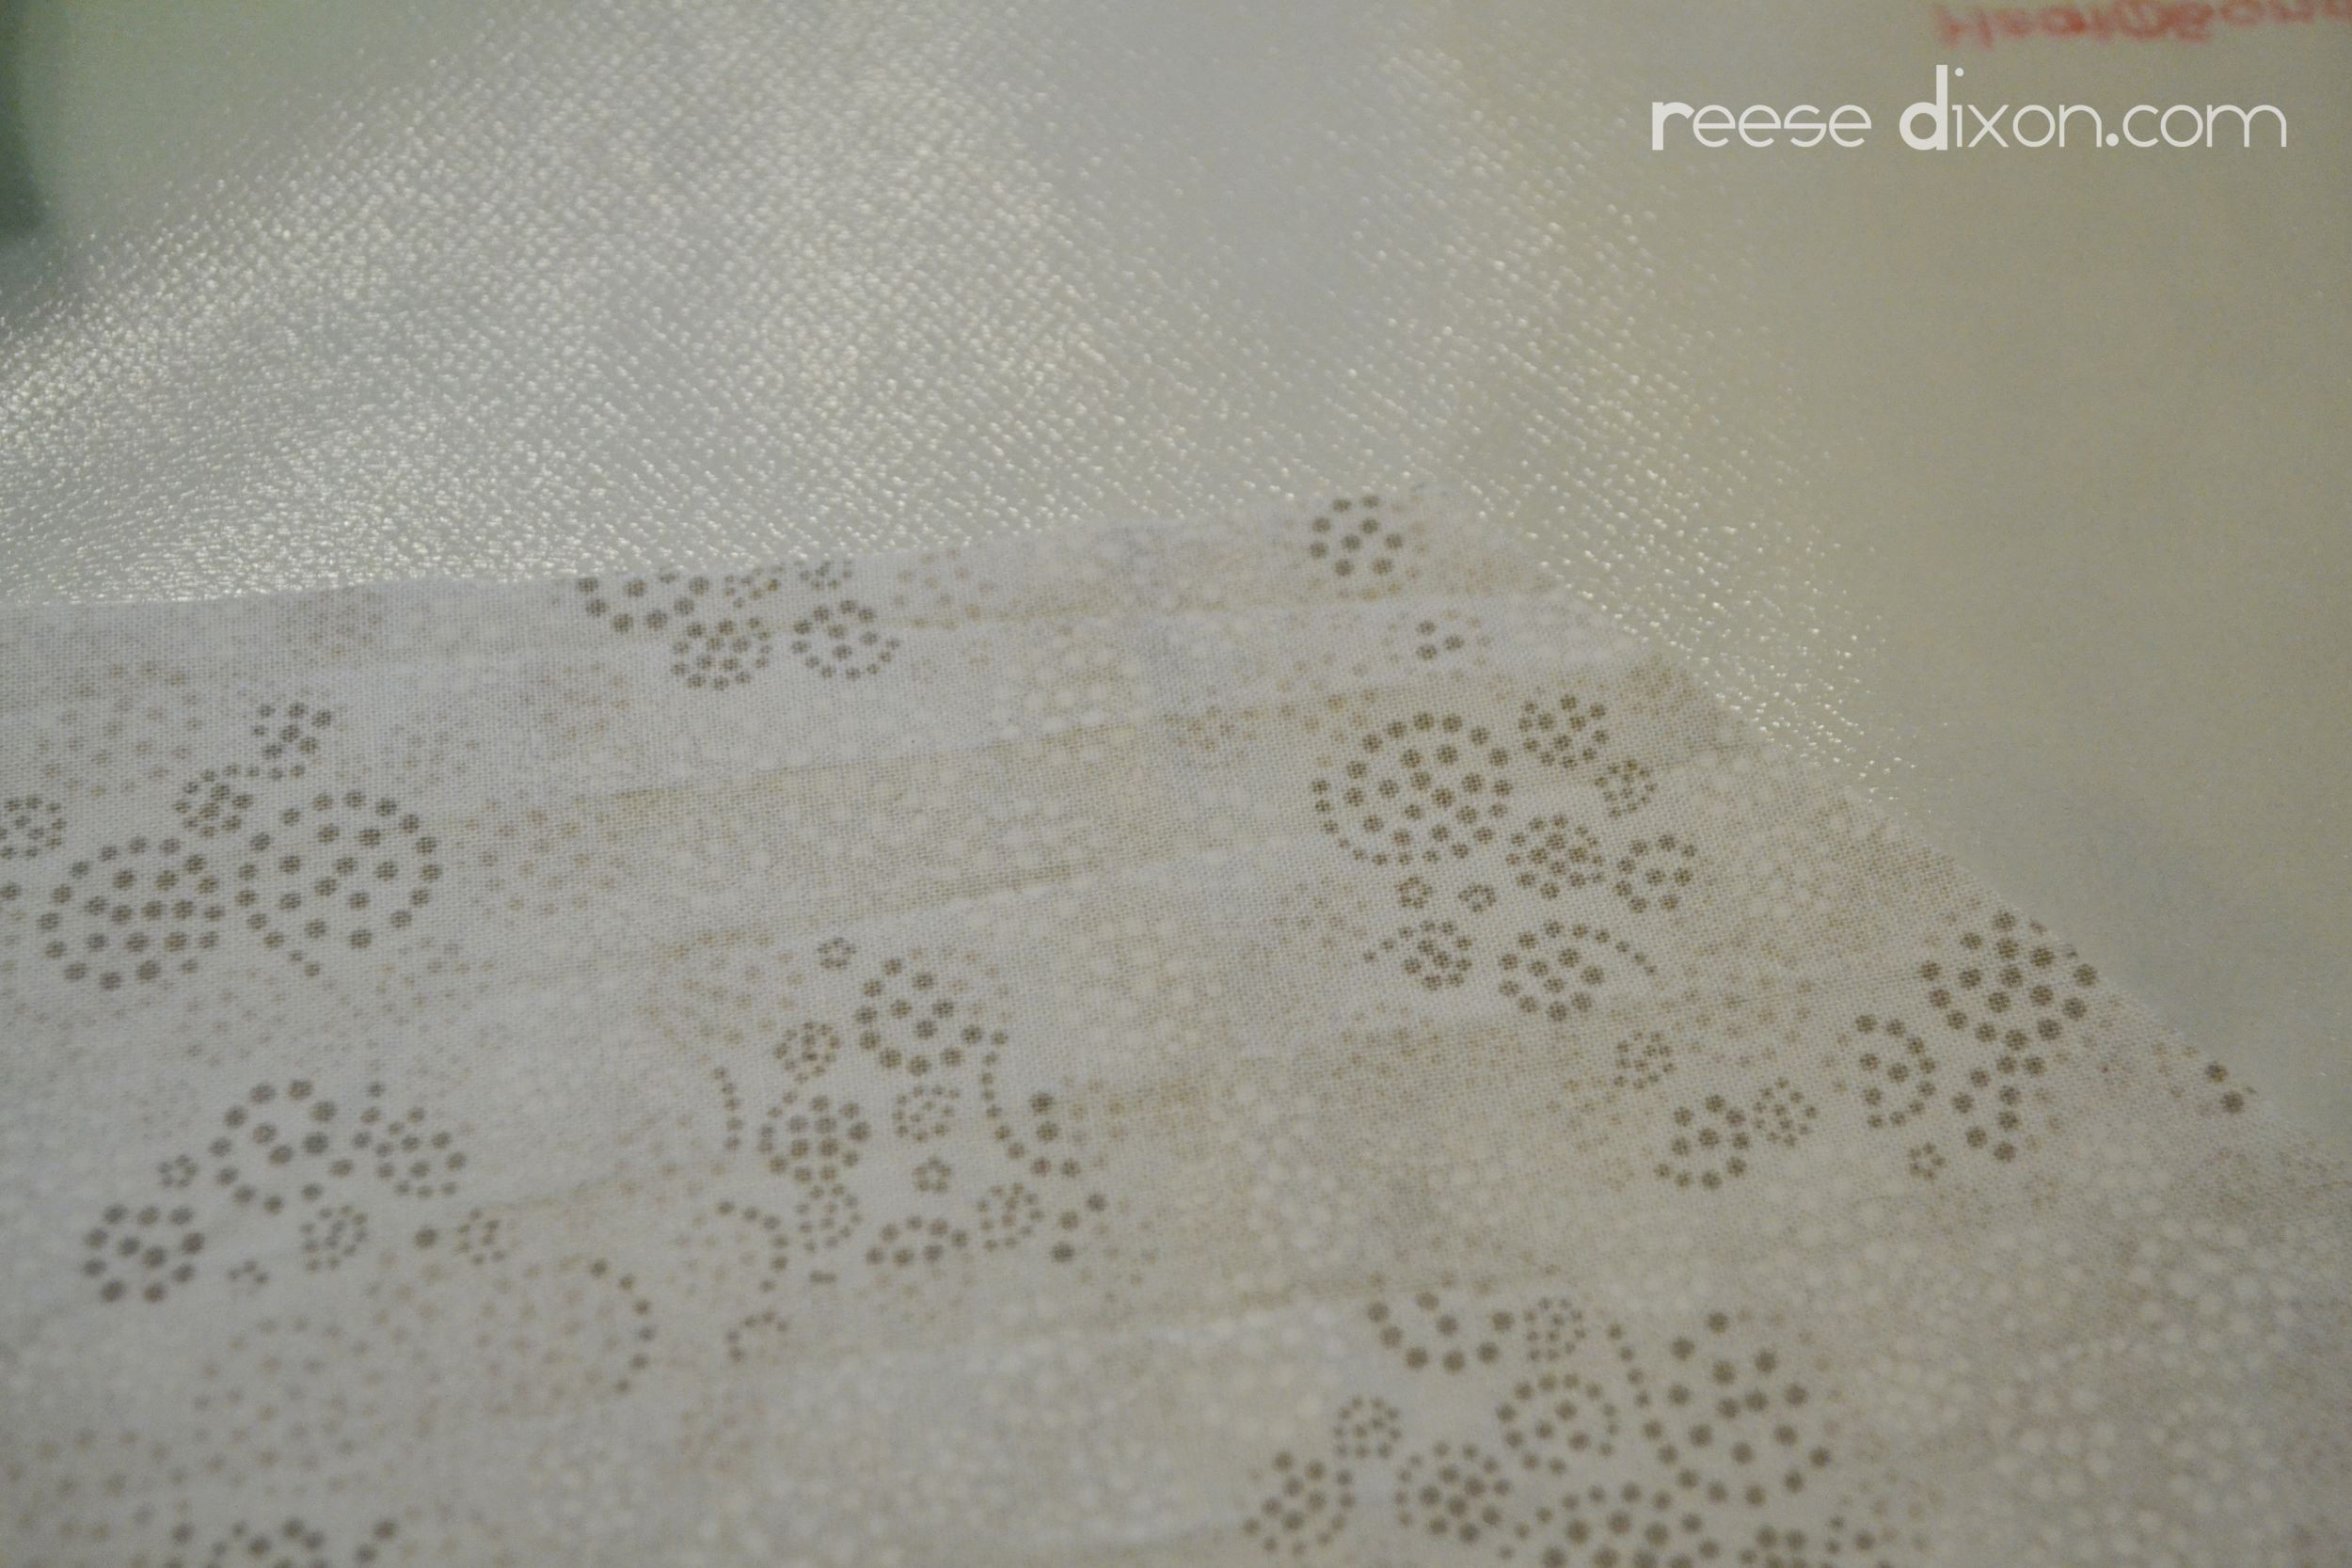
Iron the wrong side of the fabric onto a piece of the fusible web. The backside of the web is a thick white paper, so once I’ve ironed and it’s cooled, I sketch my shape right onto this paper and cut it out of the fabric. Just remember that your image will be reversed, so be careful about lettering. If you don’t want to worry about that, you can sketch your image on another piece of paper and cut the fabric out using that sheet as a template.
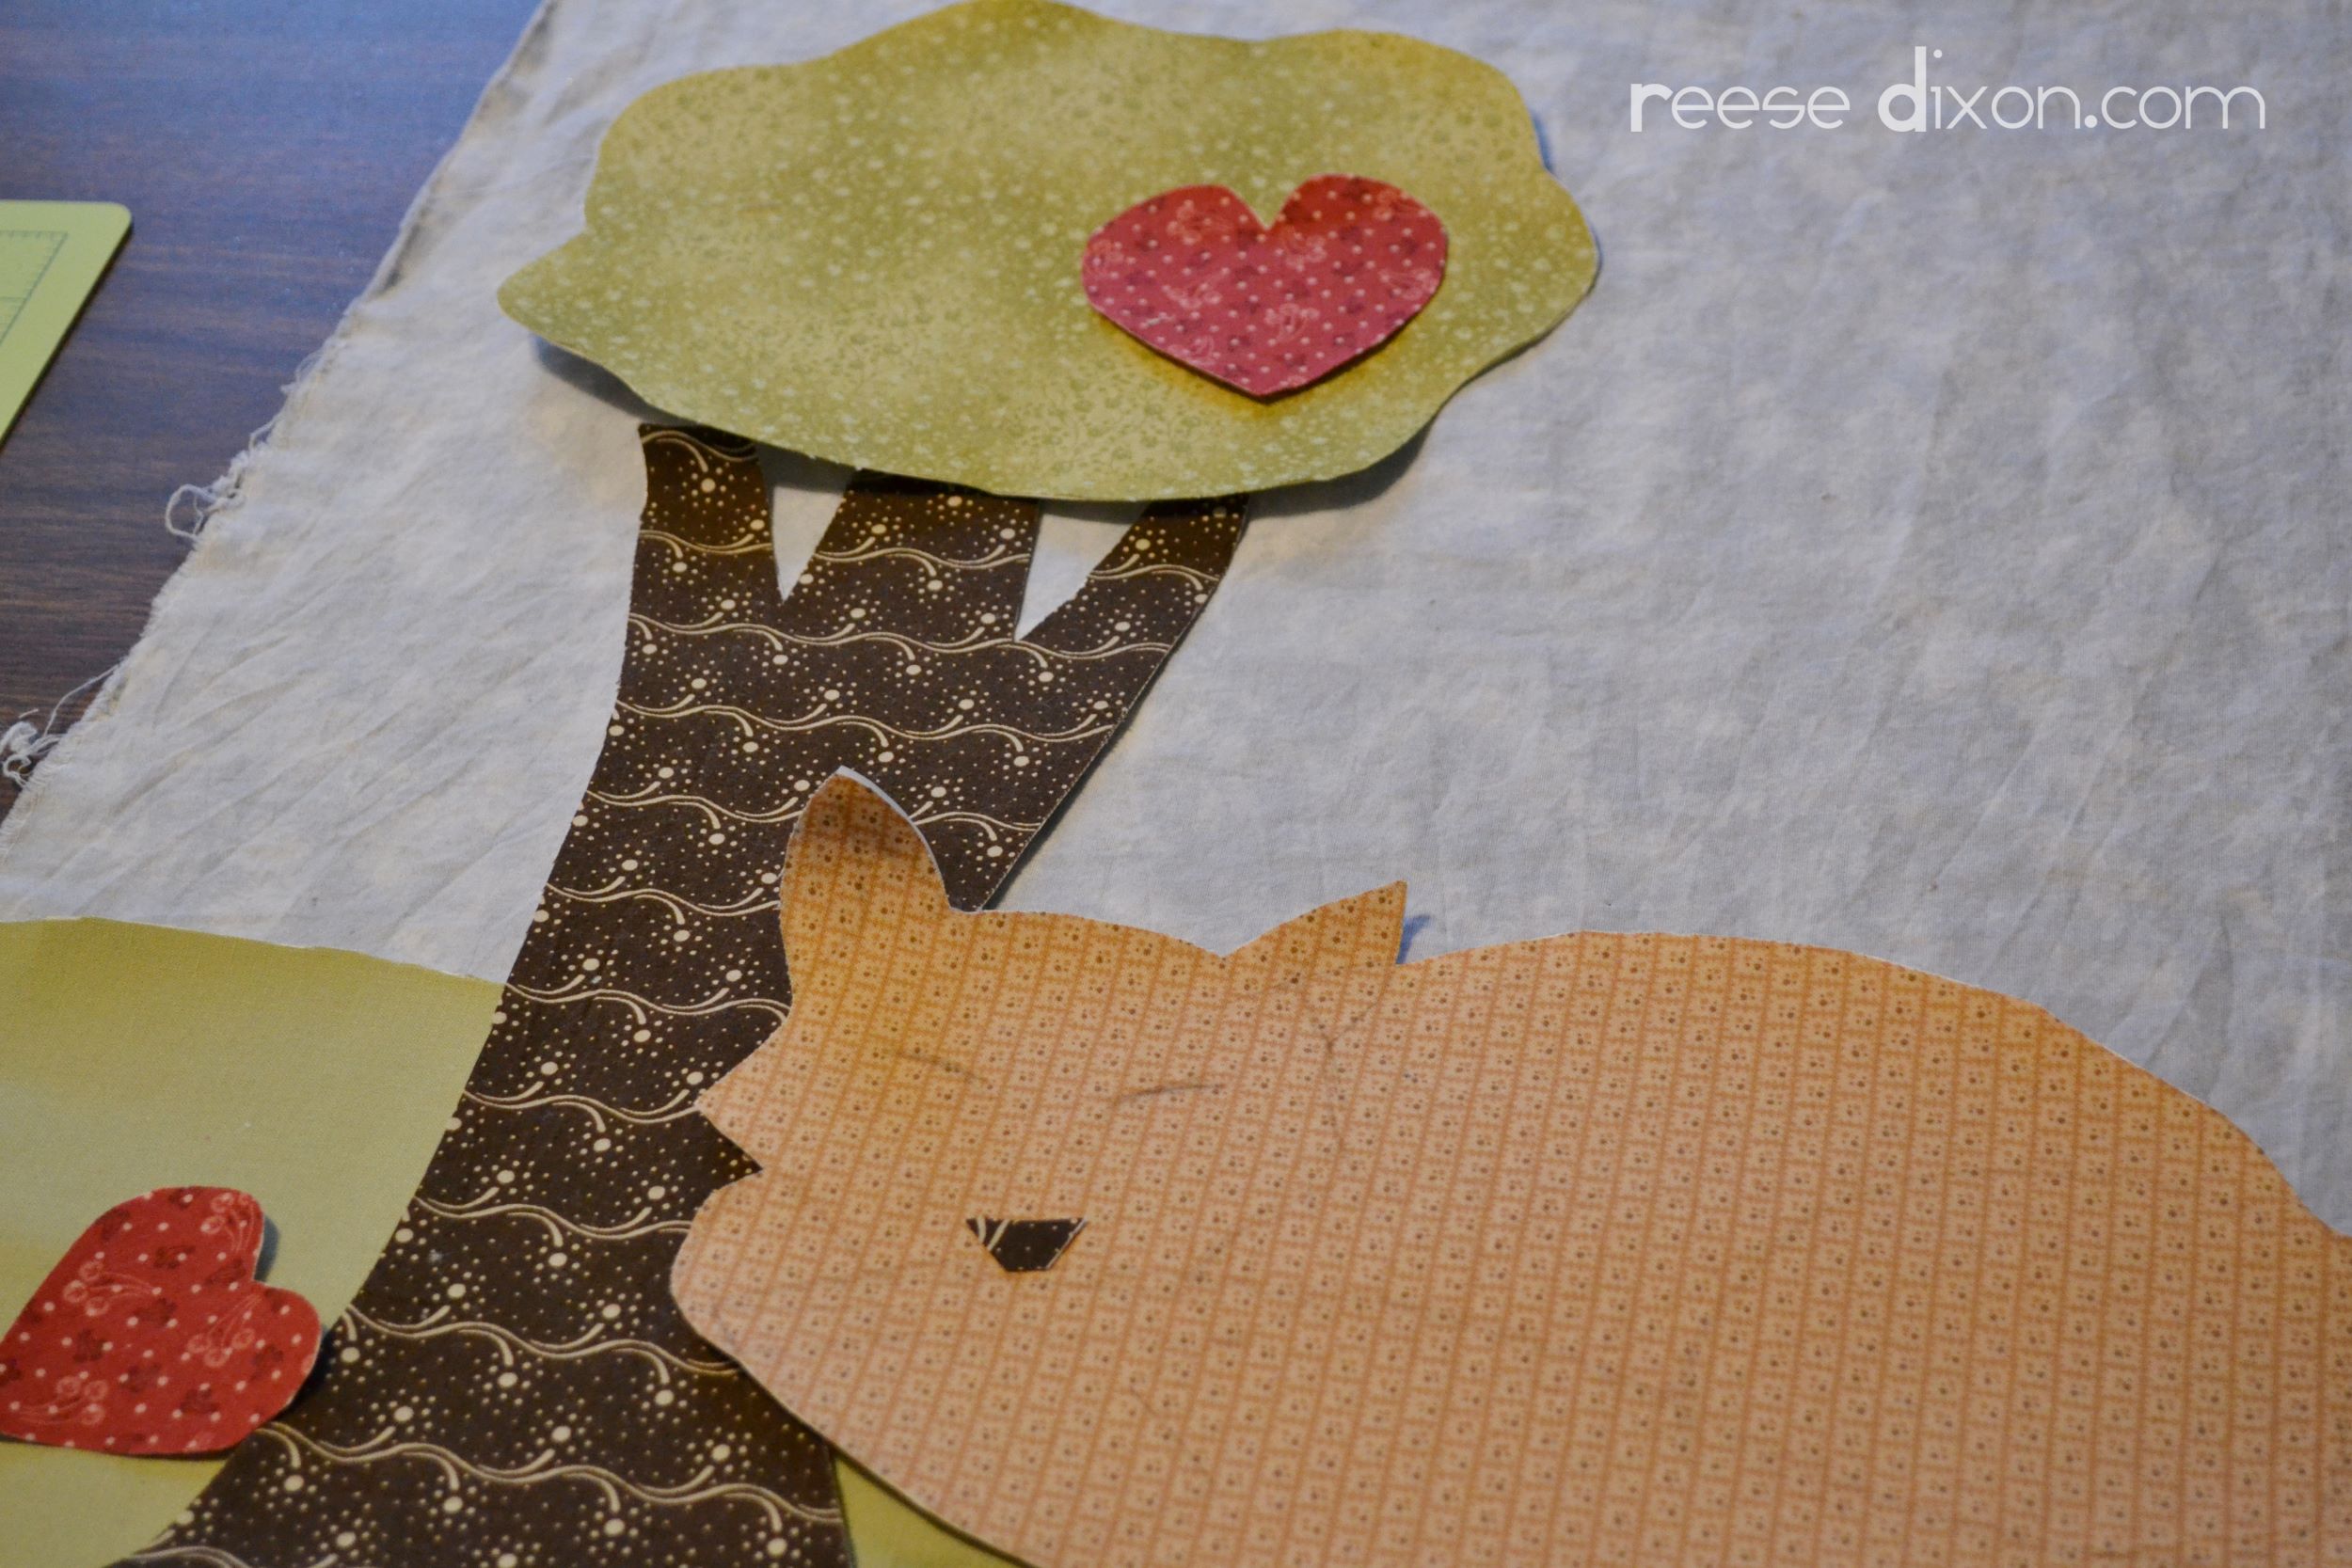
With all your pieces cut out, remove the paper backing and position them as you want to sew them. On the fox you can see how I added details beyond just the silhouette. The ears and tail will be made in white fabric, but the line of his hip will be outlined with stitching. When your pieces are in place, iron them down.
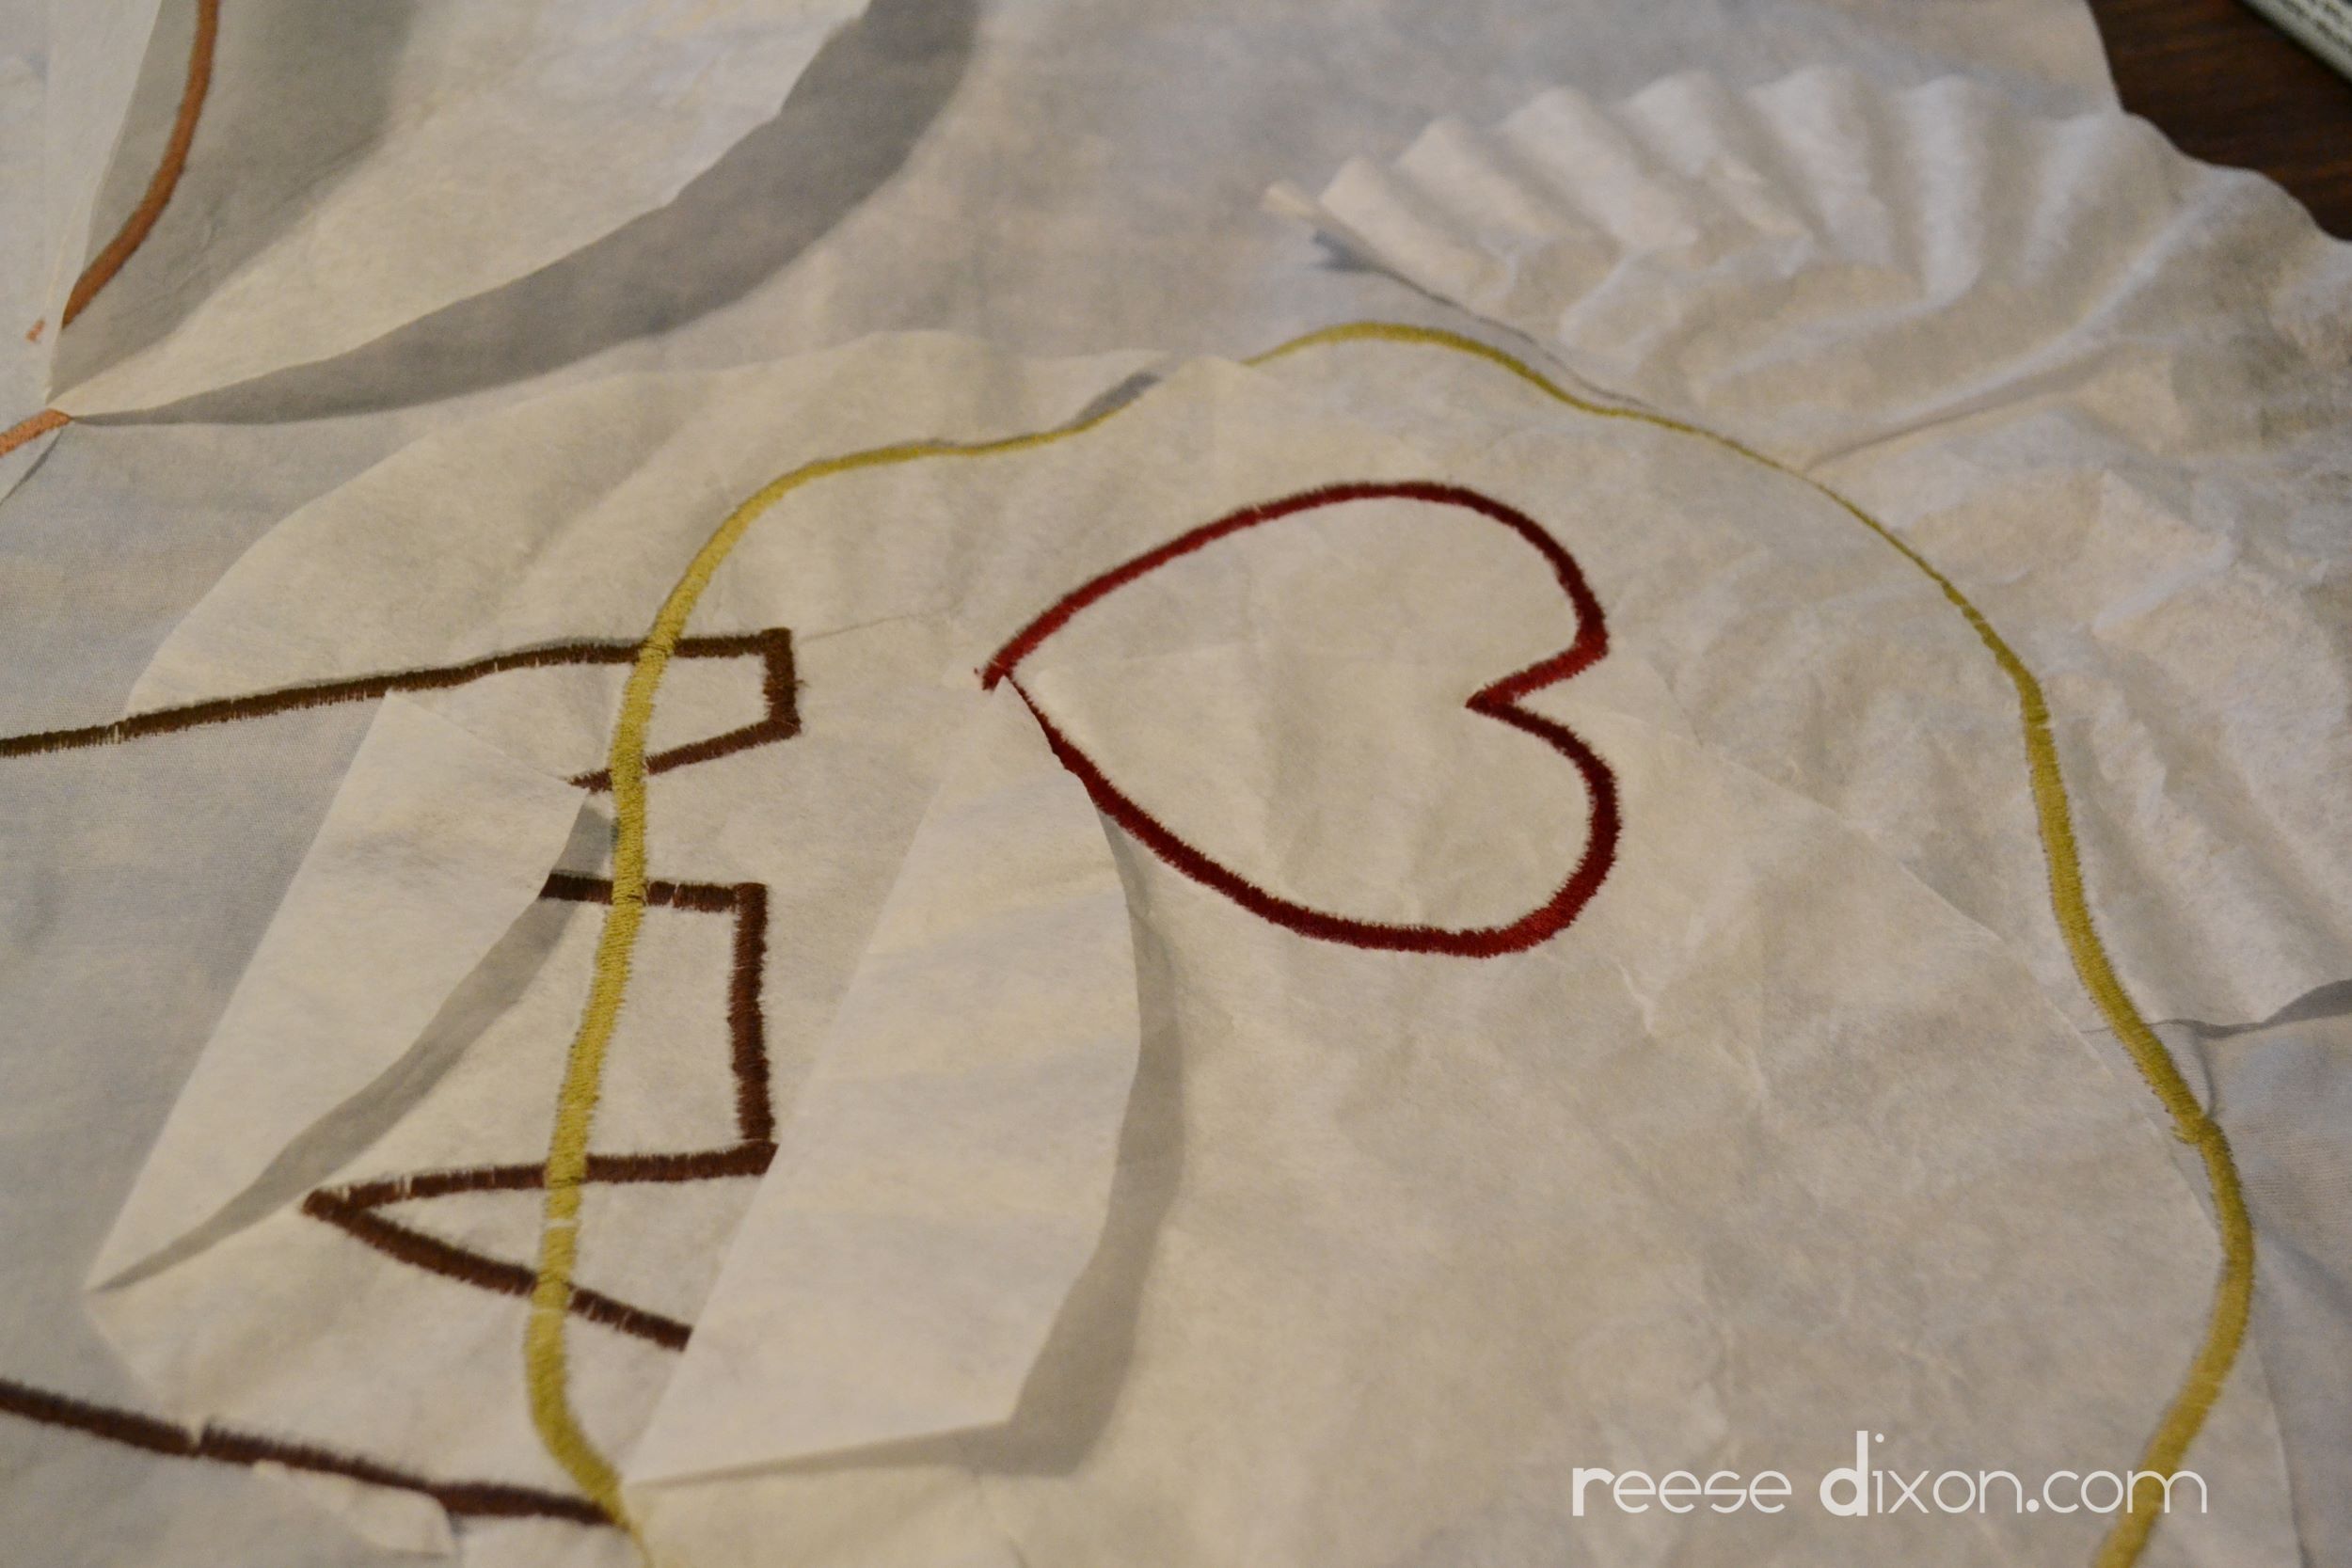
Now it’s time to sew. First of all, this does not need a fancy sewing machine. If you can adjust your stitches, you can machine applique. You’ll need thread in an appropriate color – I usually match mine to the fabric, but you can get a great contrast effect too – and some kind of a stabilizer. The stabilizer keeps the fabric stiff and flat so that the stitches don’t pull too tight and create a big puckery mess. You can get it at any fabric store, but I’ve always used flattened coffee filters. It does the job super great and really can’t get much cheaper.
This is the back of the piece I’m showing you here so you can see the coffee filters in action. Just place one behind the area you’re appliqueing. Set your stitch to a zig zag stitch with a really short stitch length so that the zigs are almost right on top of each other. If you want a thick line of stitching, set your stitch width wide. Not so thick, not so wide. I normally like to keep the width in proportion to the shape I’m sewing. Smaller shapes get a thinner width. Sew around the edge of each shape so that those little raw edges get all covered up in pretty little stitches.
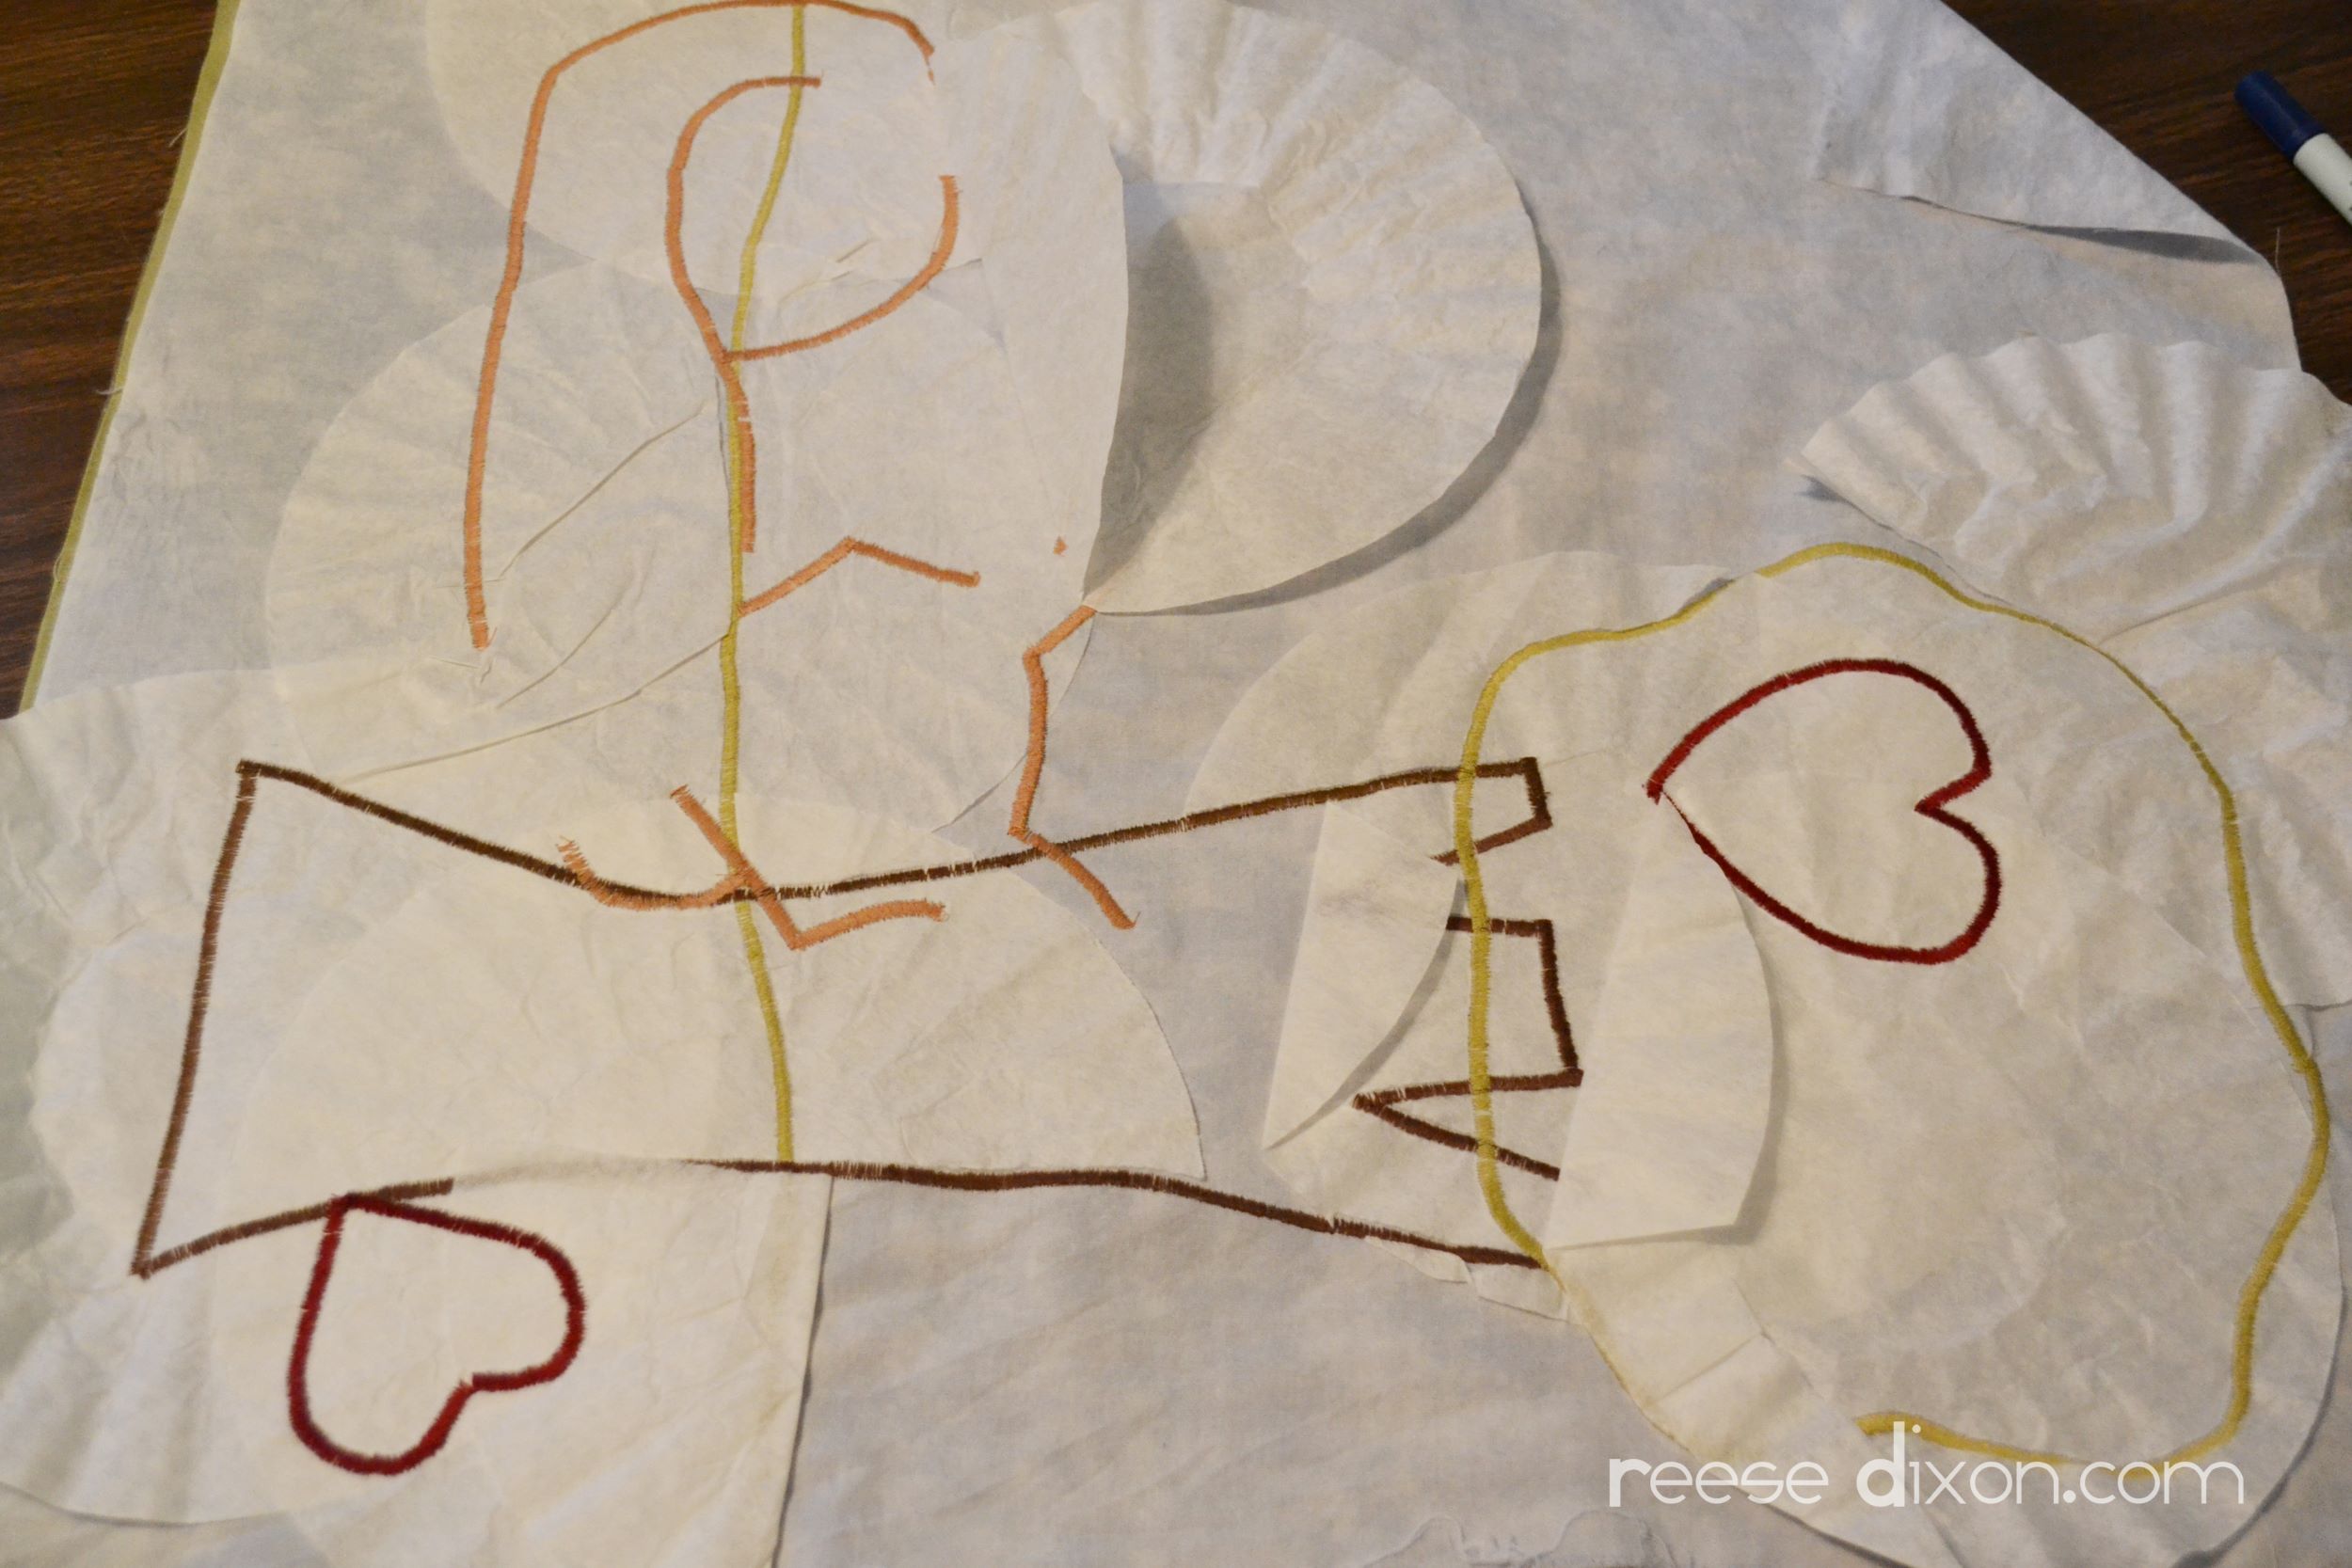
Stitch on one shape at a time, starting with the pieces that go underneath, and layering the other pieces on top. To add in details like the fox’s eyes and hip, just use the same stitch and go over the line you drew. Once you’re done with your applique you just tear off all these coffee filters, give it a good iron, and use it however you want to.
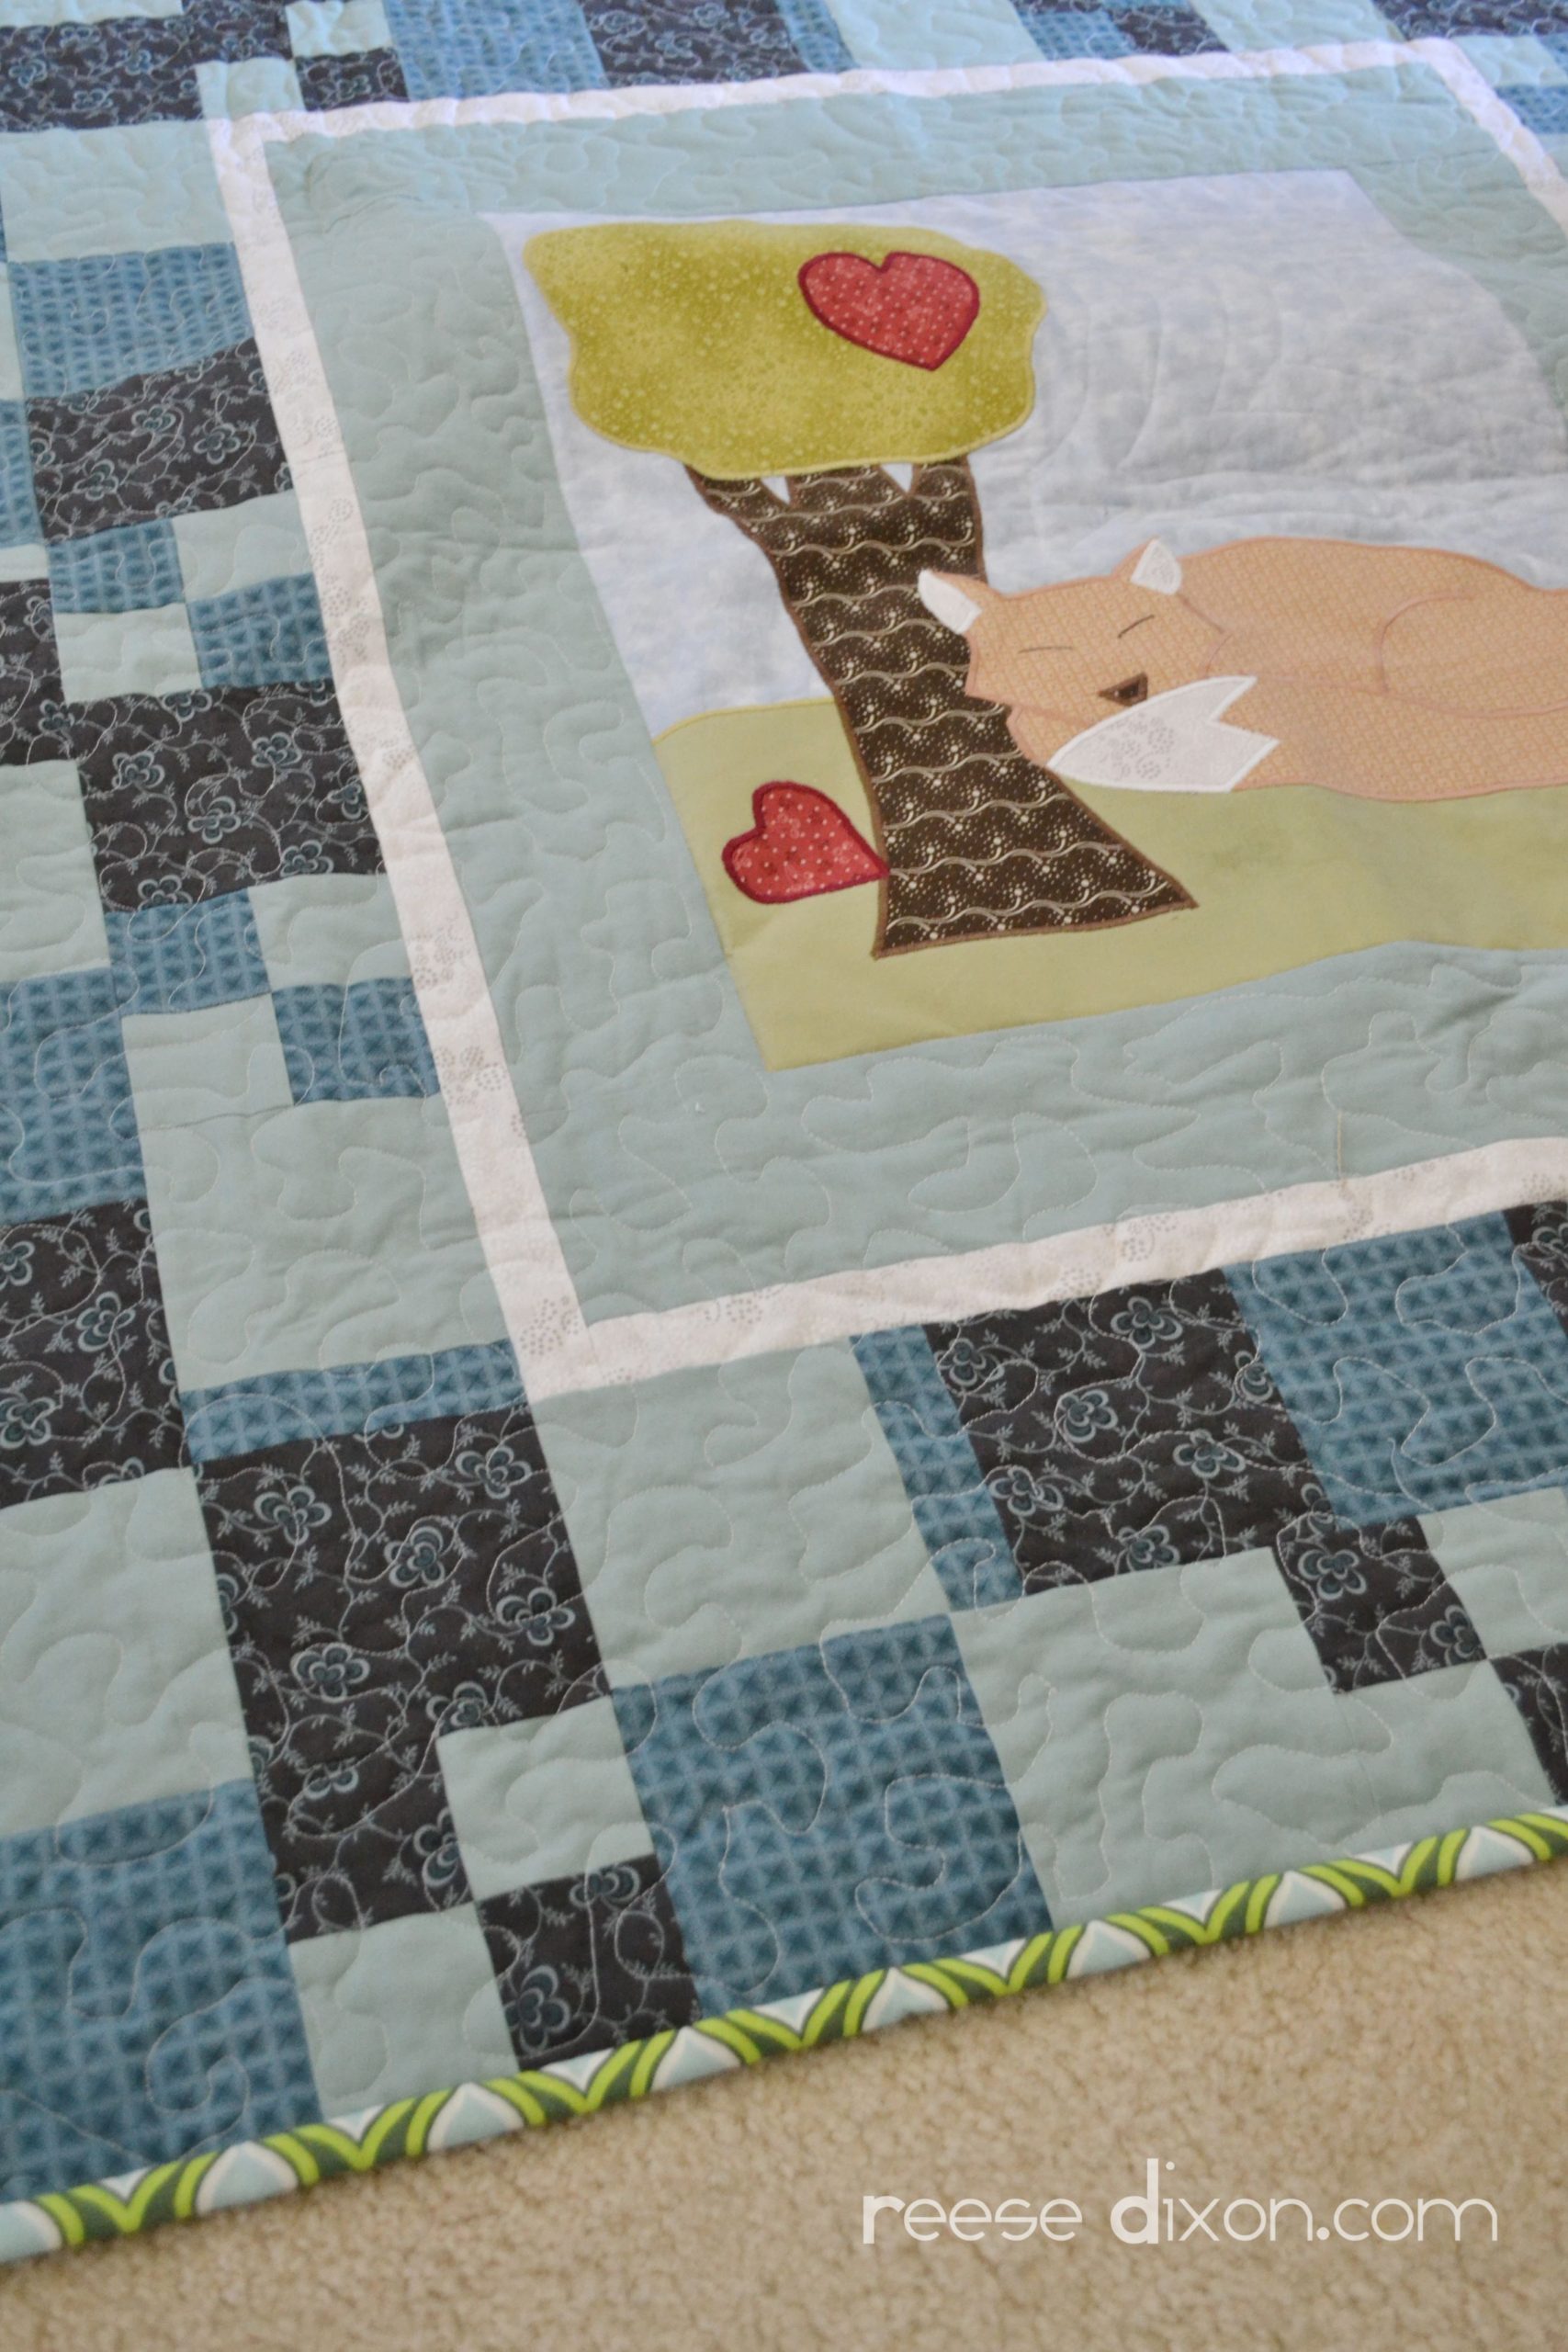
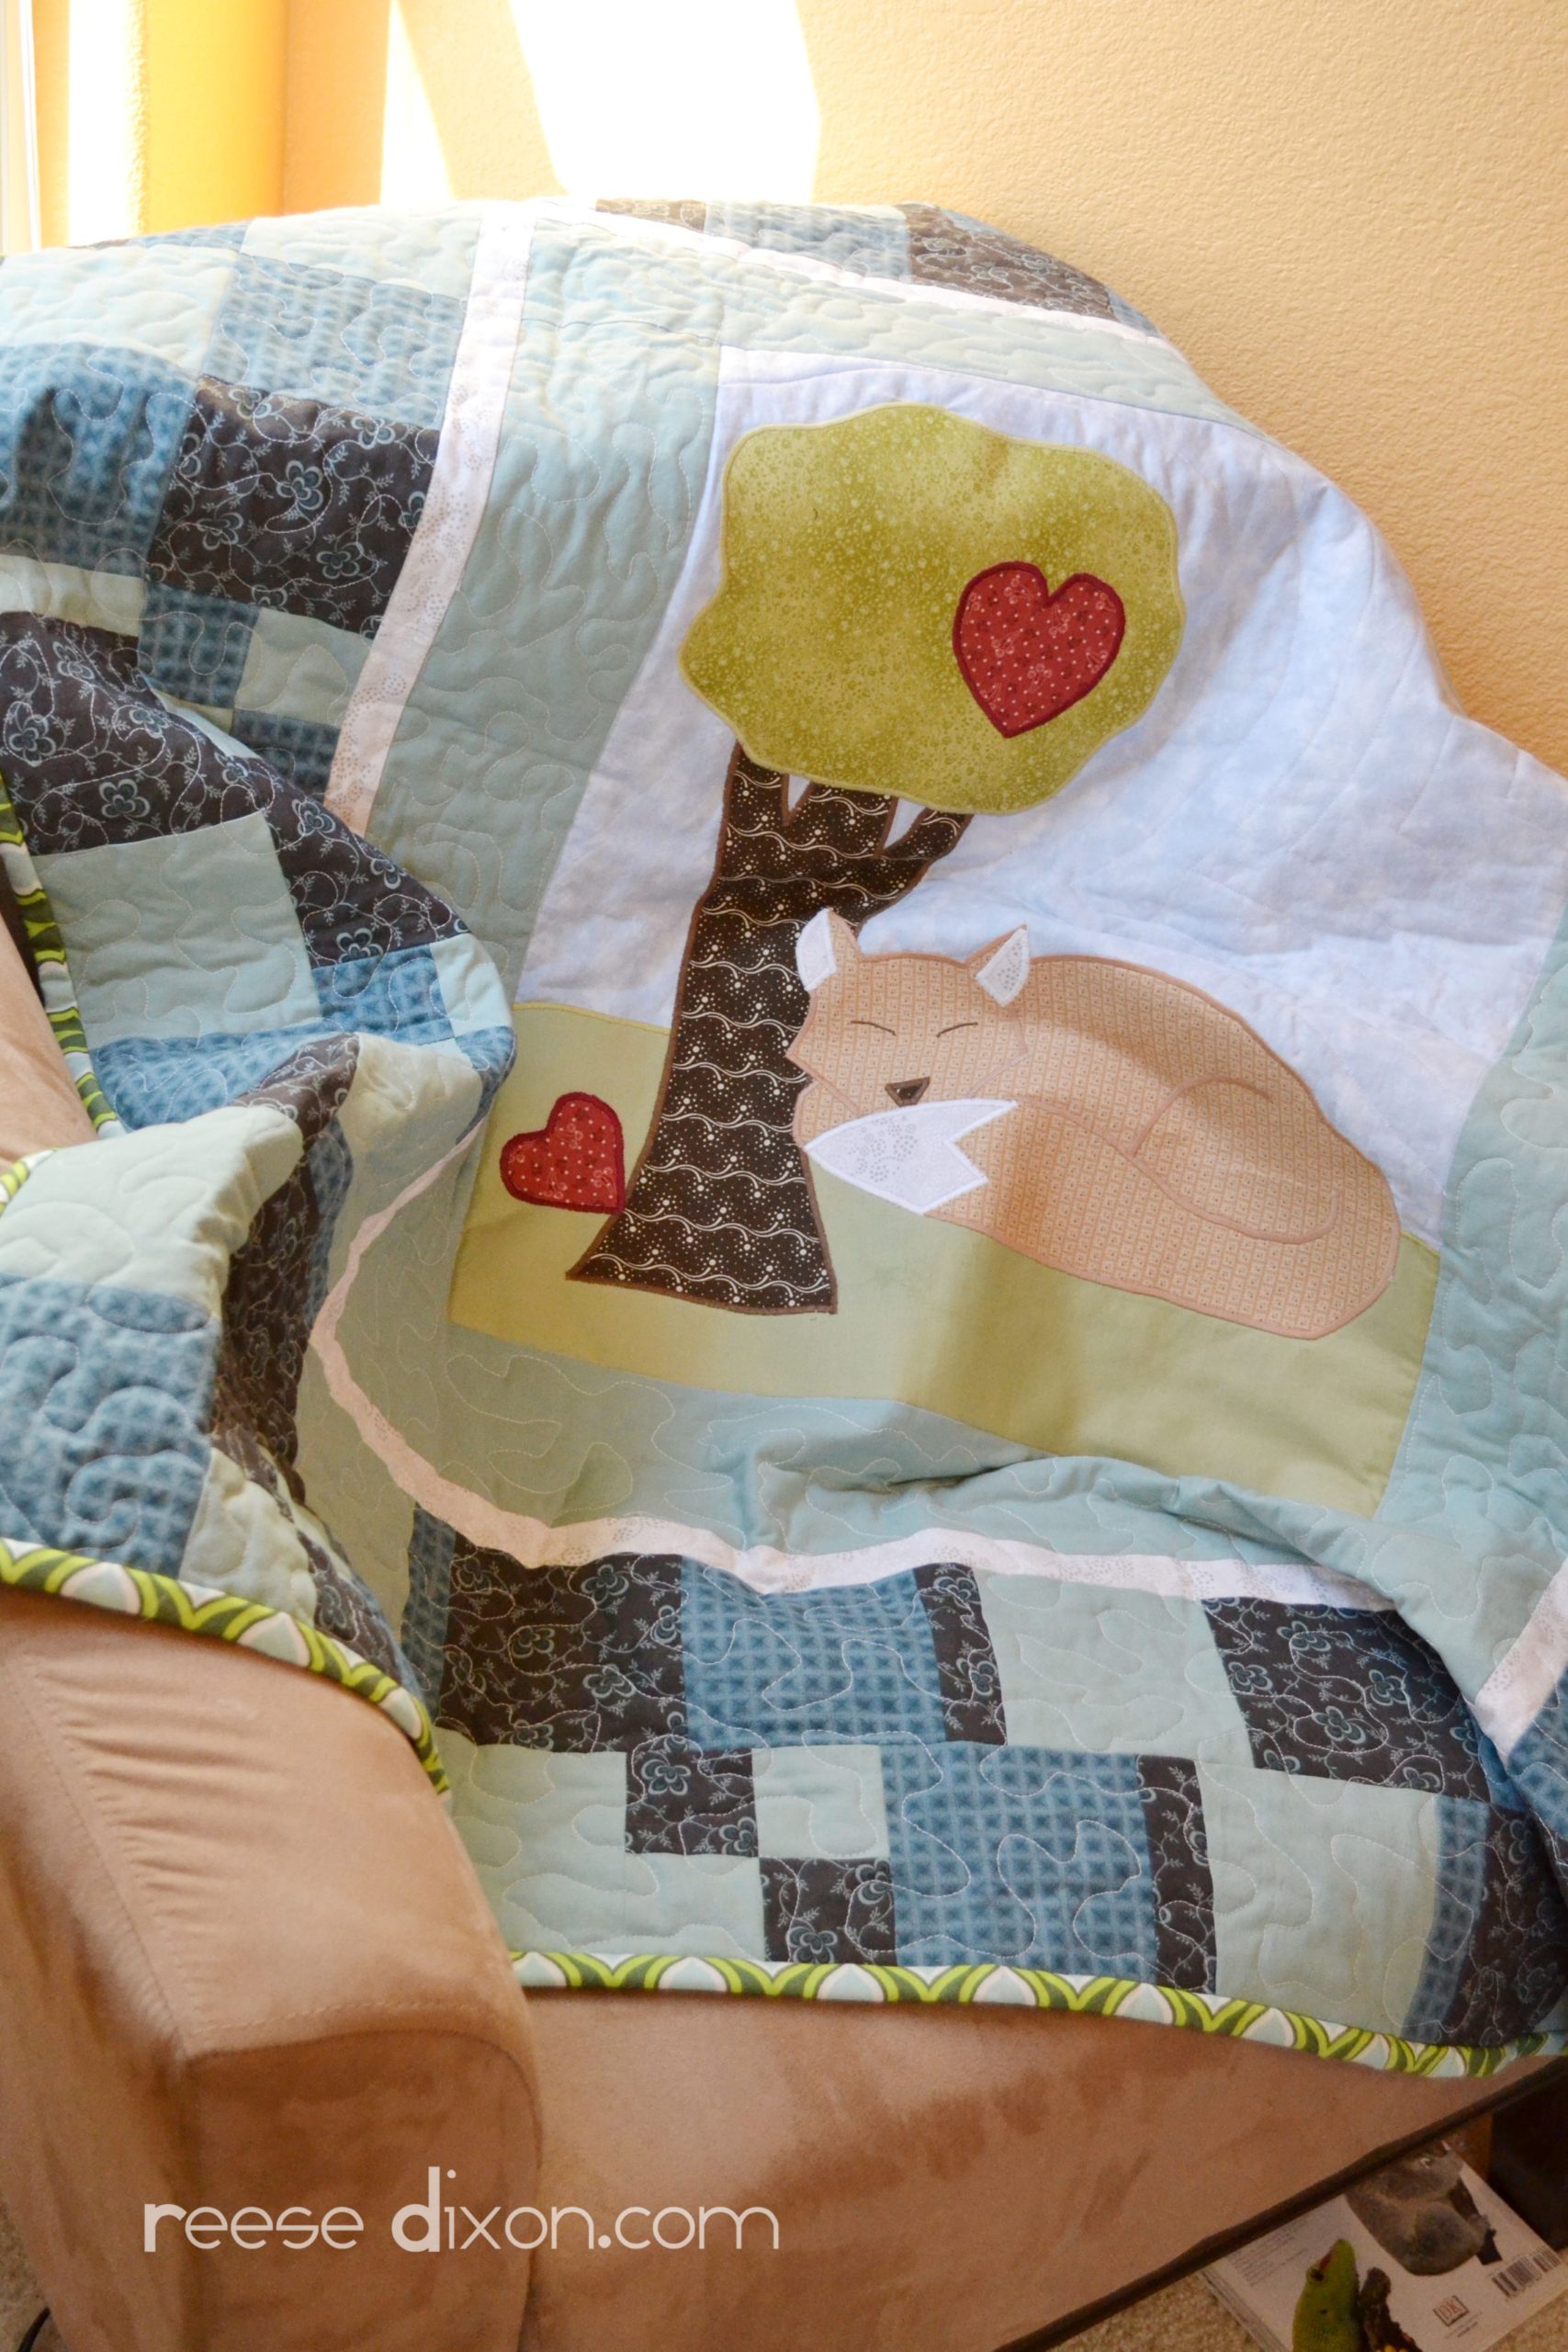
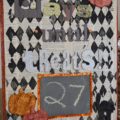
This time I put it in a quilt. A couple of borders, a little bit of patchwork, some stipple quilting, a little binding, you know, no big.
I don’t know what it is I find so satisfying about machine applique. Those smooth satin stitches are just so neat and orderly, I love them. And of course the chance to personalize everything appeals to the blogging ego in me.


Oh how I love your tree! And you know I heart "hearts" 😉 I've been doing machine applique for a long time, simply because the hand'n needle way does not agree with my old hands. Machine is much faster, and you get to "play" with the cool machine stitch styles. This is a beautiful quilt! Great Job.
There is a link to the baby play quilt I did for my granddaughter, back in Nov, on my homepage.
JoAnn
sweetpepperrose.blogspot.com
Love this tutorial! I'm just beginning my quilting journey but hope to do a whole bunch of projects now that I see how easy it is. Question, I just had a project call for stitching my applique to a backing fabric so the raw edges are turned to the inside, this makes for a very thick edge on the applique, what kind of a stitch would you use to machine applique the pieces to the pillow fabric (the project didn't have any instructions)?
I would love to try this applique project – super cute! Do you have a link to the applique pattern pieces?
I loved this quilt when you first posted it and I still love it! I'm about to start on a robots and rocket ships quilt… running out to buy coffee filters now!!
dkvmls
Great