Atti is very very very particular about what he plays with. So my only chance to get him to play with a toy that is good for him, is to make it in a shape he likes.
Back in August I found out that a new online craft network was launching, and they were holding a search for a “Fresh Face.” So Bear held the camera while I talked at it, and just before the deadline we sent in this video. The craft network launched a few months ago and as far as I know they haven’t chosen a winner, so who knows what will come of this but I loved what I made and I’m really proud of how the video turned out. The whole tutorial is in the video, but if that format doesn’t work for you, I thought I’d double up and do a traditional picture tutorial as well.
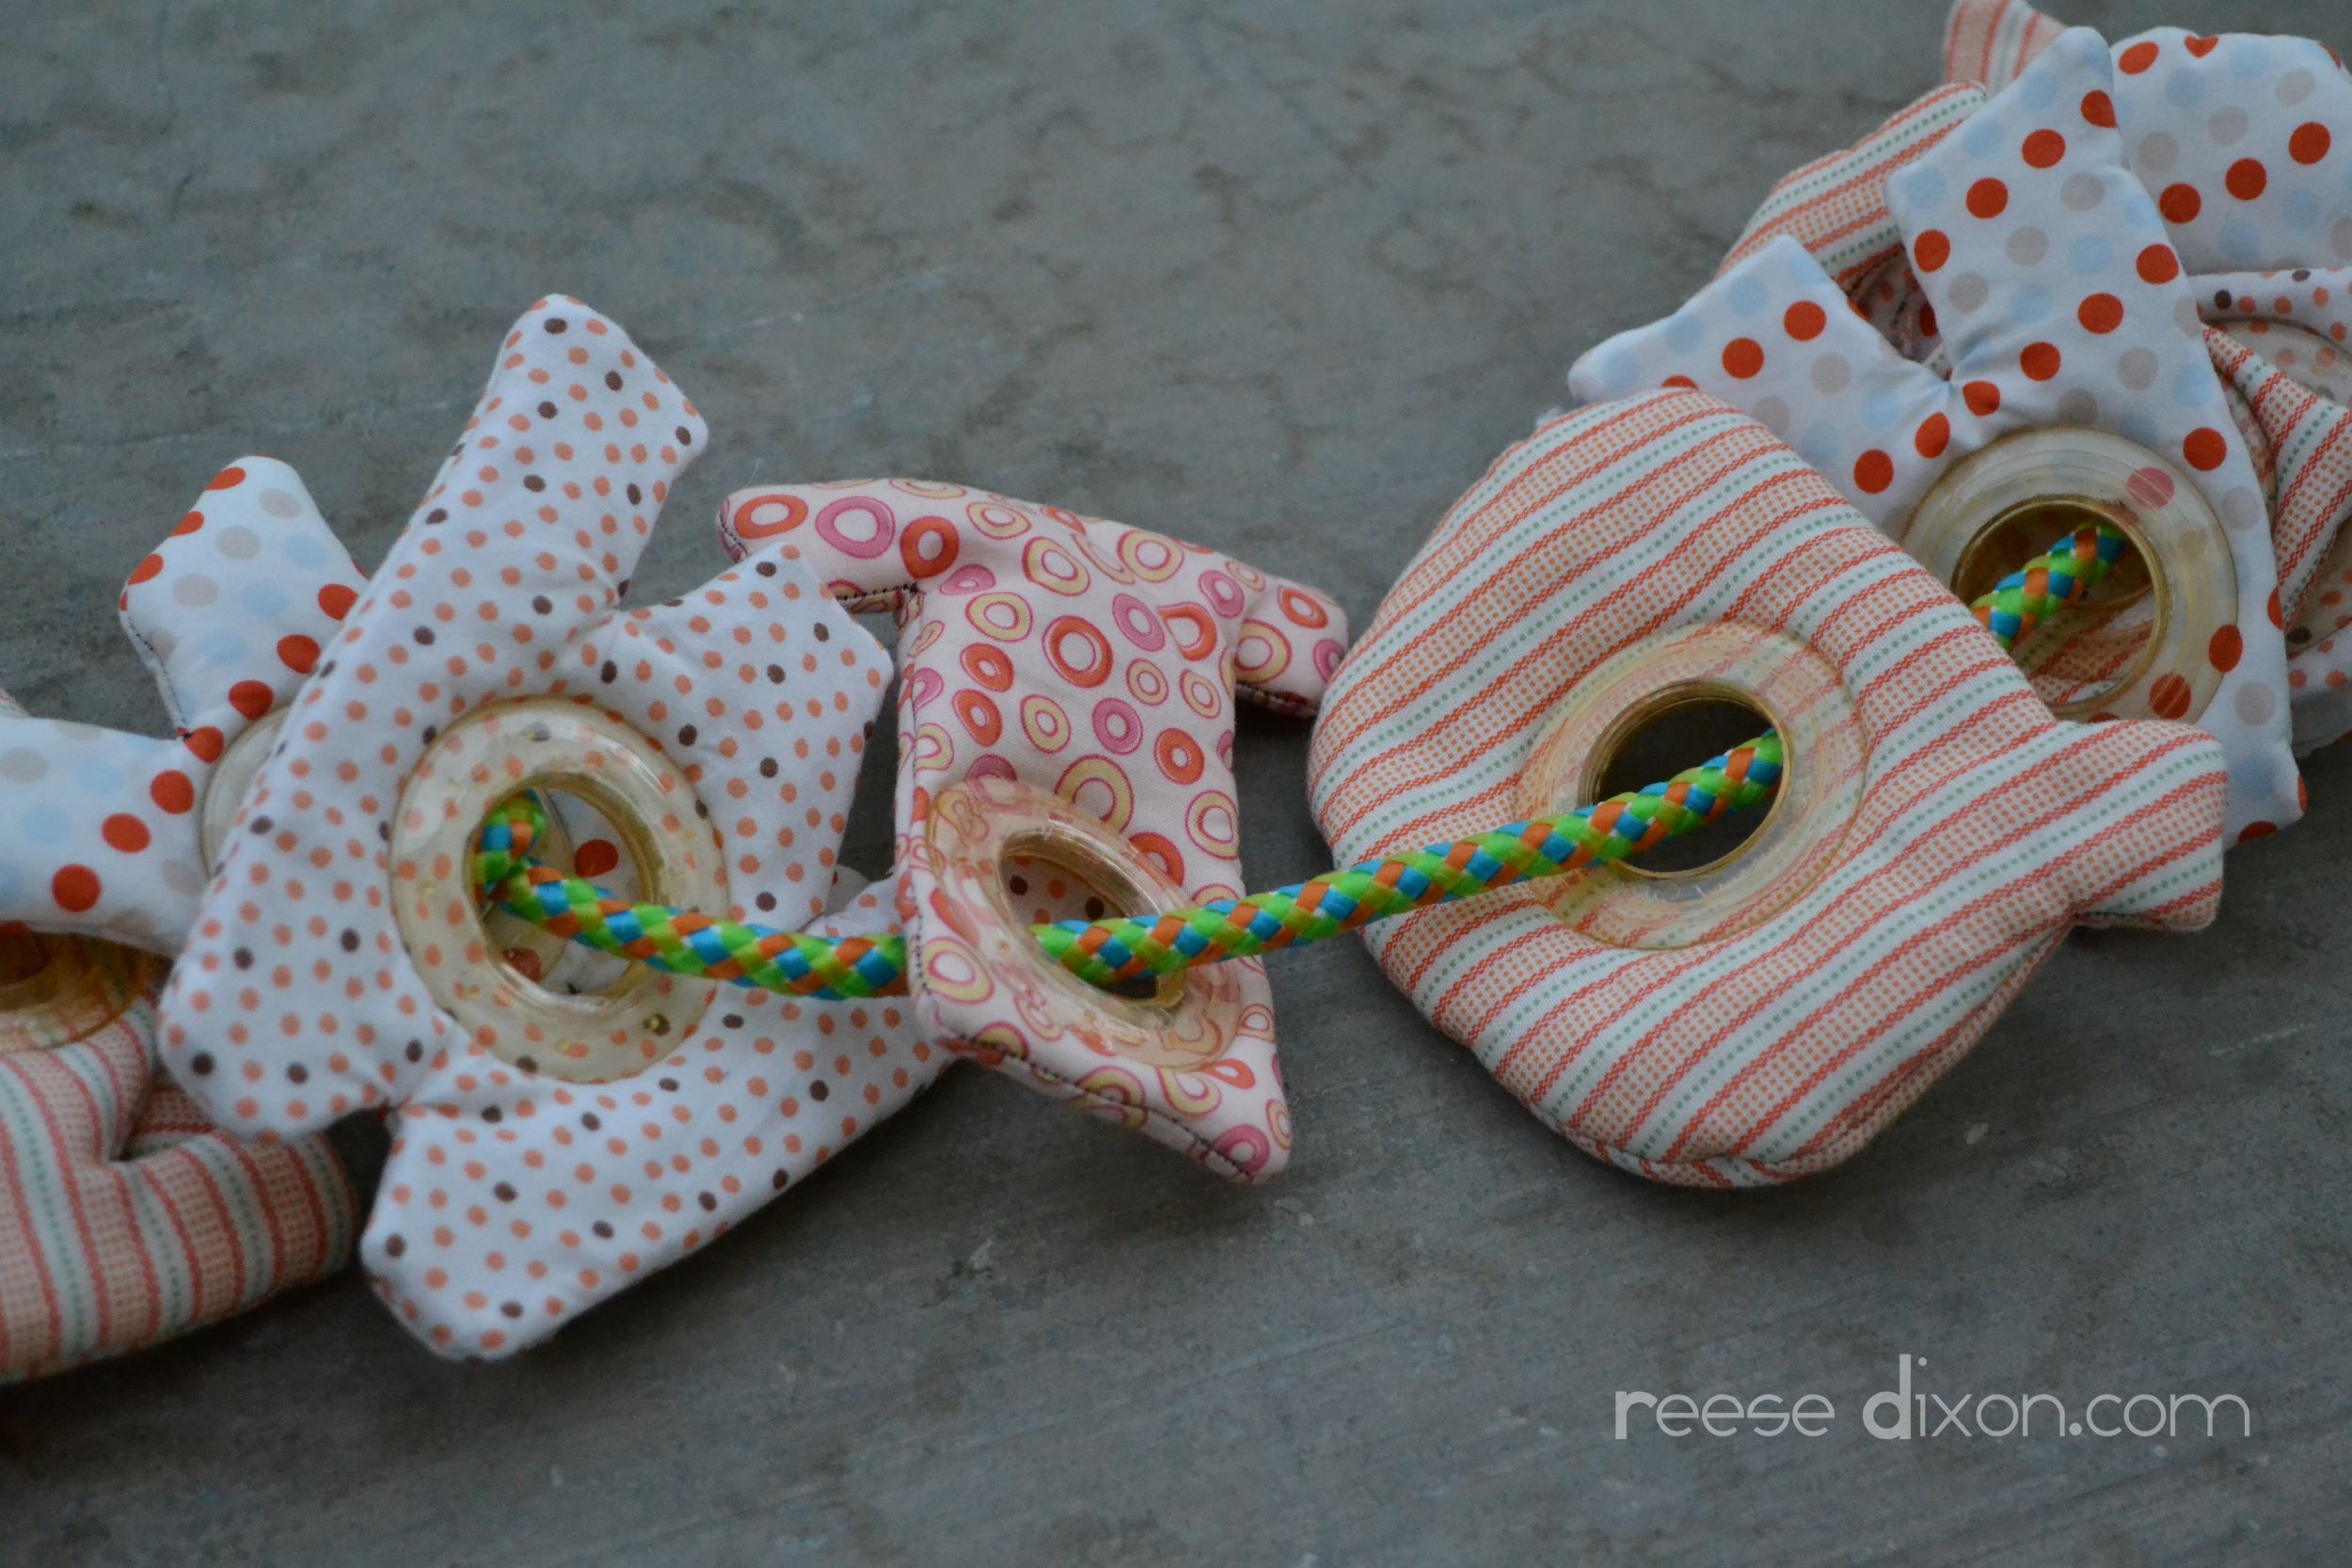
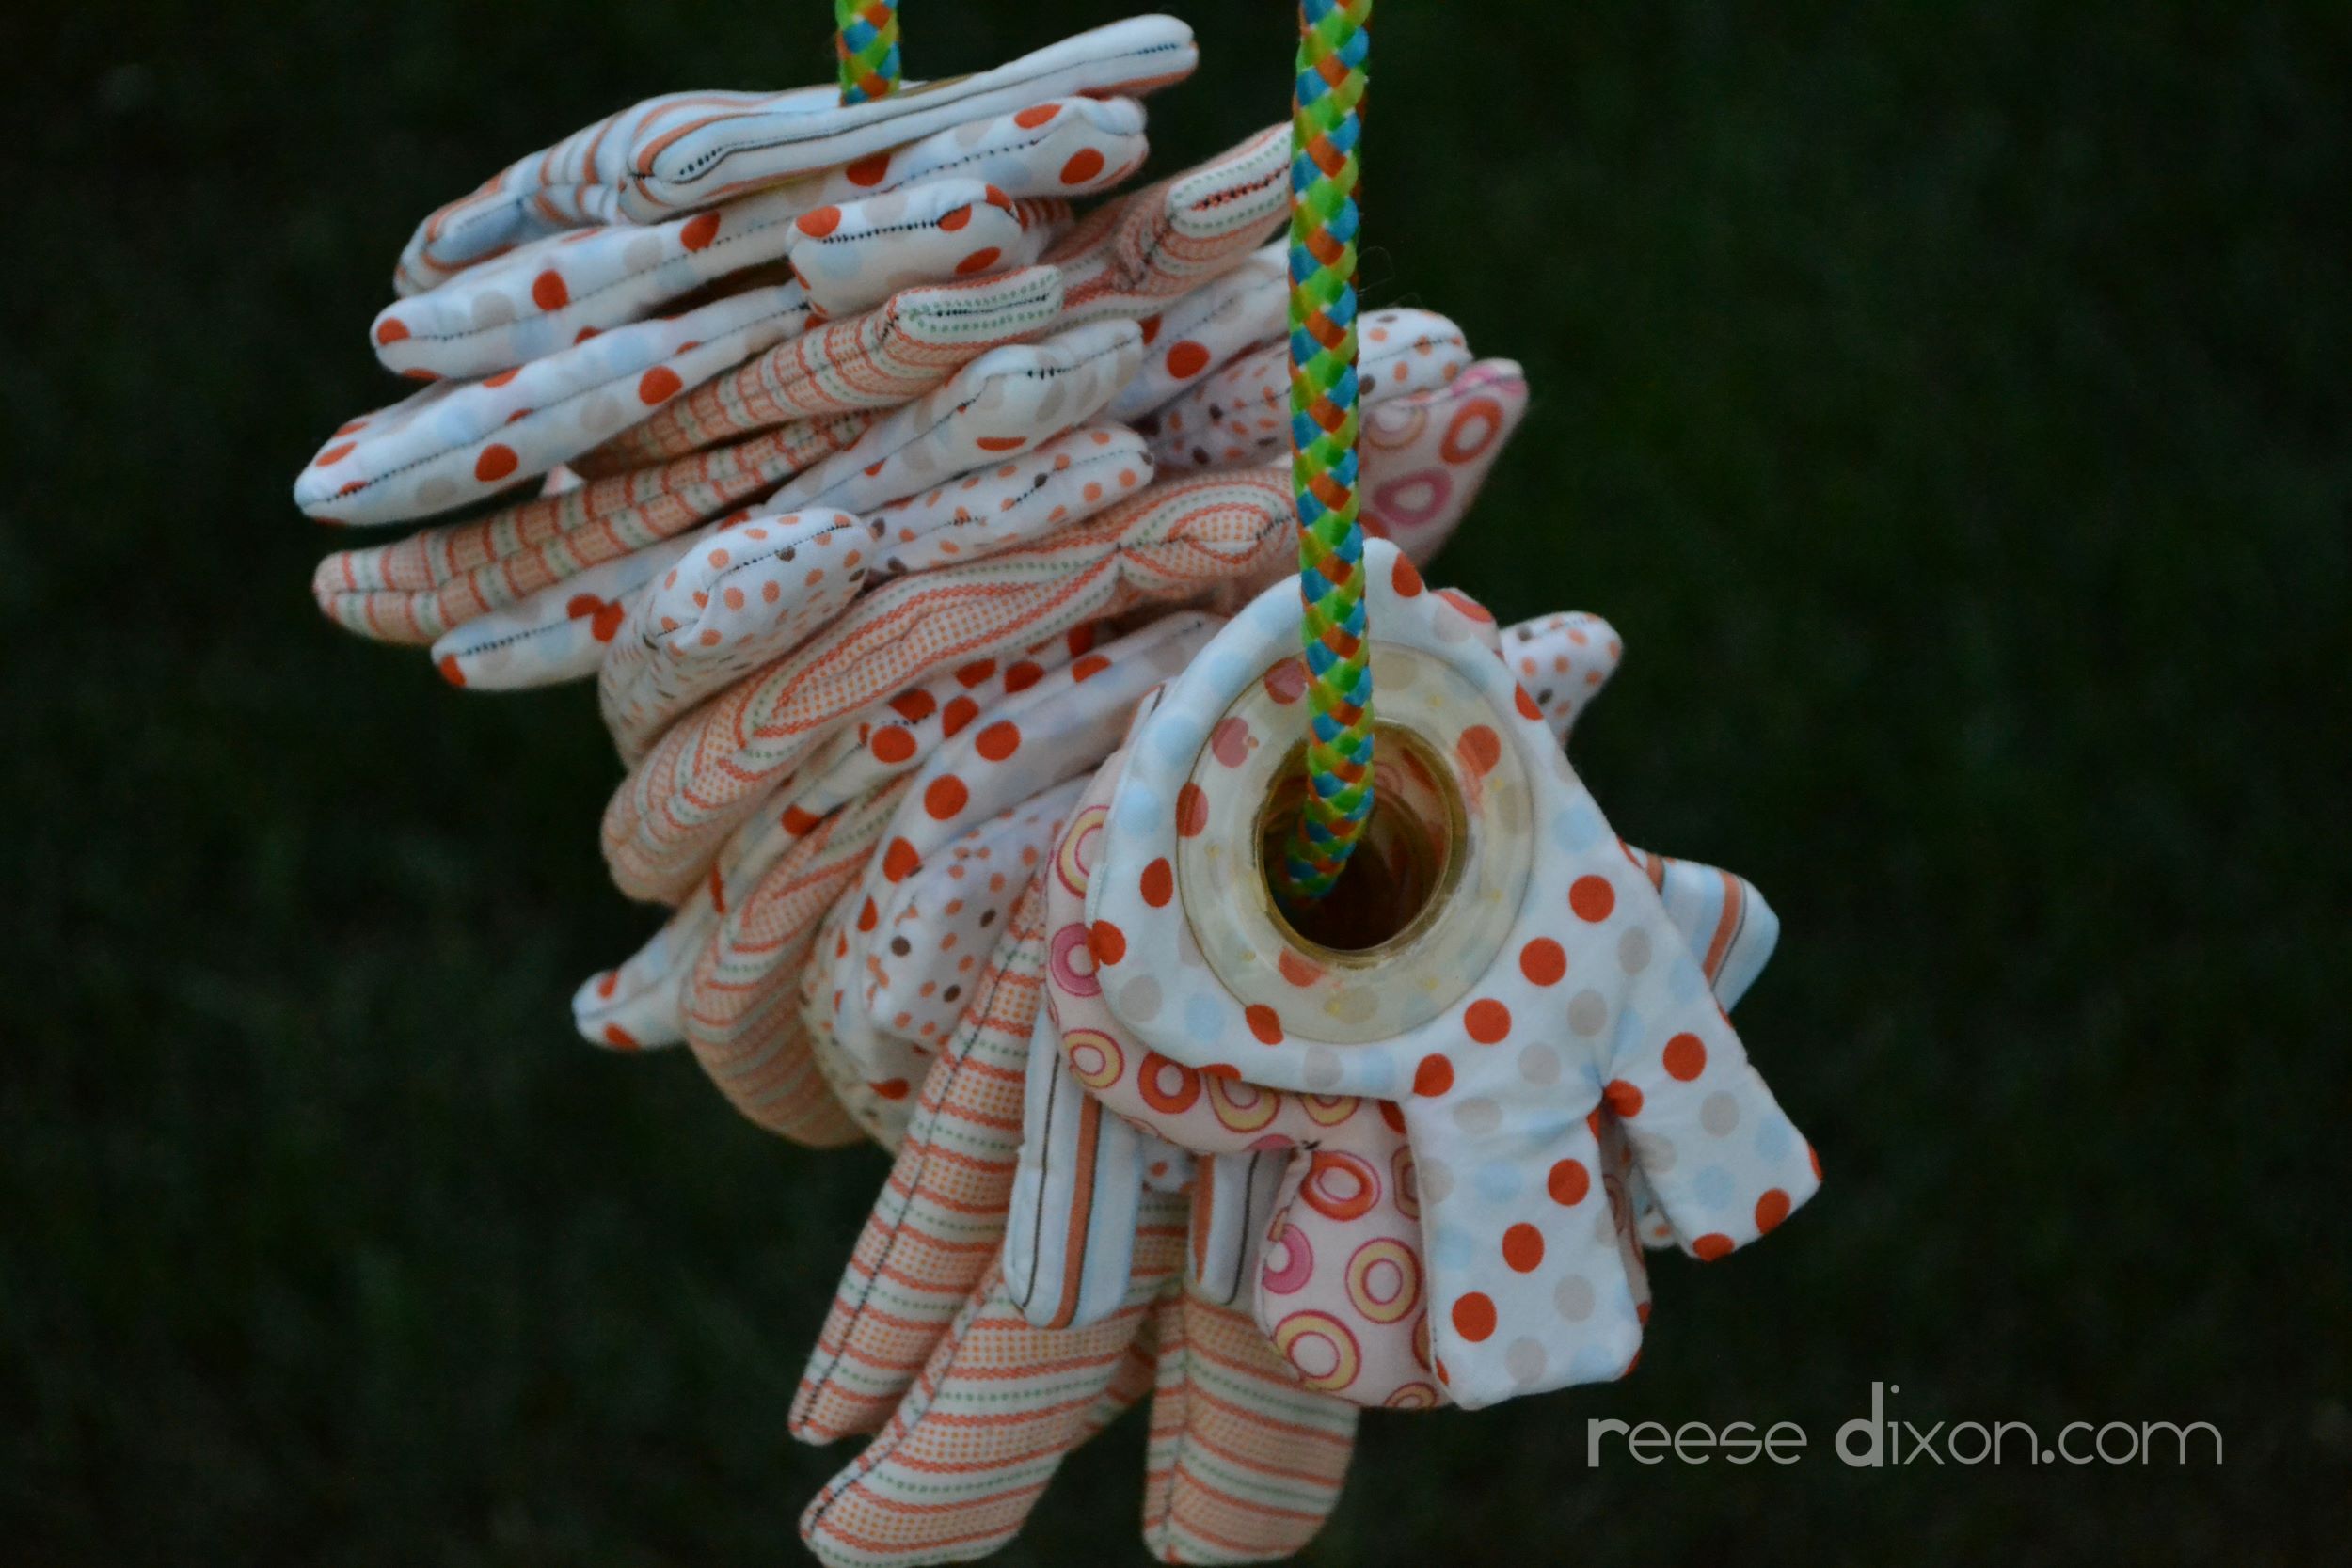
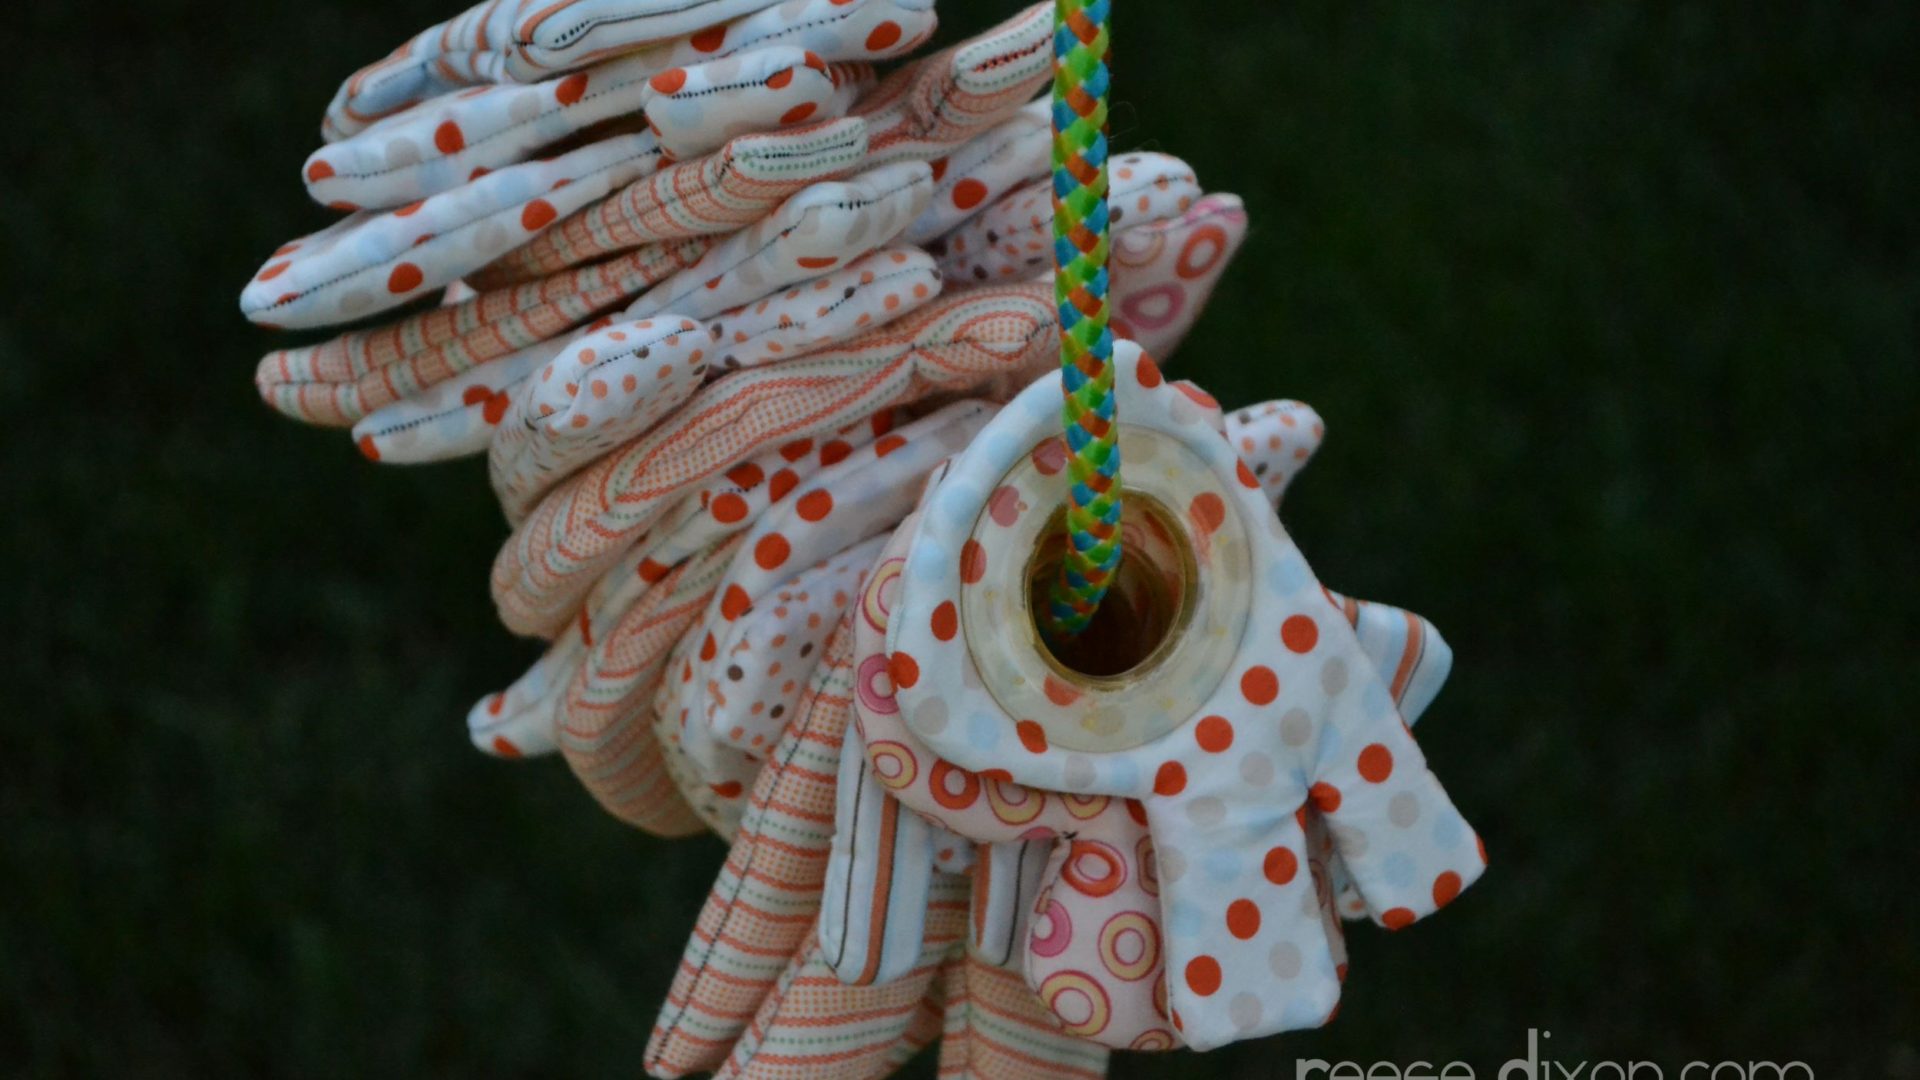
Atti’s therapist has this toy she’s always trying to get him to play with, but the stubborn little guy absolutely refuses. She has these puffy bead shapes that she wants him to string on to a jump rope, but he won’t even hold them. He just pushes them aside and goes back to singing until we give him his letters. So, in an attempt to get him to cooperate, I thought I’d try making the beads in the shape of the letters he’s so obsessed with.
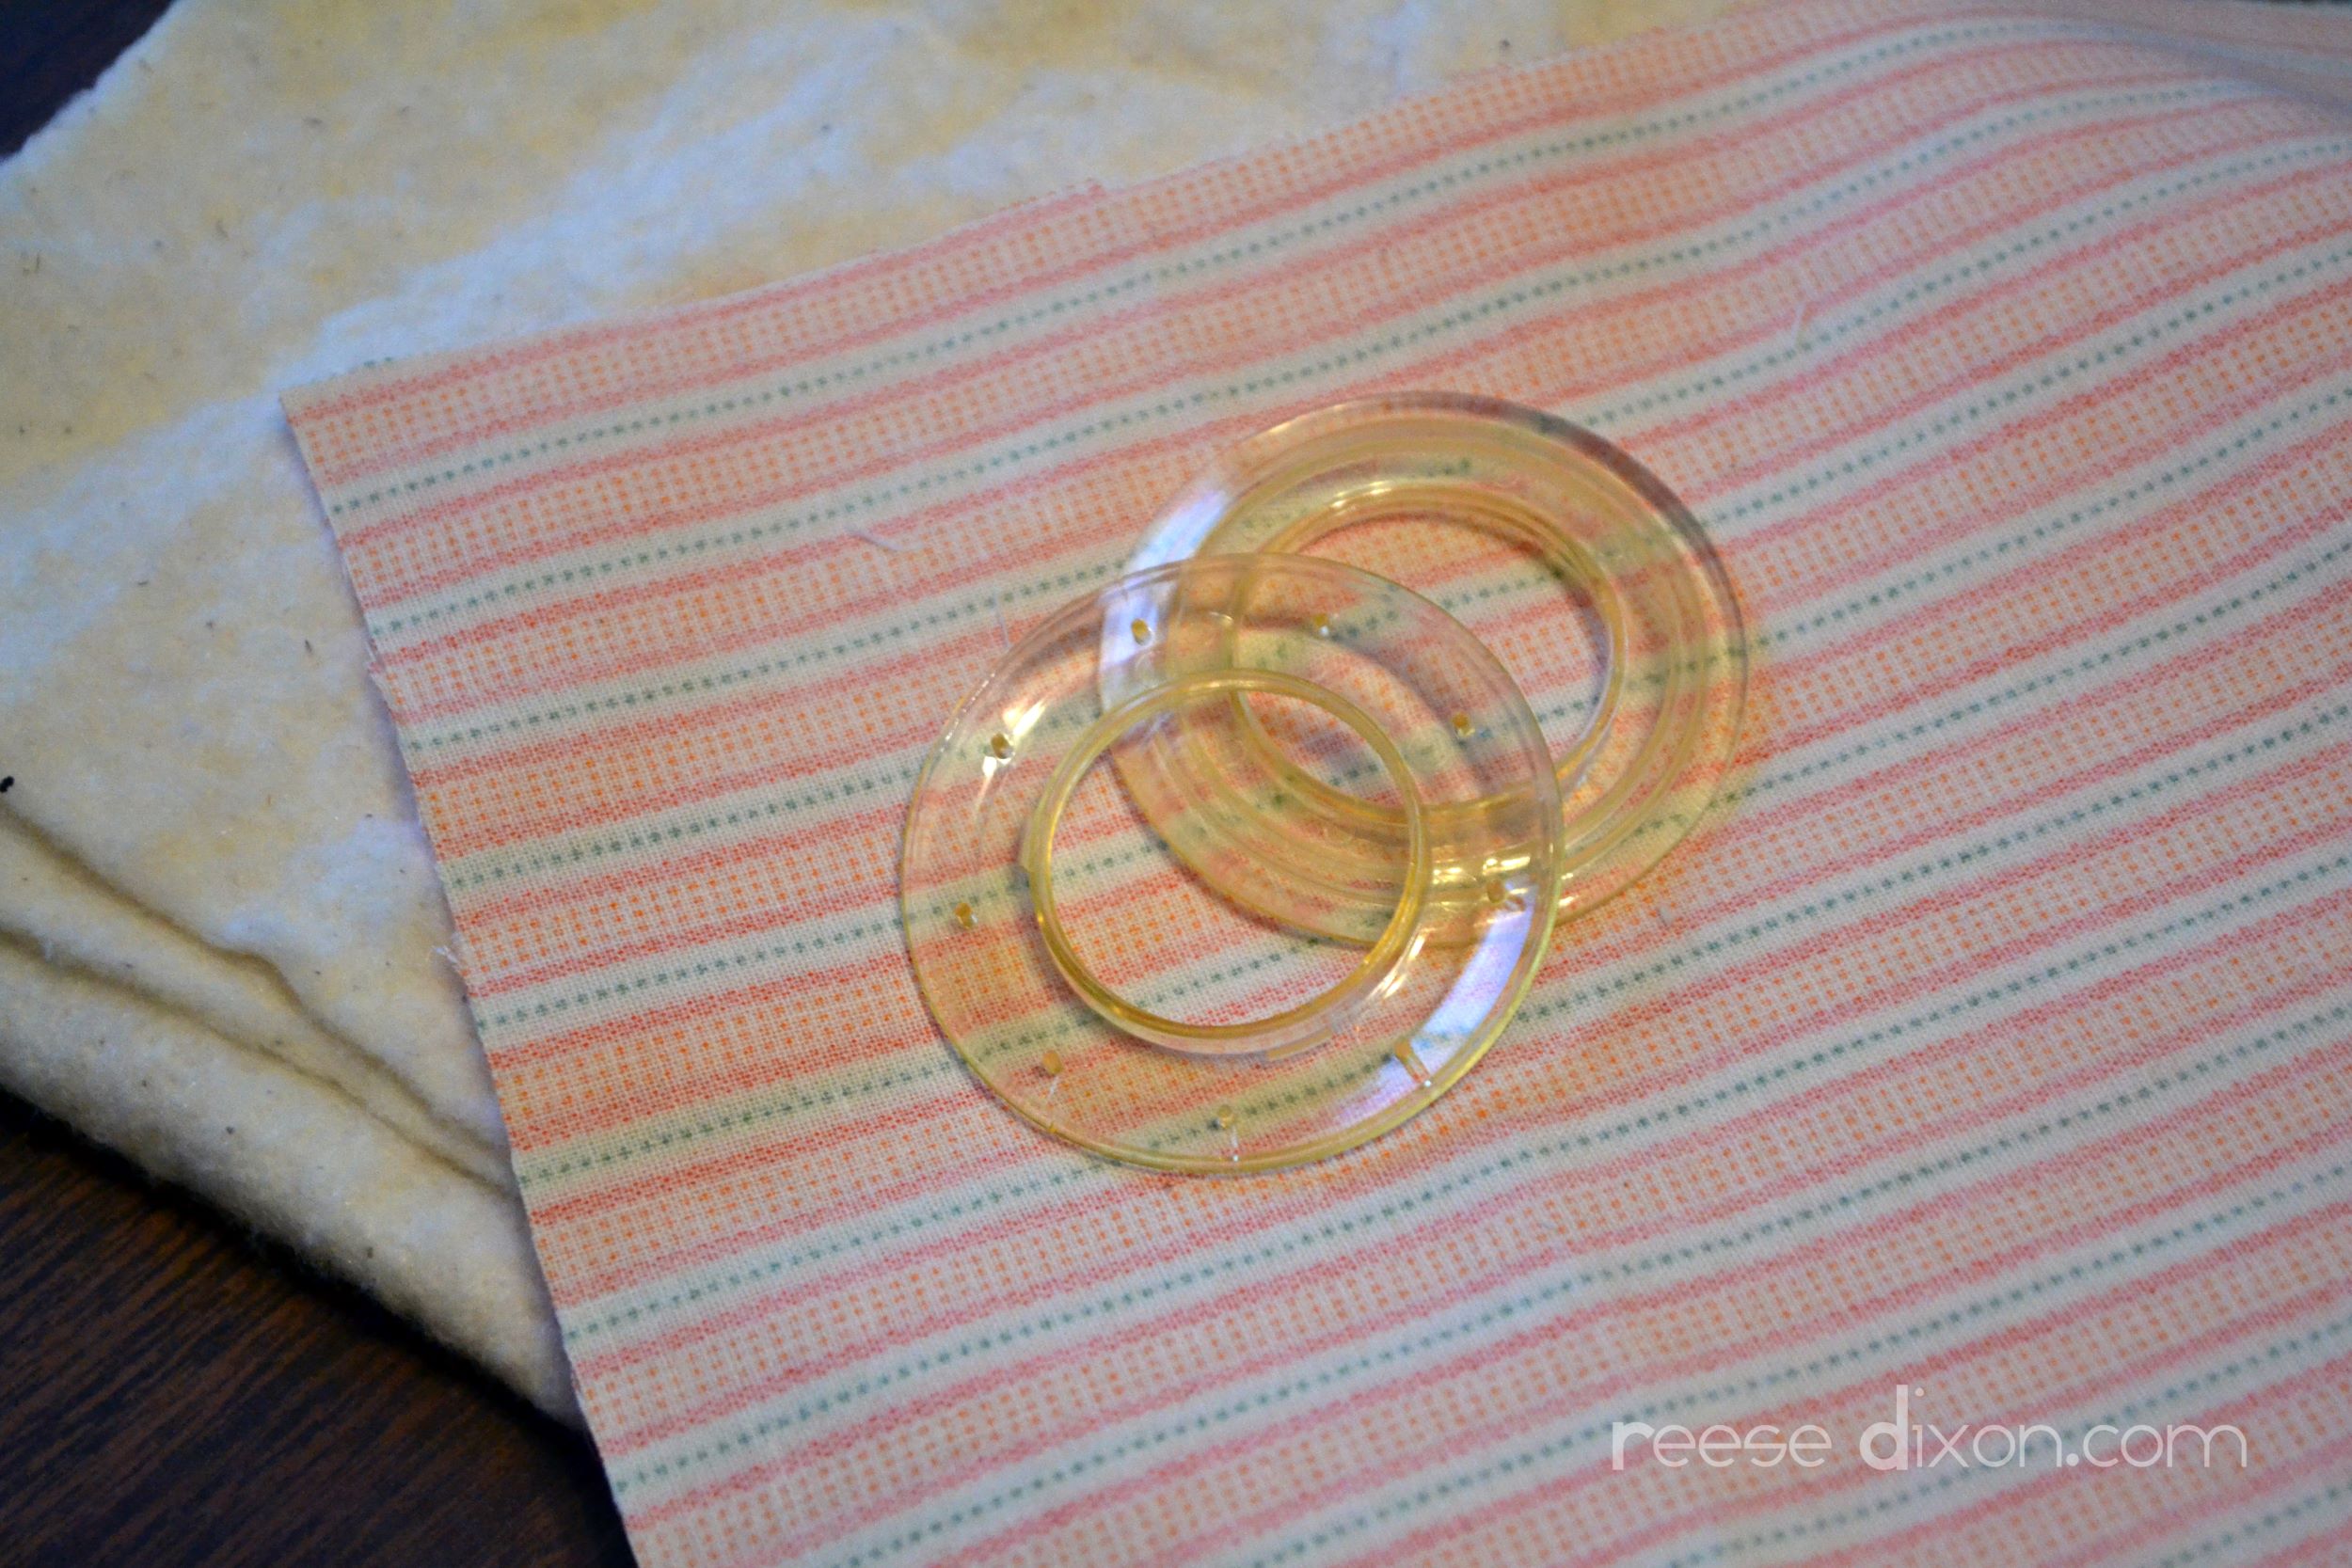
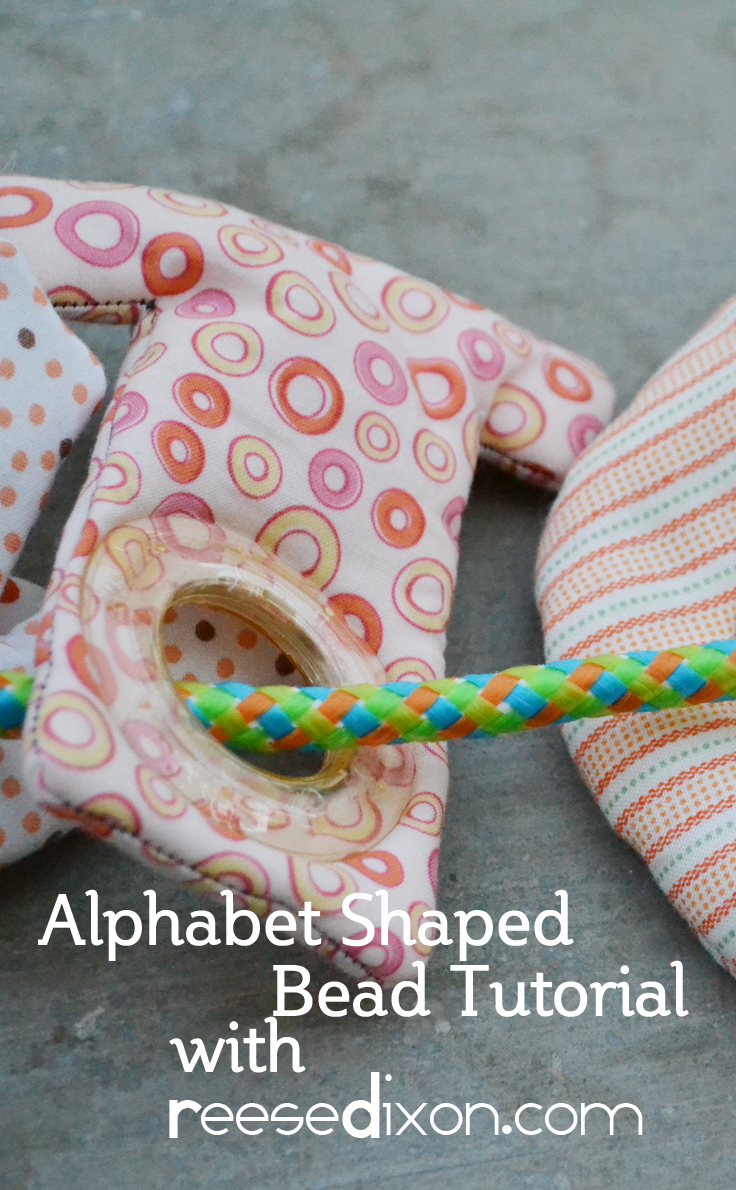
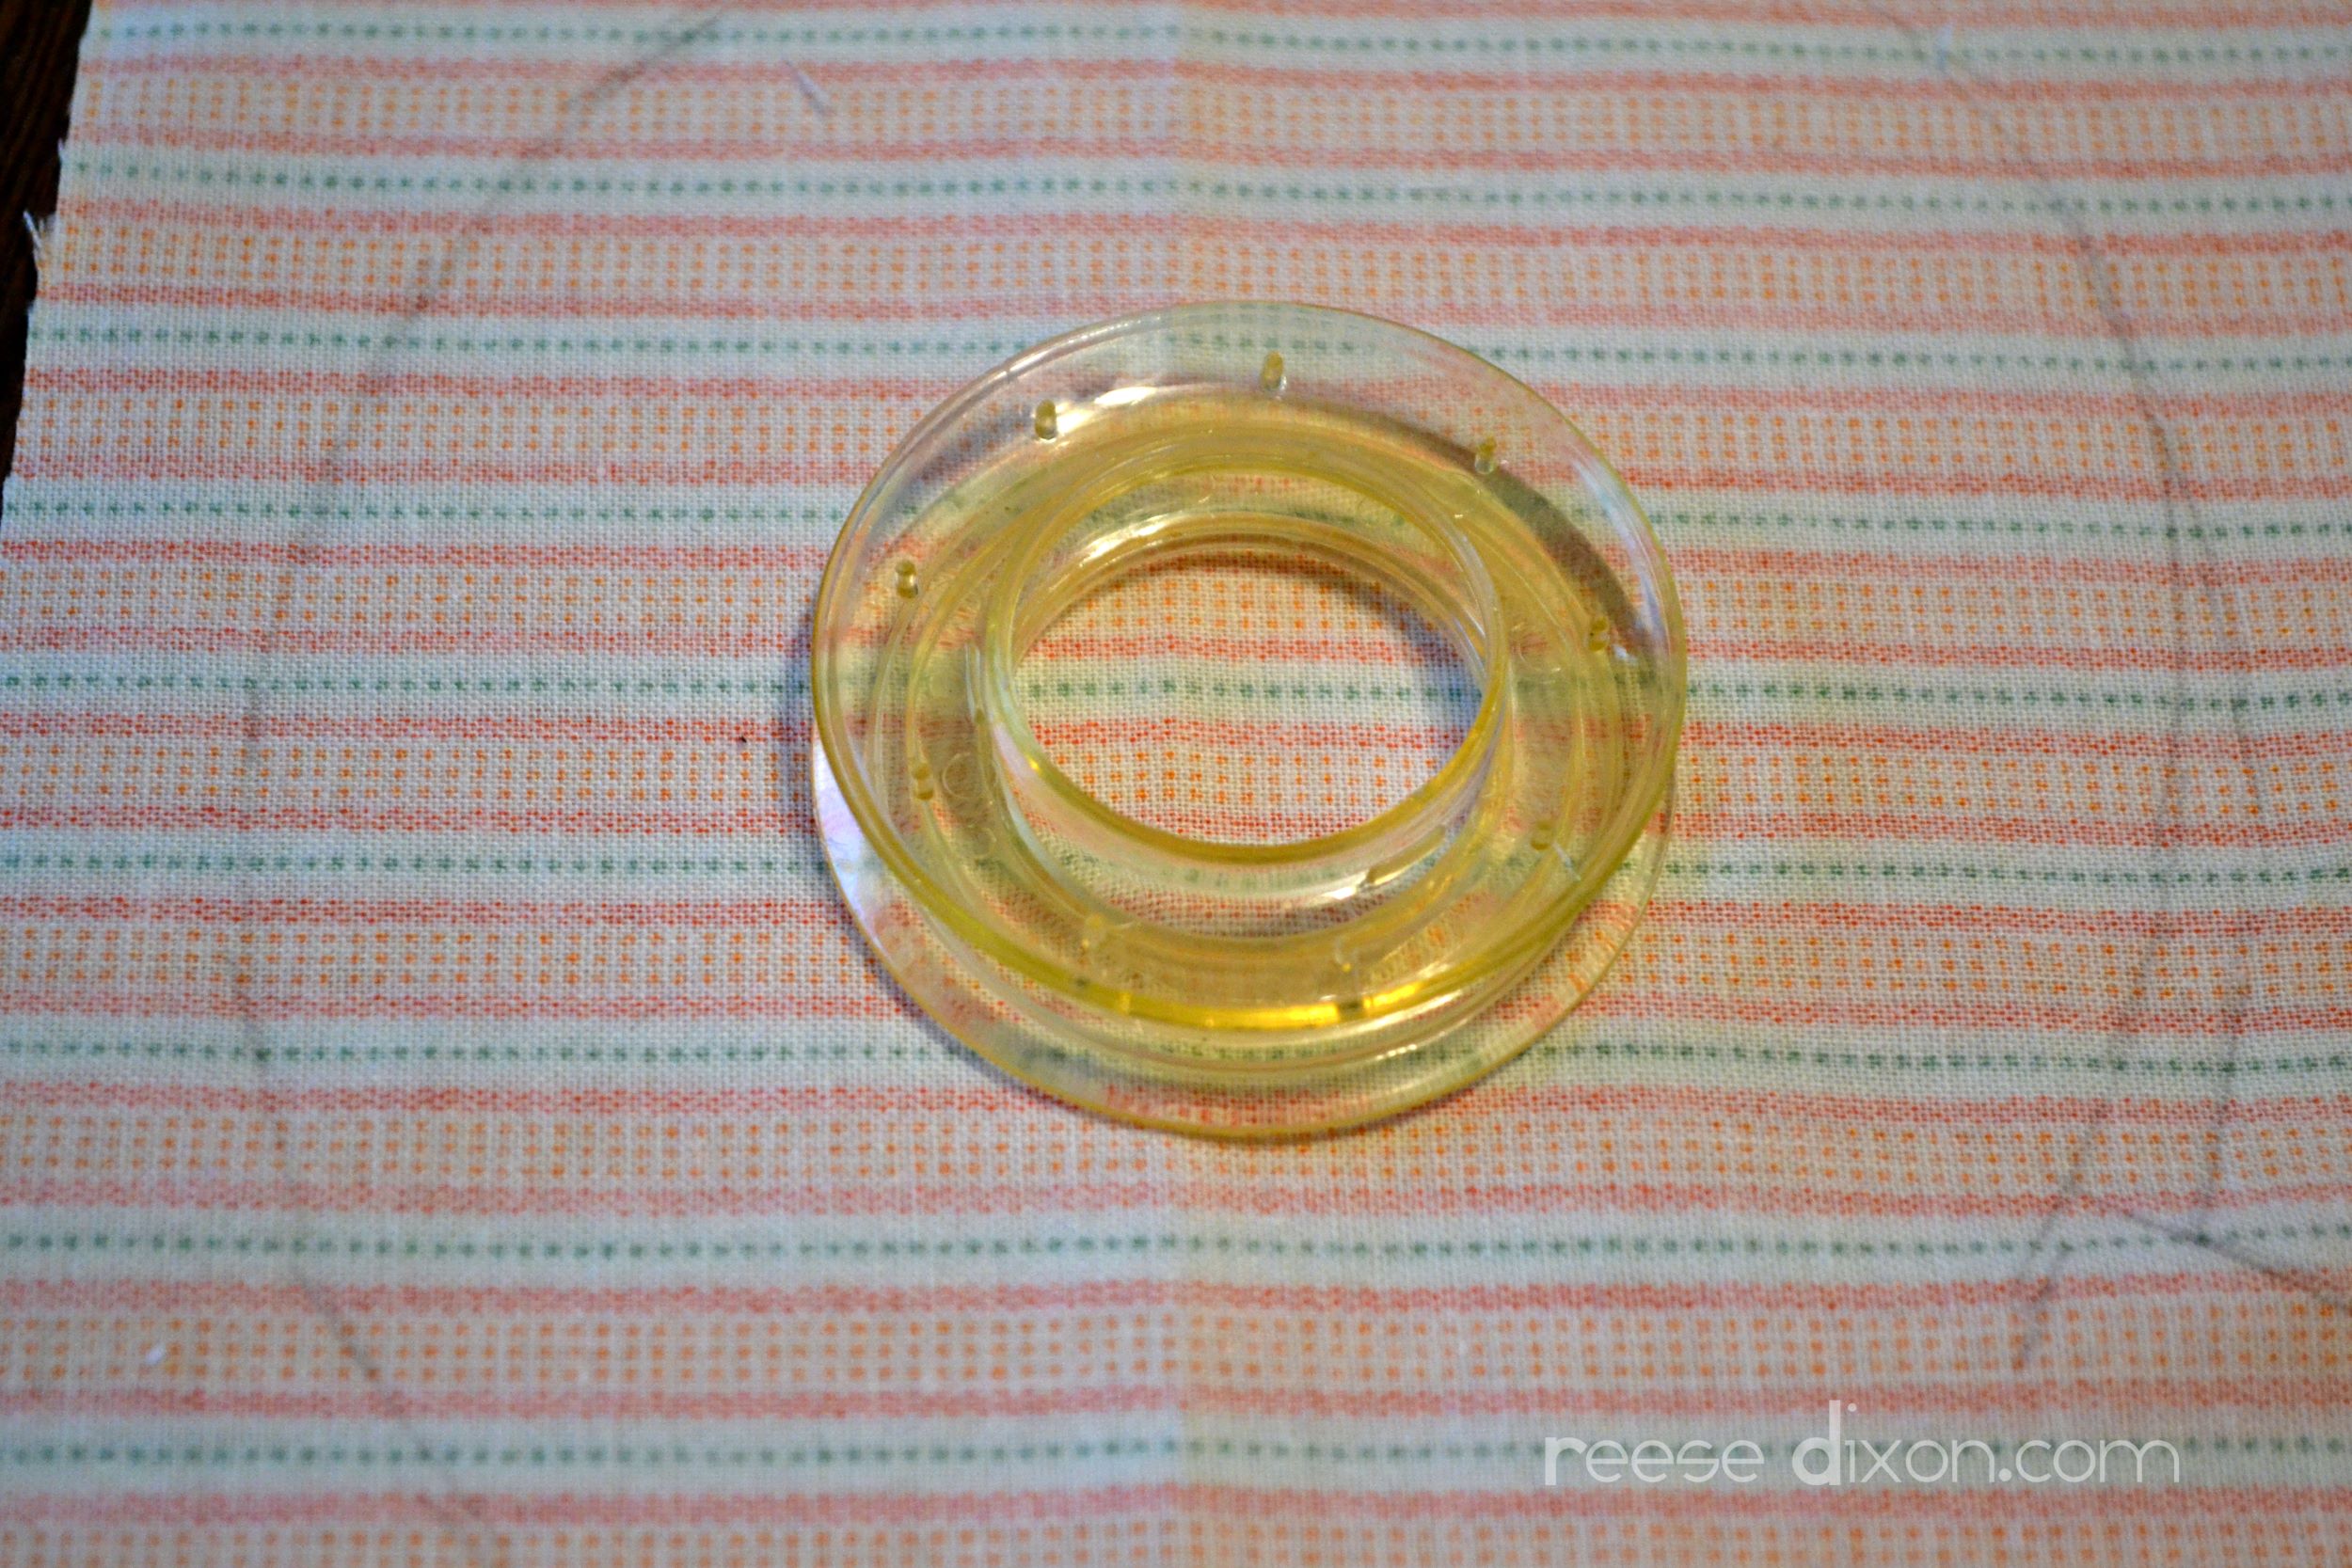
You’ll need two pieces of fabric, four thin layers of batting, and grommets. I found these easy to install plastic ones at my craft store, but you can find grommets at any fabric store that deals in home decor fabrics.
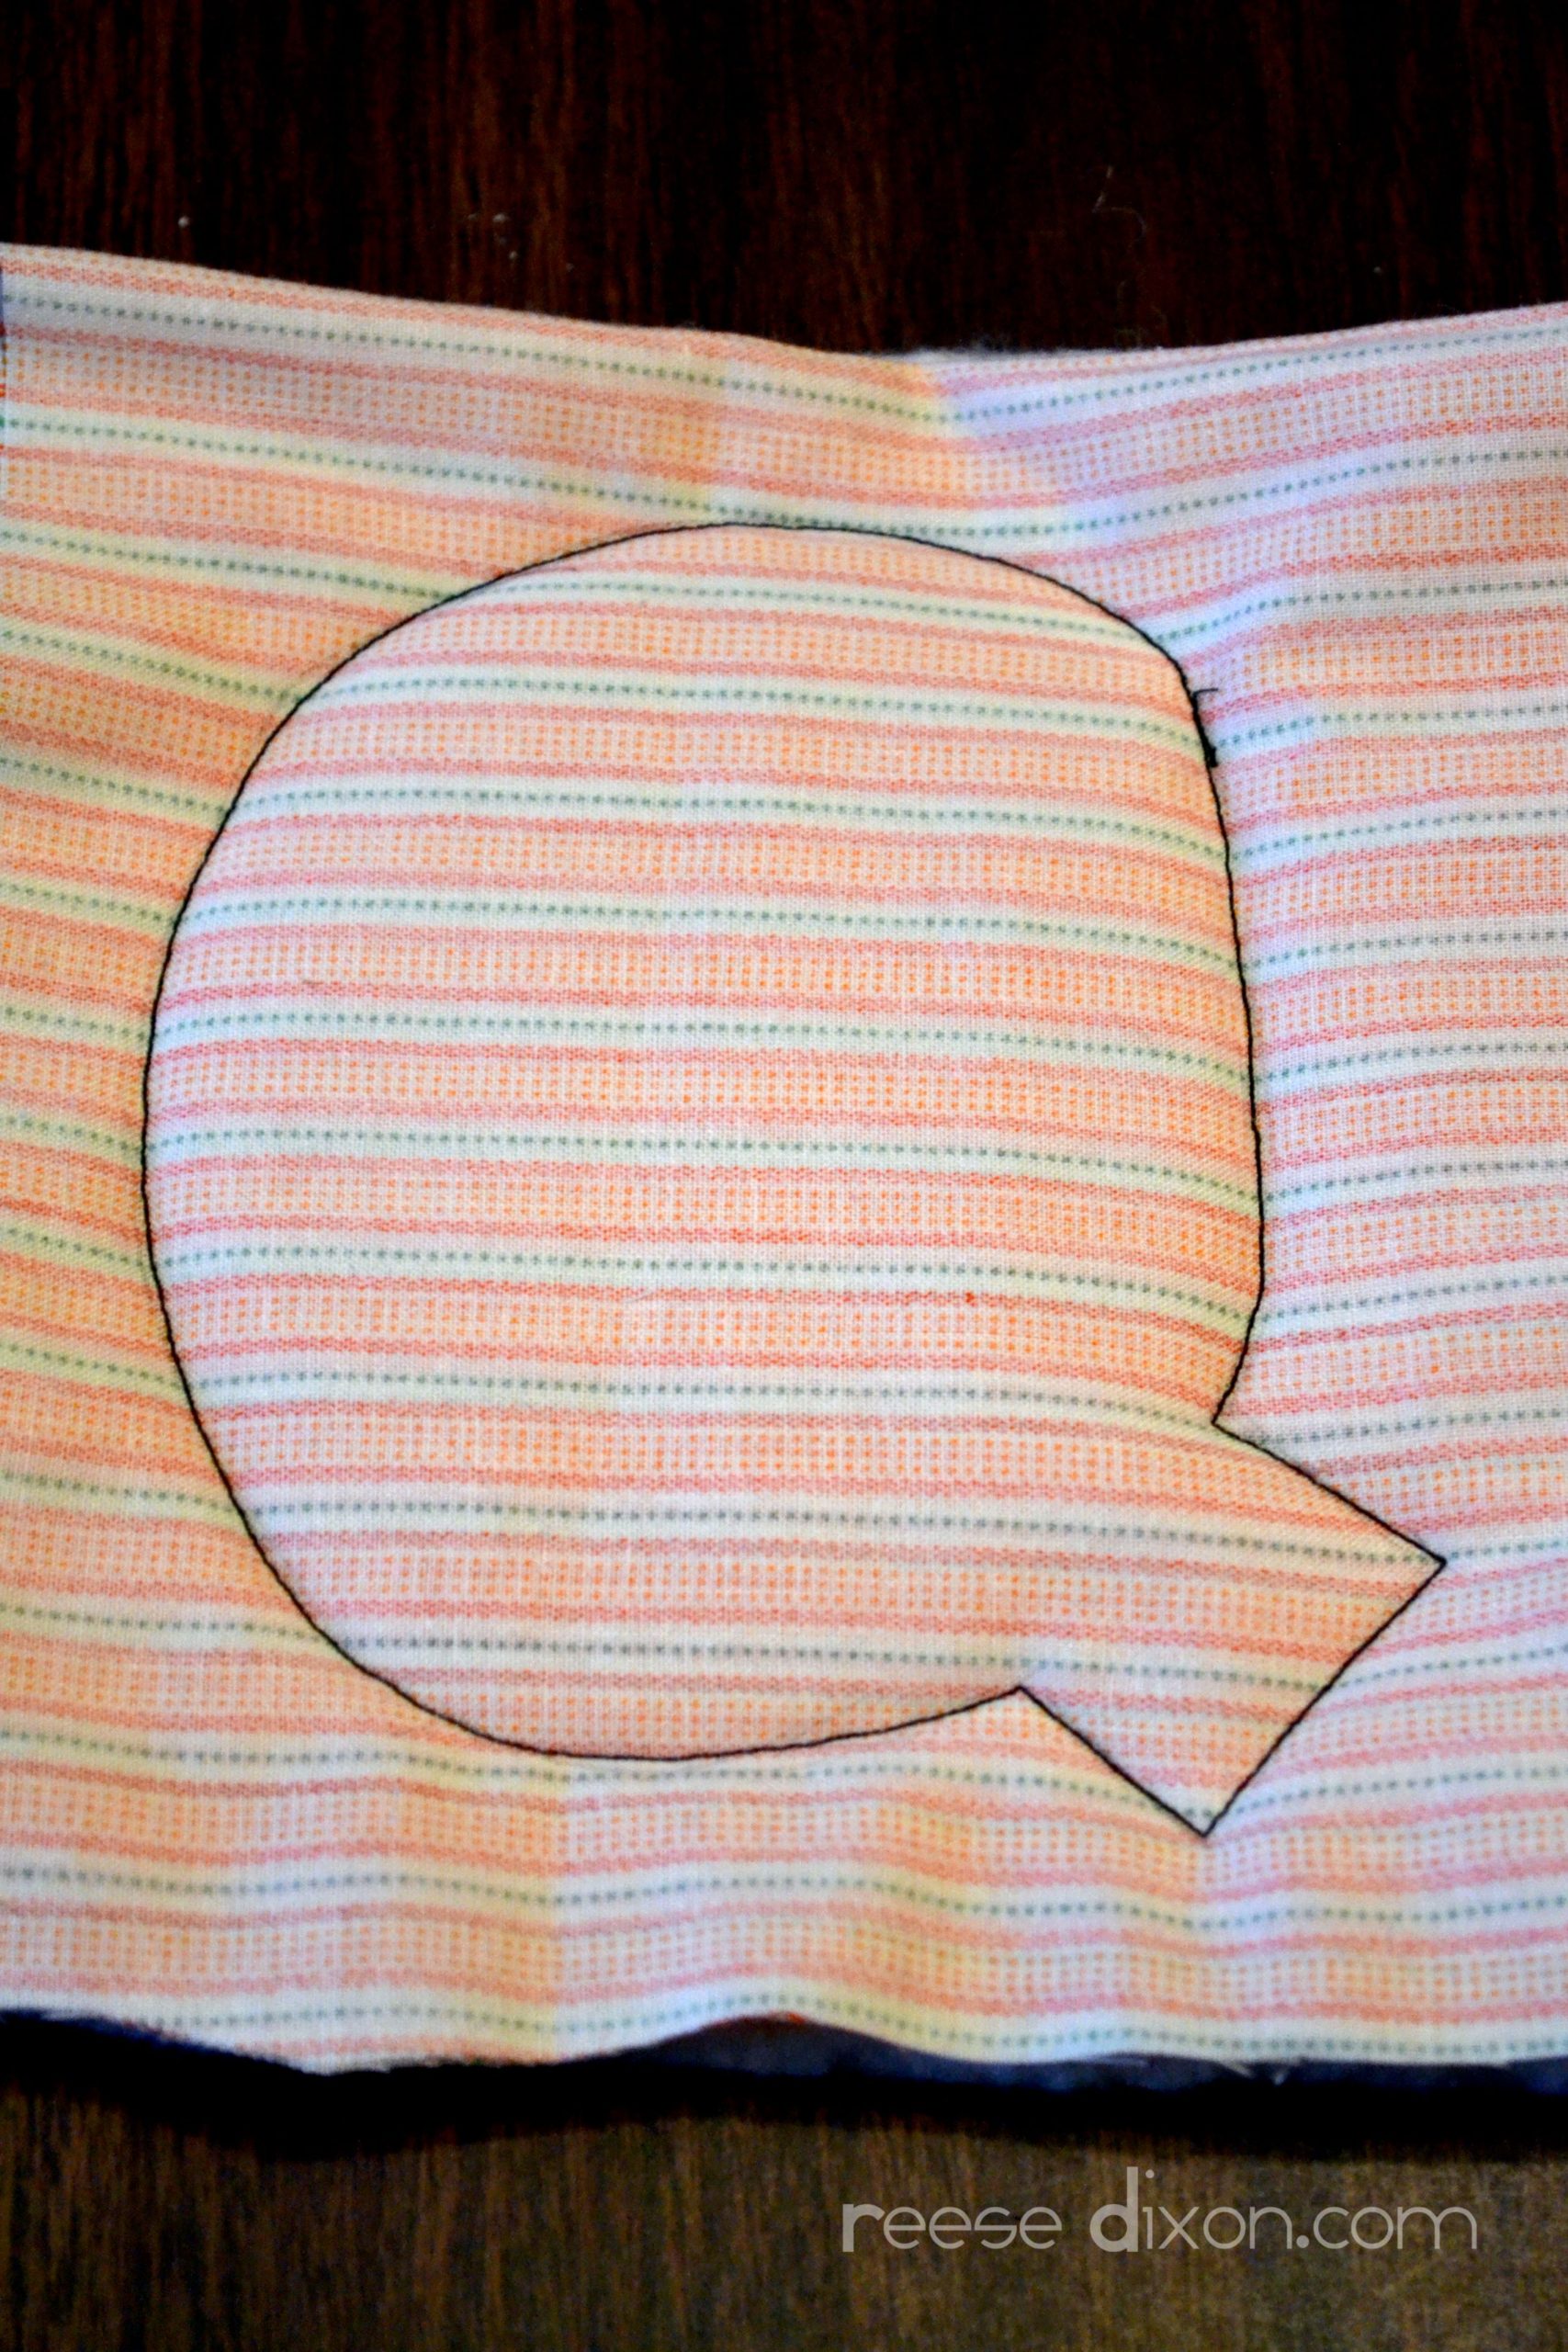
Keeping in mind how much space you’ll need for your grommet, either draw or copy your letter shape onto the wrong side of your fabric. Remember to make it slightly bigger than you want the finished product so you have room for a seam allowance.
The order of how the fabric is layered is important, so be sure and lay down all your layers of batting first, then your fabric on top of that with the wrong sides placed together. Then sew all the way around your letter shape.
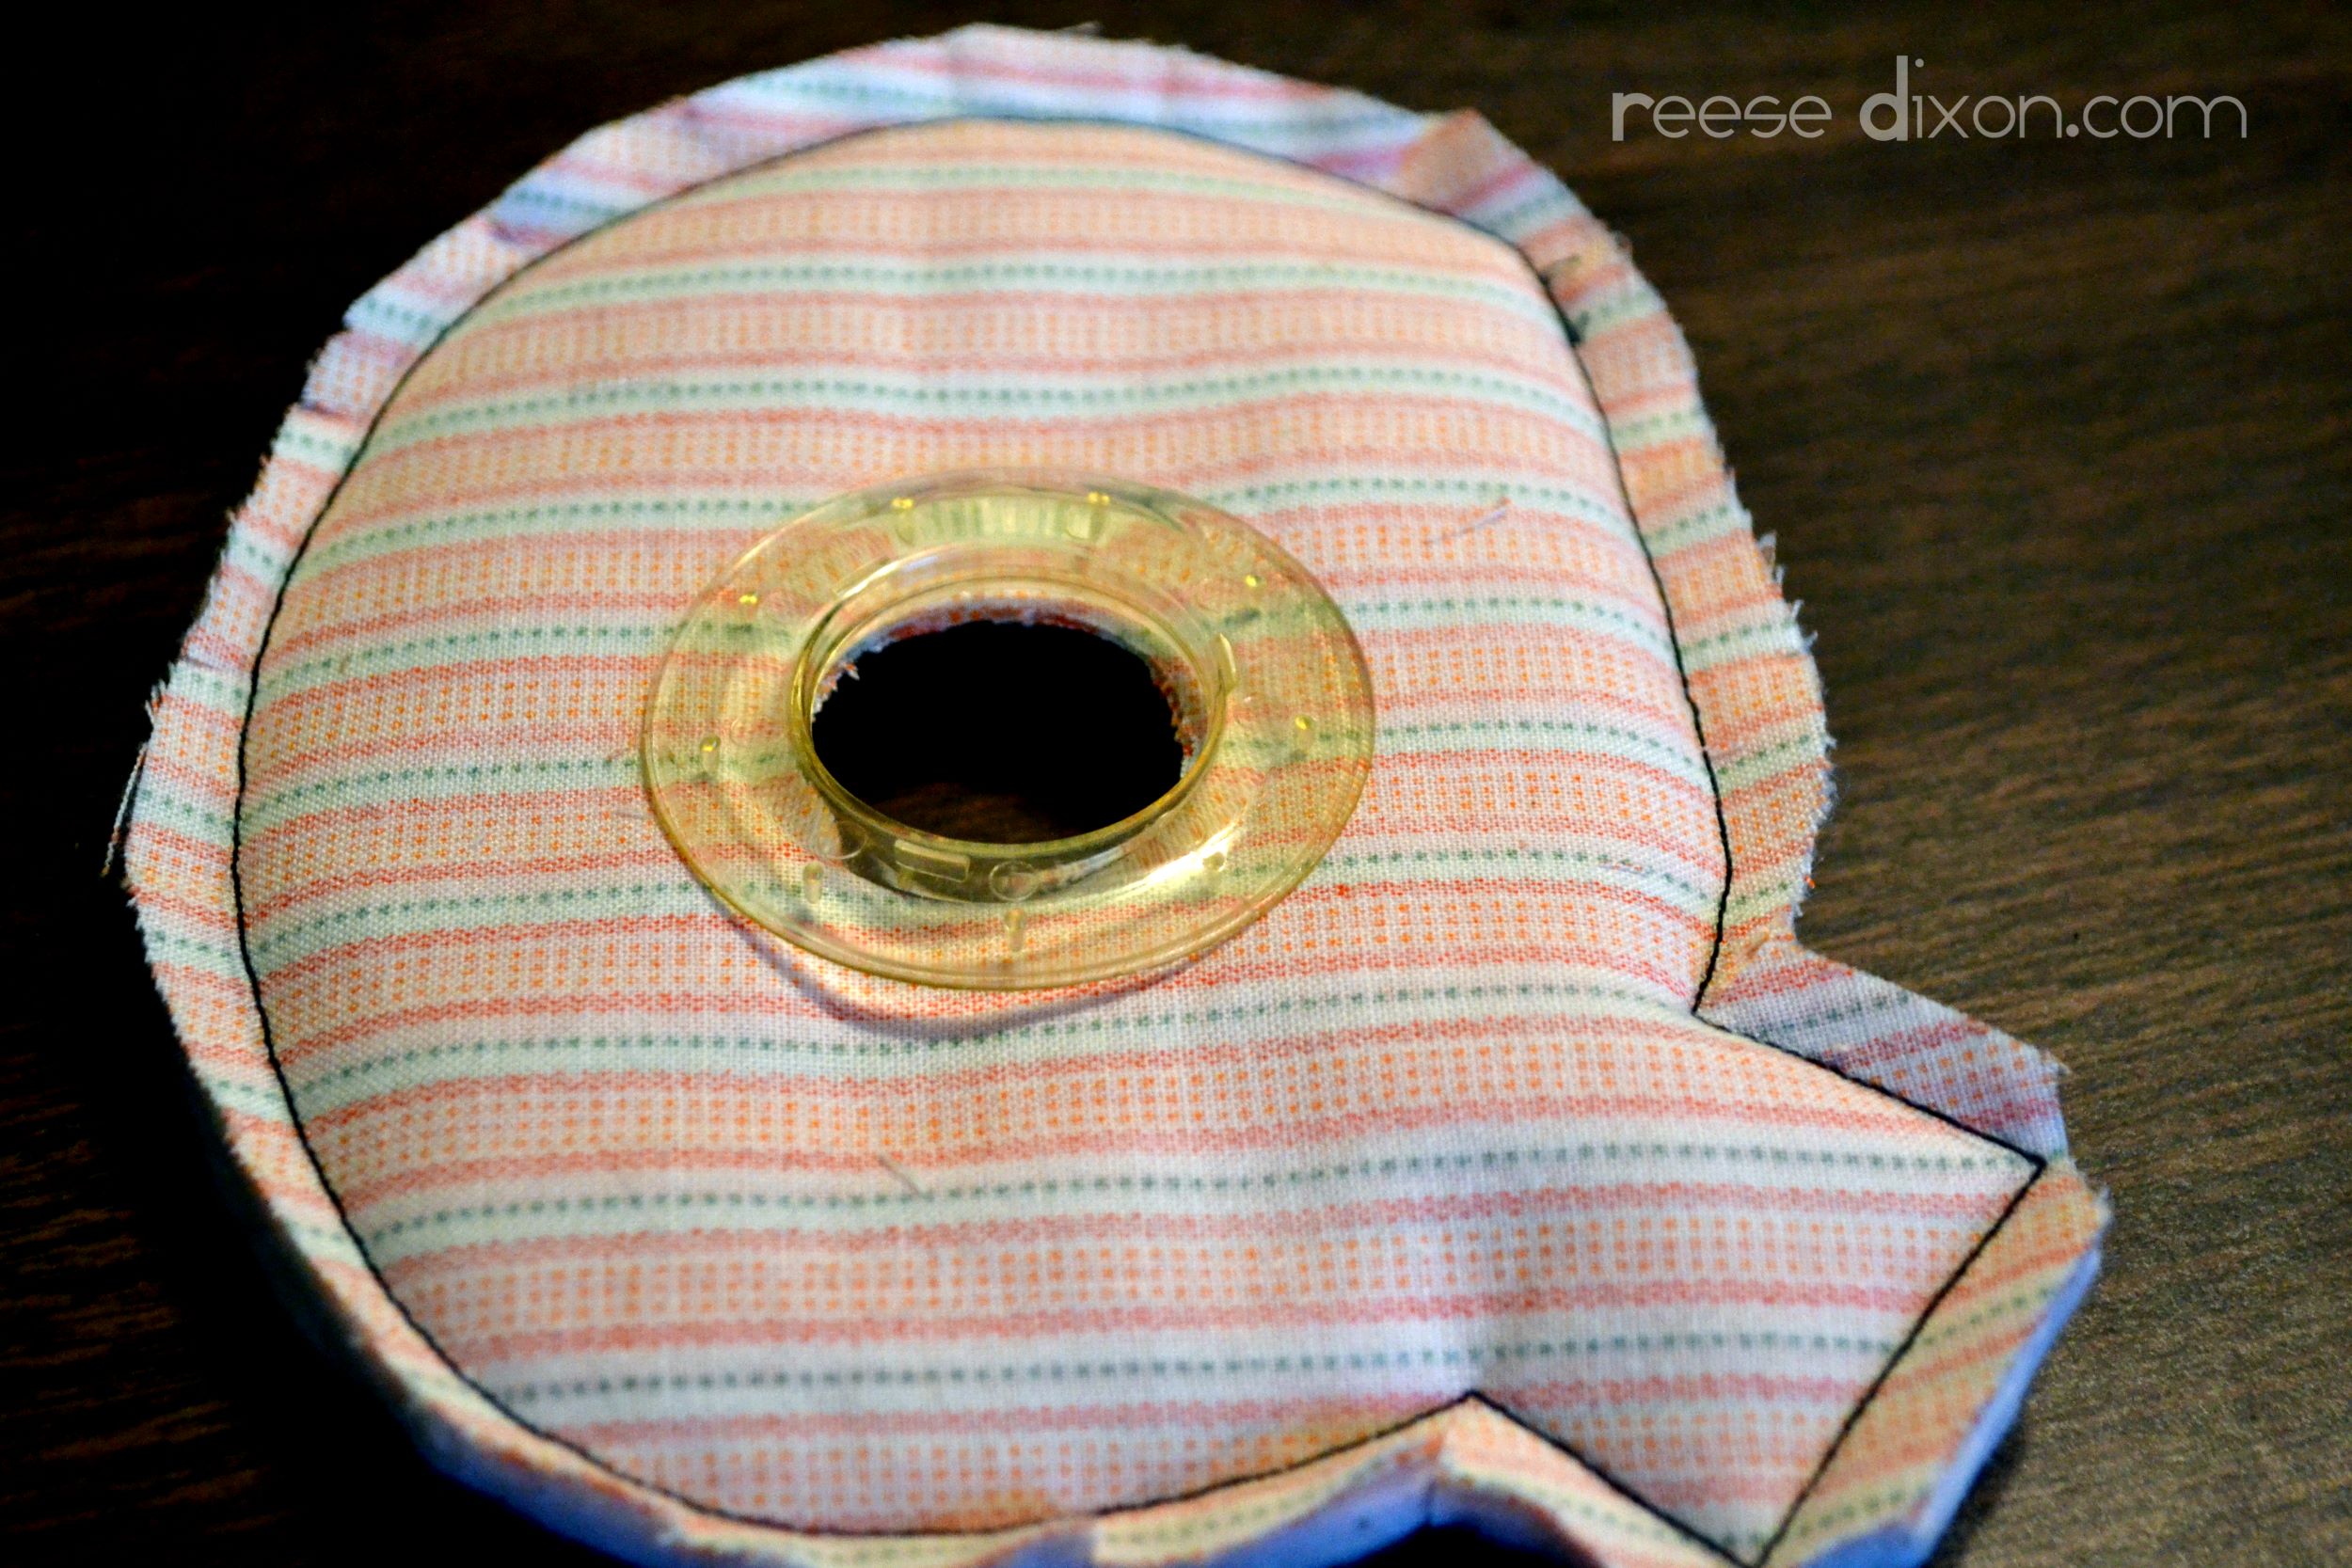
Cut a hole in the center large enough for your grommet, but no bigger. It’s easy to let that get away from you. Remember you can always trim off more. Cut around the letter, leaving a 1/4″ seam allowance.

Whatever shape you end up making, you’ll need to make it so that it lays nicely when you turn it. If you have corners that jut out, cut across to get some of that fabric out of the way. If you have a corner that comes in, cut a slash through the allowance right up to the seam line. Cut more slashes along any curves to prevent puckering.
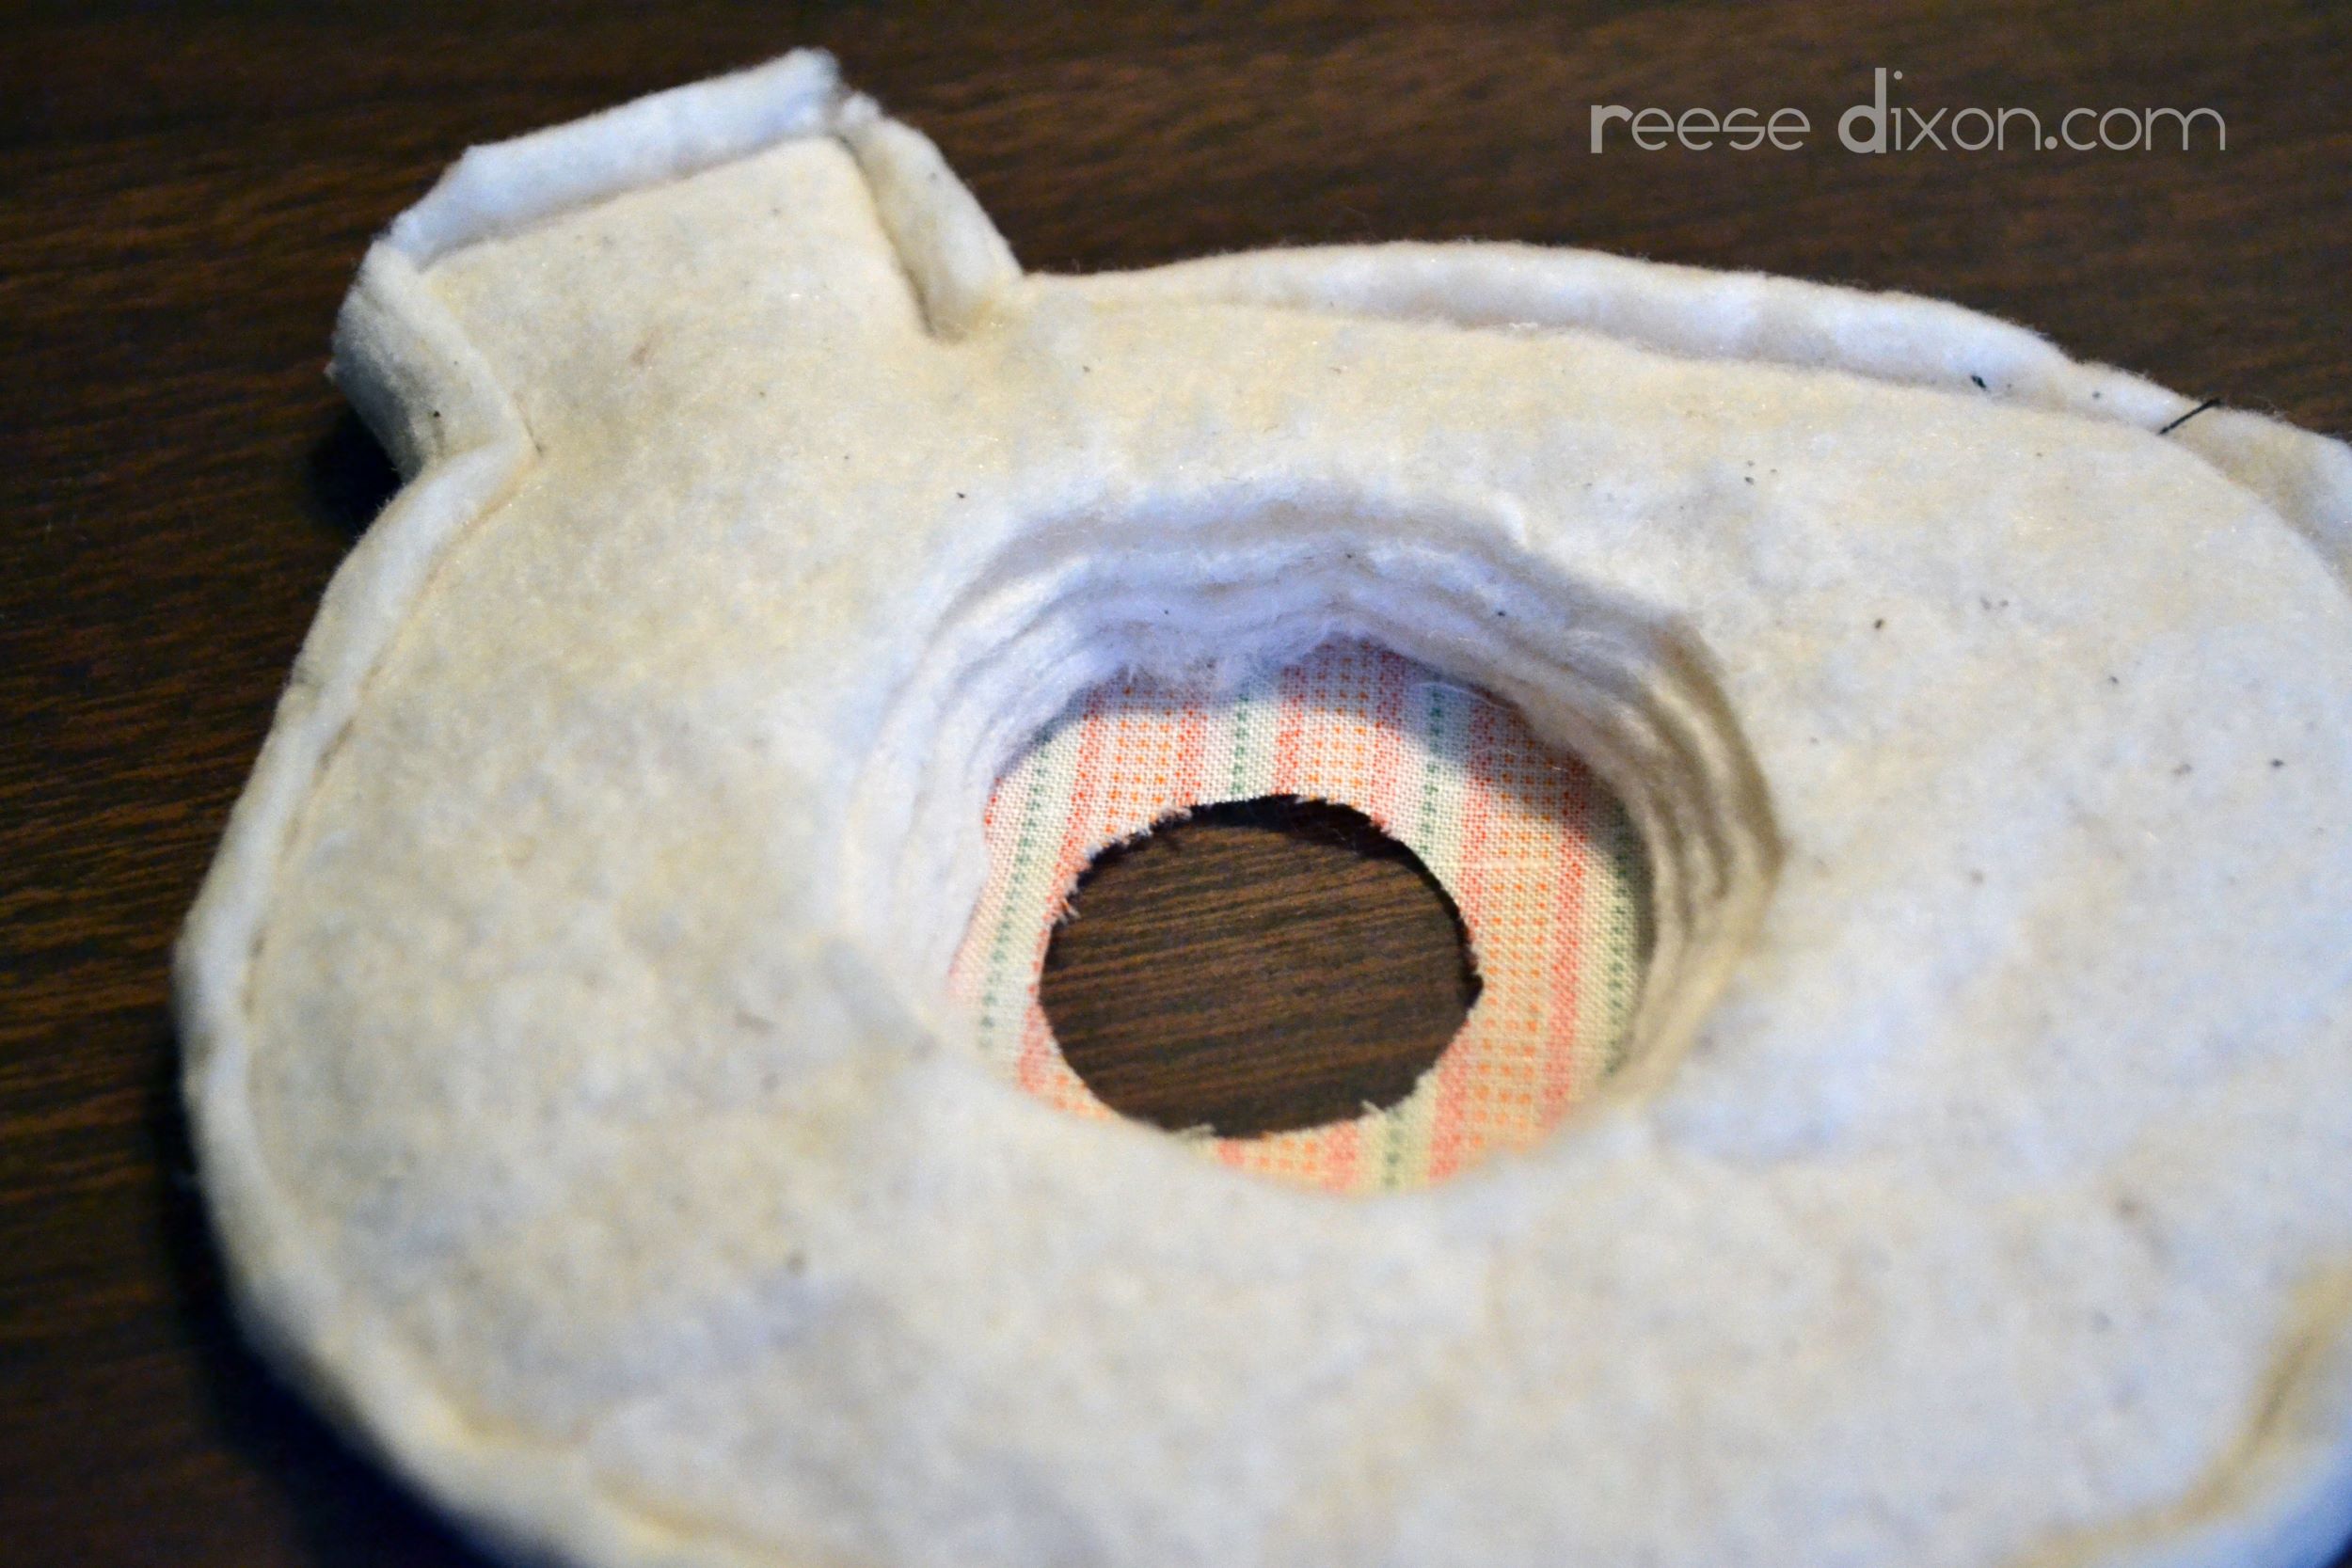
The grommets I bought were easy installation, but that also meant that they wouldn’t hold up against such a thick piece, so I cut away the interior of the batting. Make sure you don’t cut through your fabric here, you just need to reduce the thickness, you don’t want to make the hole any bigger.
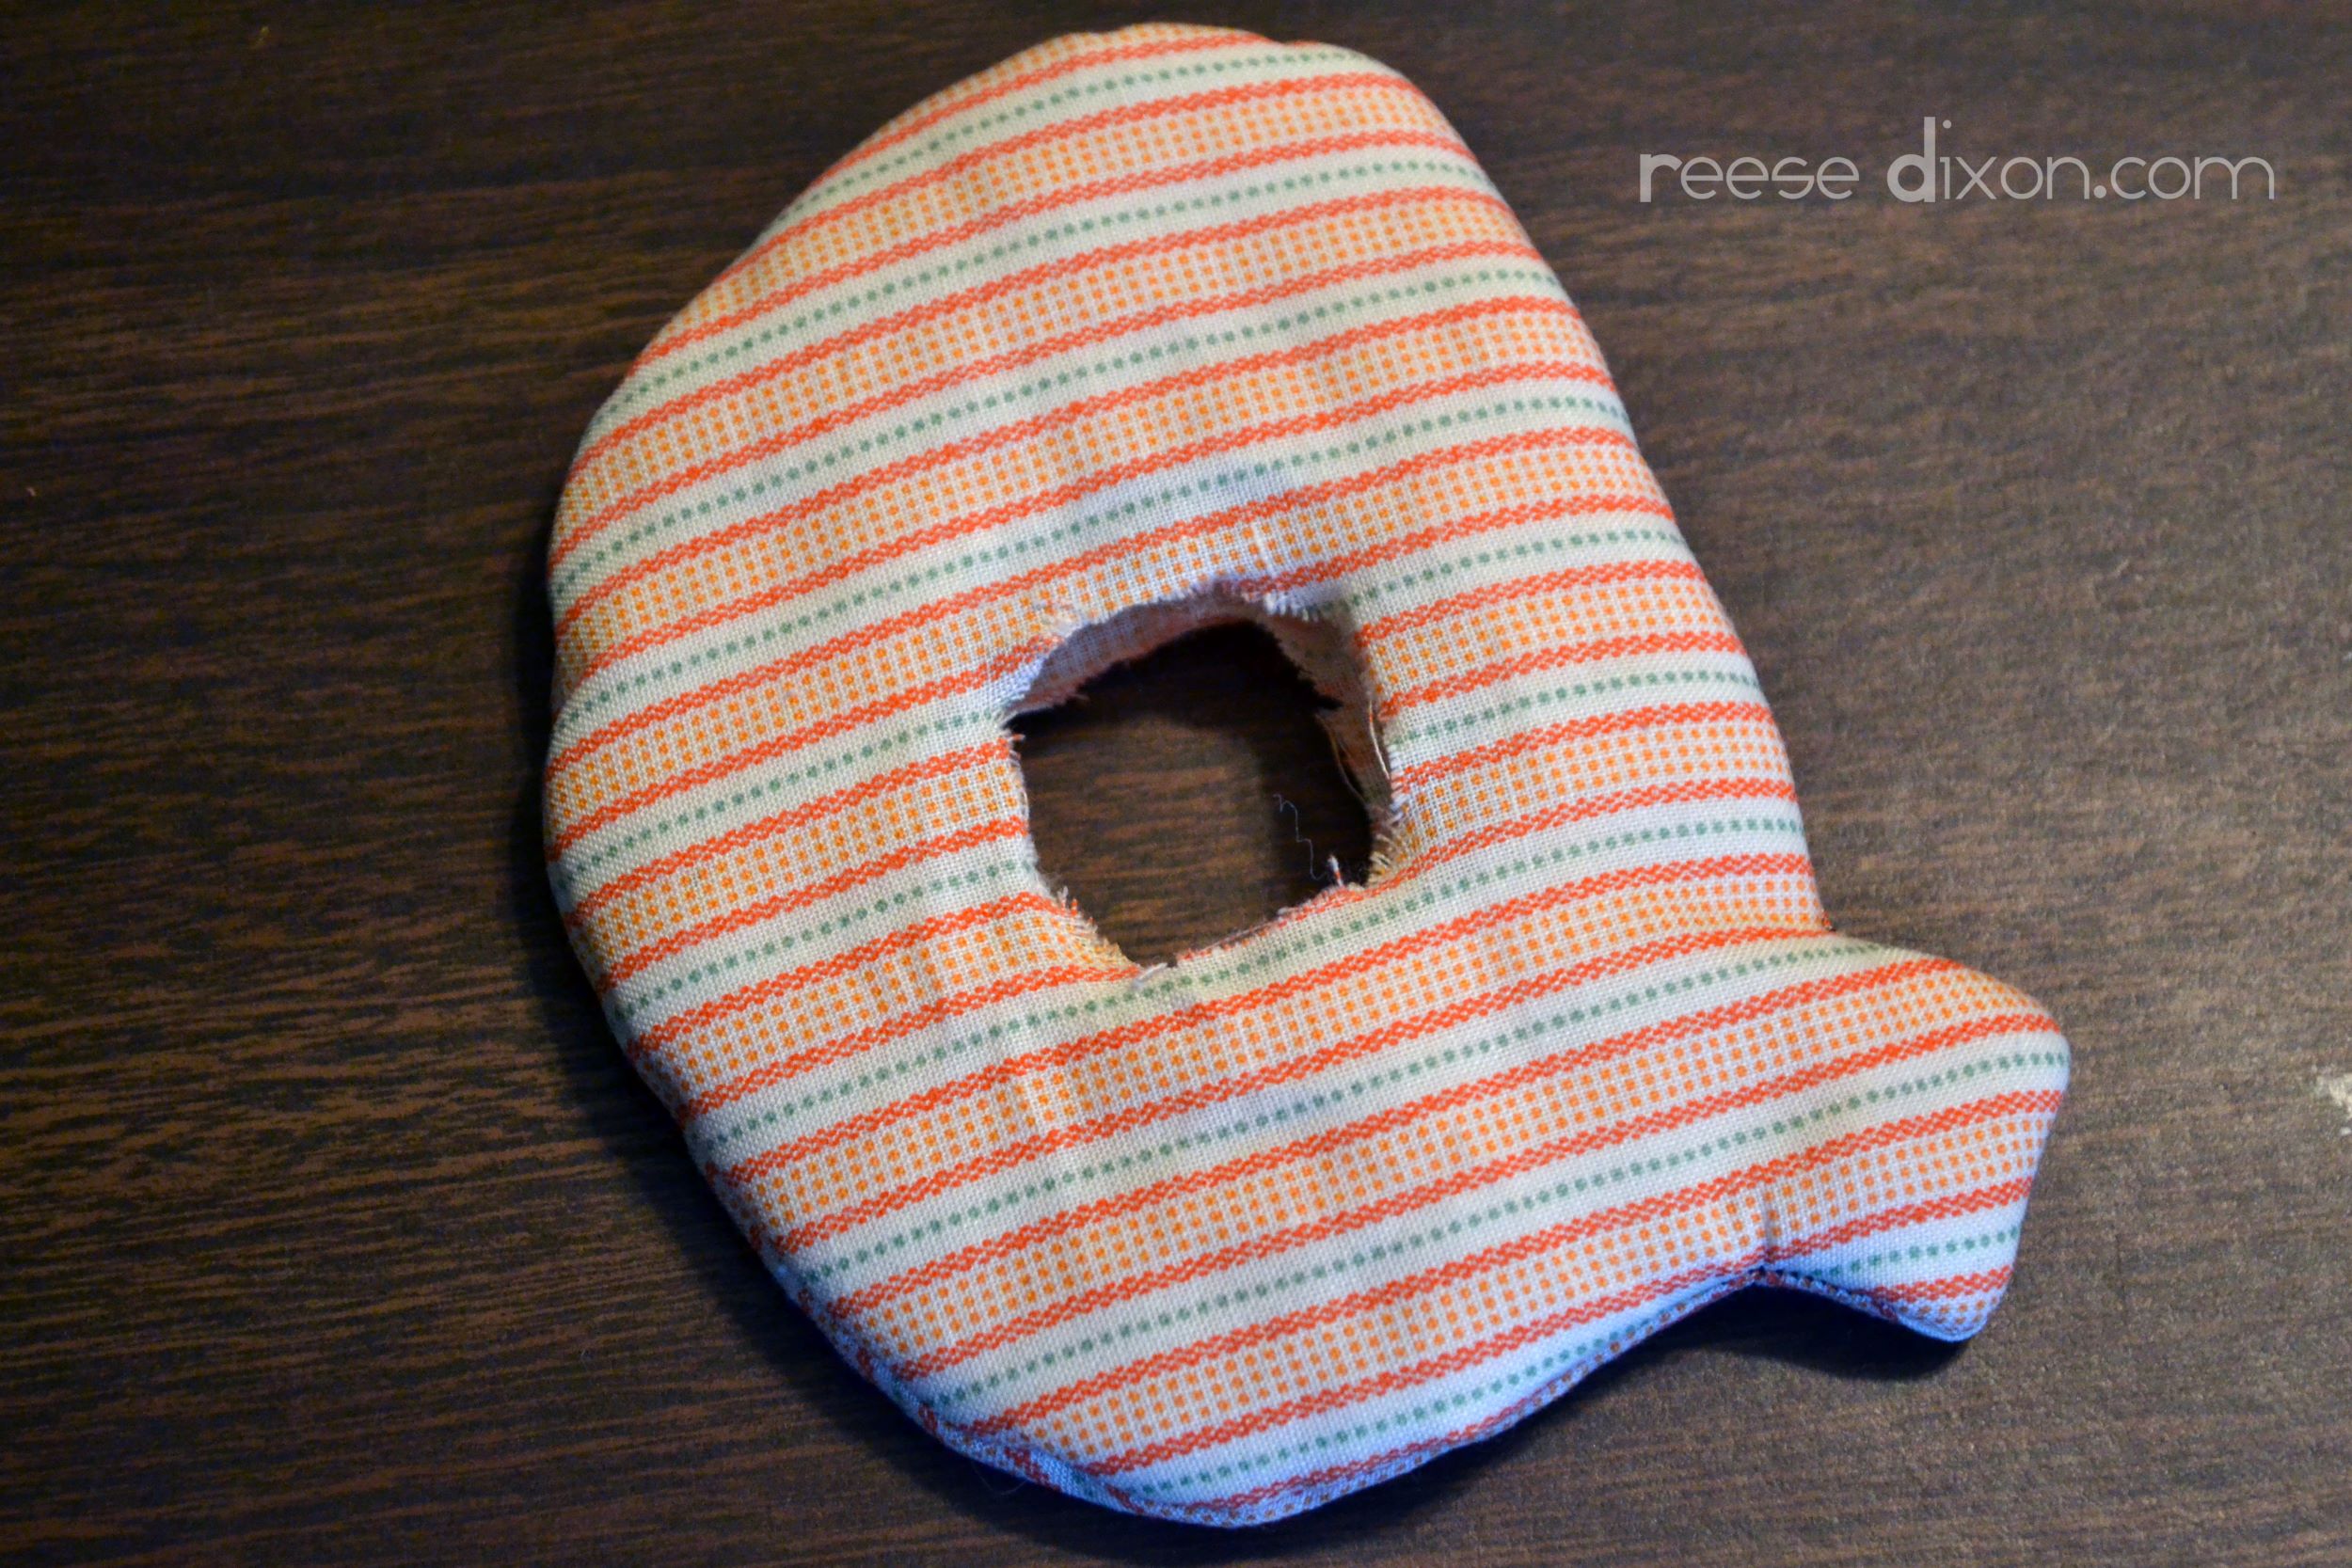
Turn the shape right side out, paying special attention to any corners, and then install your grommets as the package instructs.
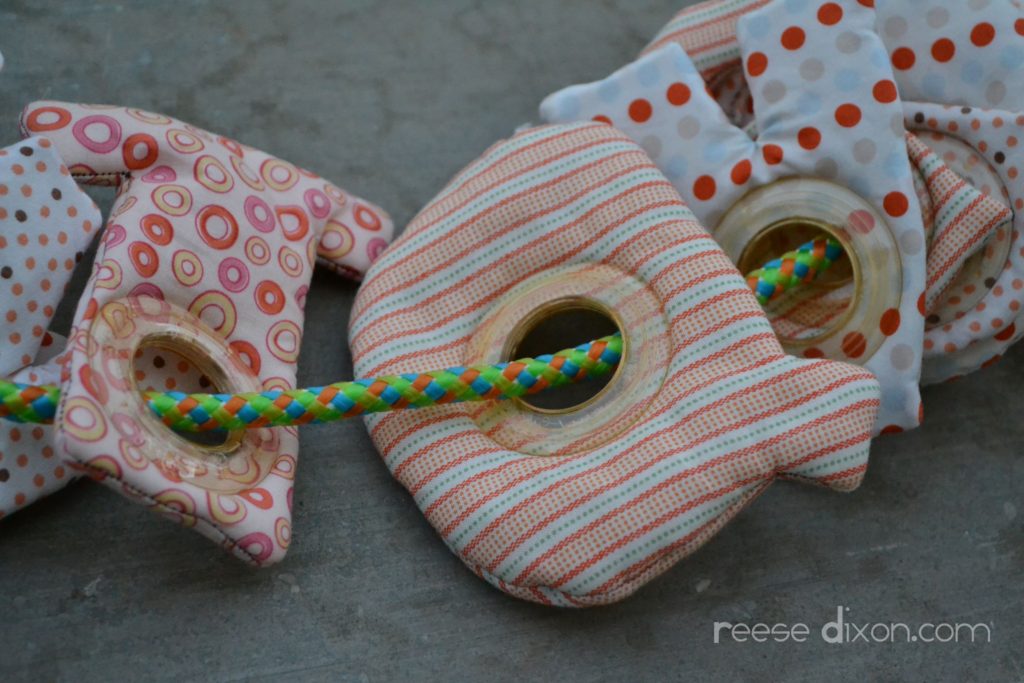
So far Atti still hasn’t mastered threading these on to the jump rope, but he’ll actually hold one and play with it a little bit before ignoring what we want him to do with it. I call that a win.