Working on this nativity tree has given me ideas that have extended beyond ornaments to other nativity displays, as yesterday’s beaded tapestry nativity demonstrated. It’s also been a chance for me to complete projects I’ve been meaning to get to for AGES, including this one that has held a place in my head for literally seven years.
When my church first decided to host a nativity festival and asked members to loan their nativities to display, I searched all around online to try to find inspiration for a nativity I could make to contribute. I saw a beautiful 3D papercut tree, but I was just simply not skilled enough to make it on my own. Since then that kernel of an idea has sat in my head while I got better at creating patterns, and this year it was finally time for this tree to see the light.
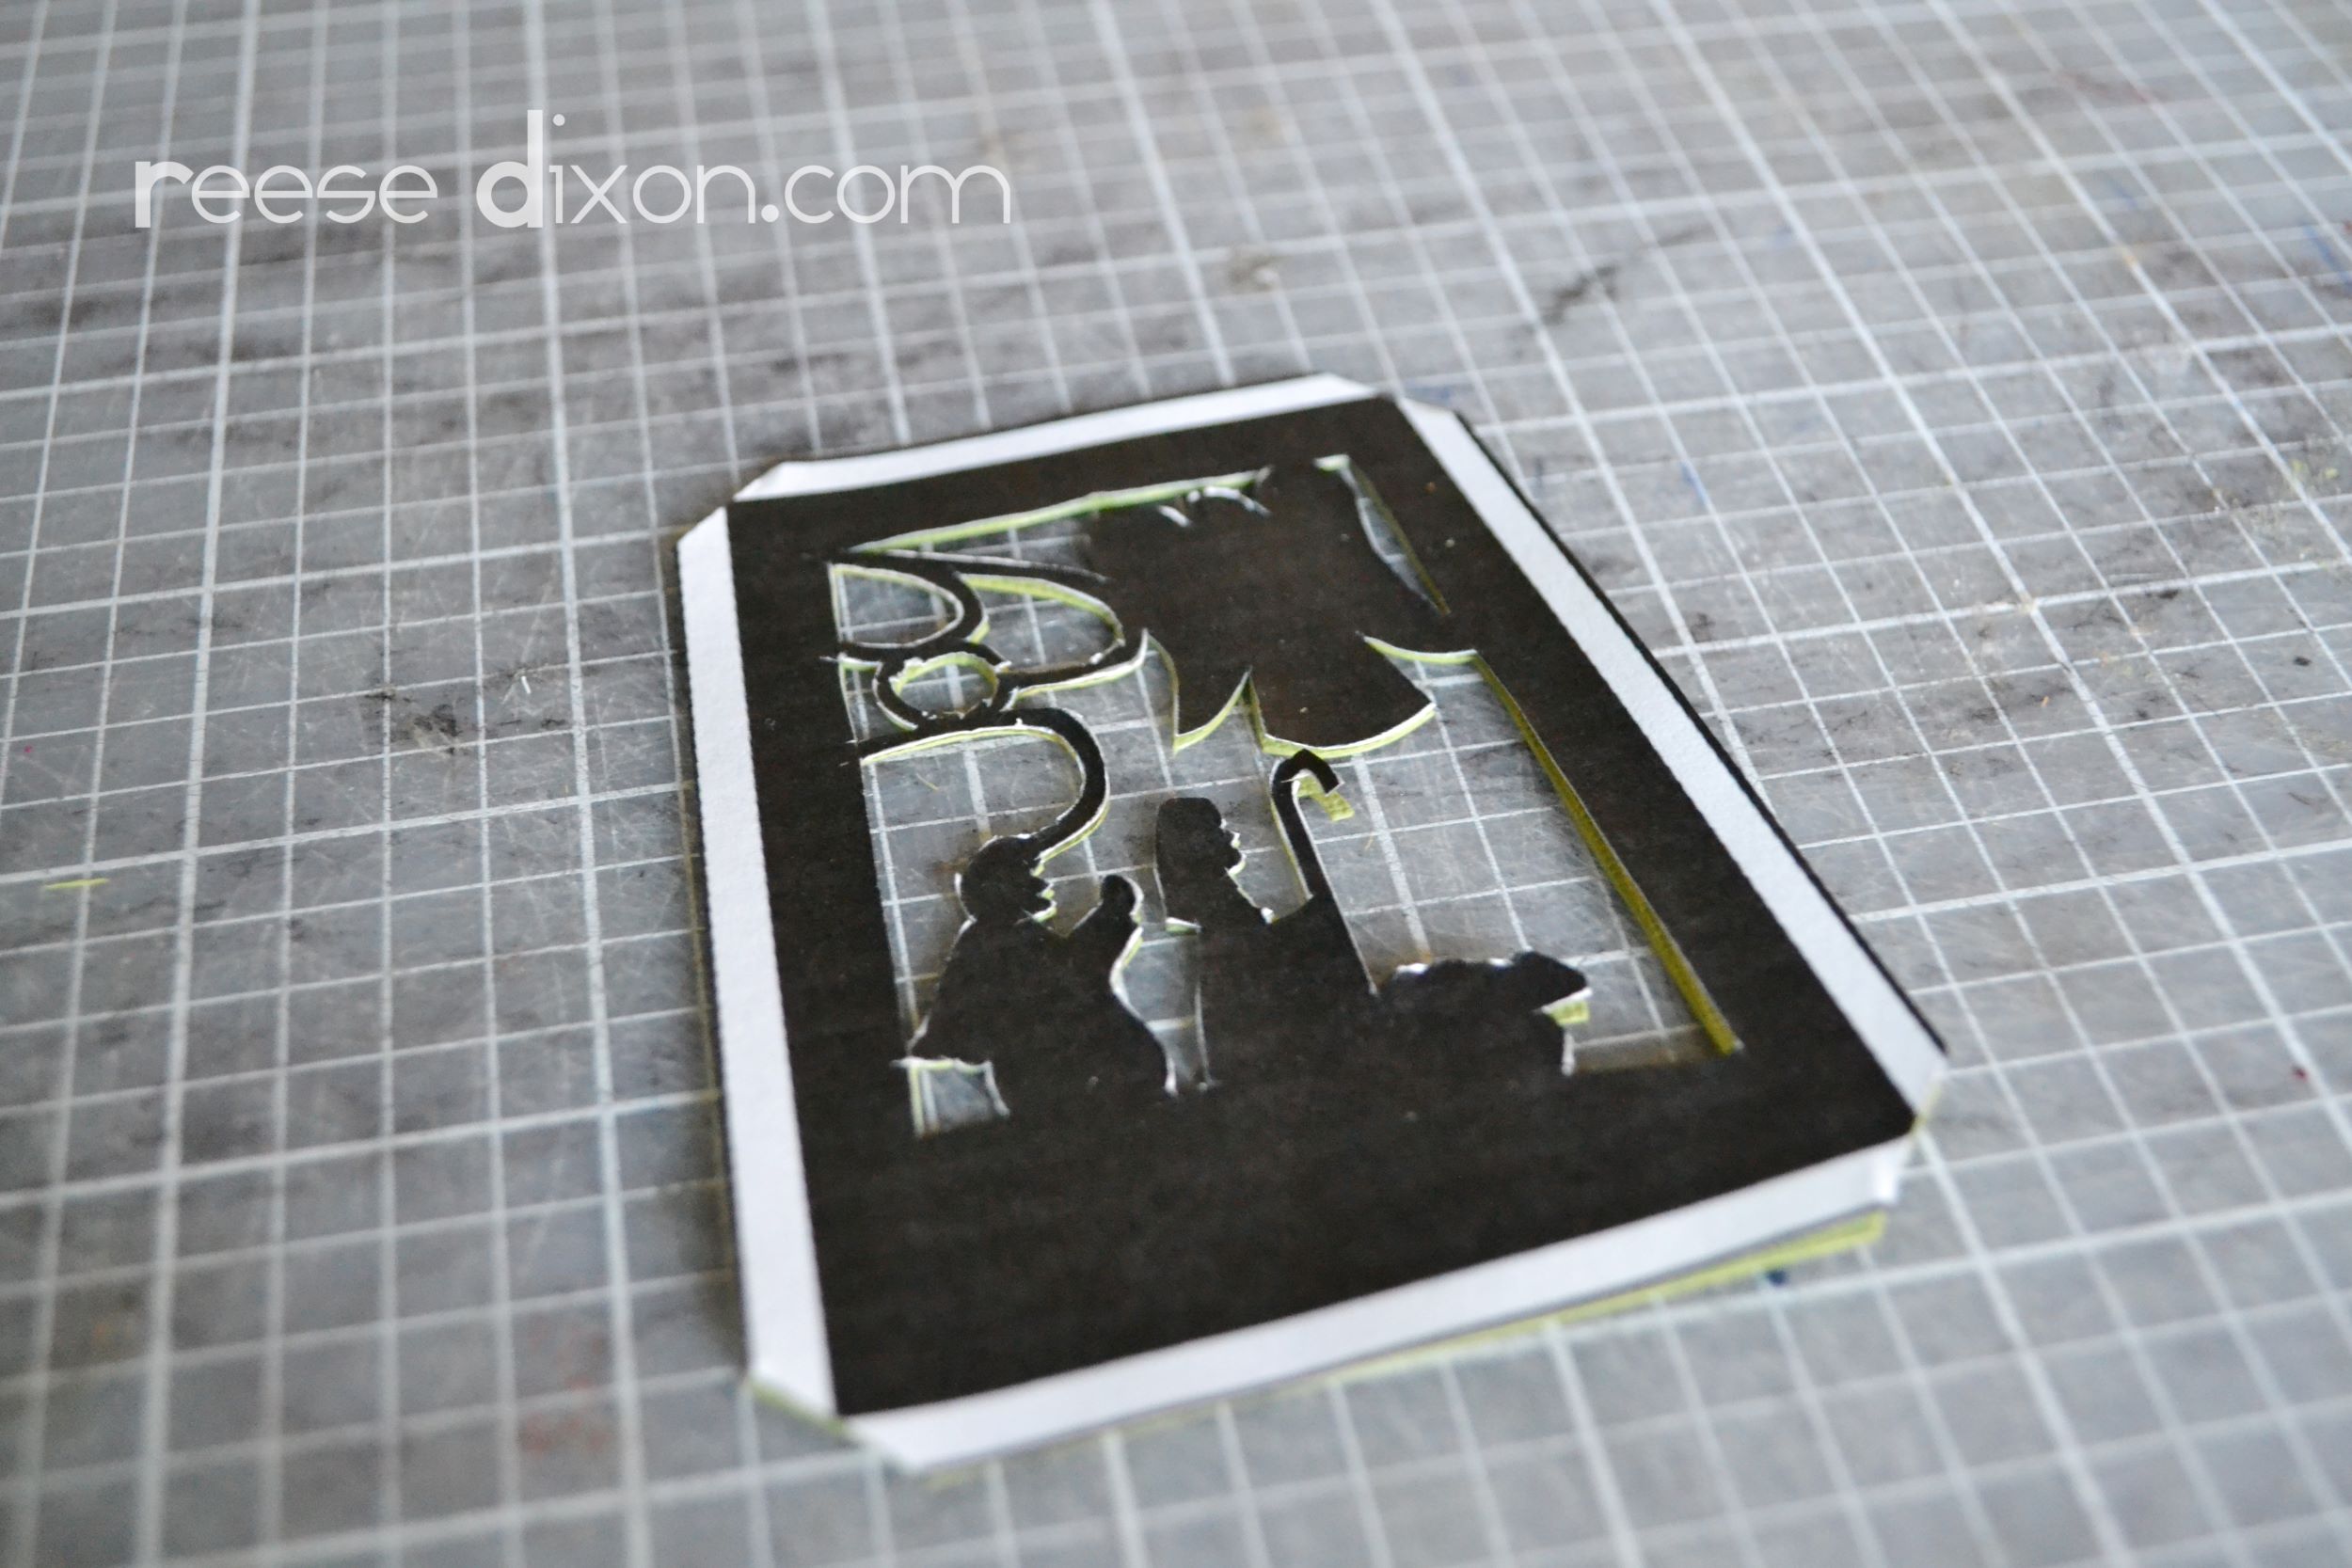
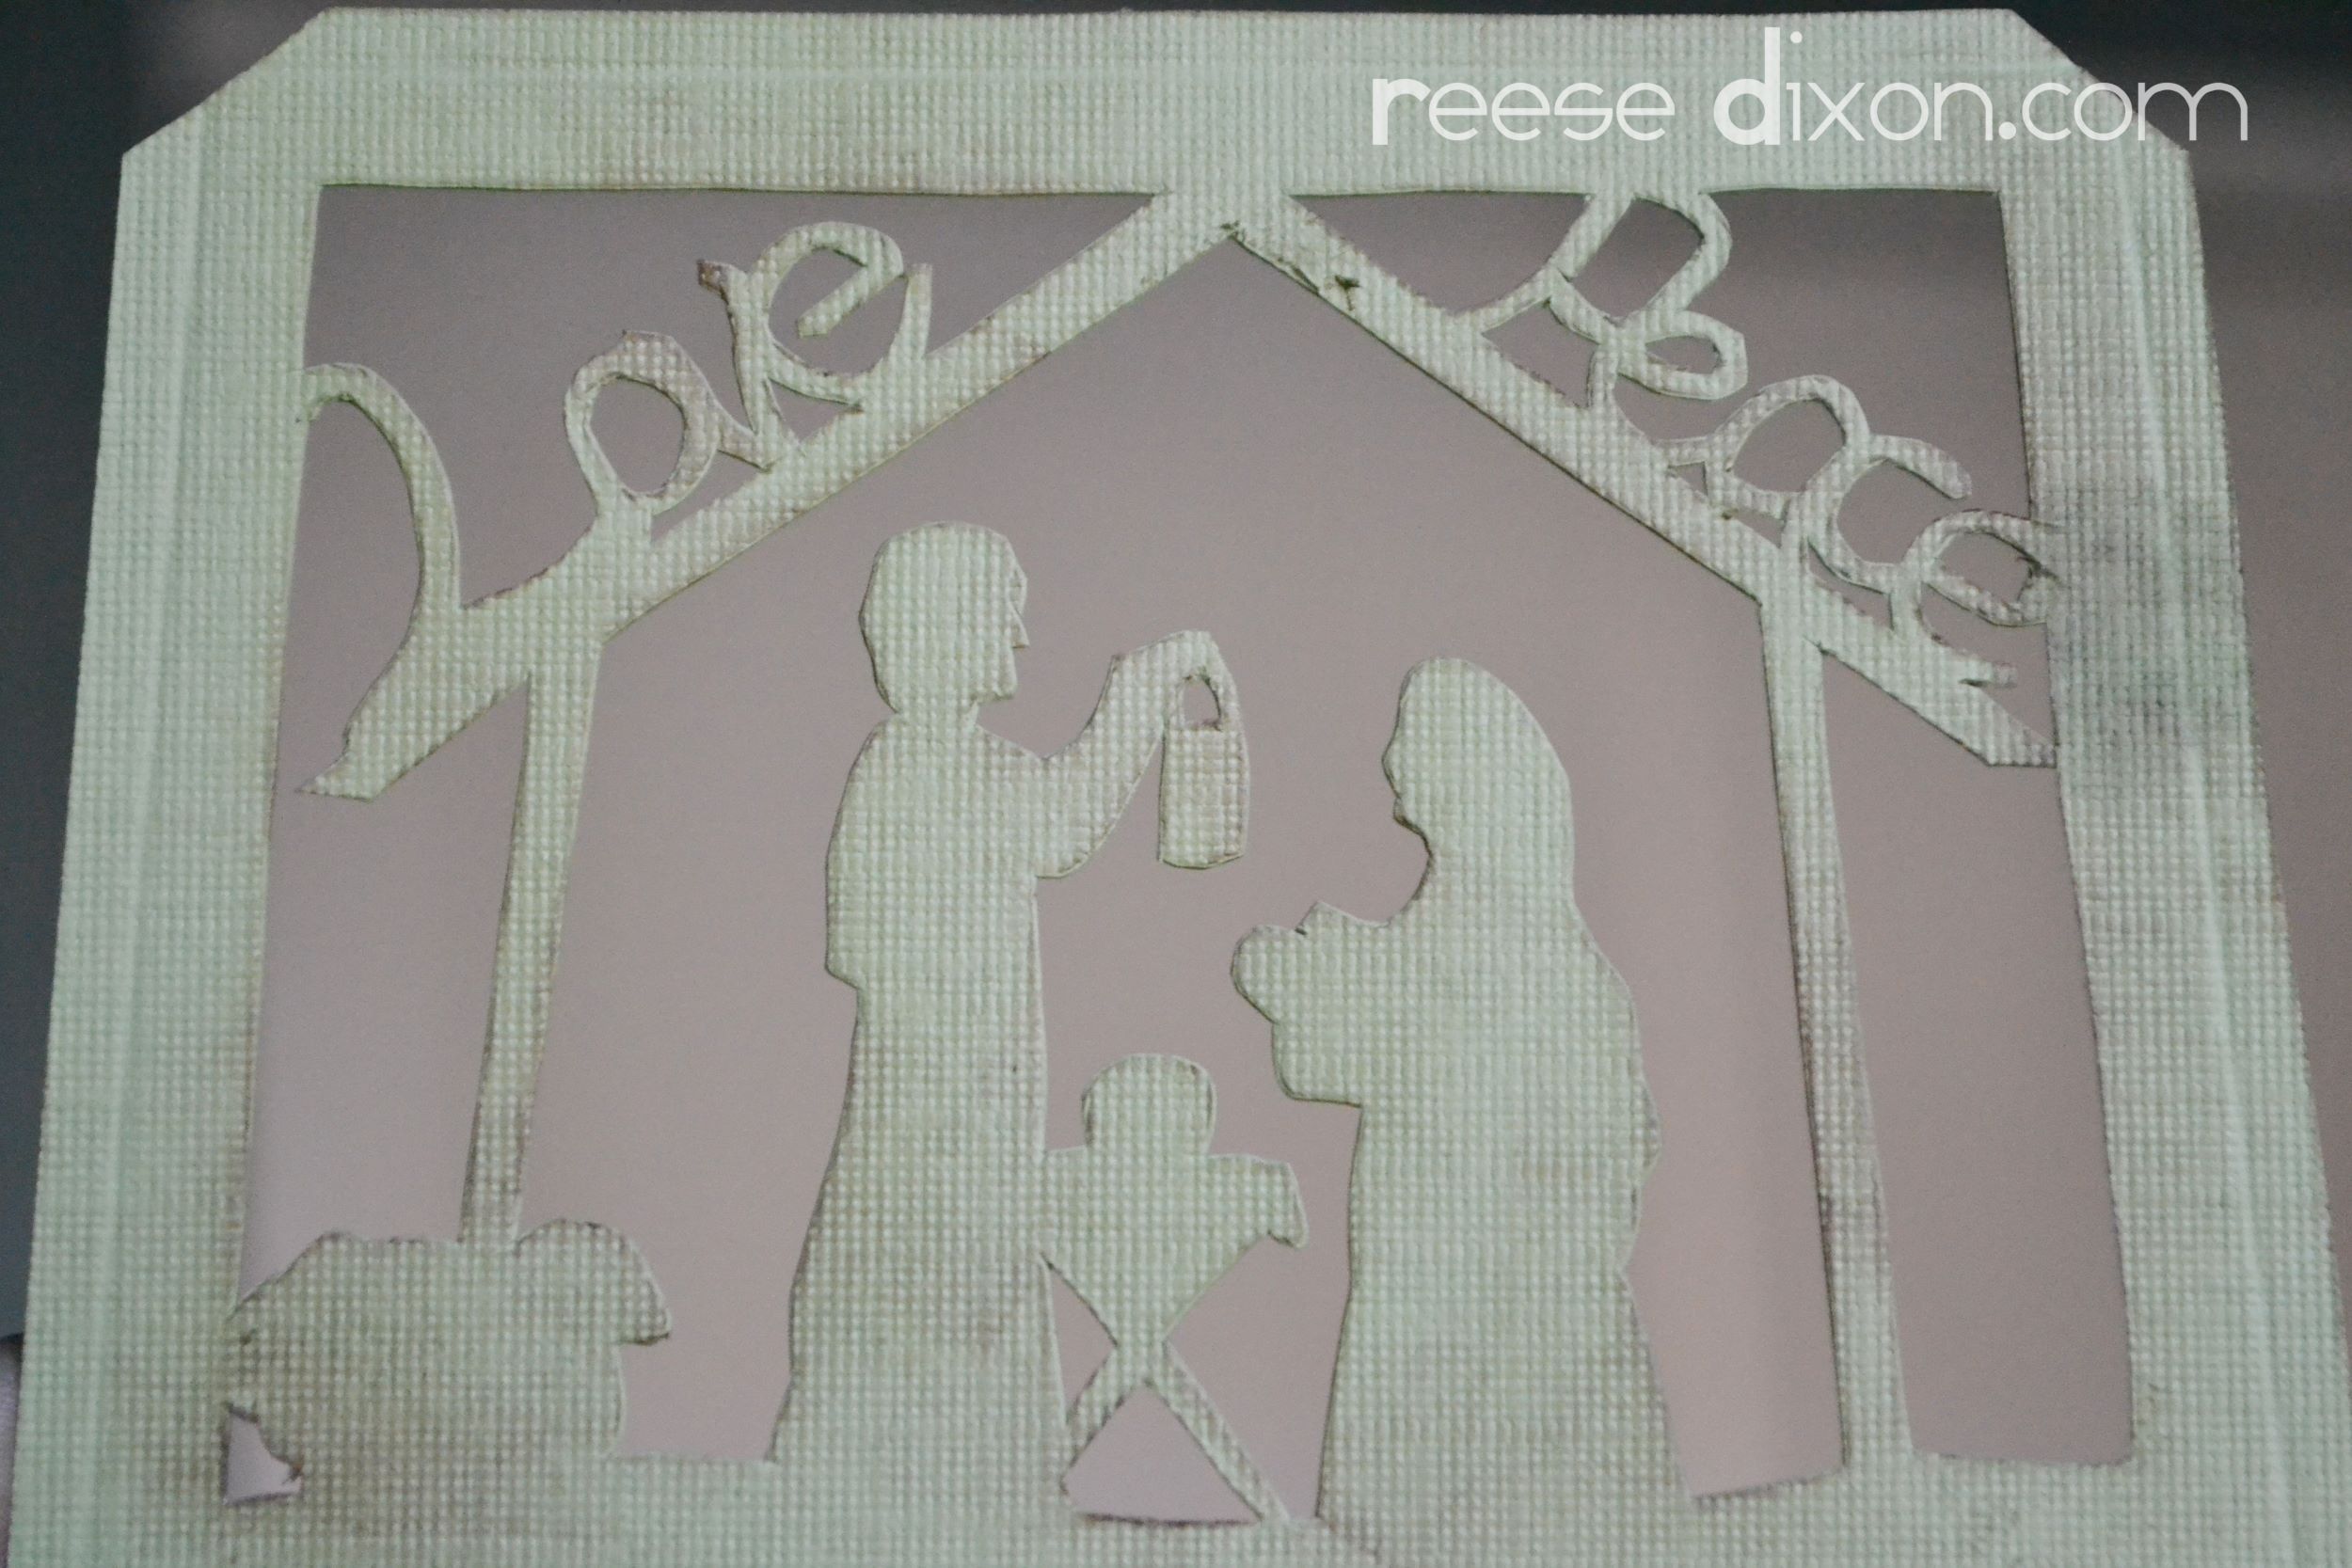
Use a good craft knife and cut out each image from the patterns provided down below. Be careful not to cut off those tabs, you want to score your paper on the line where the dark border ends so that the tabs can fold back.
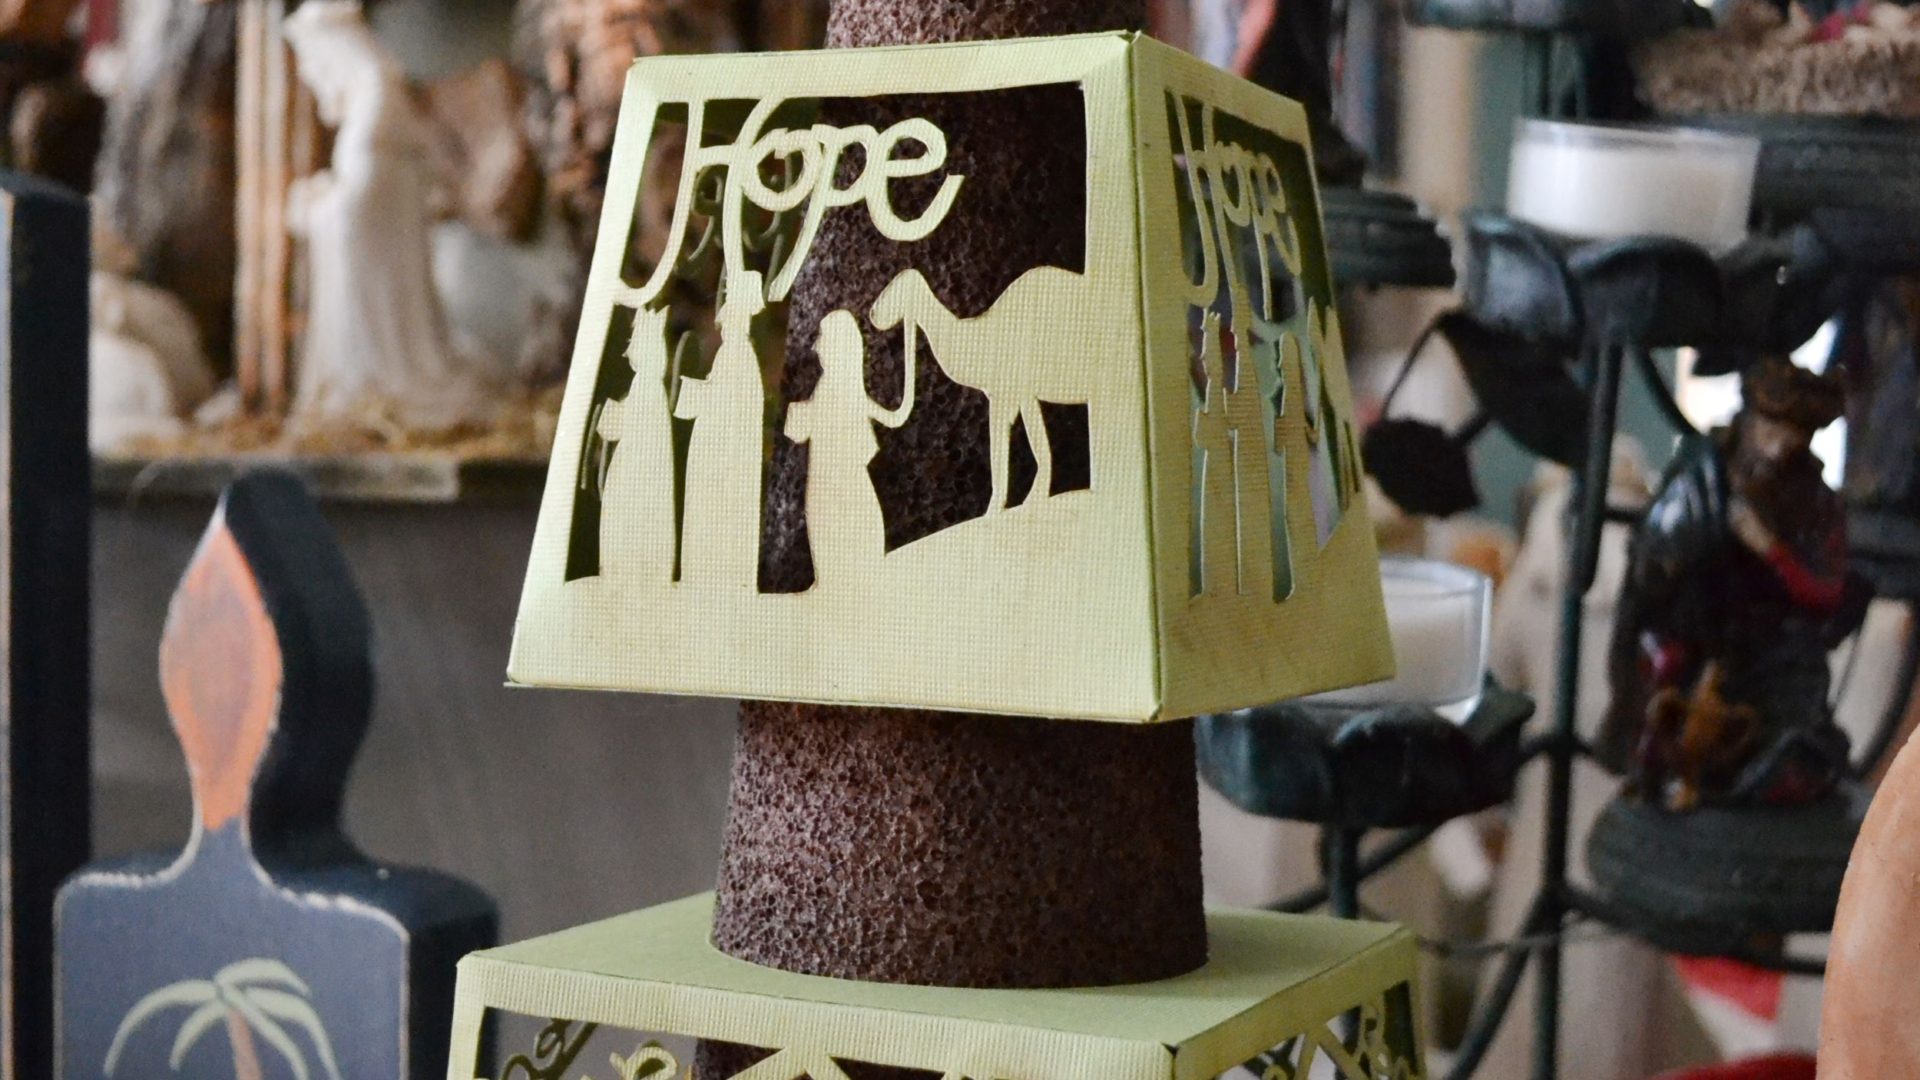
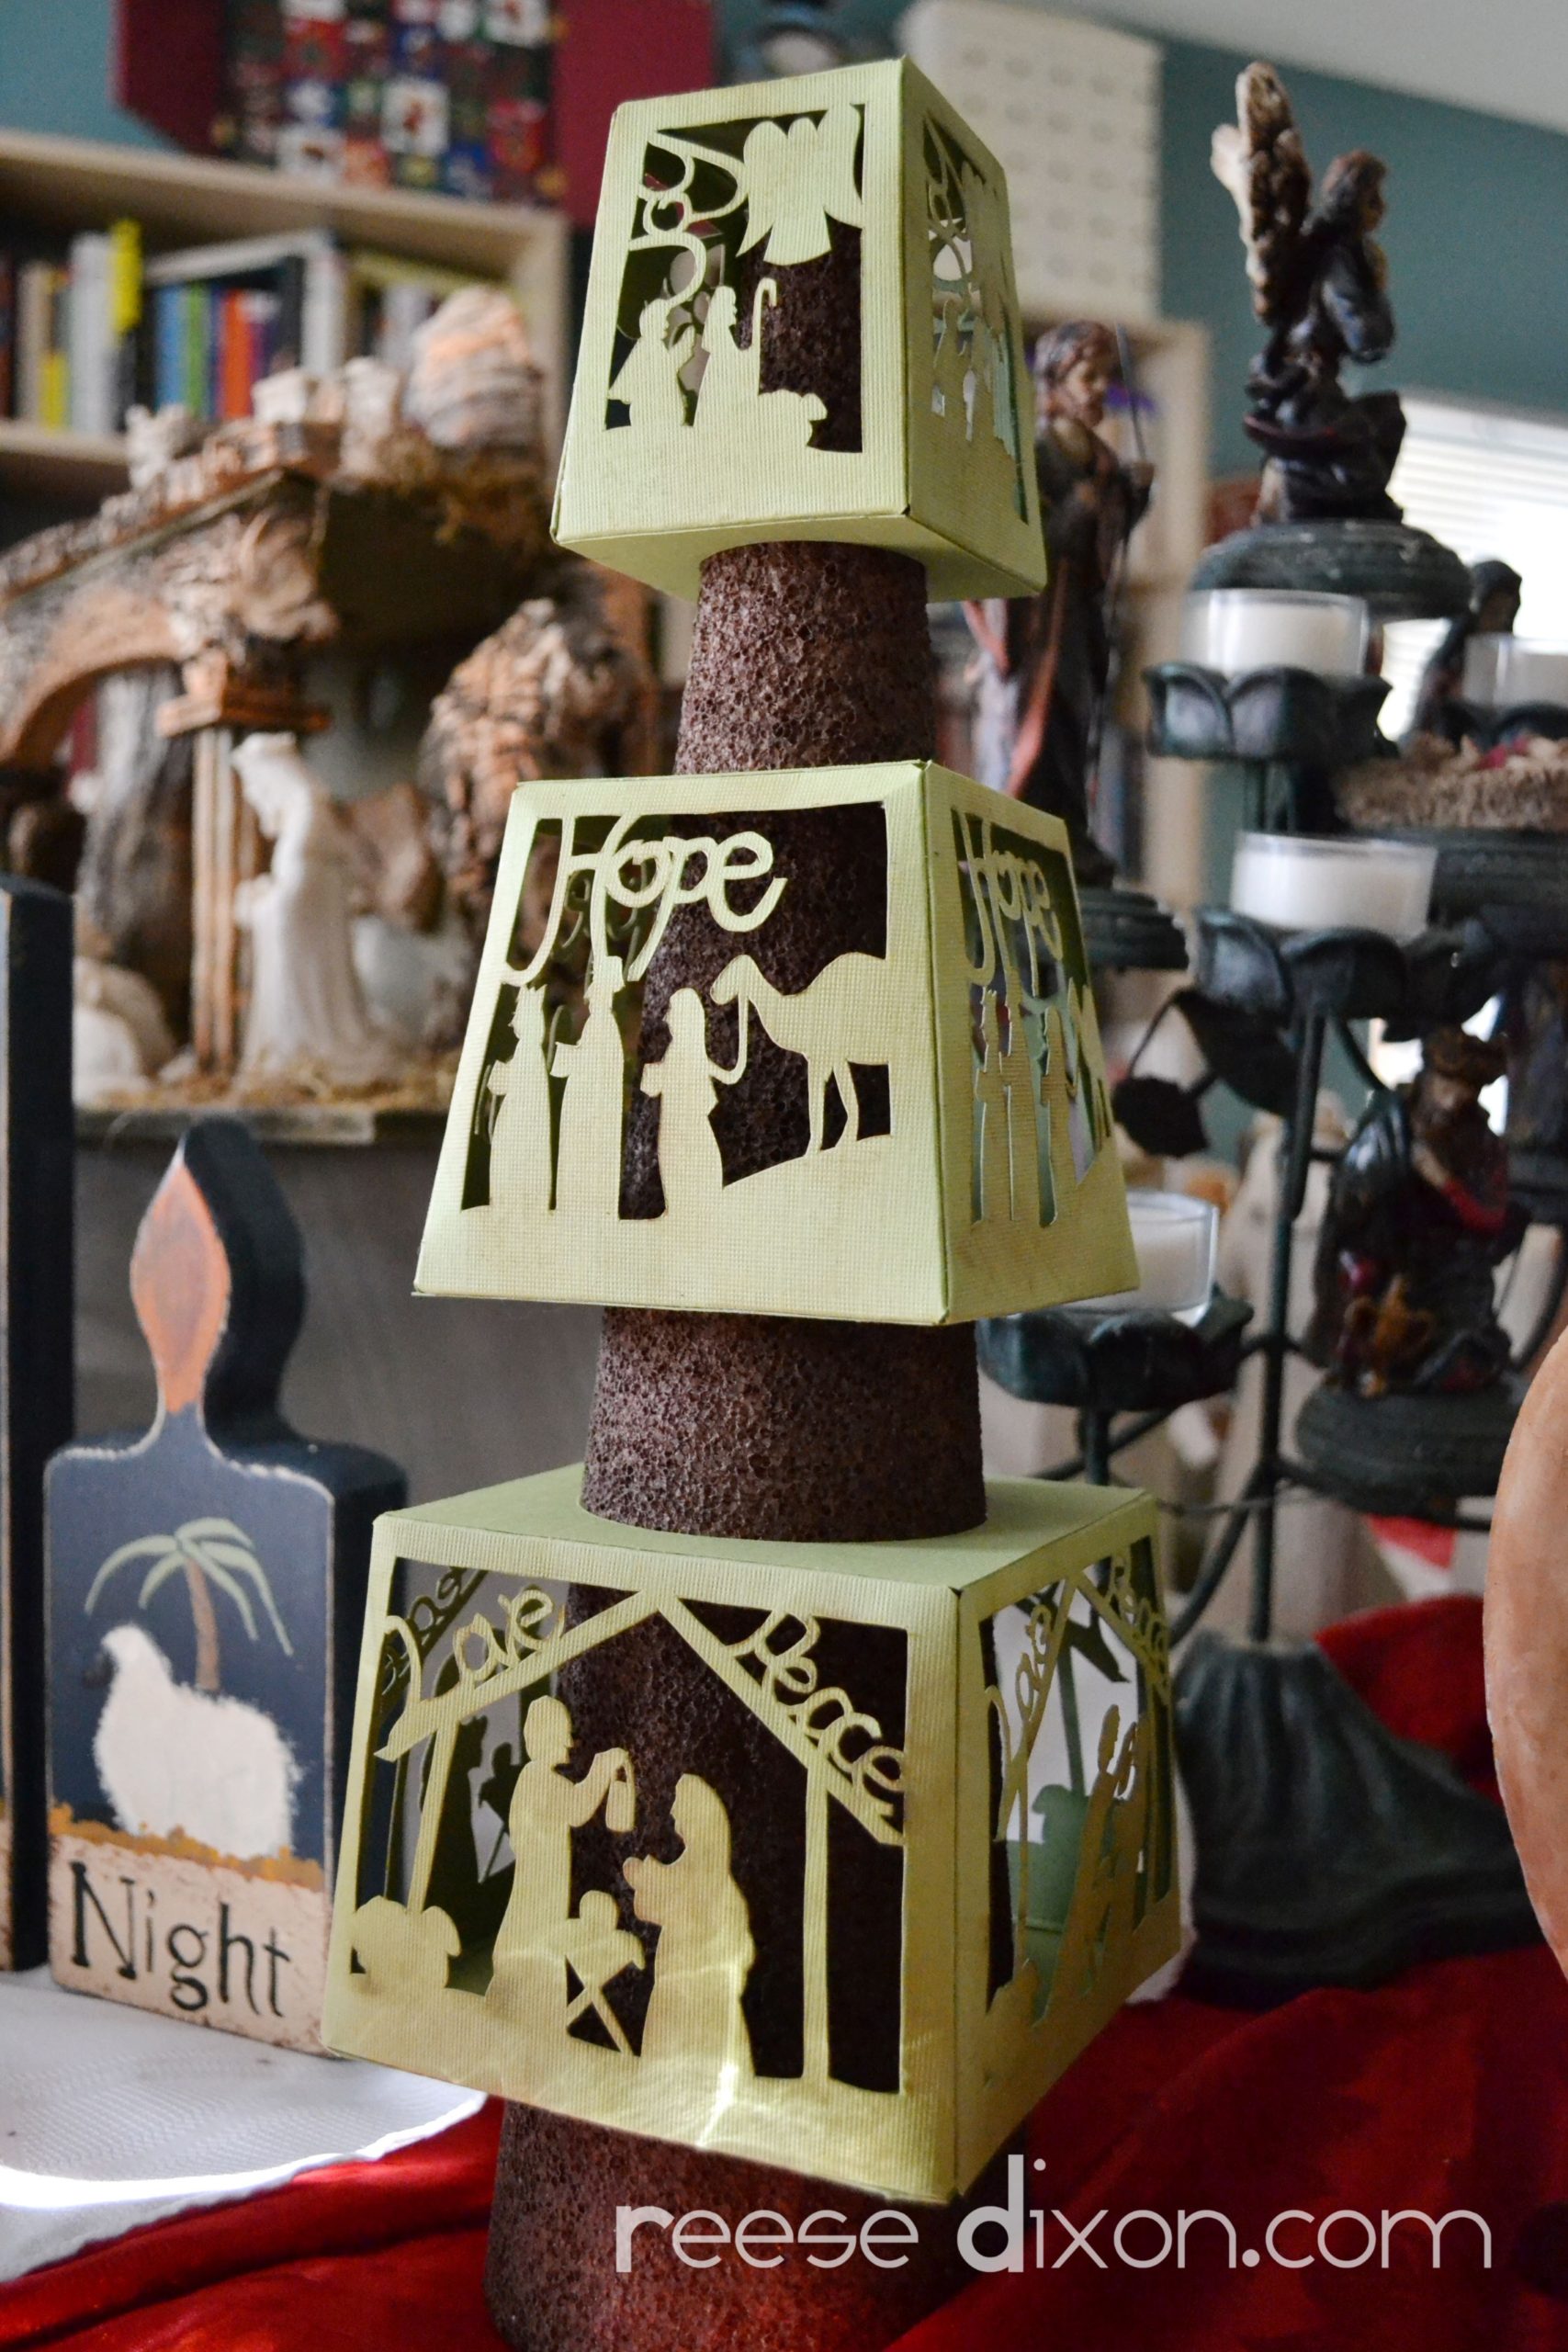
I cut mine out of a green cardstock to go with the tree theme, but the original inspiration piece was cut out of a parchment colored cardstock. To create a little depth and really highlight all those fragile edges I lightly ran a brown ink pad over the top.
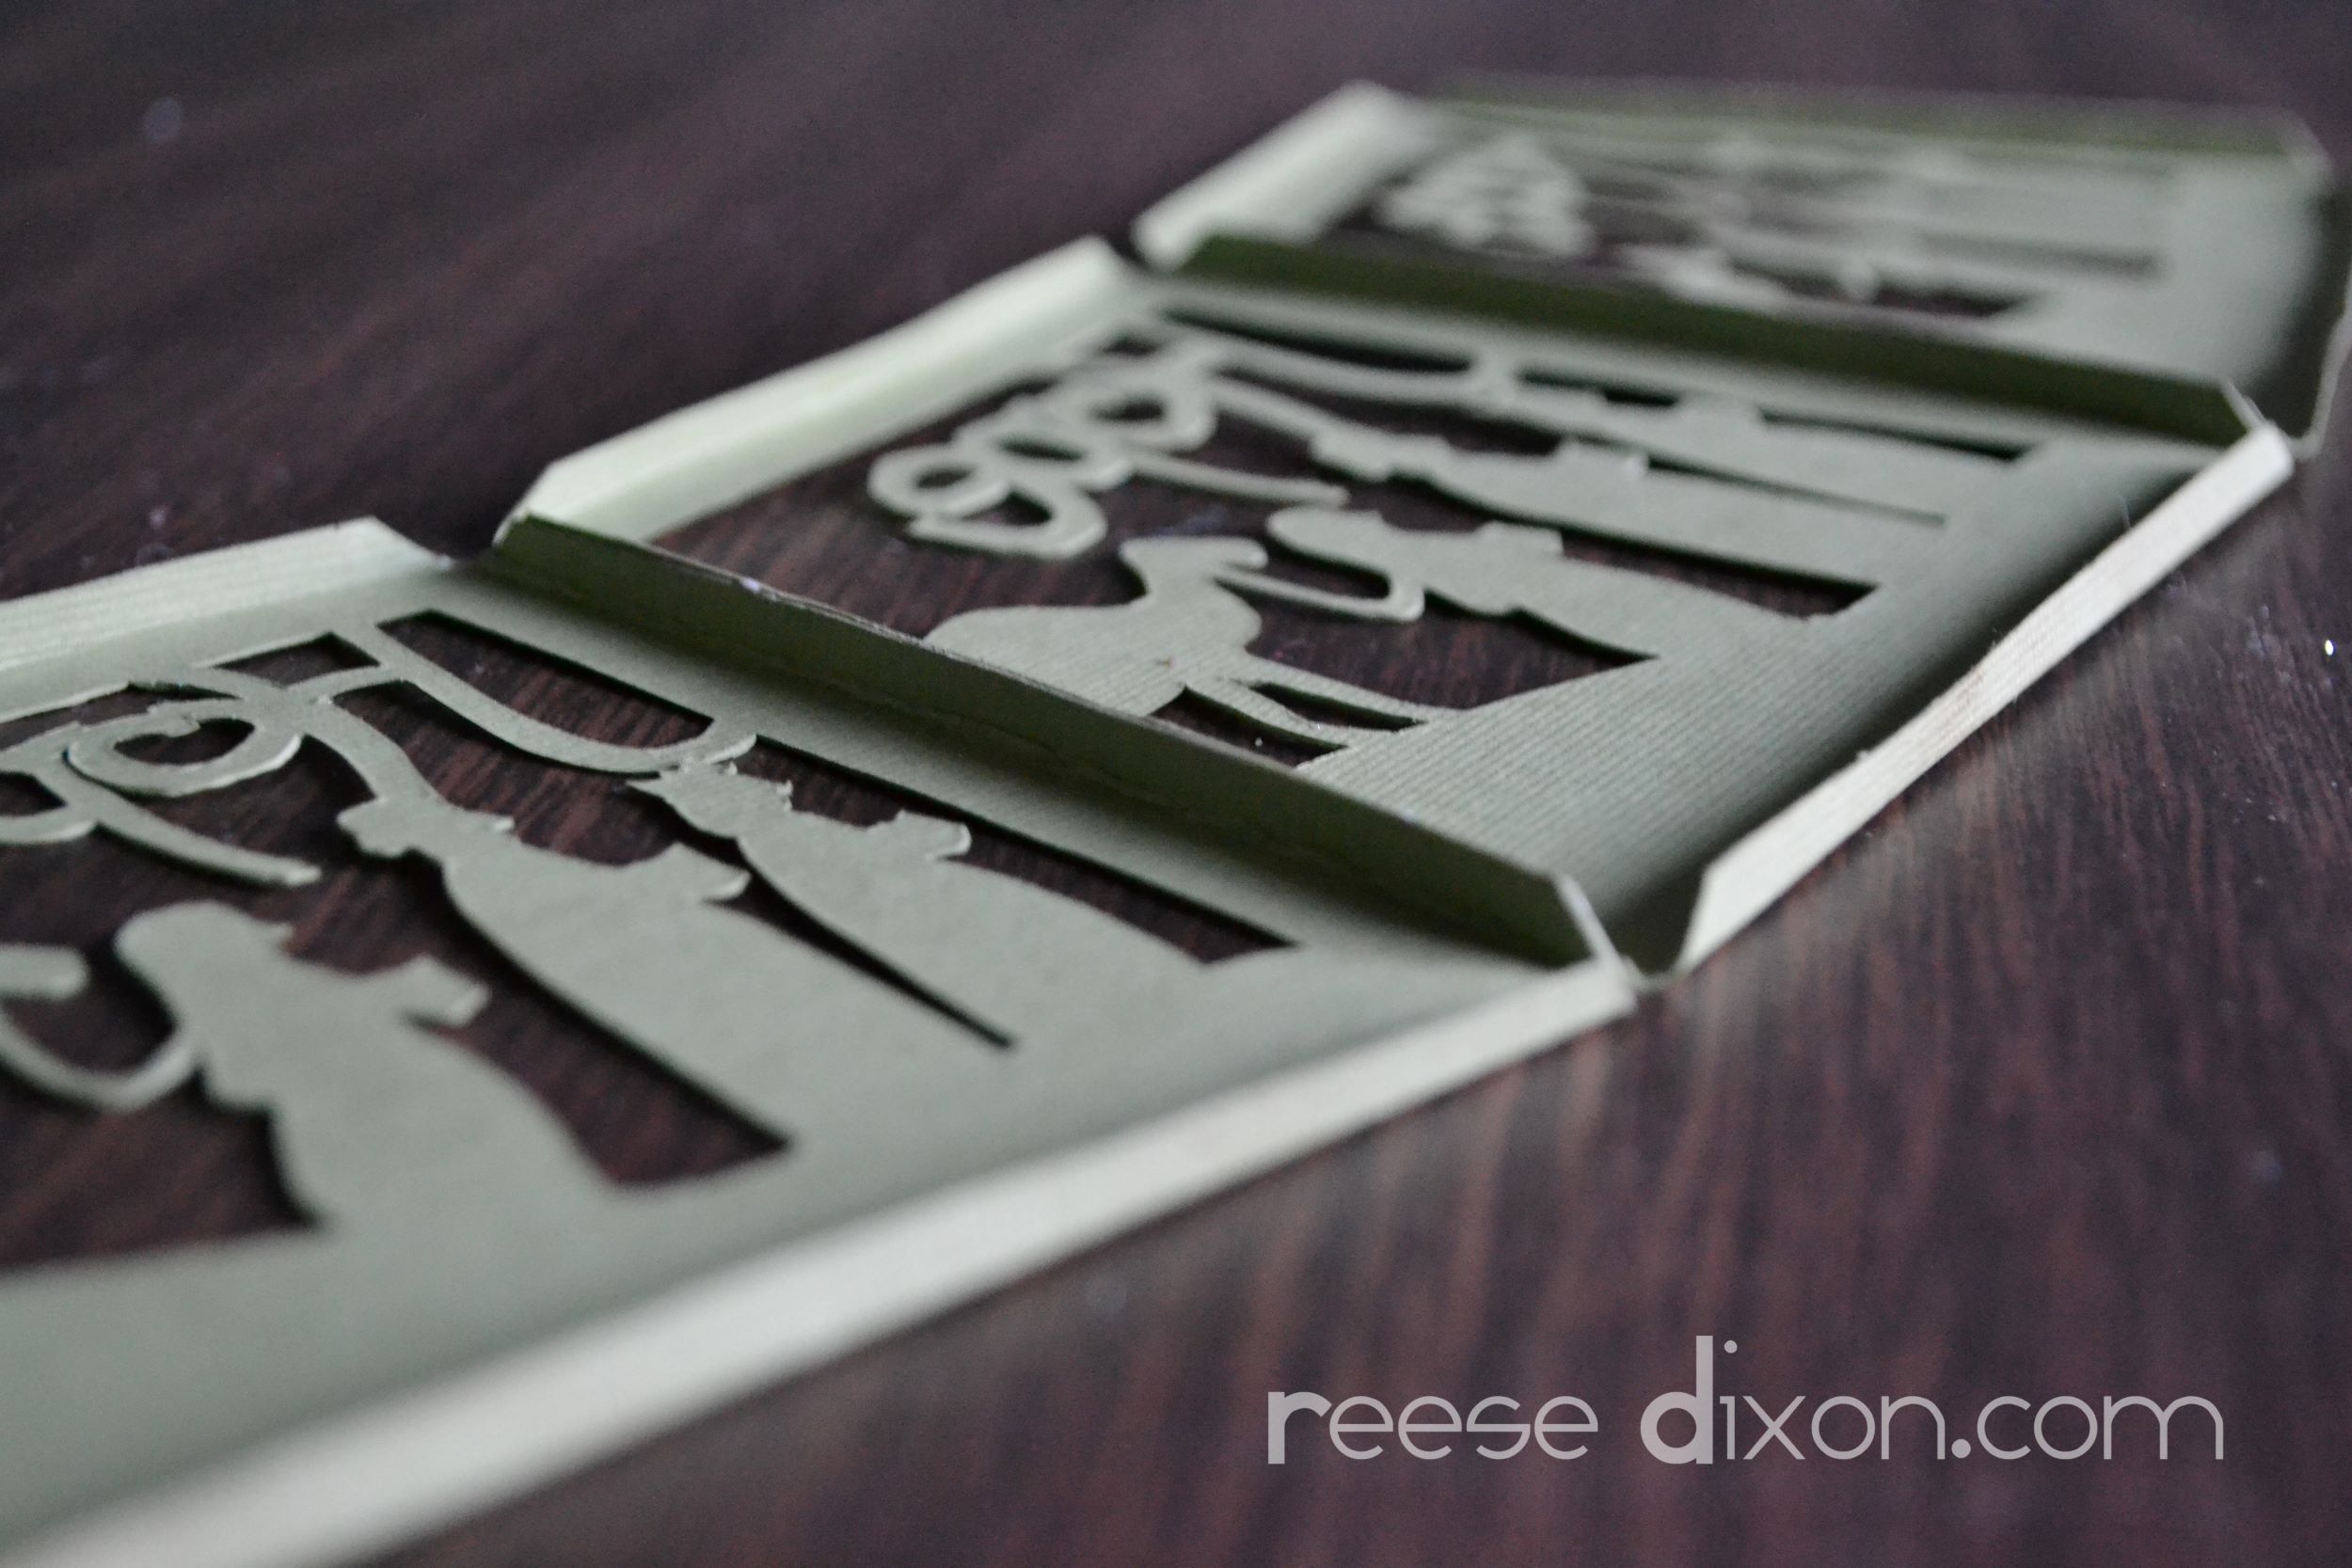
Fold all the tabs back and glue the edges of the pieces of each layer together.
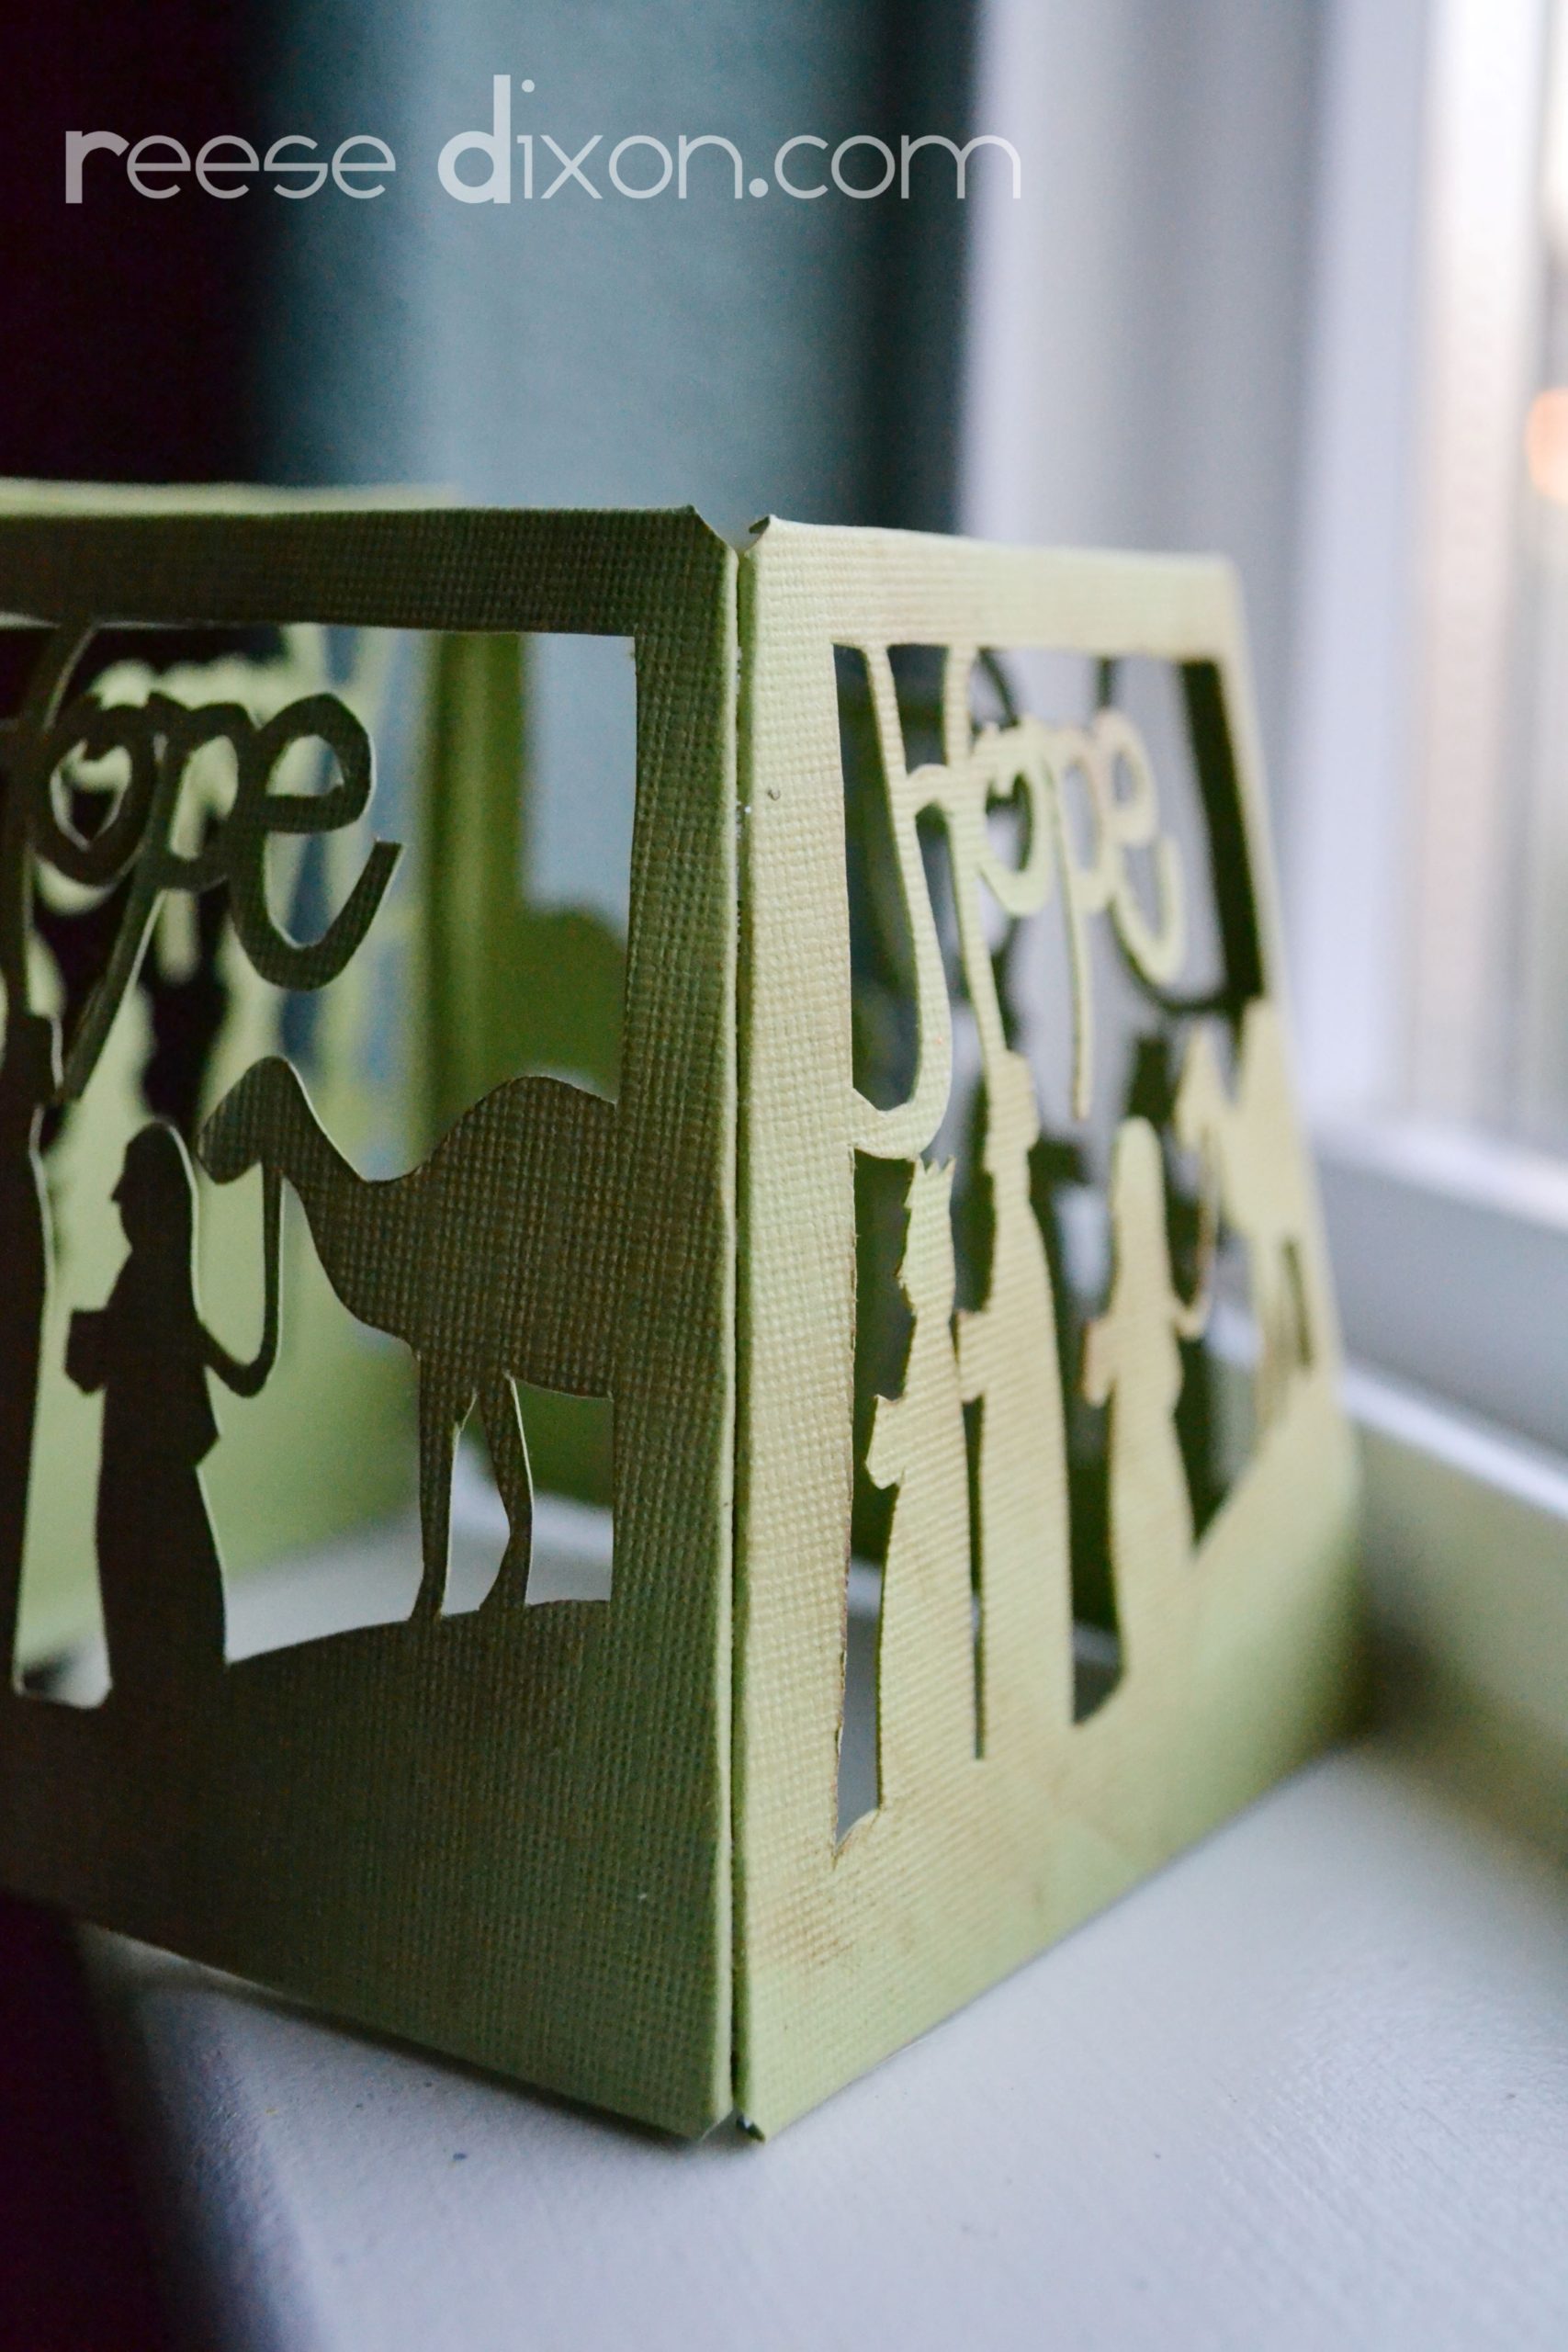
Bring the last piece around and glue it to the first piece to make a box.
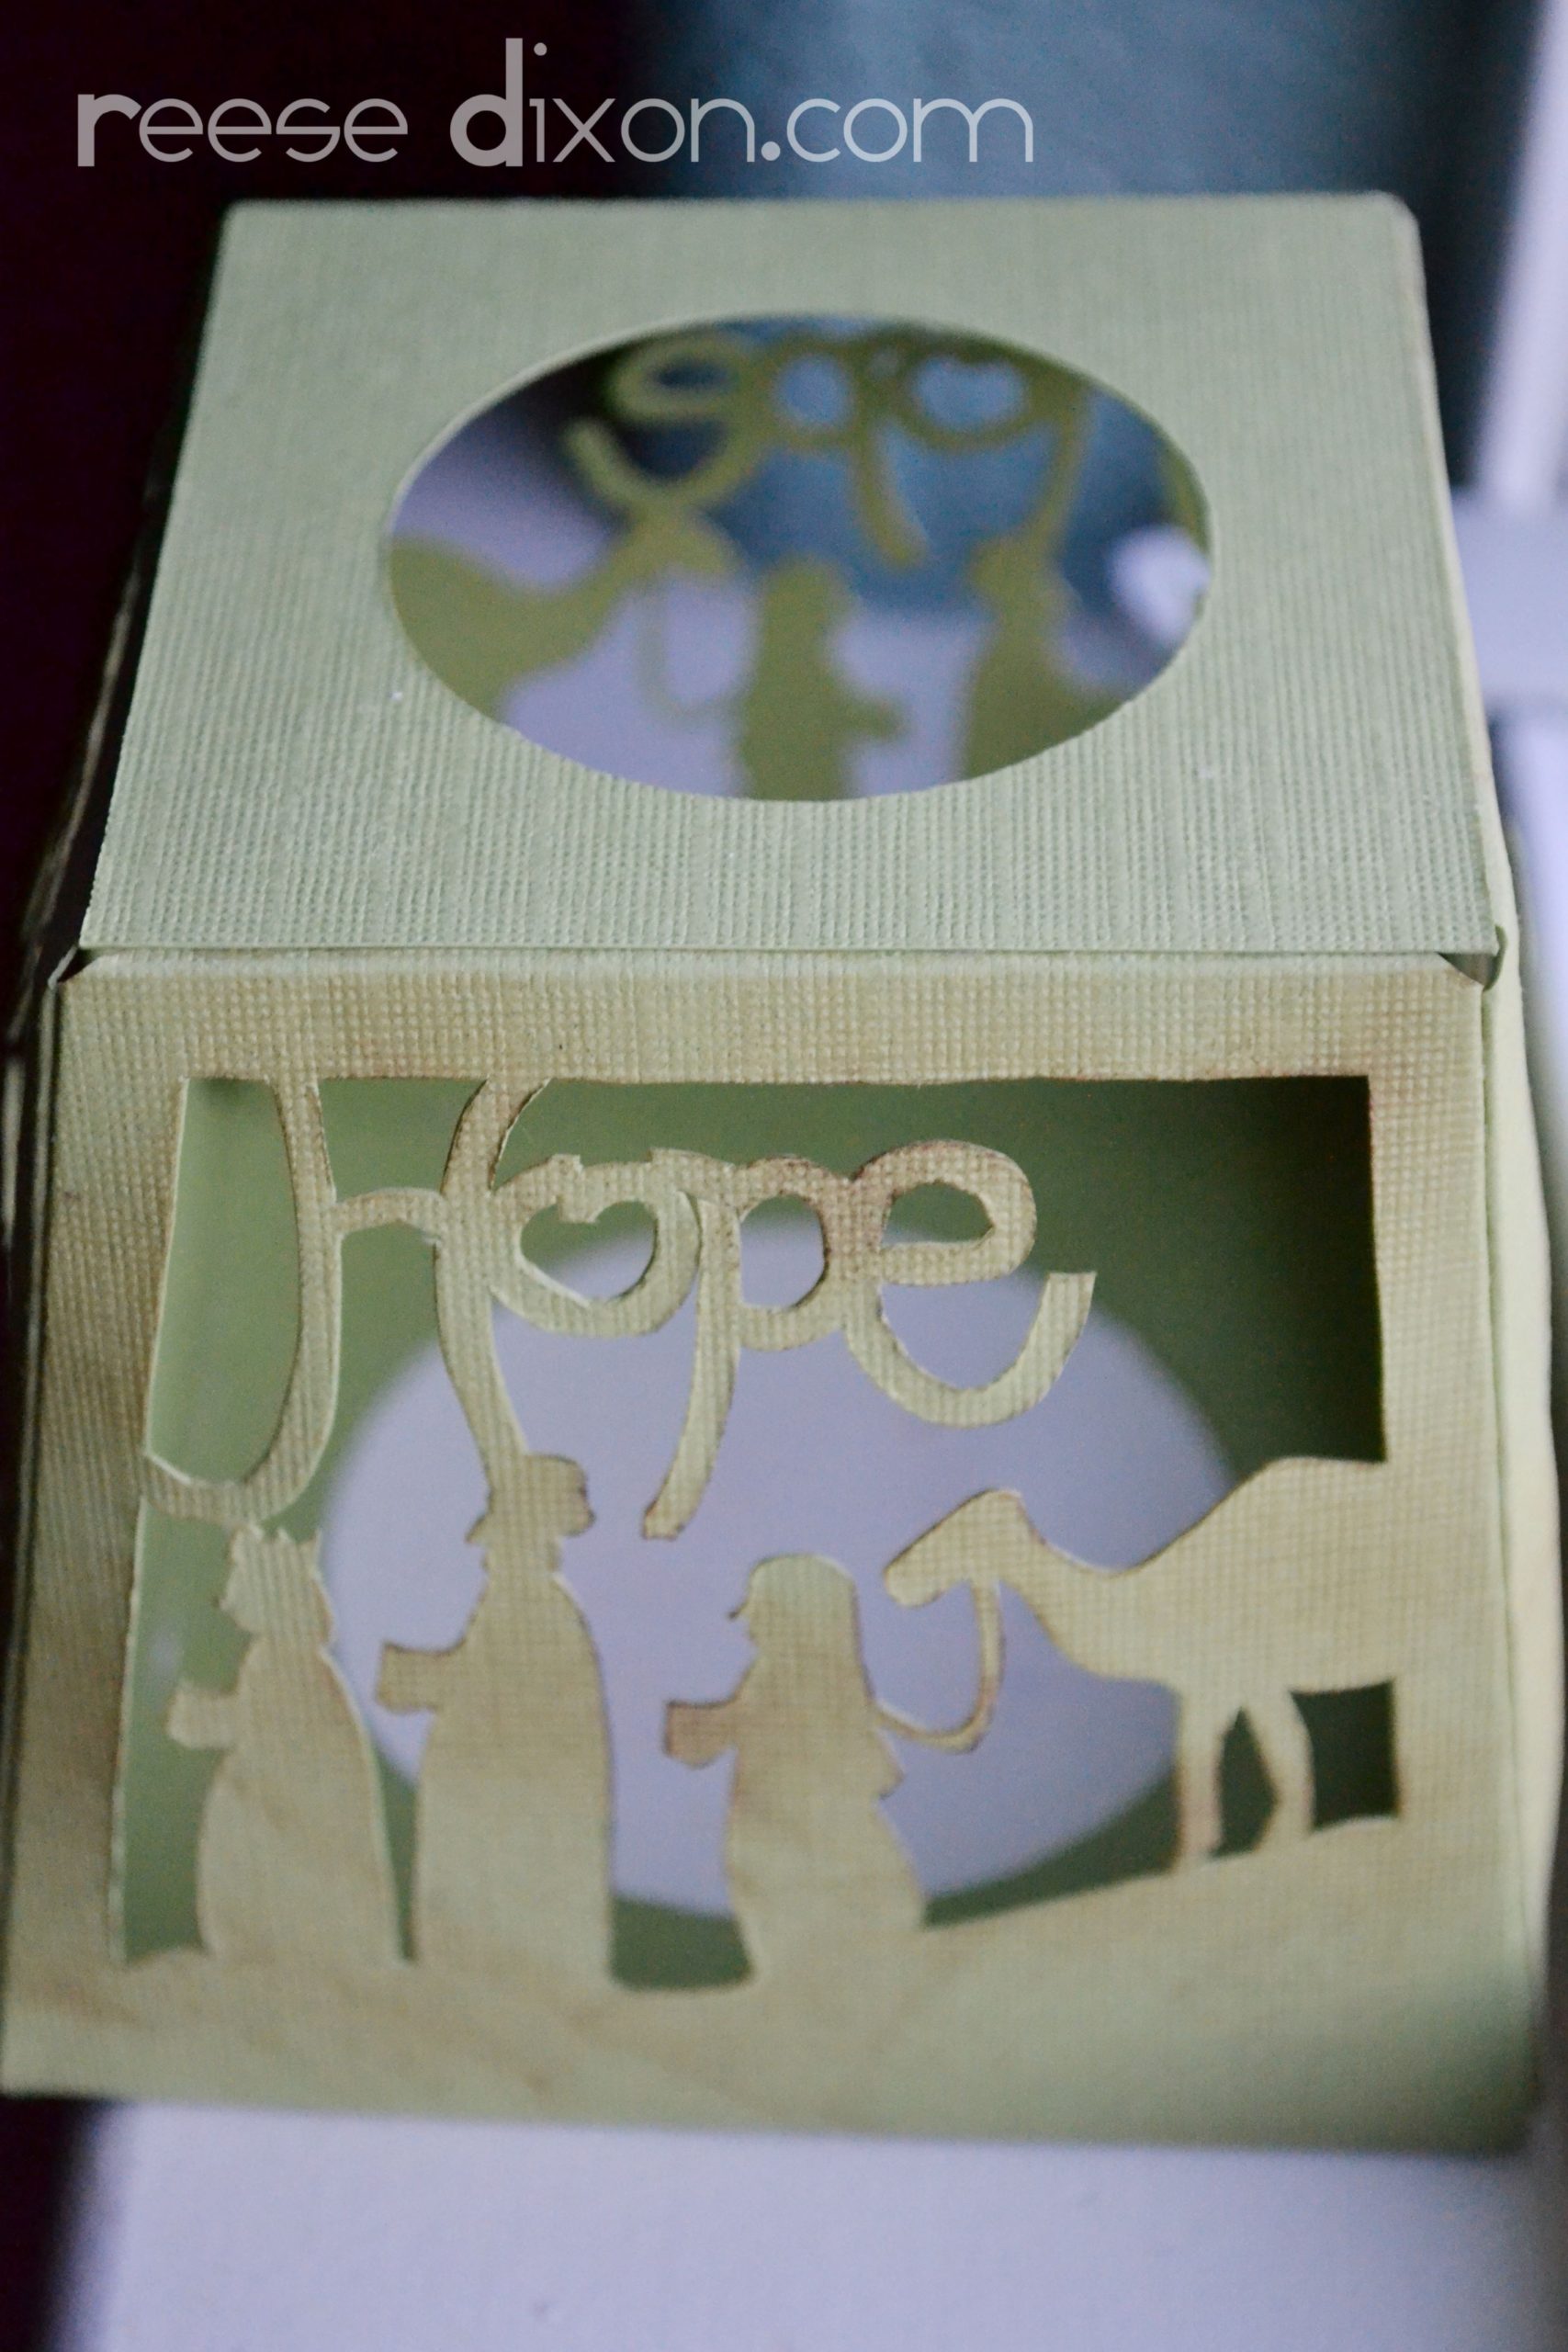
Glue the top and bottom pieces onto each box. I started with the bottom layer because it had the bigger hole to work through after I flipped it over to glue on the other side.
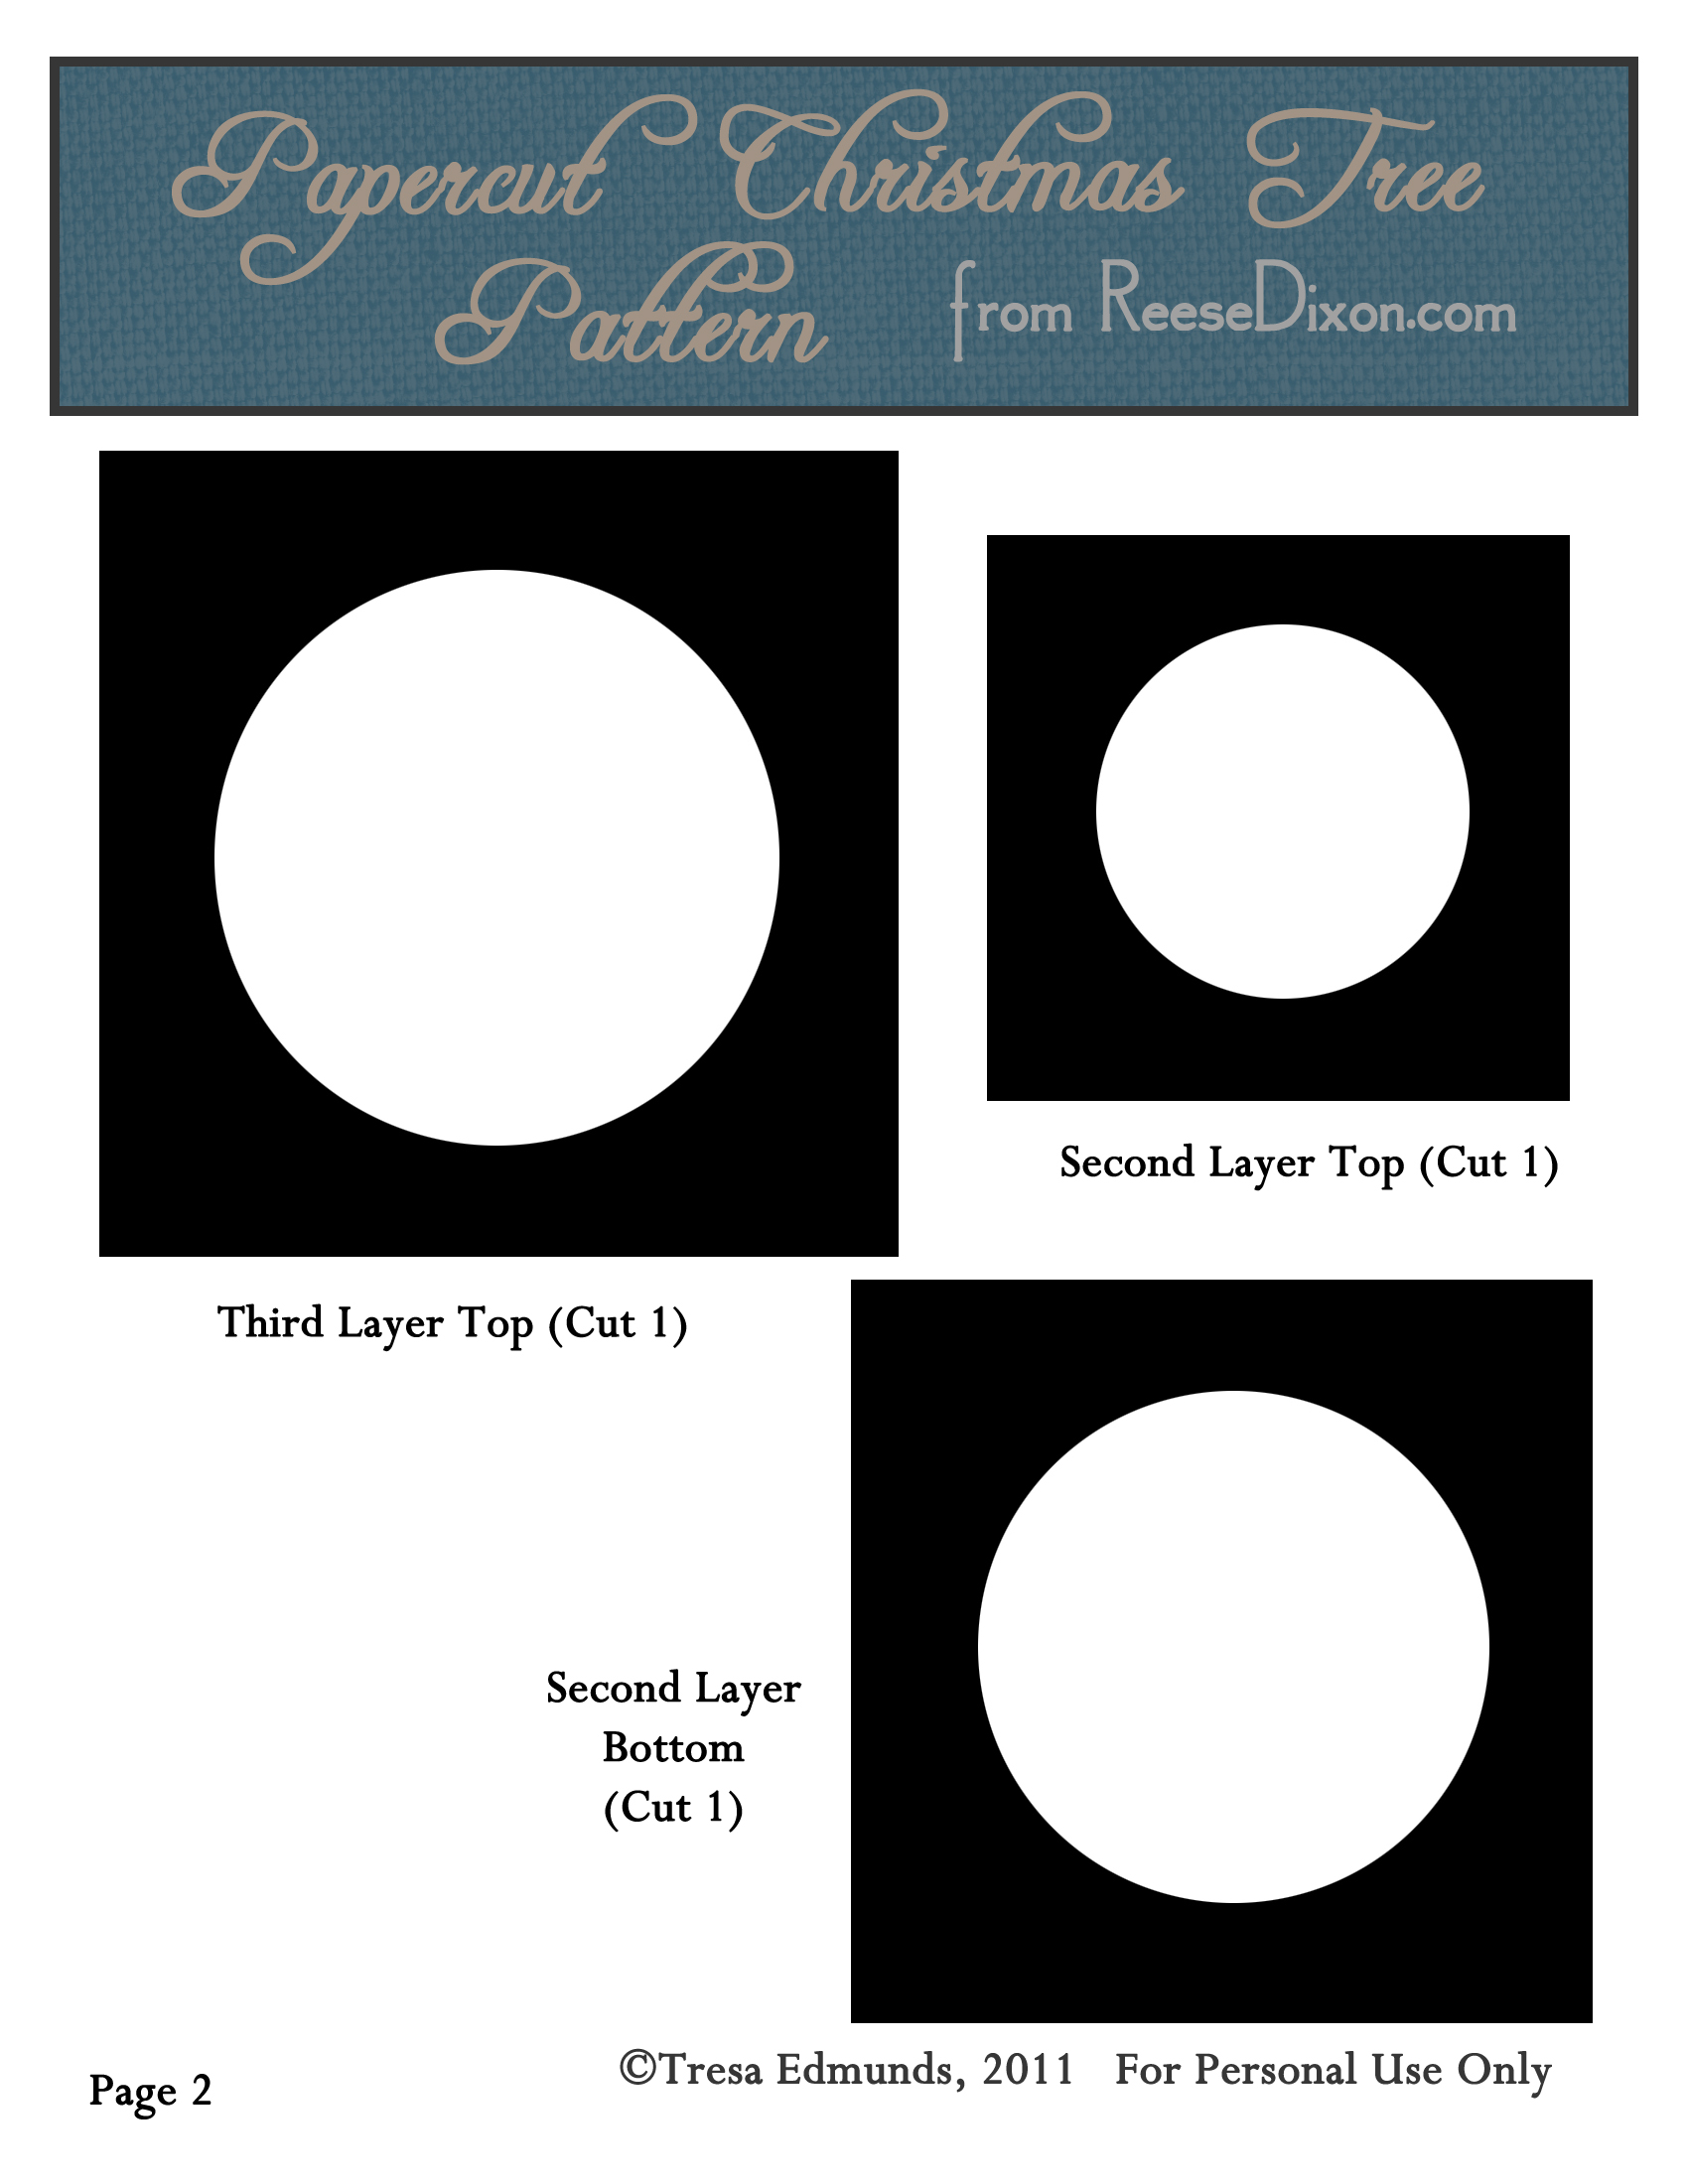
Click on each image to download the original size.
Once you get each box assembled, then you just slide them onto a 15″ styrofoam cone. I just painted mine brown, but you could also decoupage it with paper or fabric for a more decorative look.


I really really like this T!! Nice job! Merry Christmas lady!!