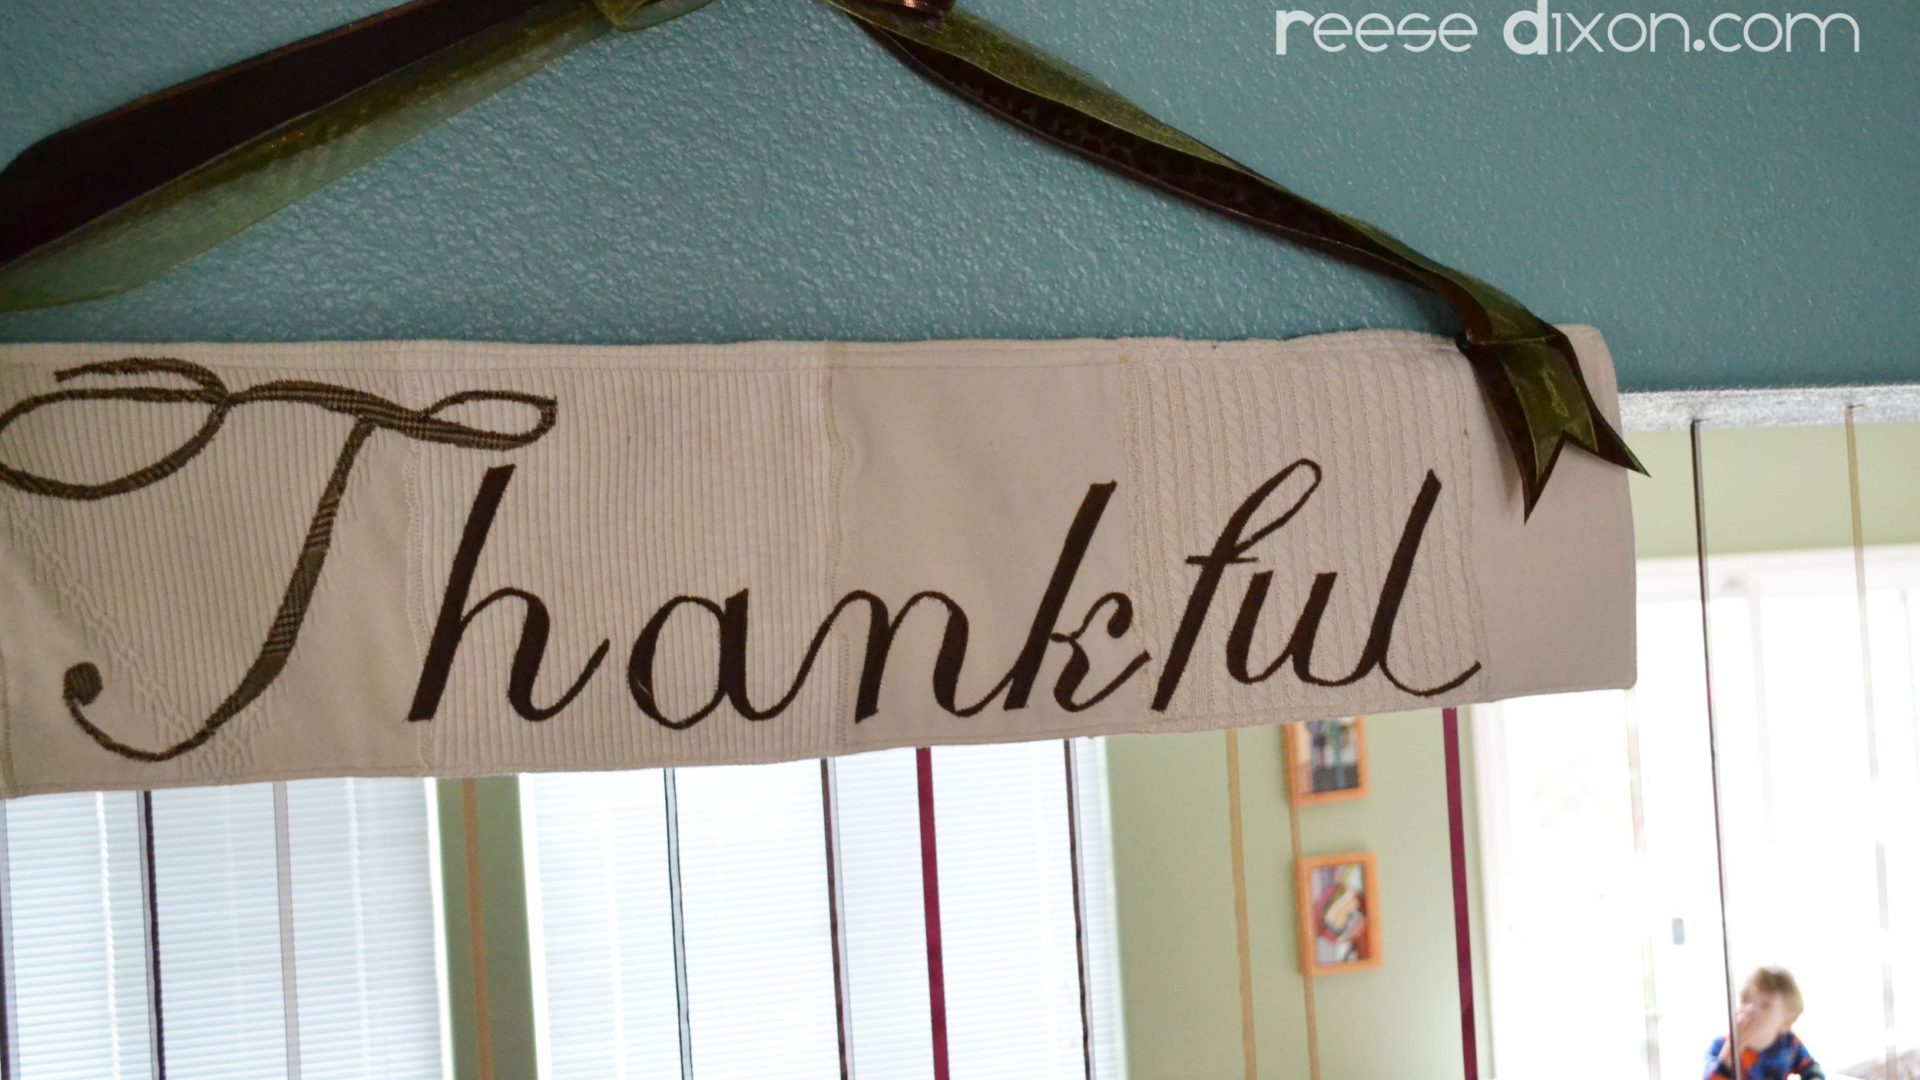
After making those wax leaves to fill the passthrough between my dining room and family room, I thought I needed something else to really make that view special. During Halloween I hang a banner from the bottom of that passthrough, so I thought it would be fun to make another banner for the new holiday.
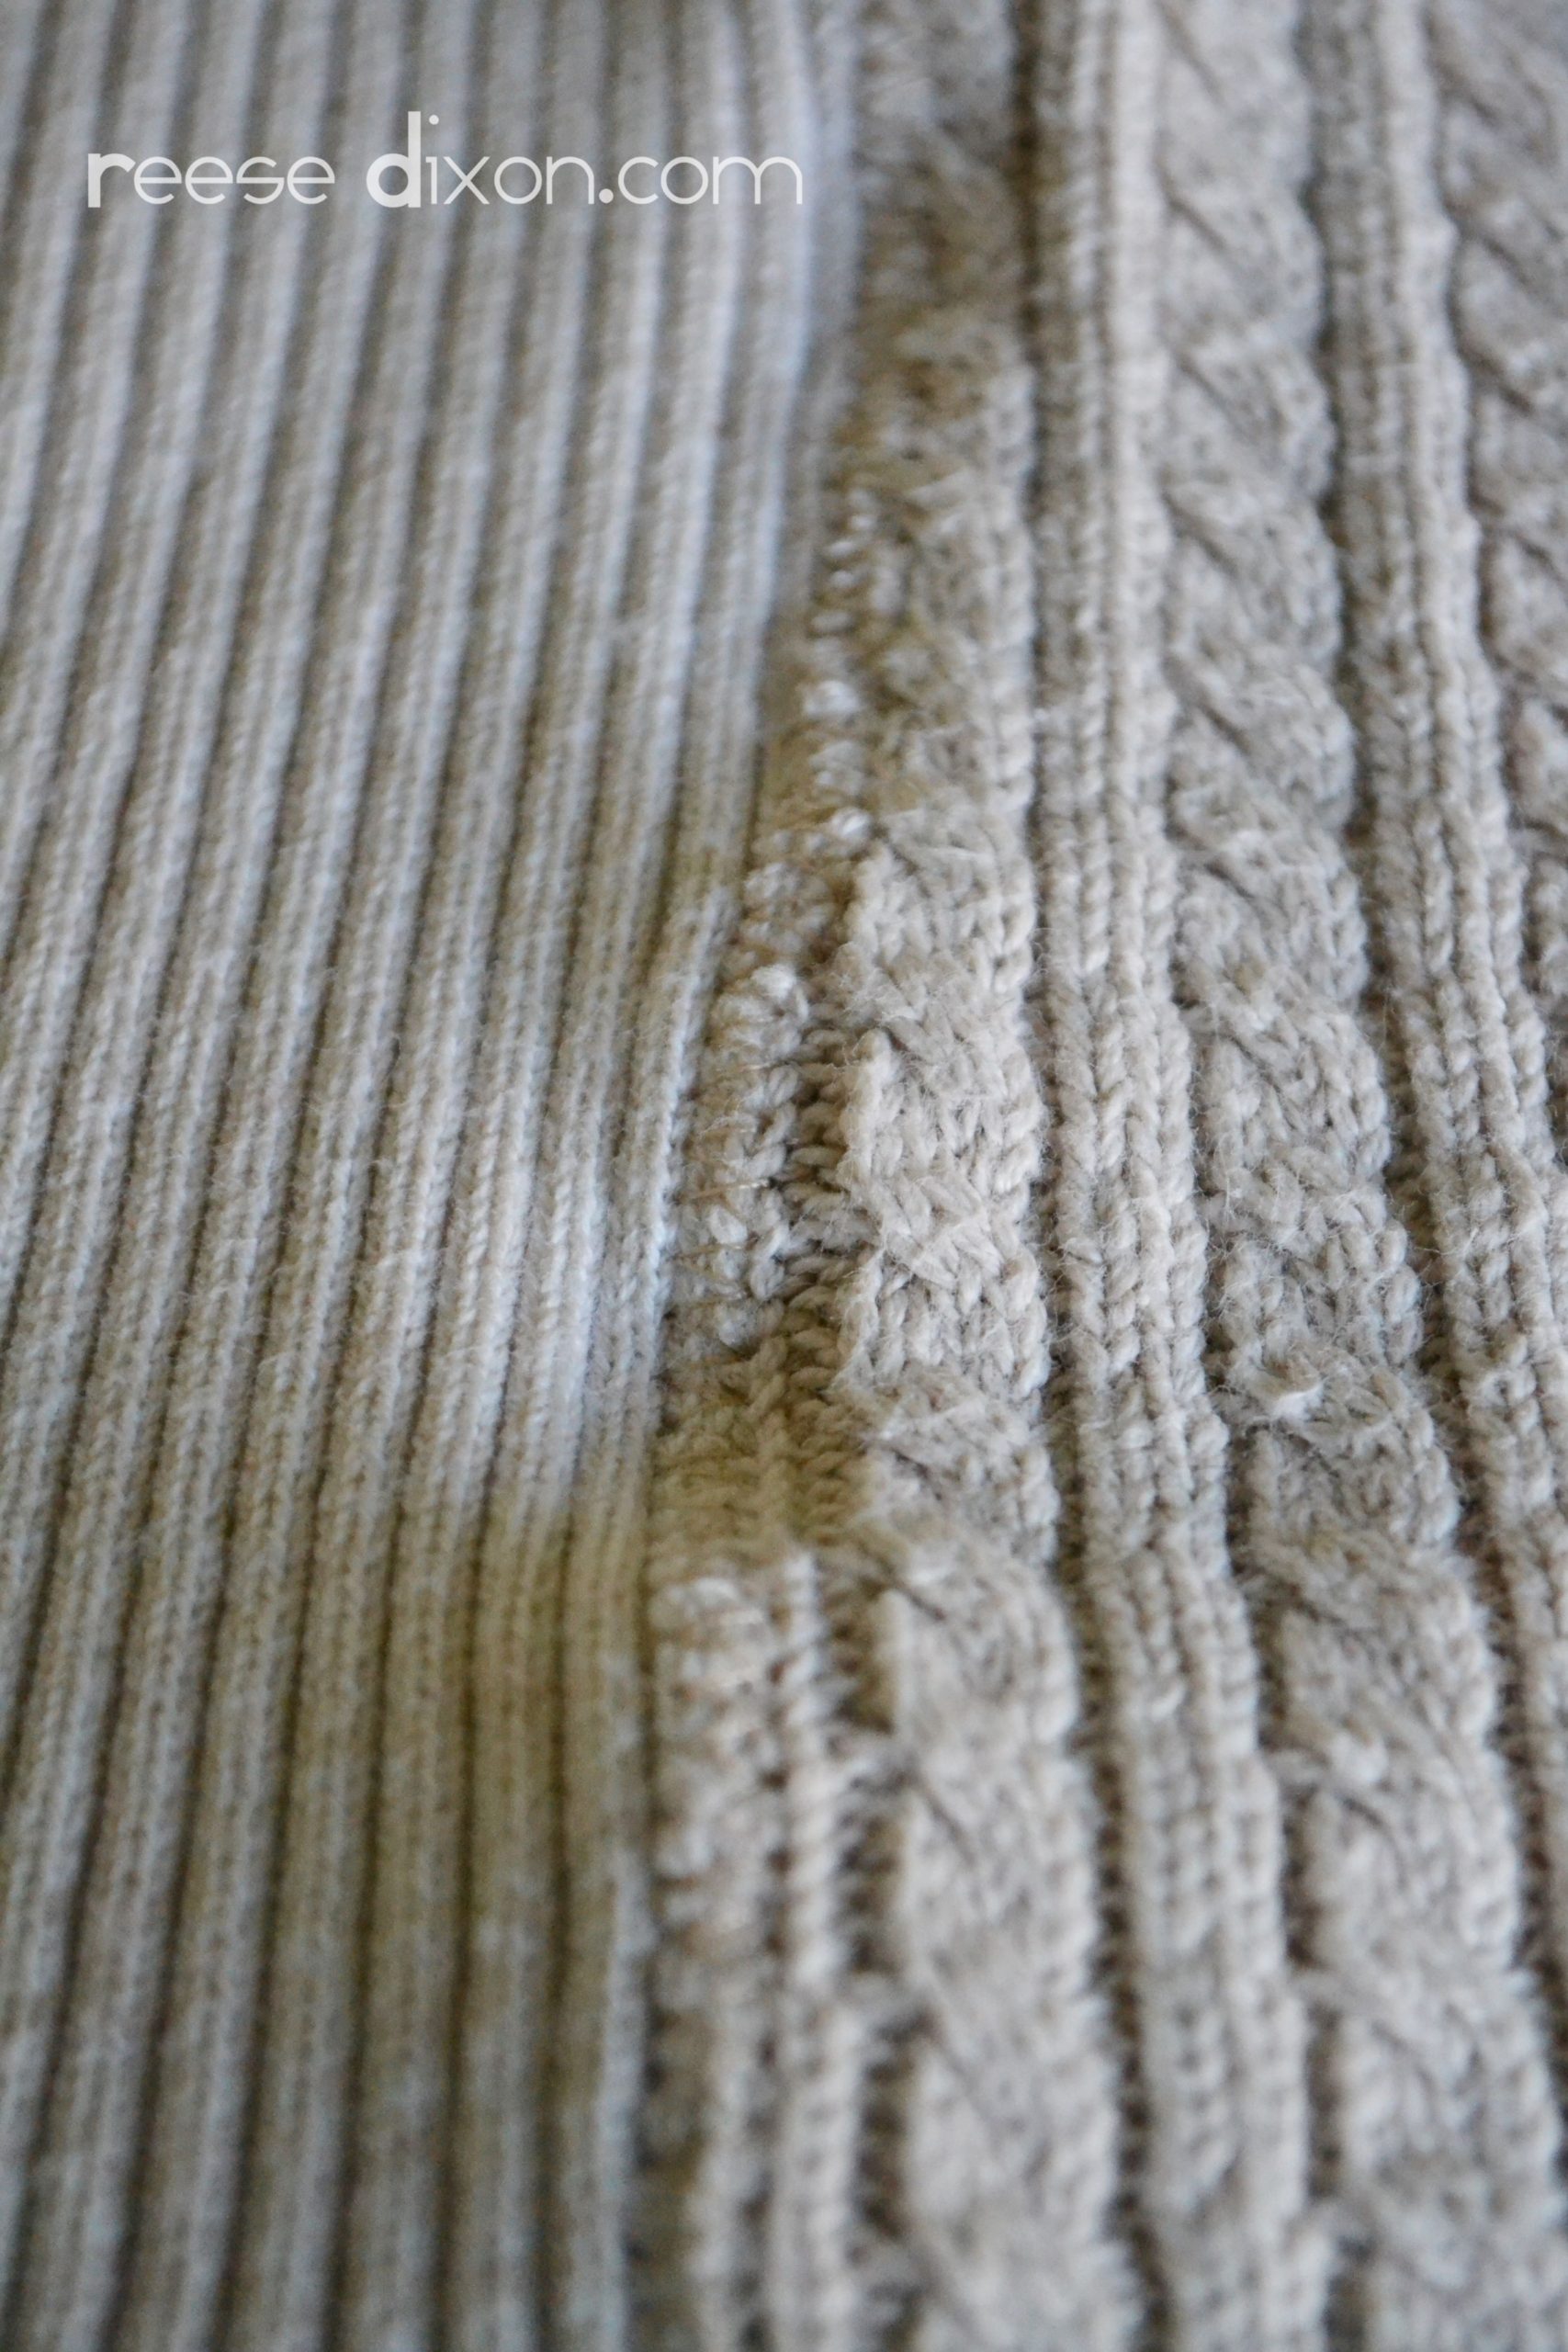
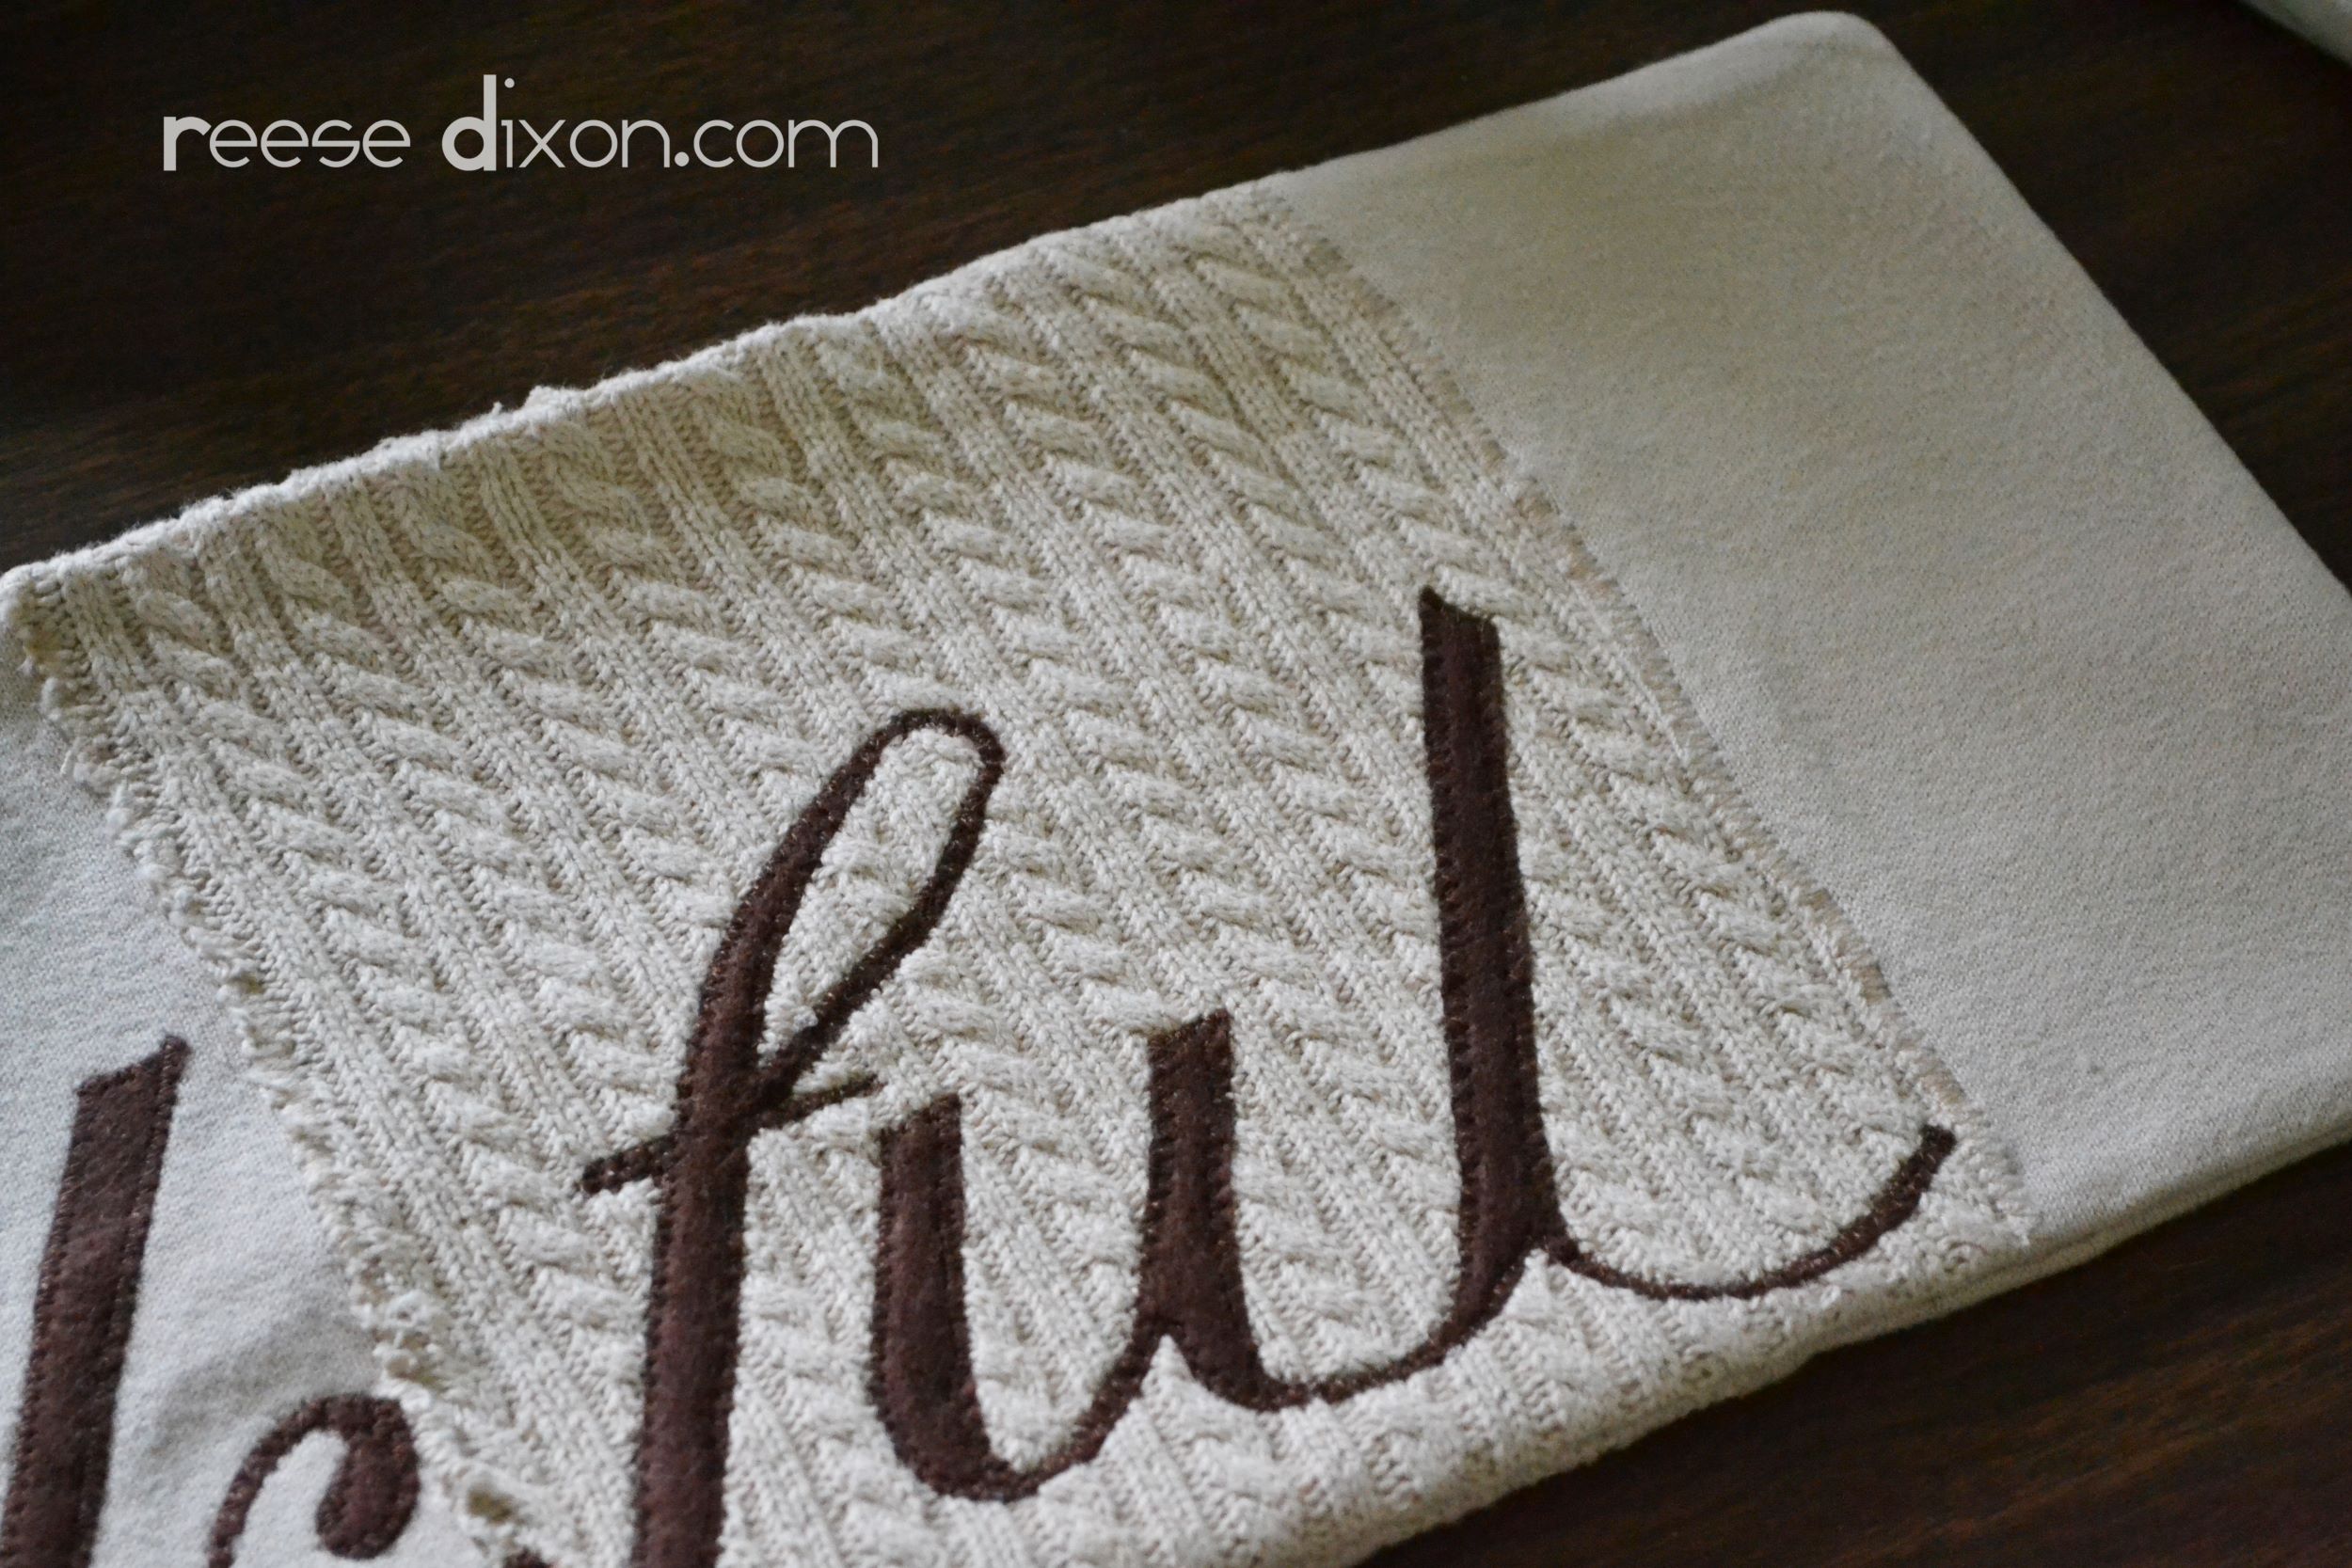
My first stop was the thrift store where I picked up a bunch of cotton sweaters. I found three that were about the same color, but in different knit textures. I cut them to about 6 inches by 8 inches, and then overlapped the edges of those pieces and sewed them together with a wide zigzag stitch. I did enough of these to make a front and back, each measuring about 3 feet long.
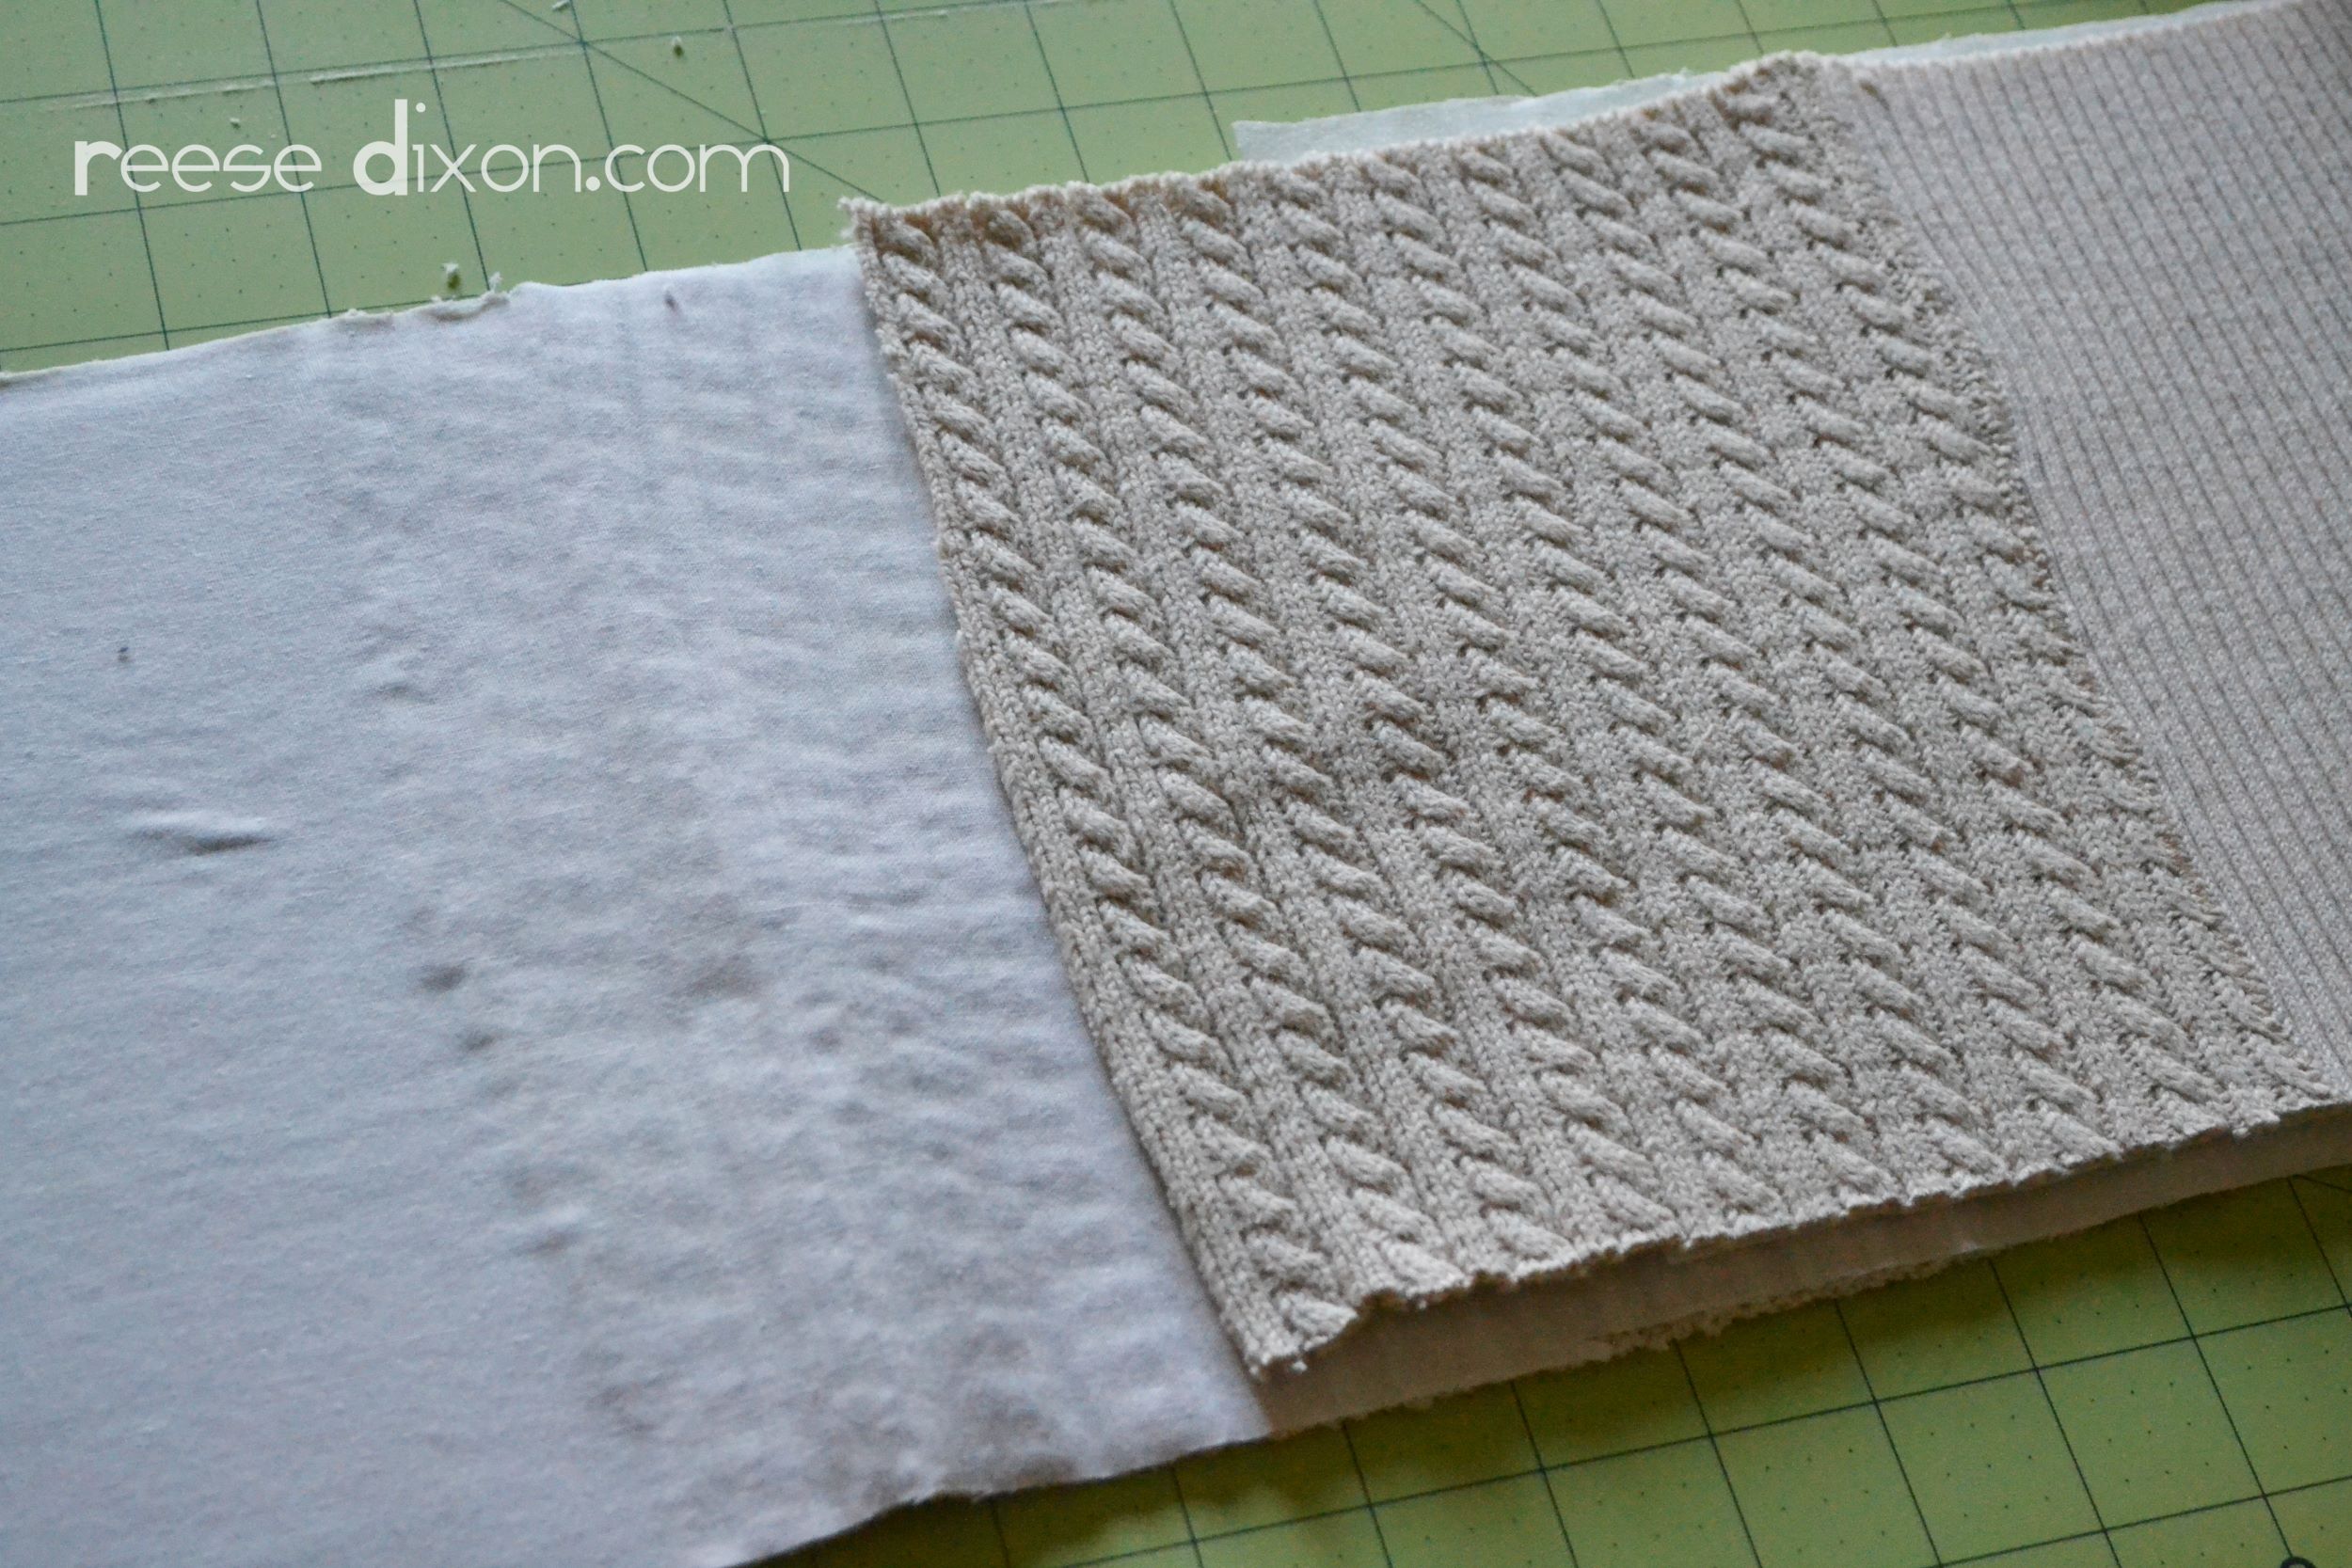
The knits can stretch pretty far out of shape, so give it a good ironing and then iron on an interfacing to the back. You don’t want those knits sagging when they’re hanging. Once the interfacing is on, give each piece a trim as needed to make everything the same size.
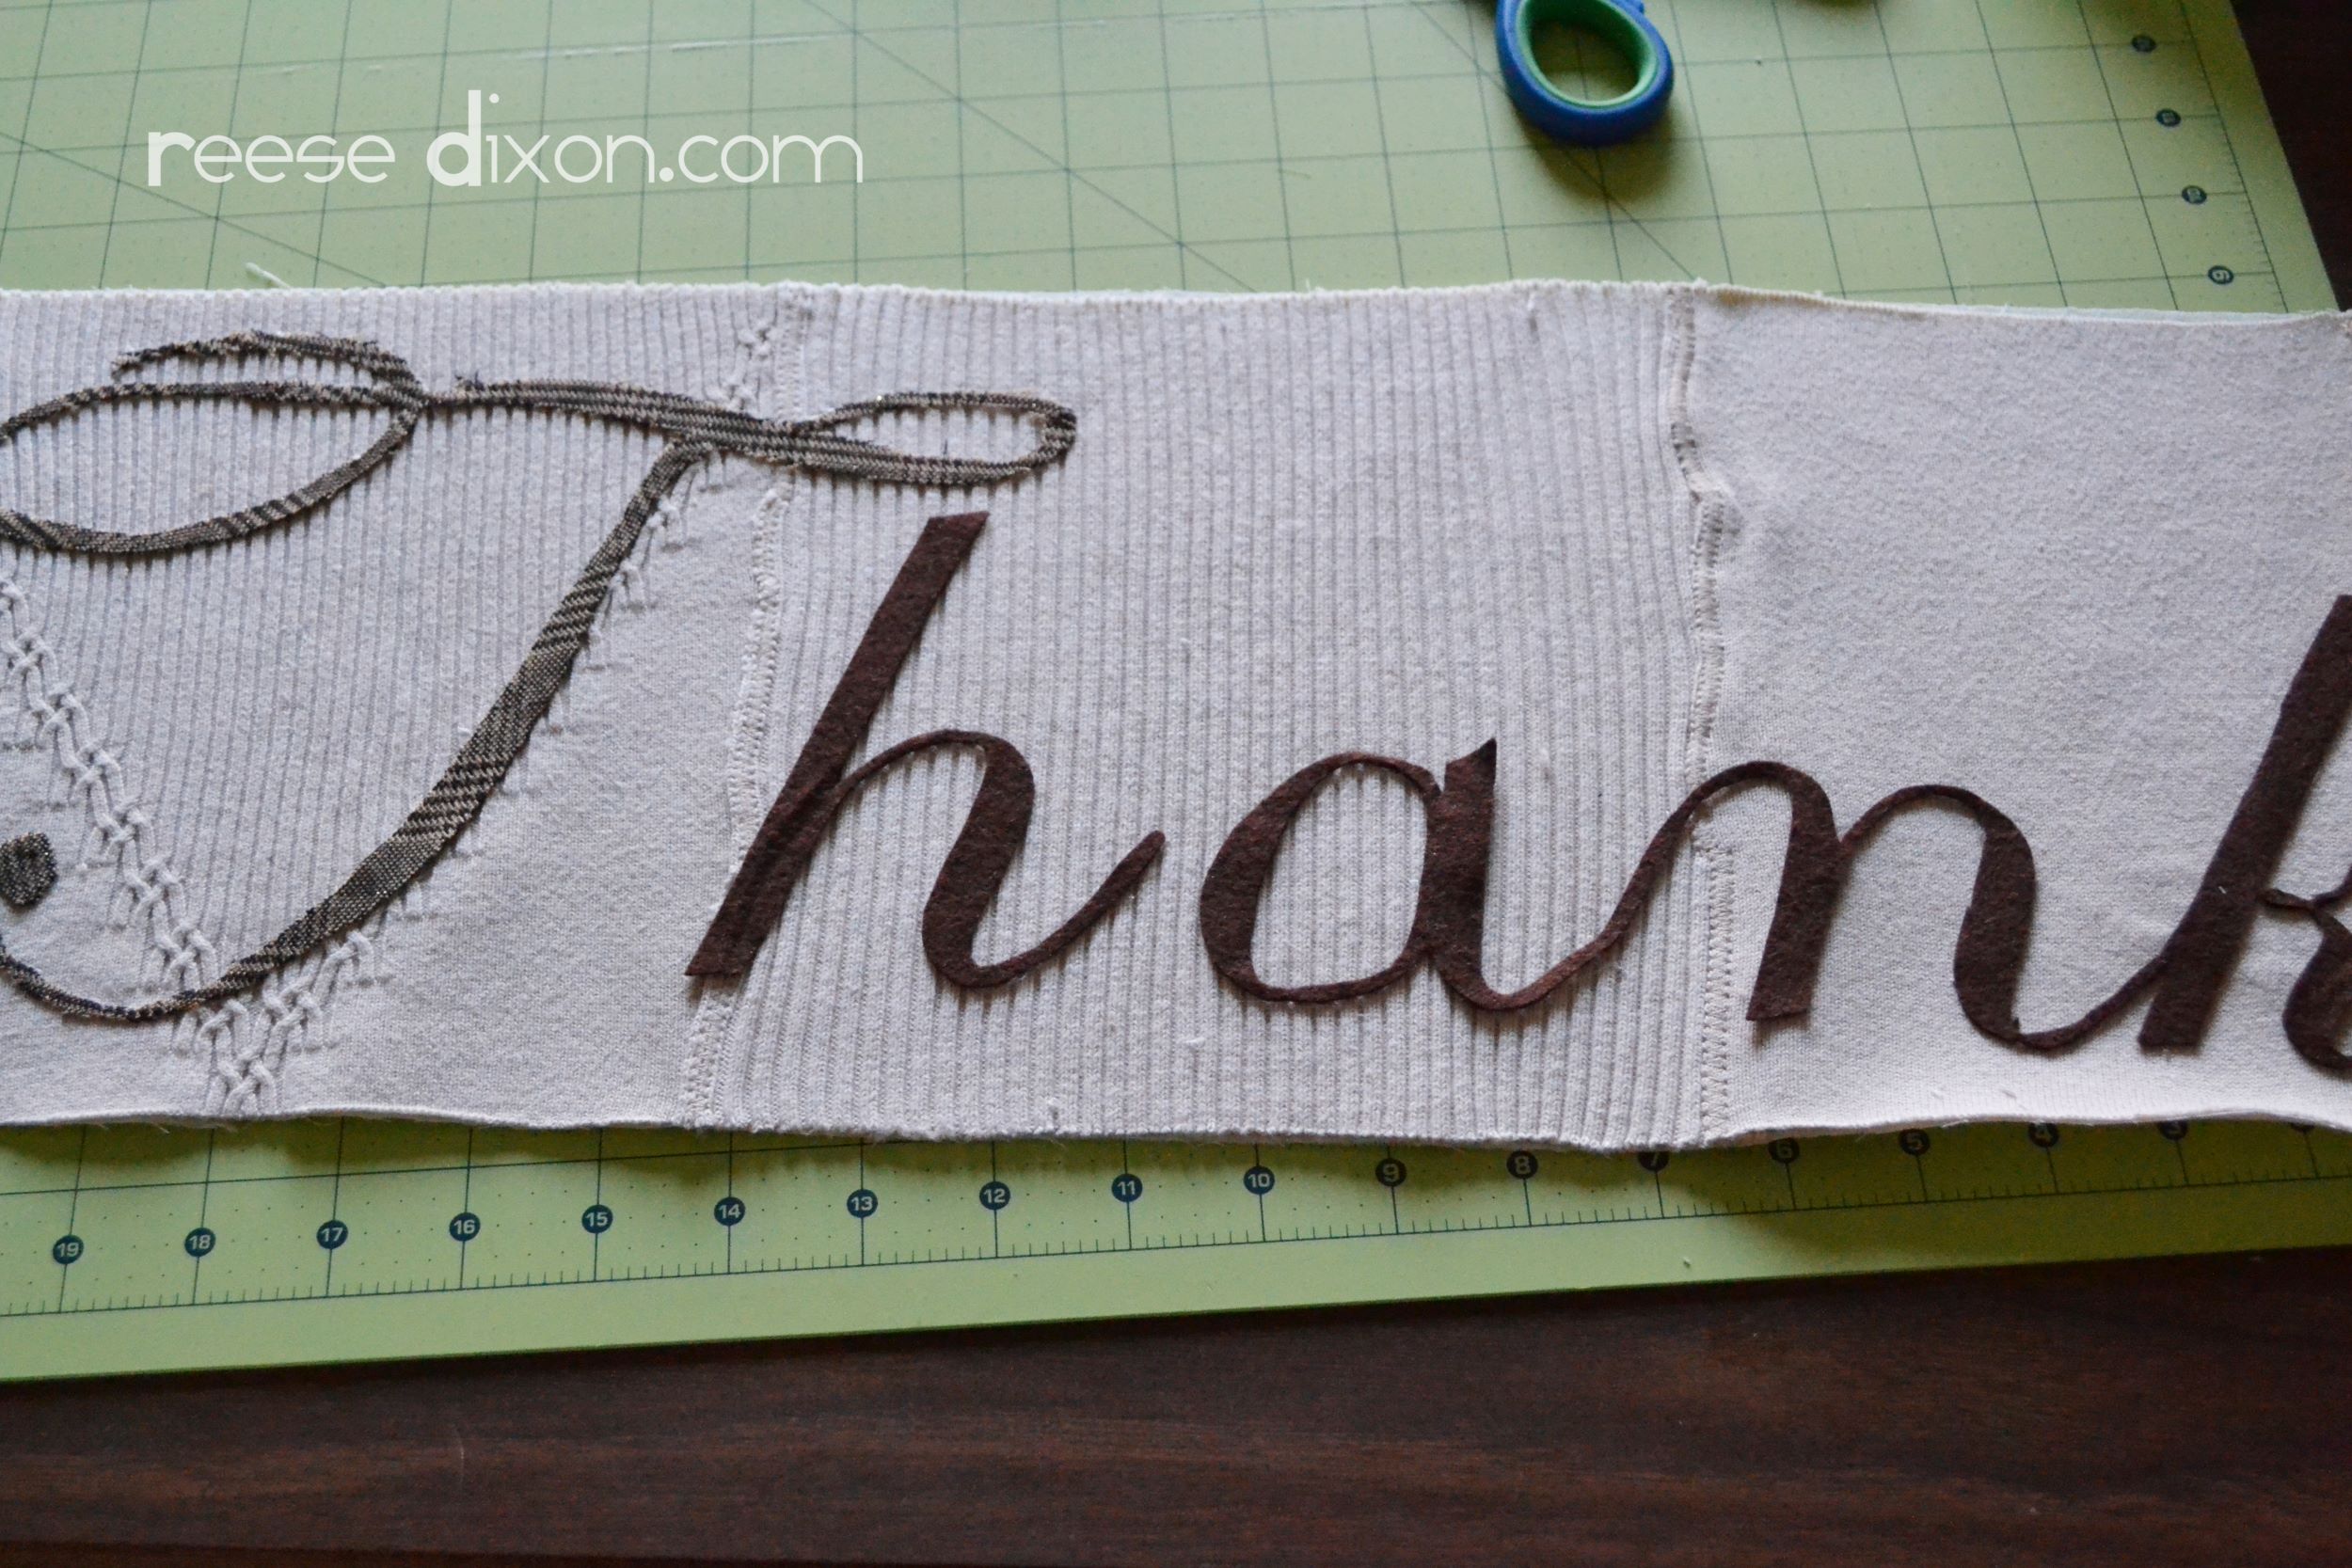
I printed my message out on from my computer, but a die cutting machine would make this super easy. I used scrap fabric from my stash, but any fabric that doesn’t fray like crazy would work easily.
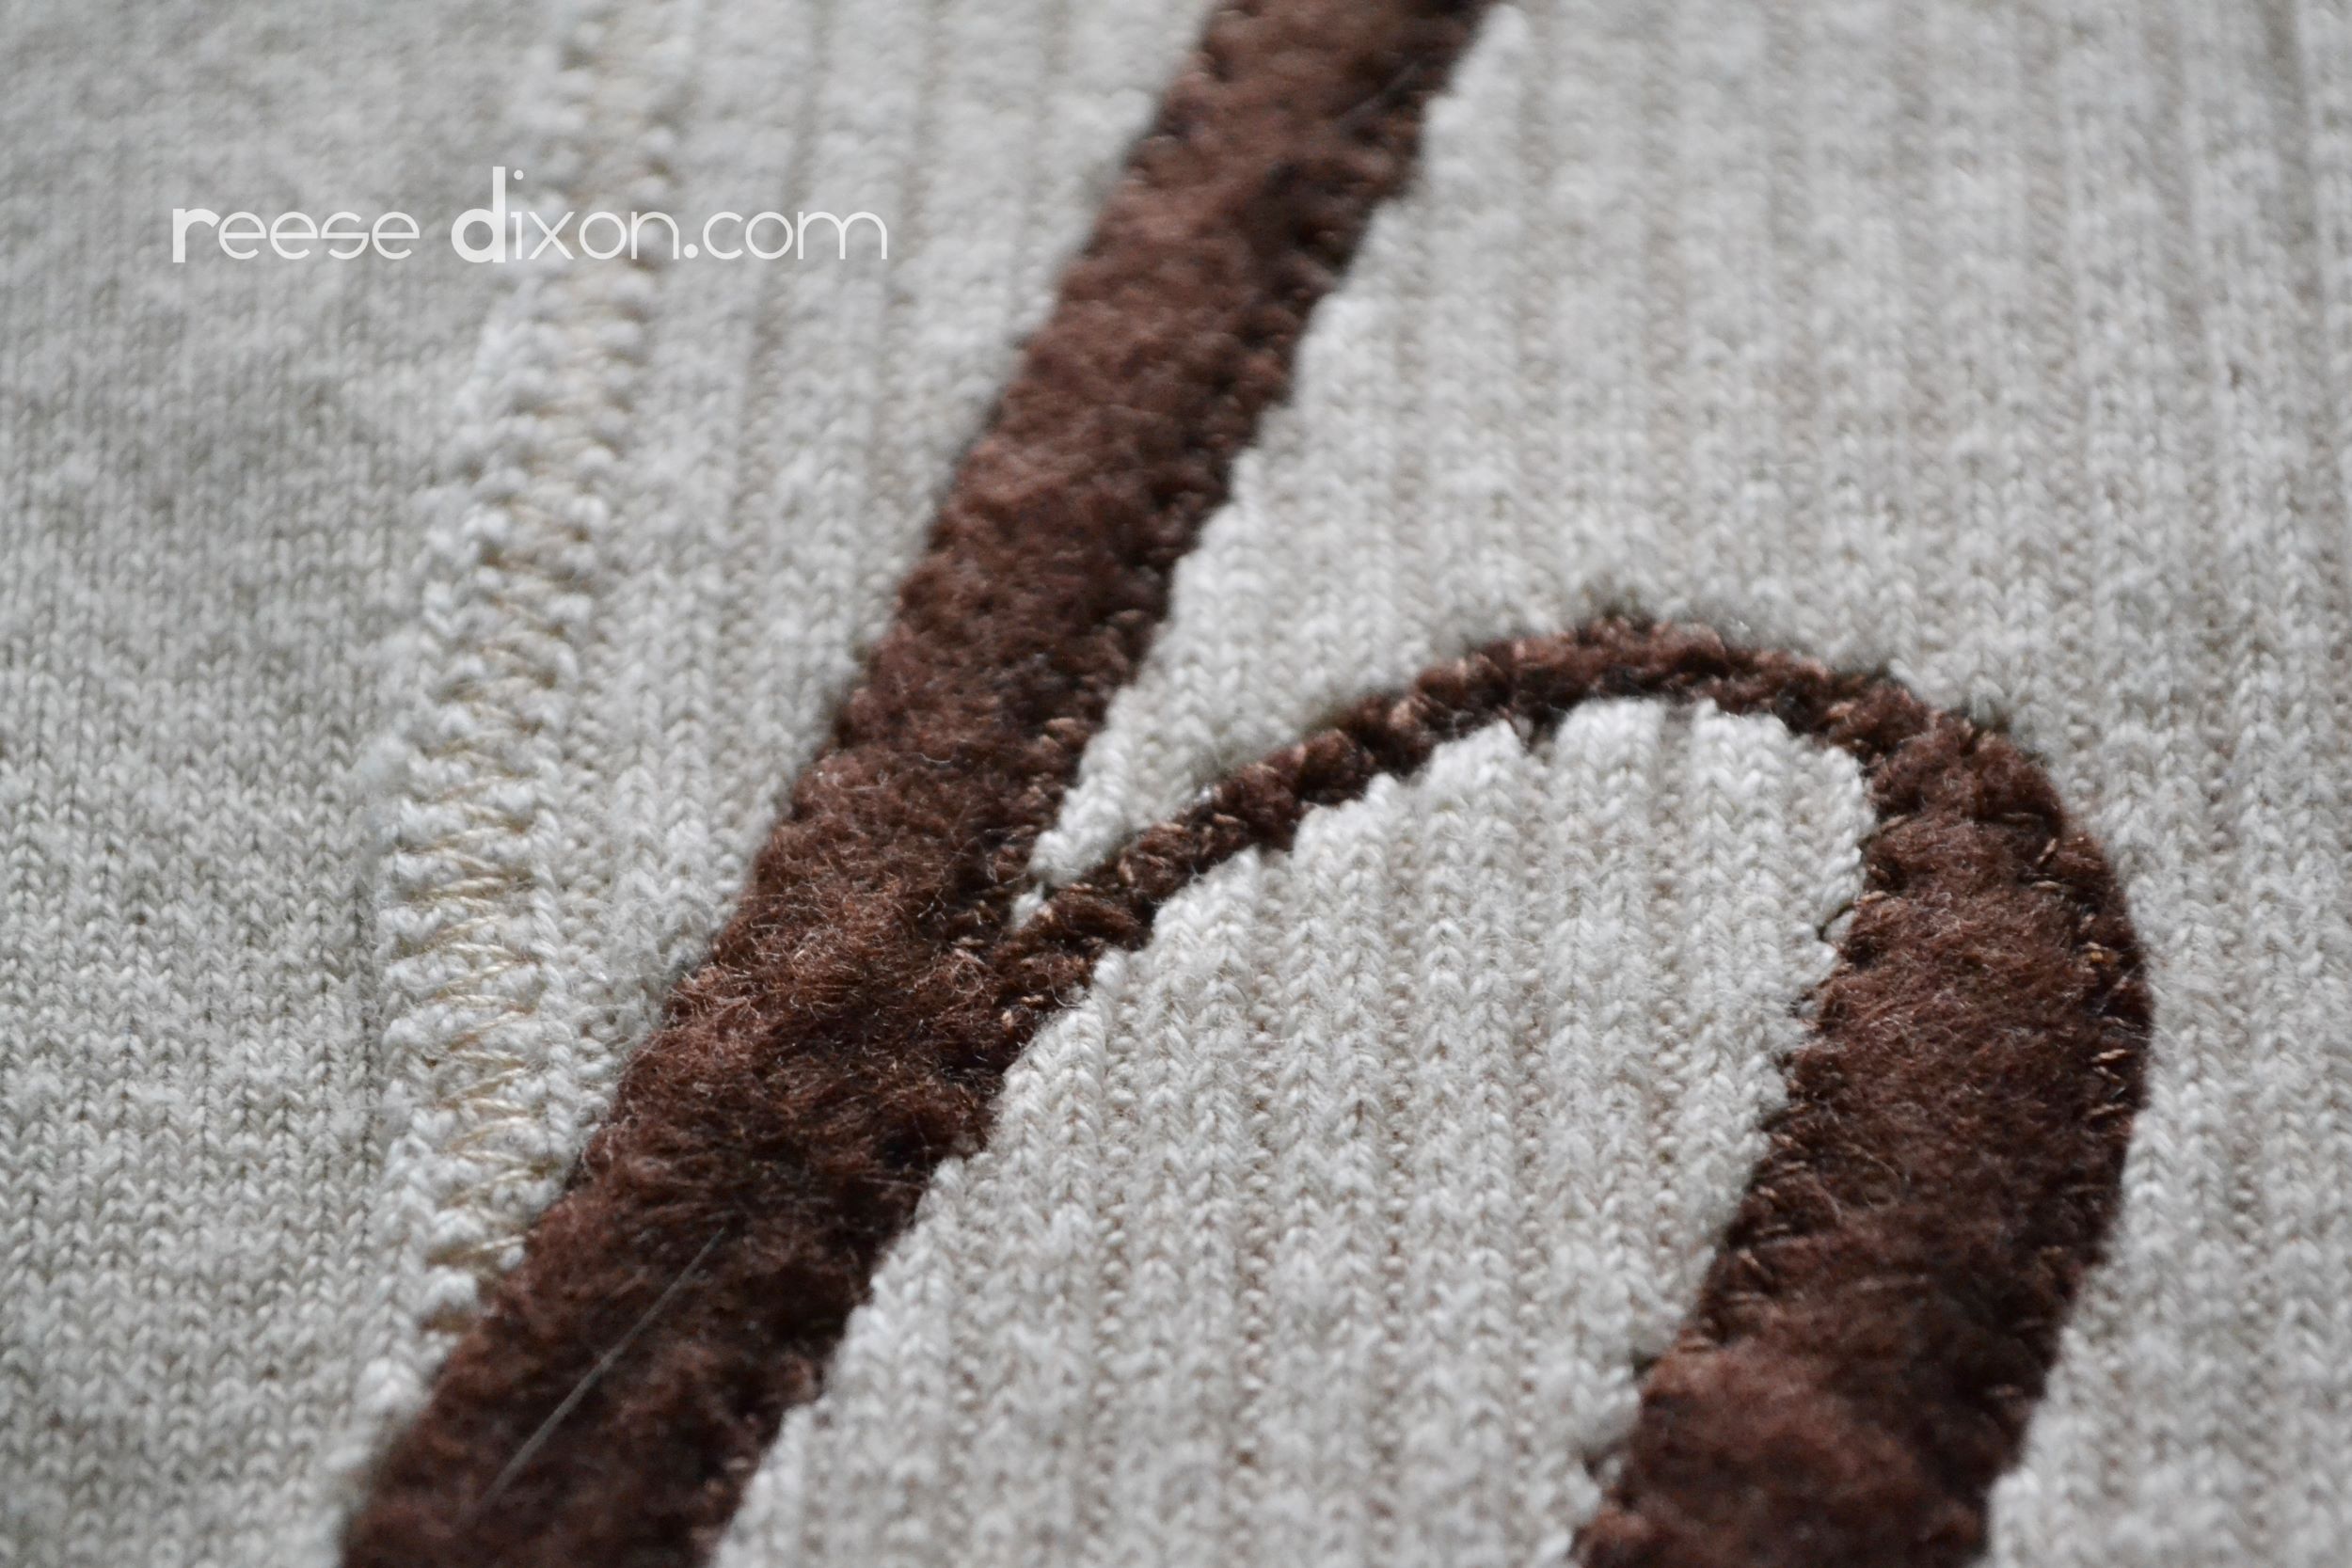
Stitch the letters down to the front piece with a simple zig zag stitch.
Lay the two sweater pieces on top of each other, right sides together, and sew around the edge, leaving a few edges open for turning. Turn right side out, press the seams in place, and finish with a top stitch 1/4″ away from the edge to close that hole up and add a little more interest.

To make it stable for hanging you’ll need to attach a dowel to the back. To do this cut a piece of complimentary fabric a few inches longer than the dowel, and about 4 inches wide. Sew into a tube and turn right side out, then thread the dowel inside.
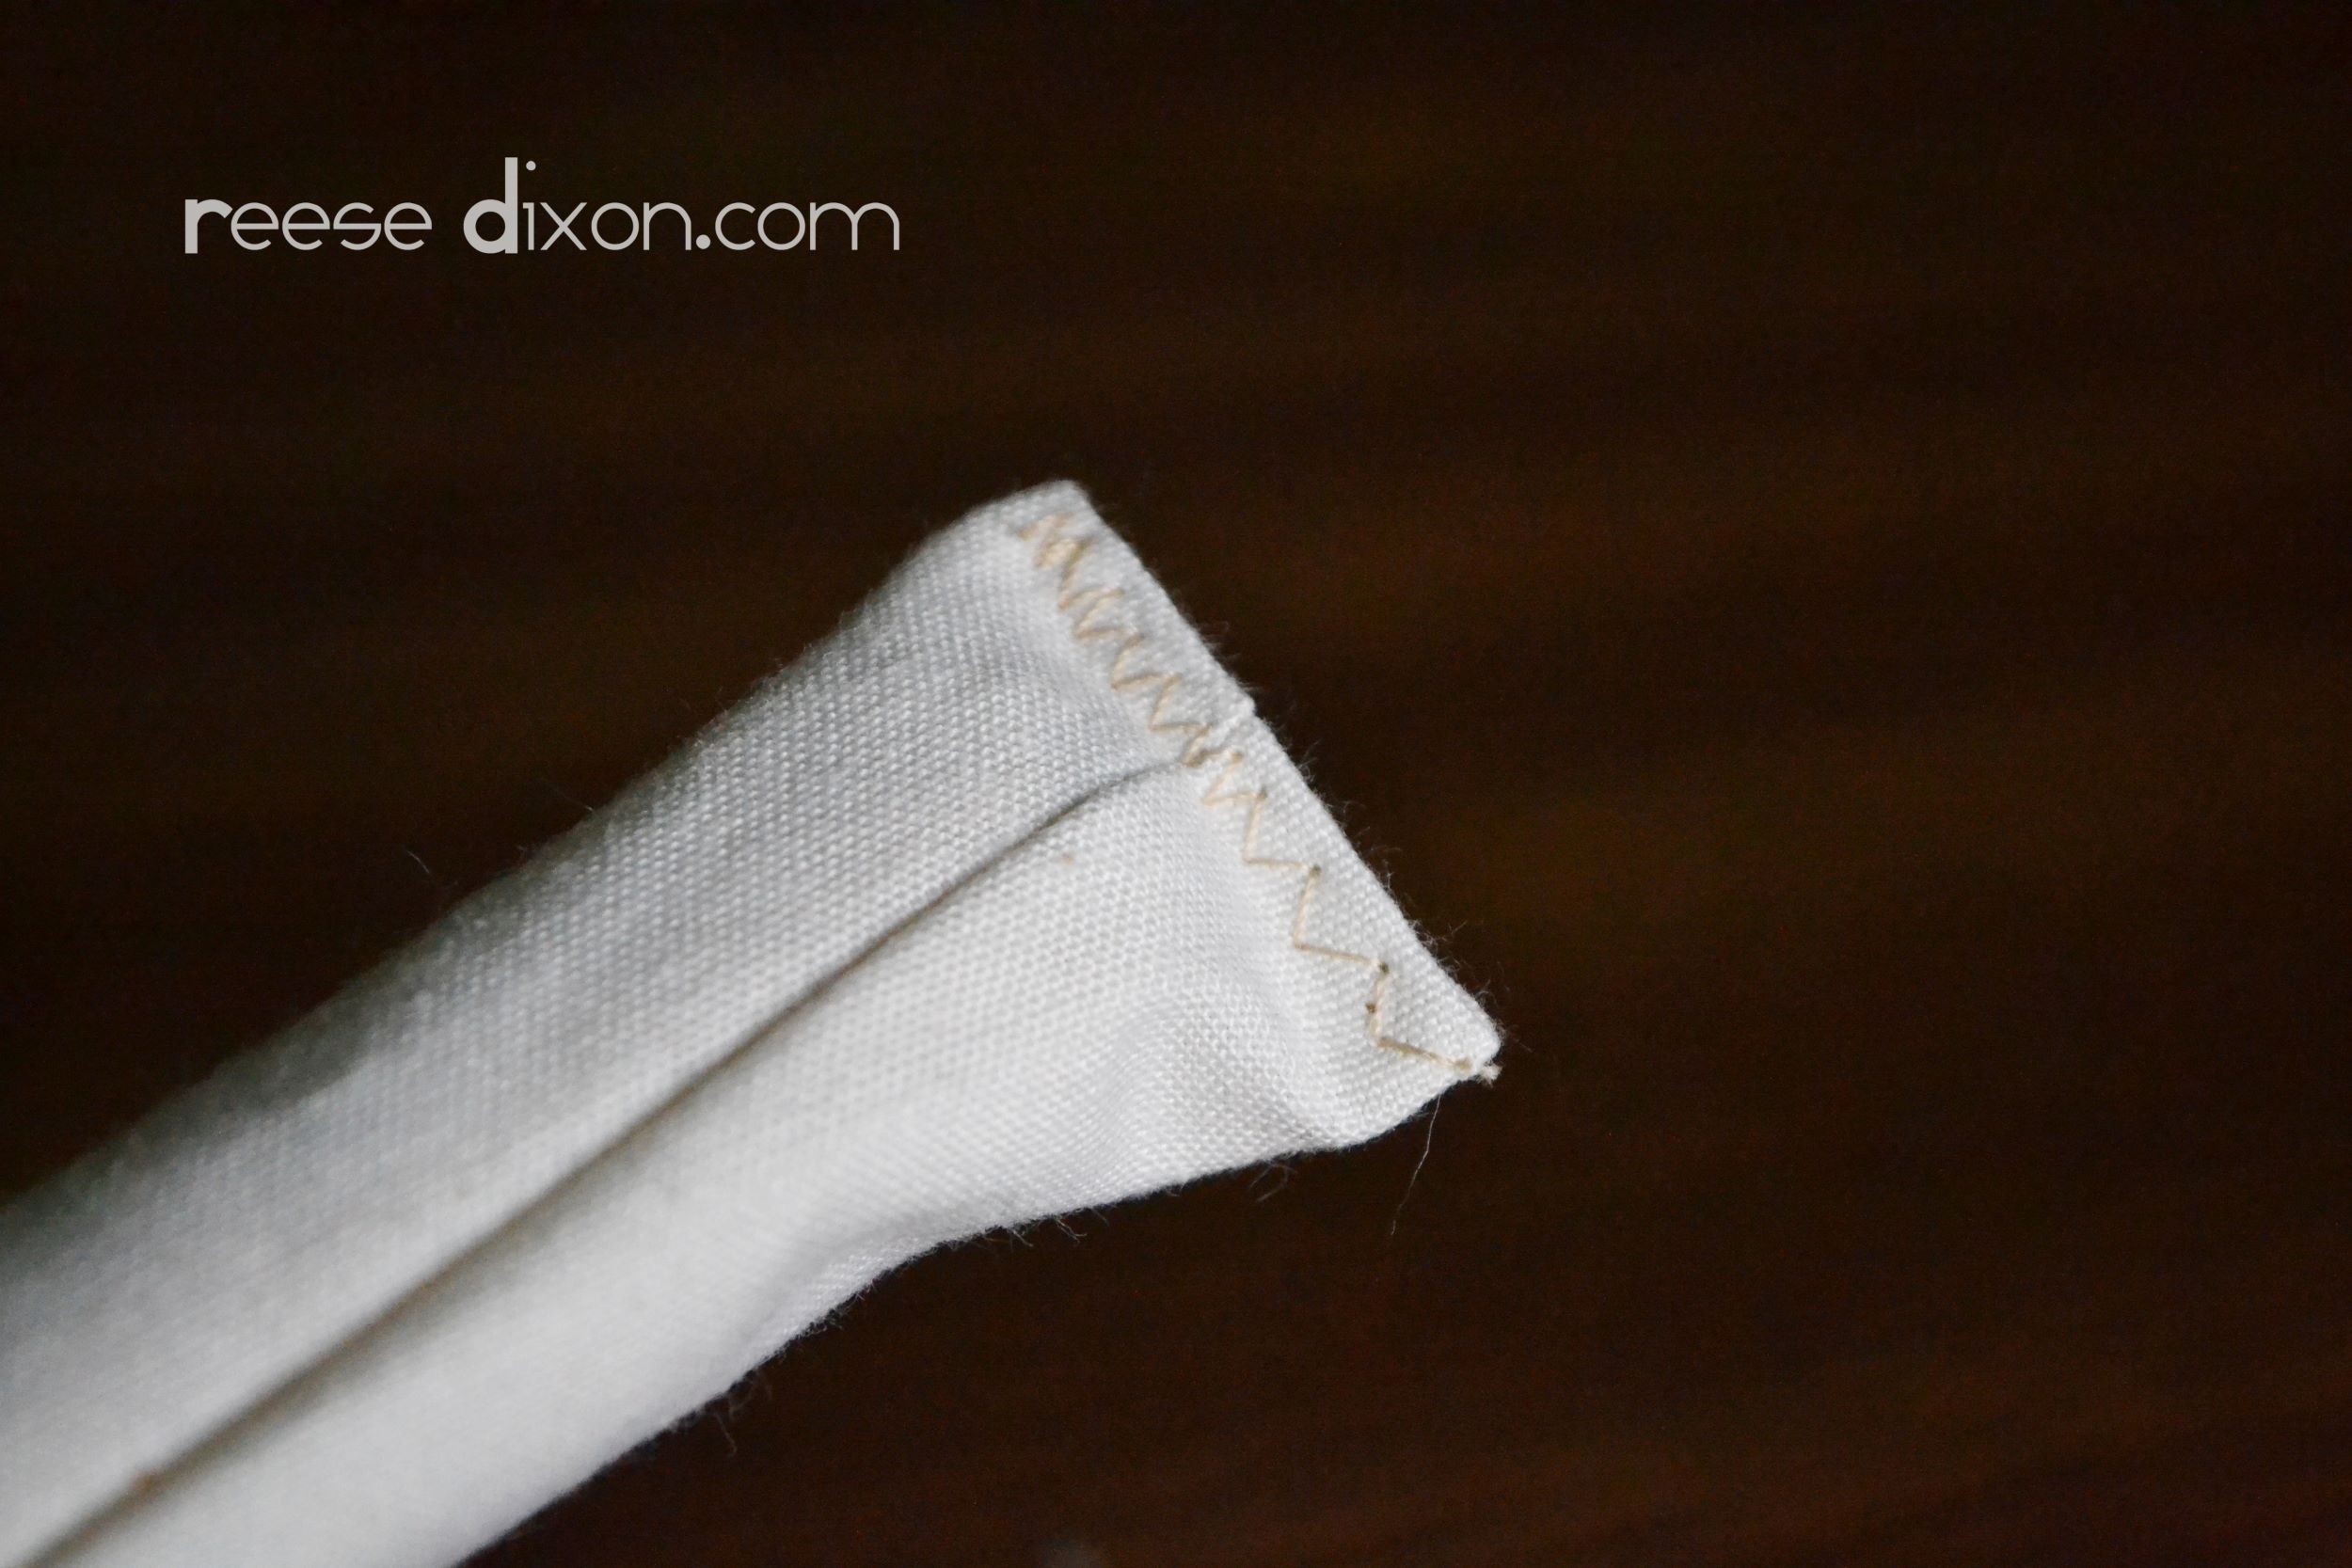
Fold the raw edges inside and zig zag the ends closed.
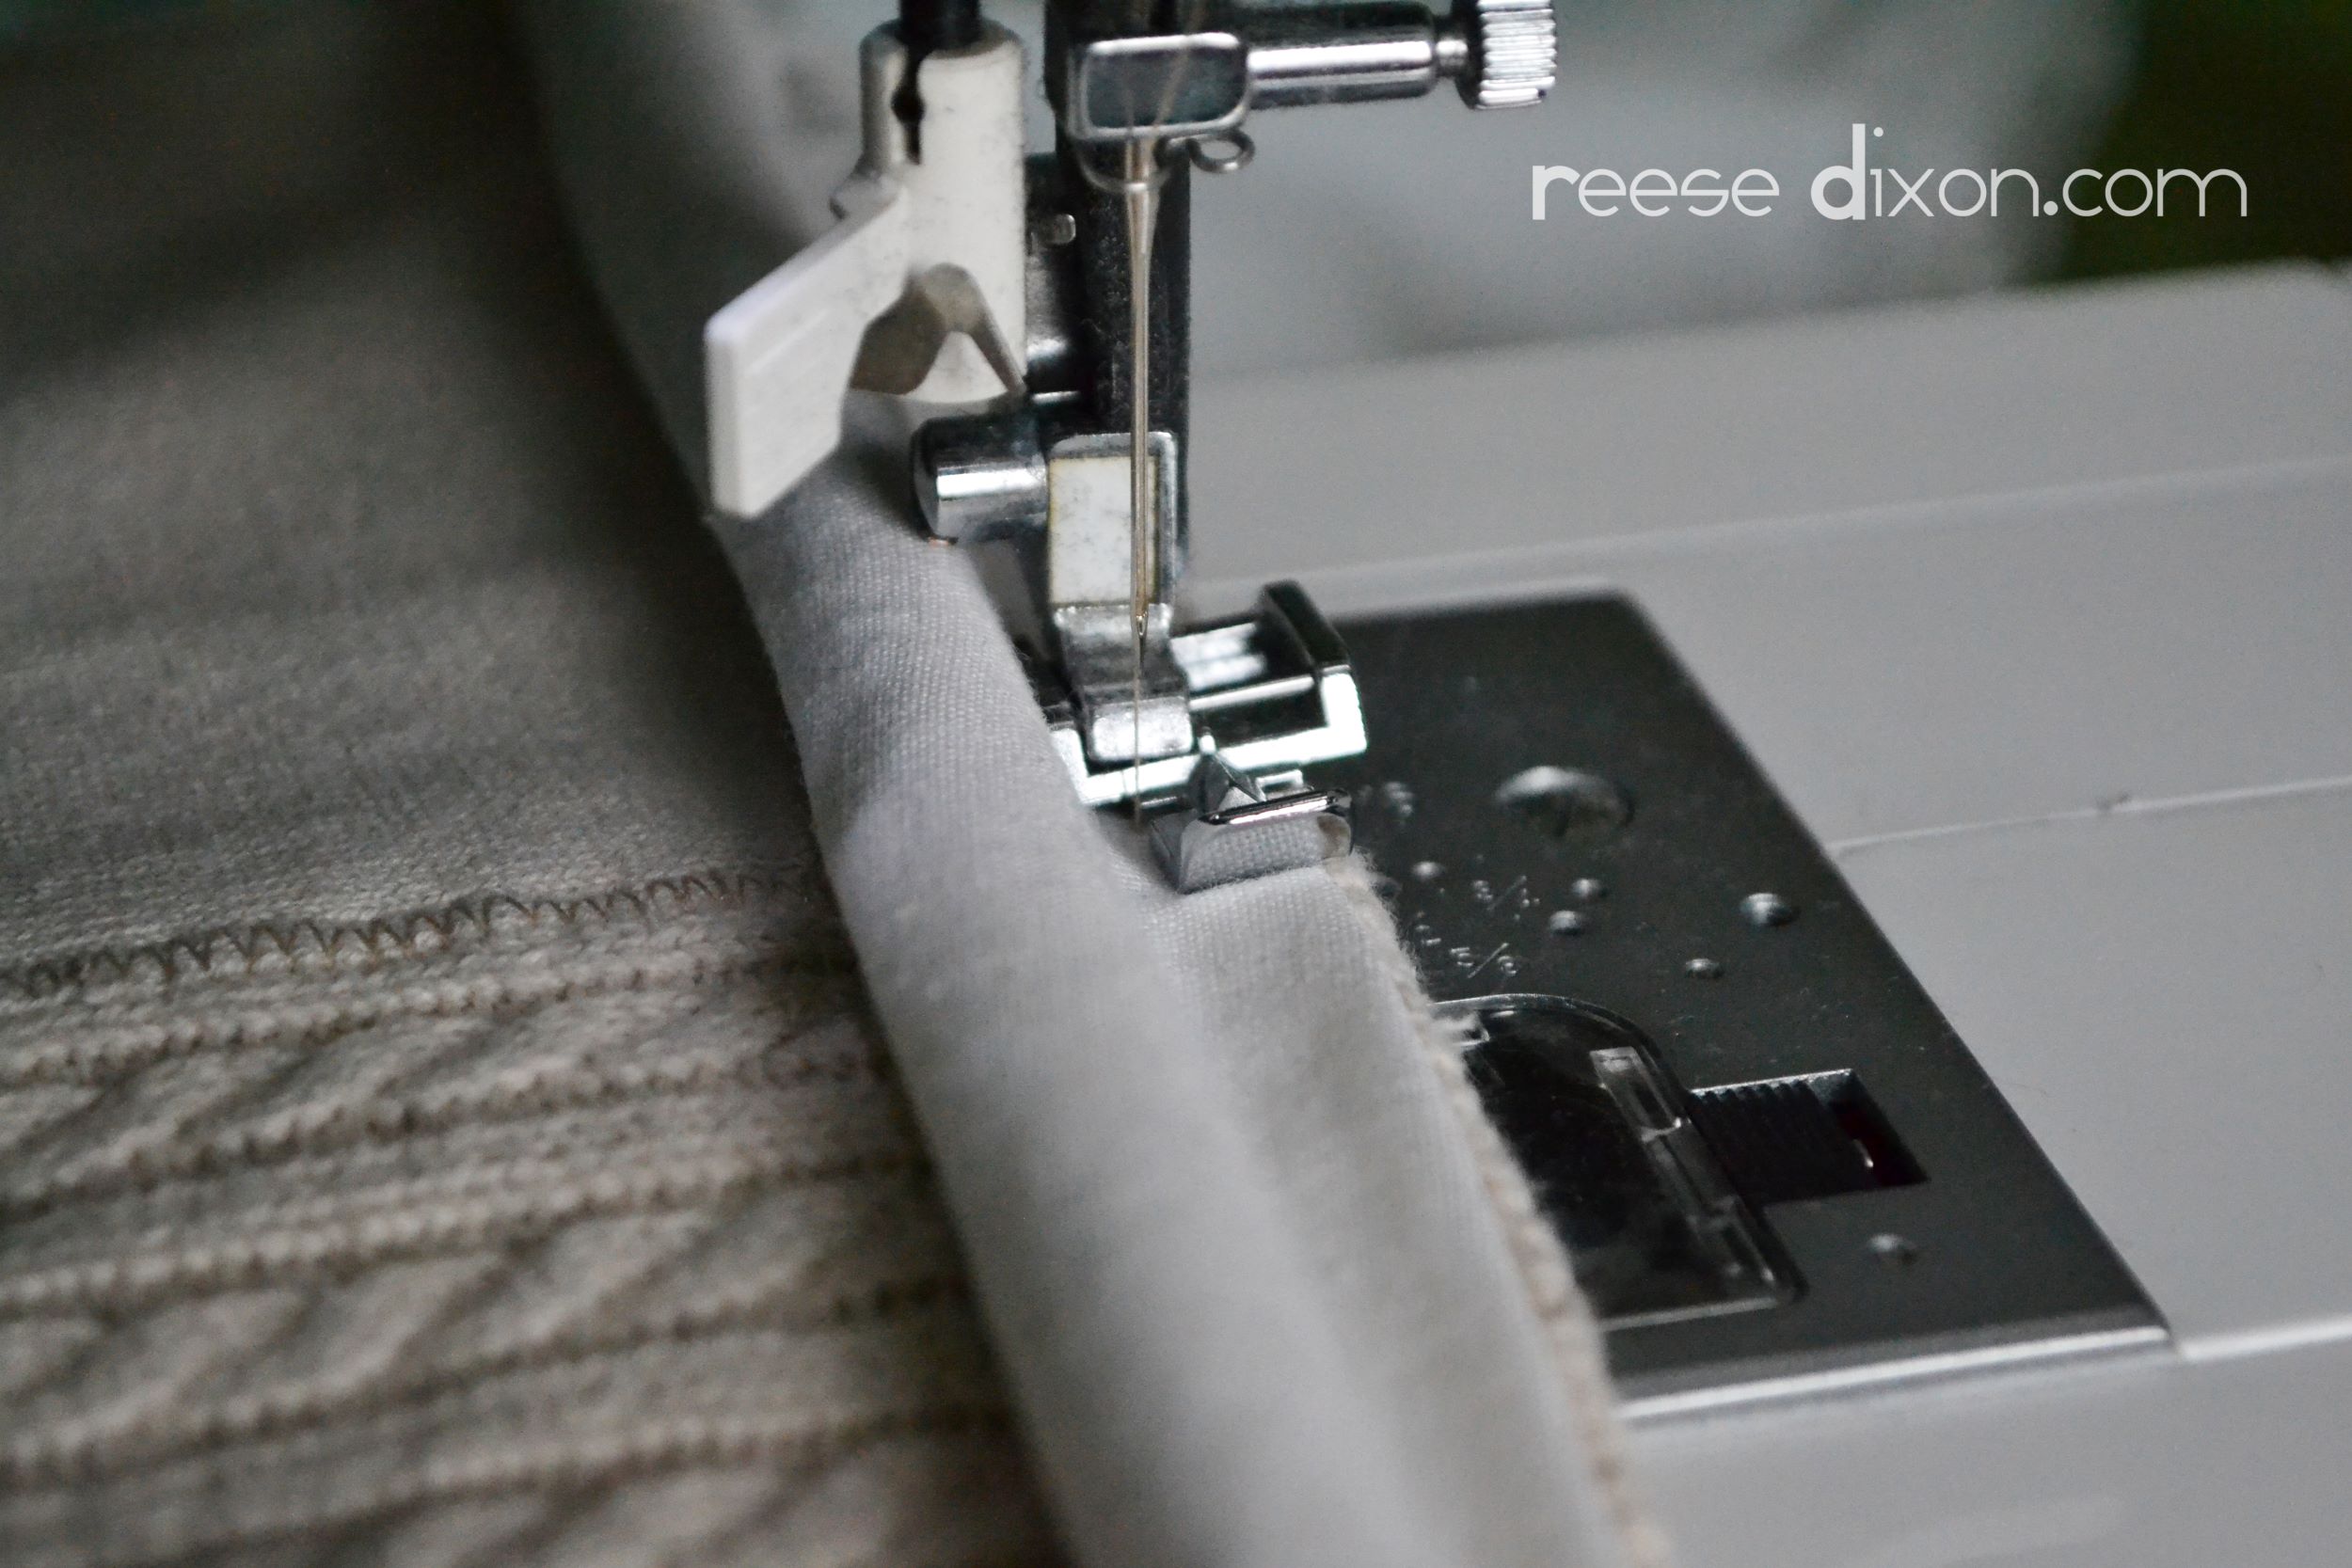
Using a zipper foot will let you get right up next to that dowel as you sew it onto the back.
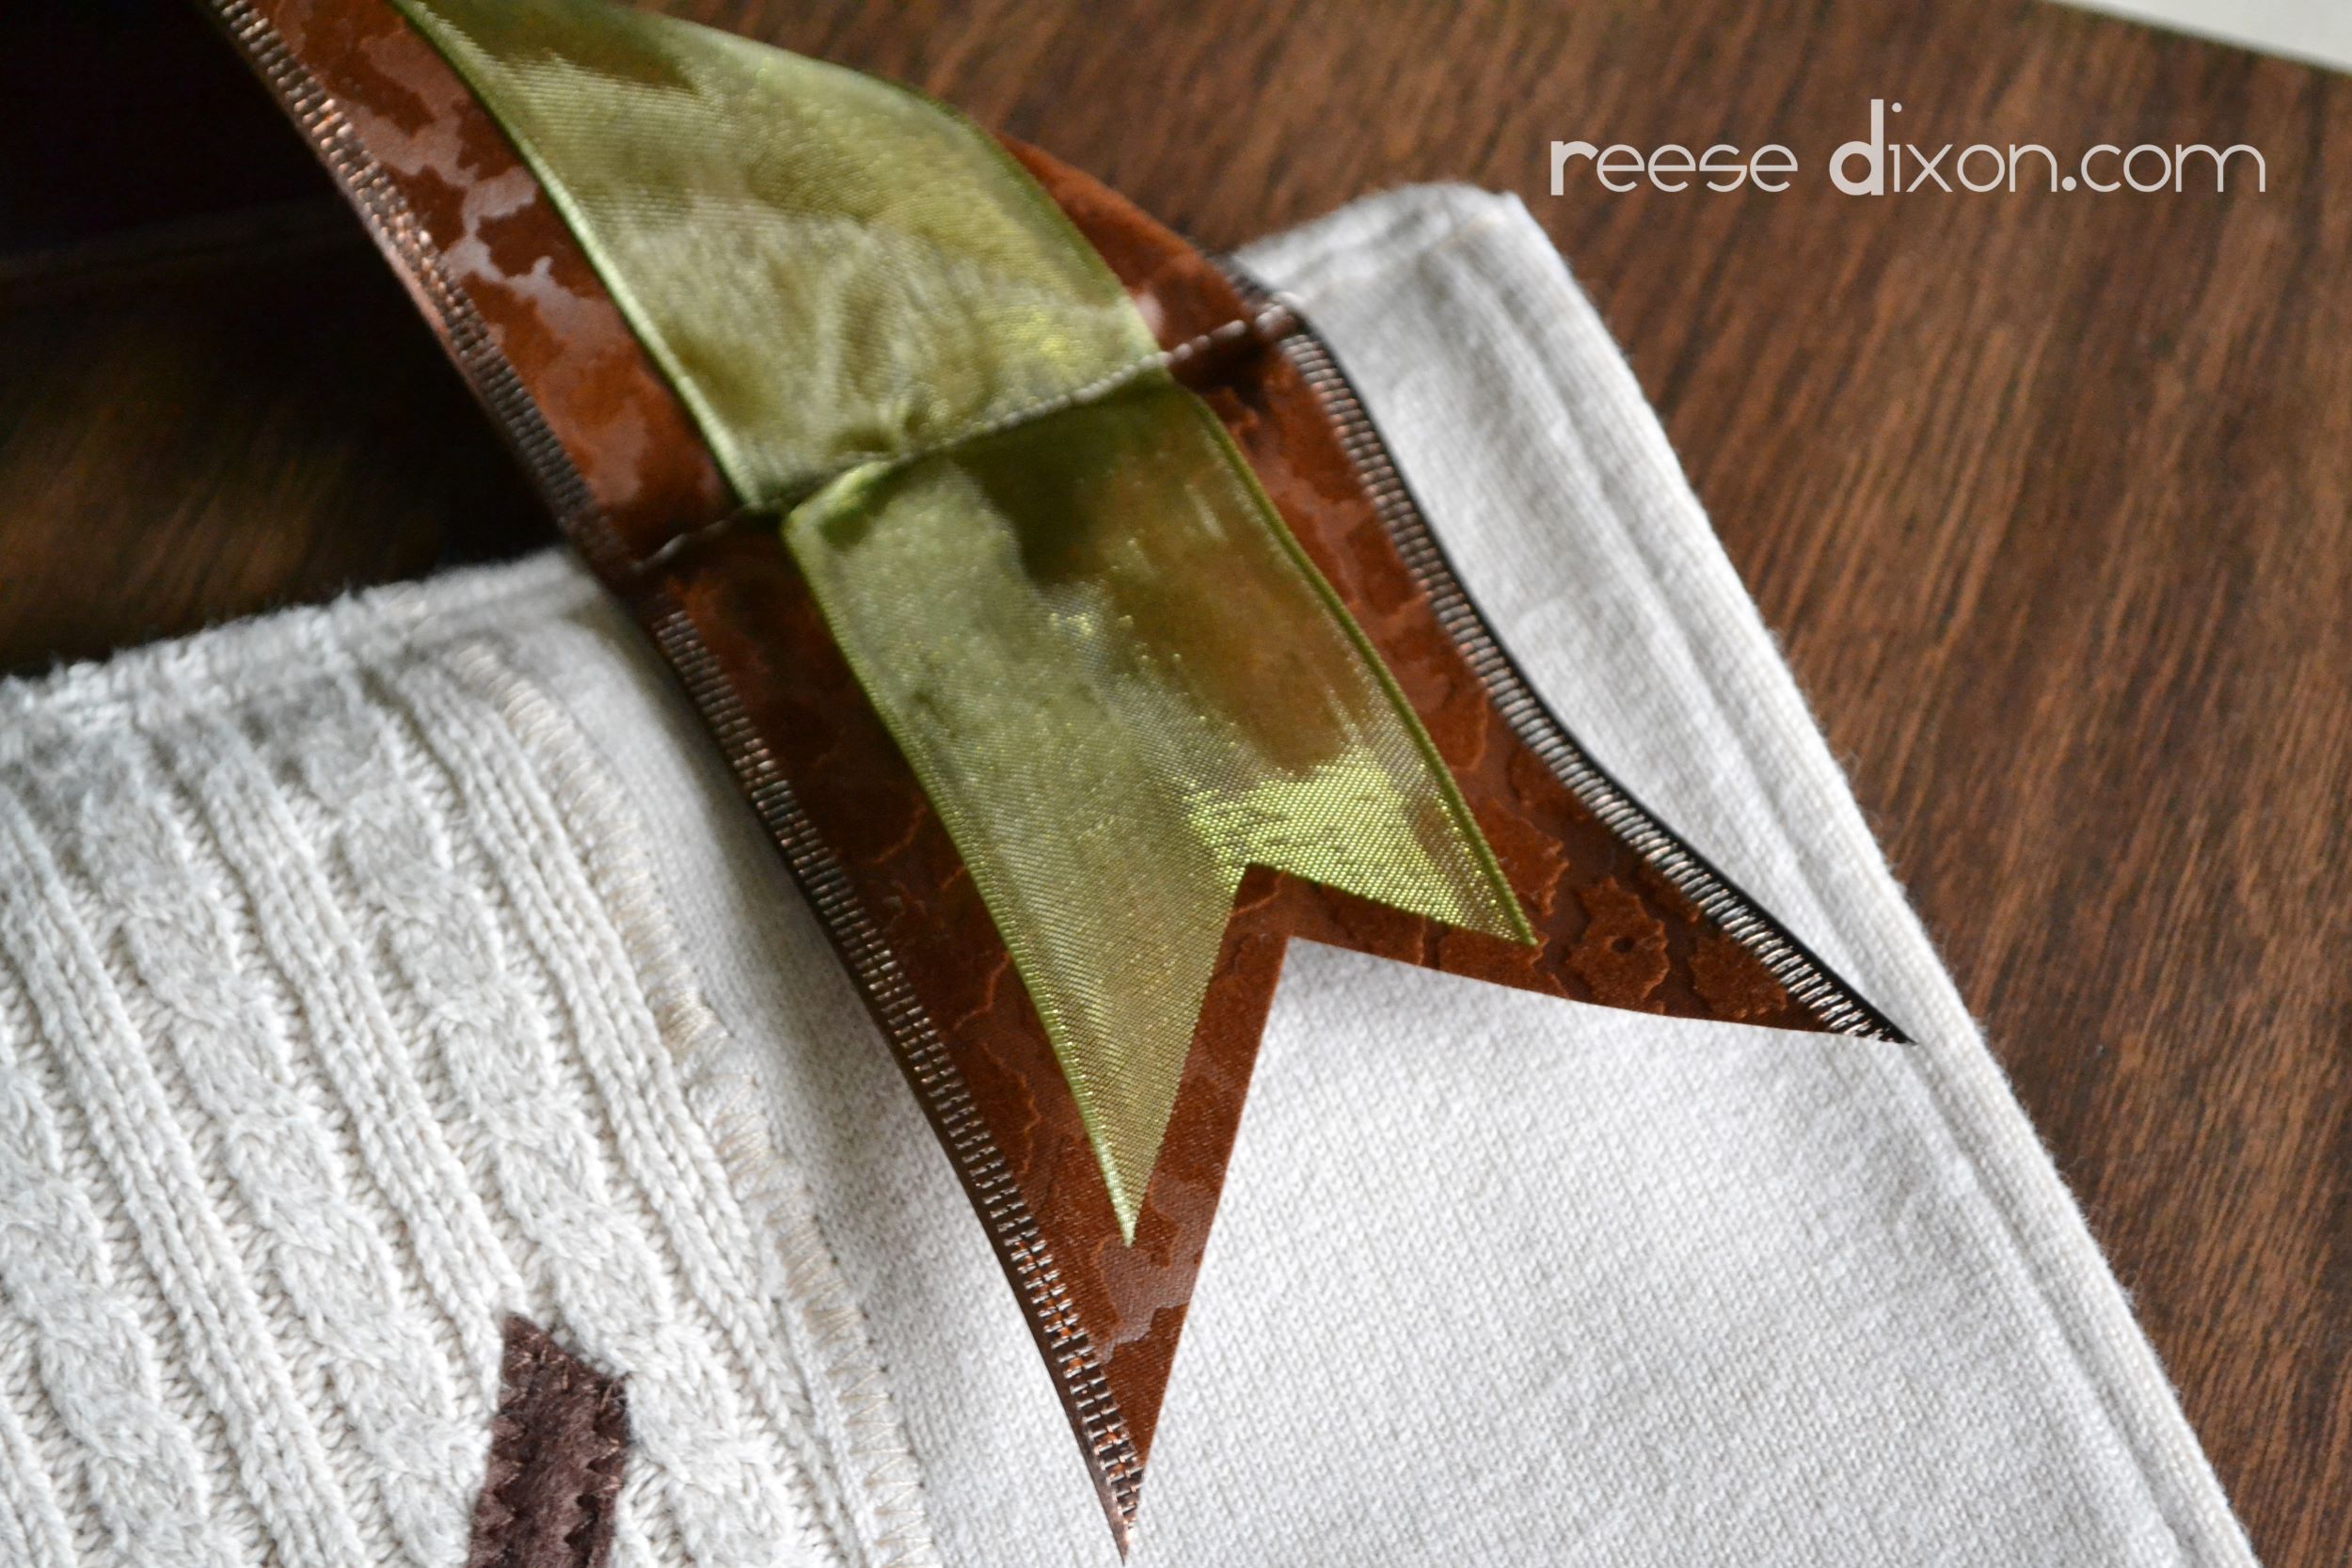
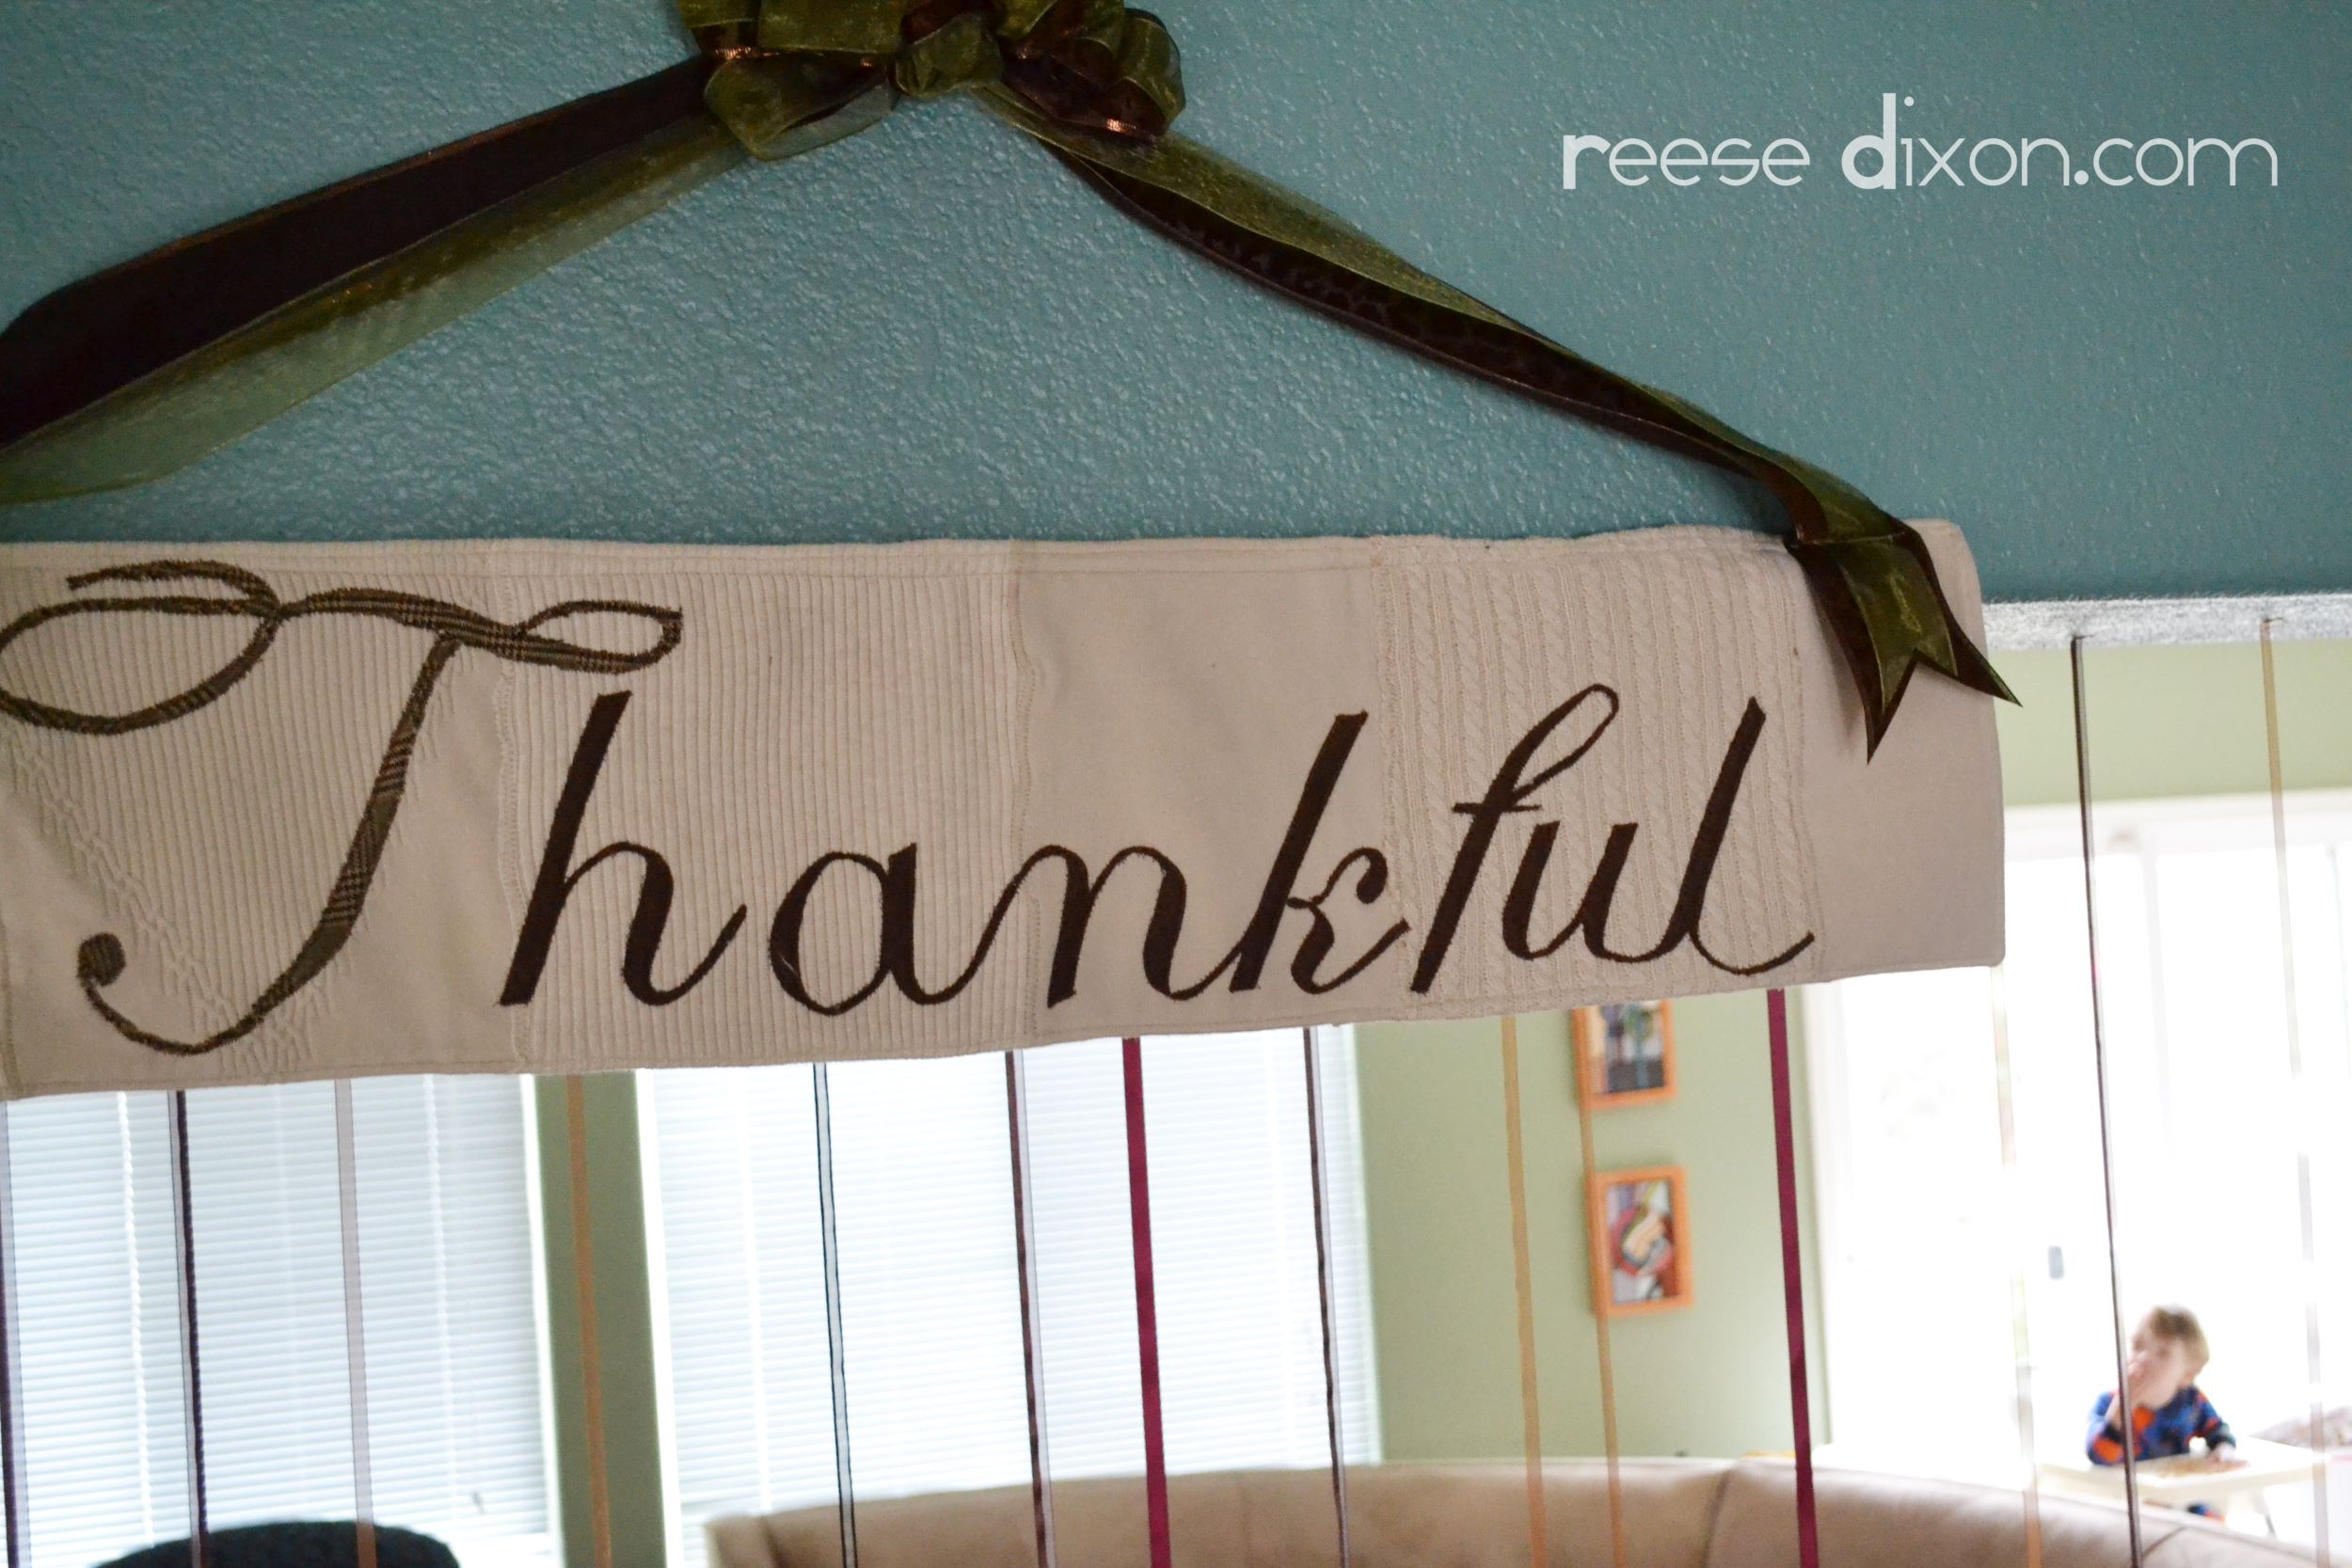
Now to hang it! I picked two different ribbons and sewed them onto each corner, making the ribbon long enough for the banner to hang at the height I wanted. Swallowtail those edges so they’re nice and pretty.
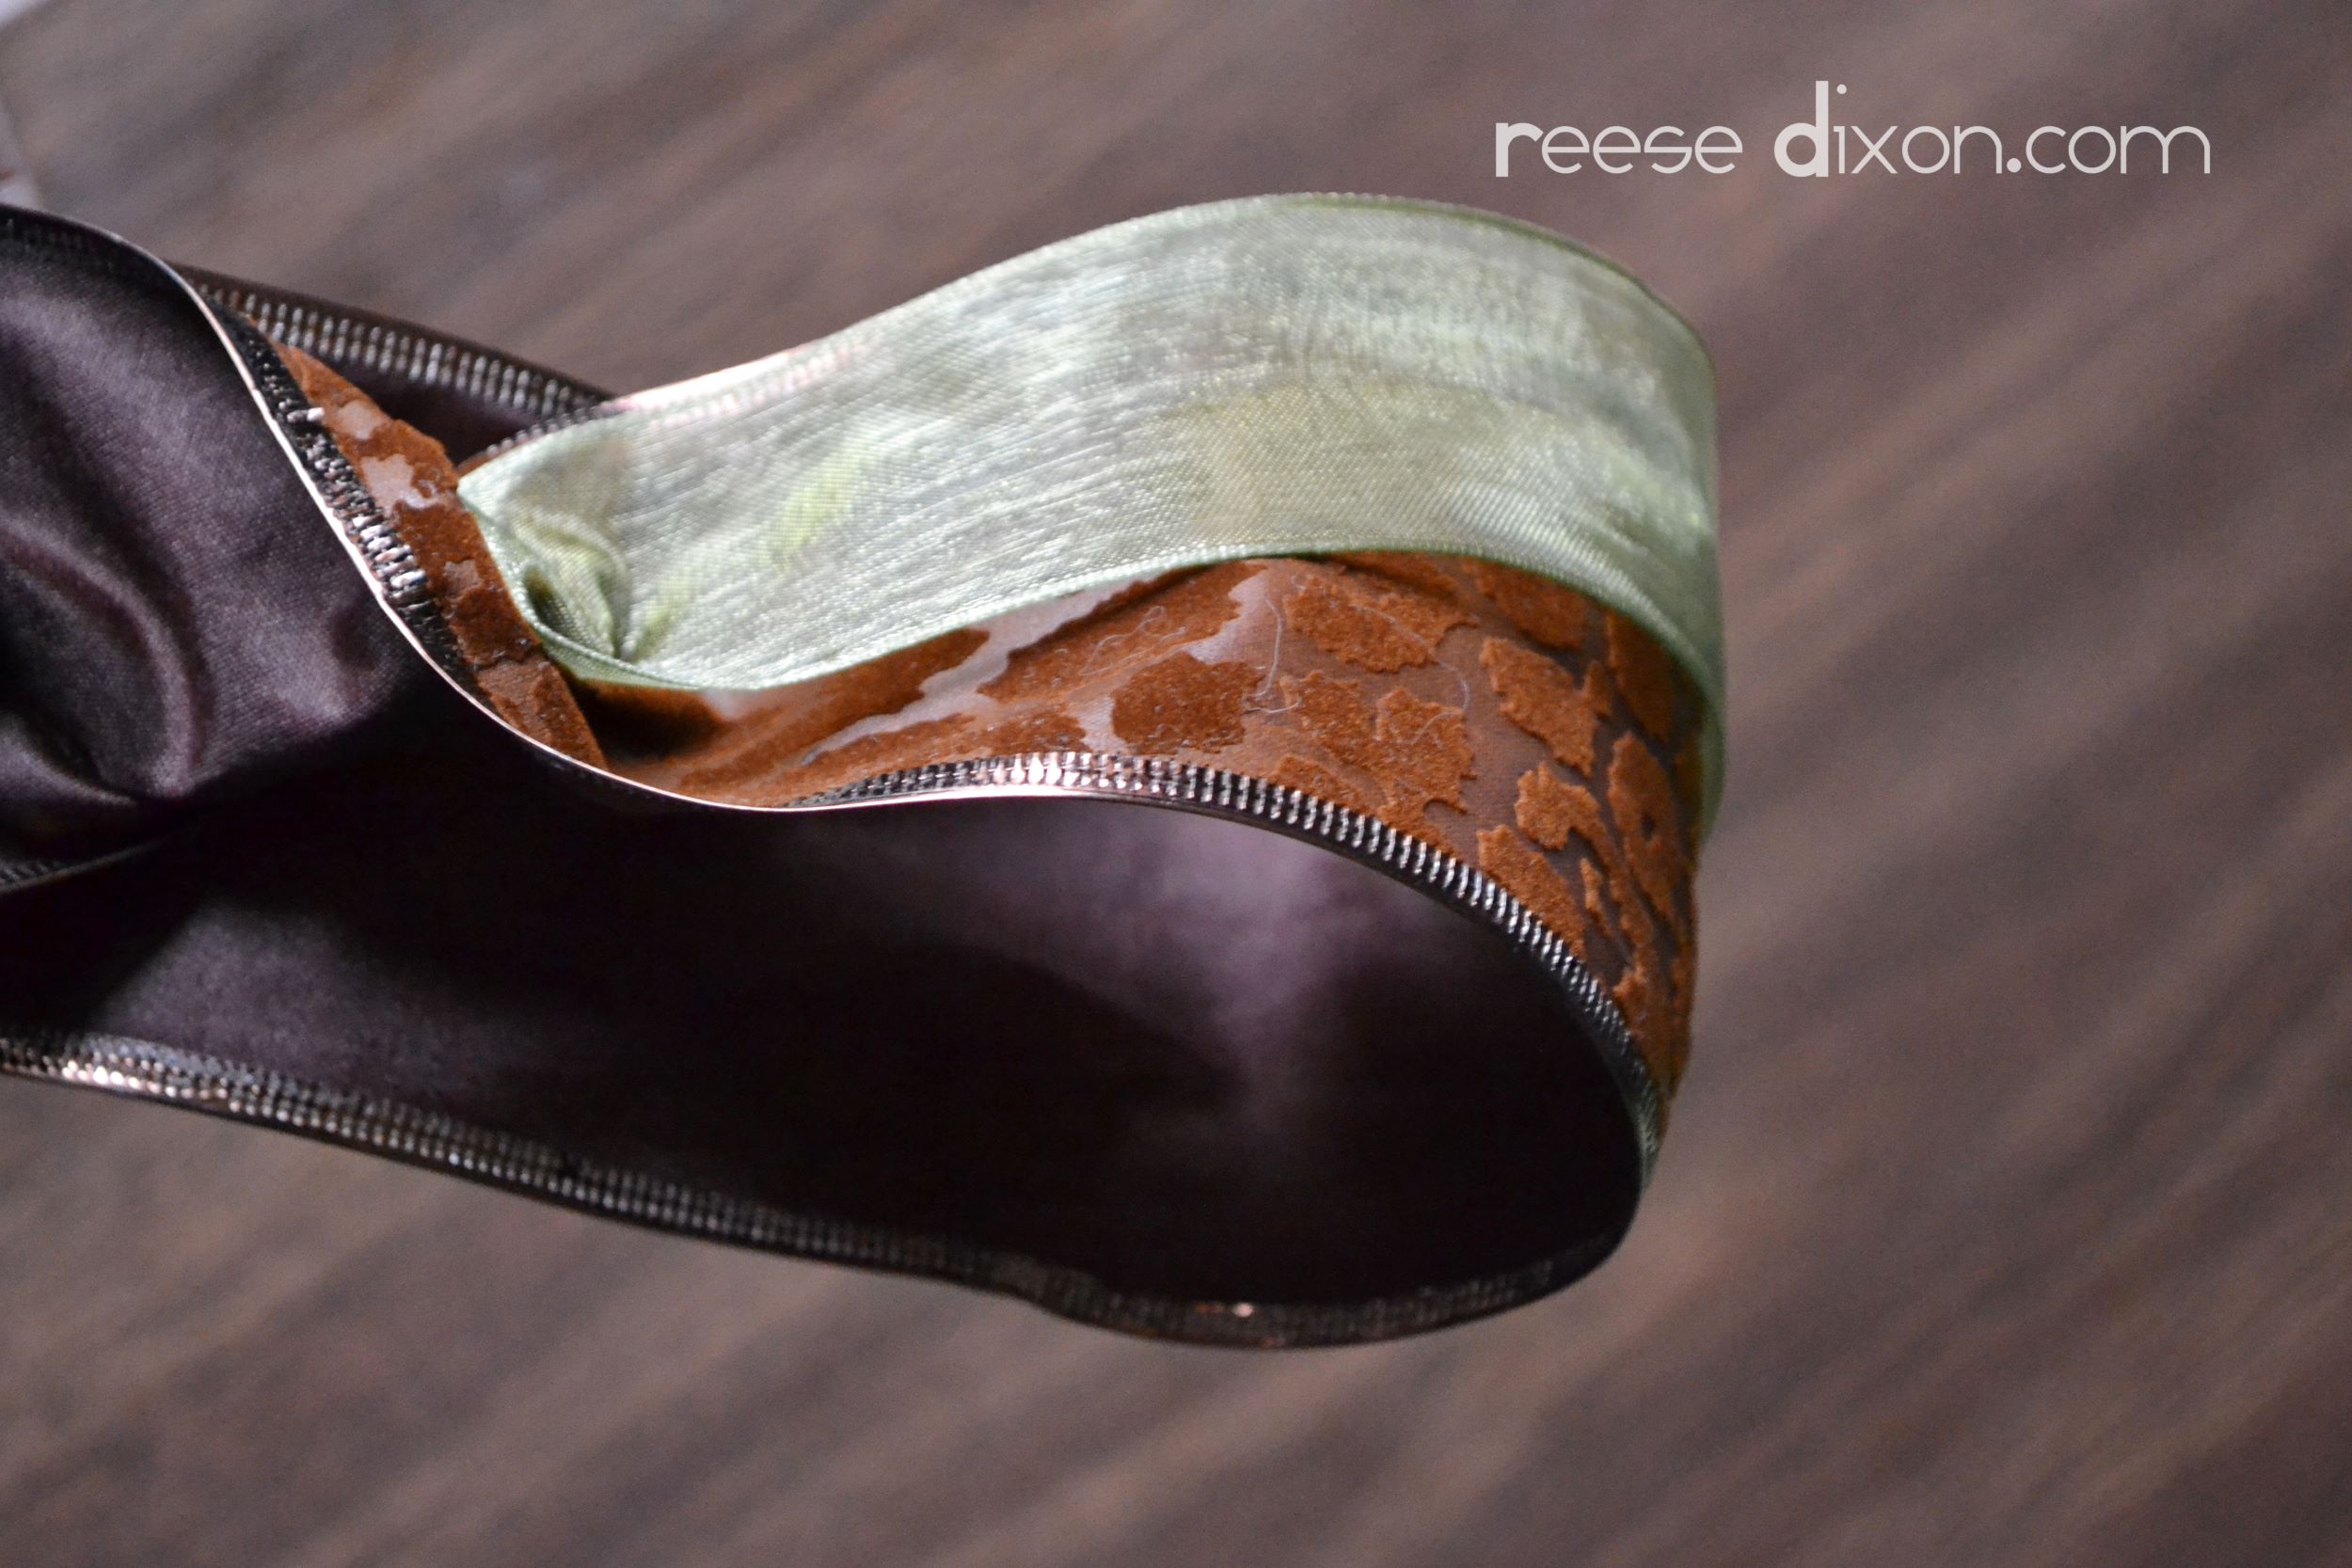
I wanted to finish it by putting a great big bow in the center, so take about 2 yards of ribbon (I’m using those same two different ribbons used together) and start by making a big loop. If your ribbon is double sided, you can just loop back and forth a few times, but since my ribbon only looks good from the front, I have to give it a twist in the middle. This will make it so that the pretty side is always on the top. Loop, twist, bring that ribbon back to the center to form another loop, twist, and repeat until your bow is as big as you want it. I made three loops on each side.
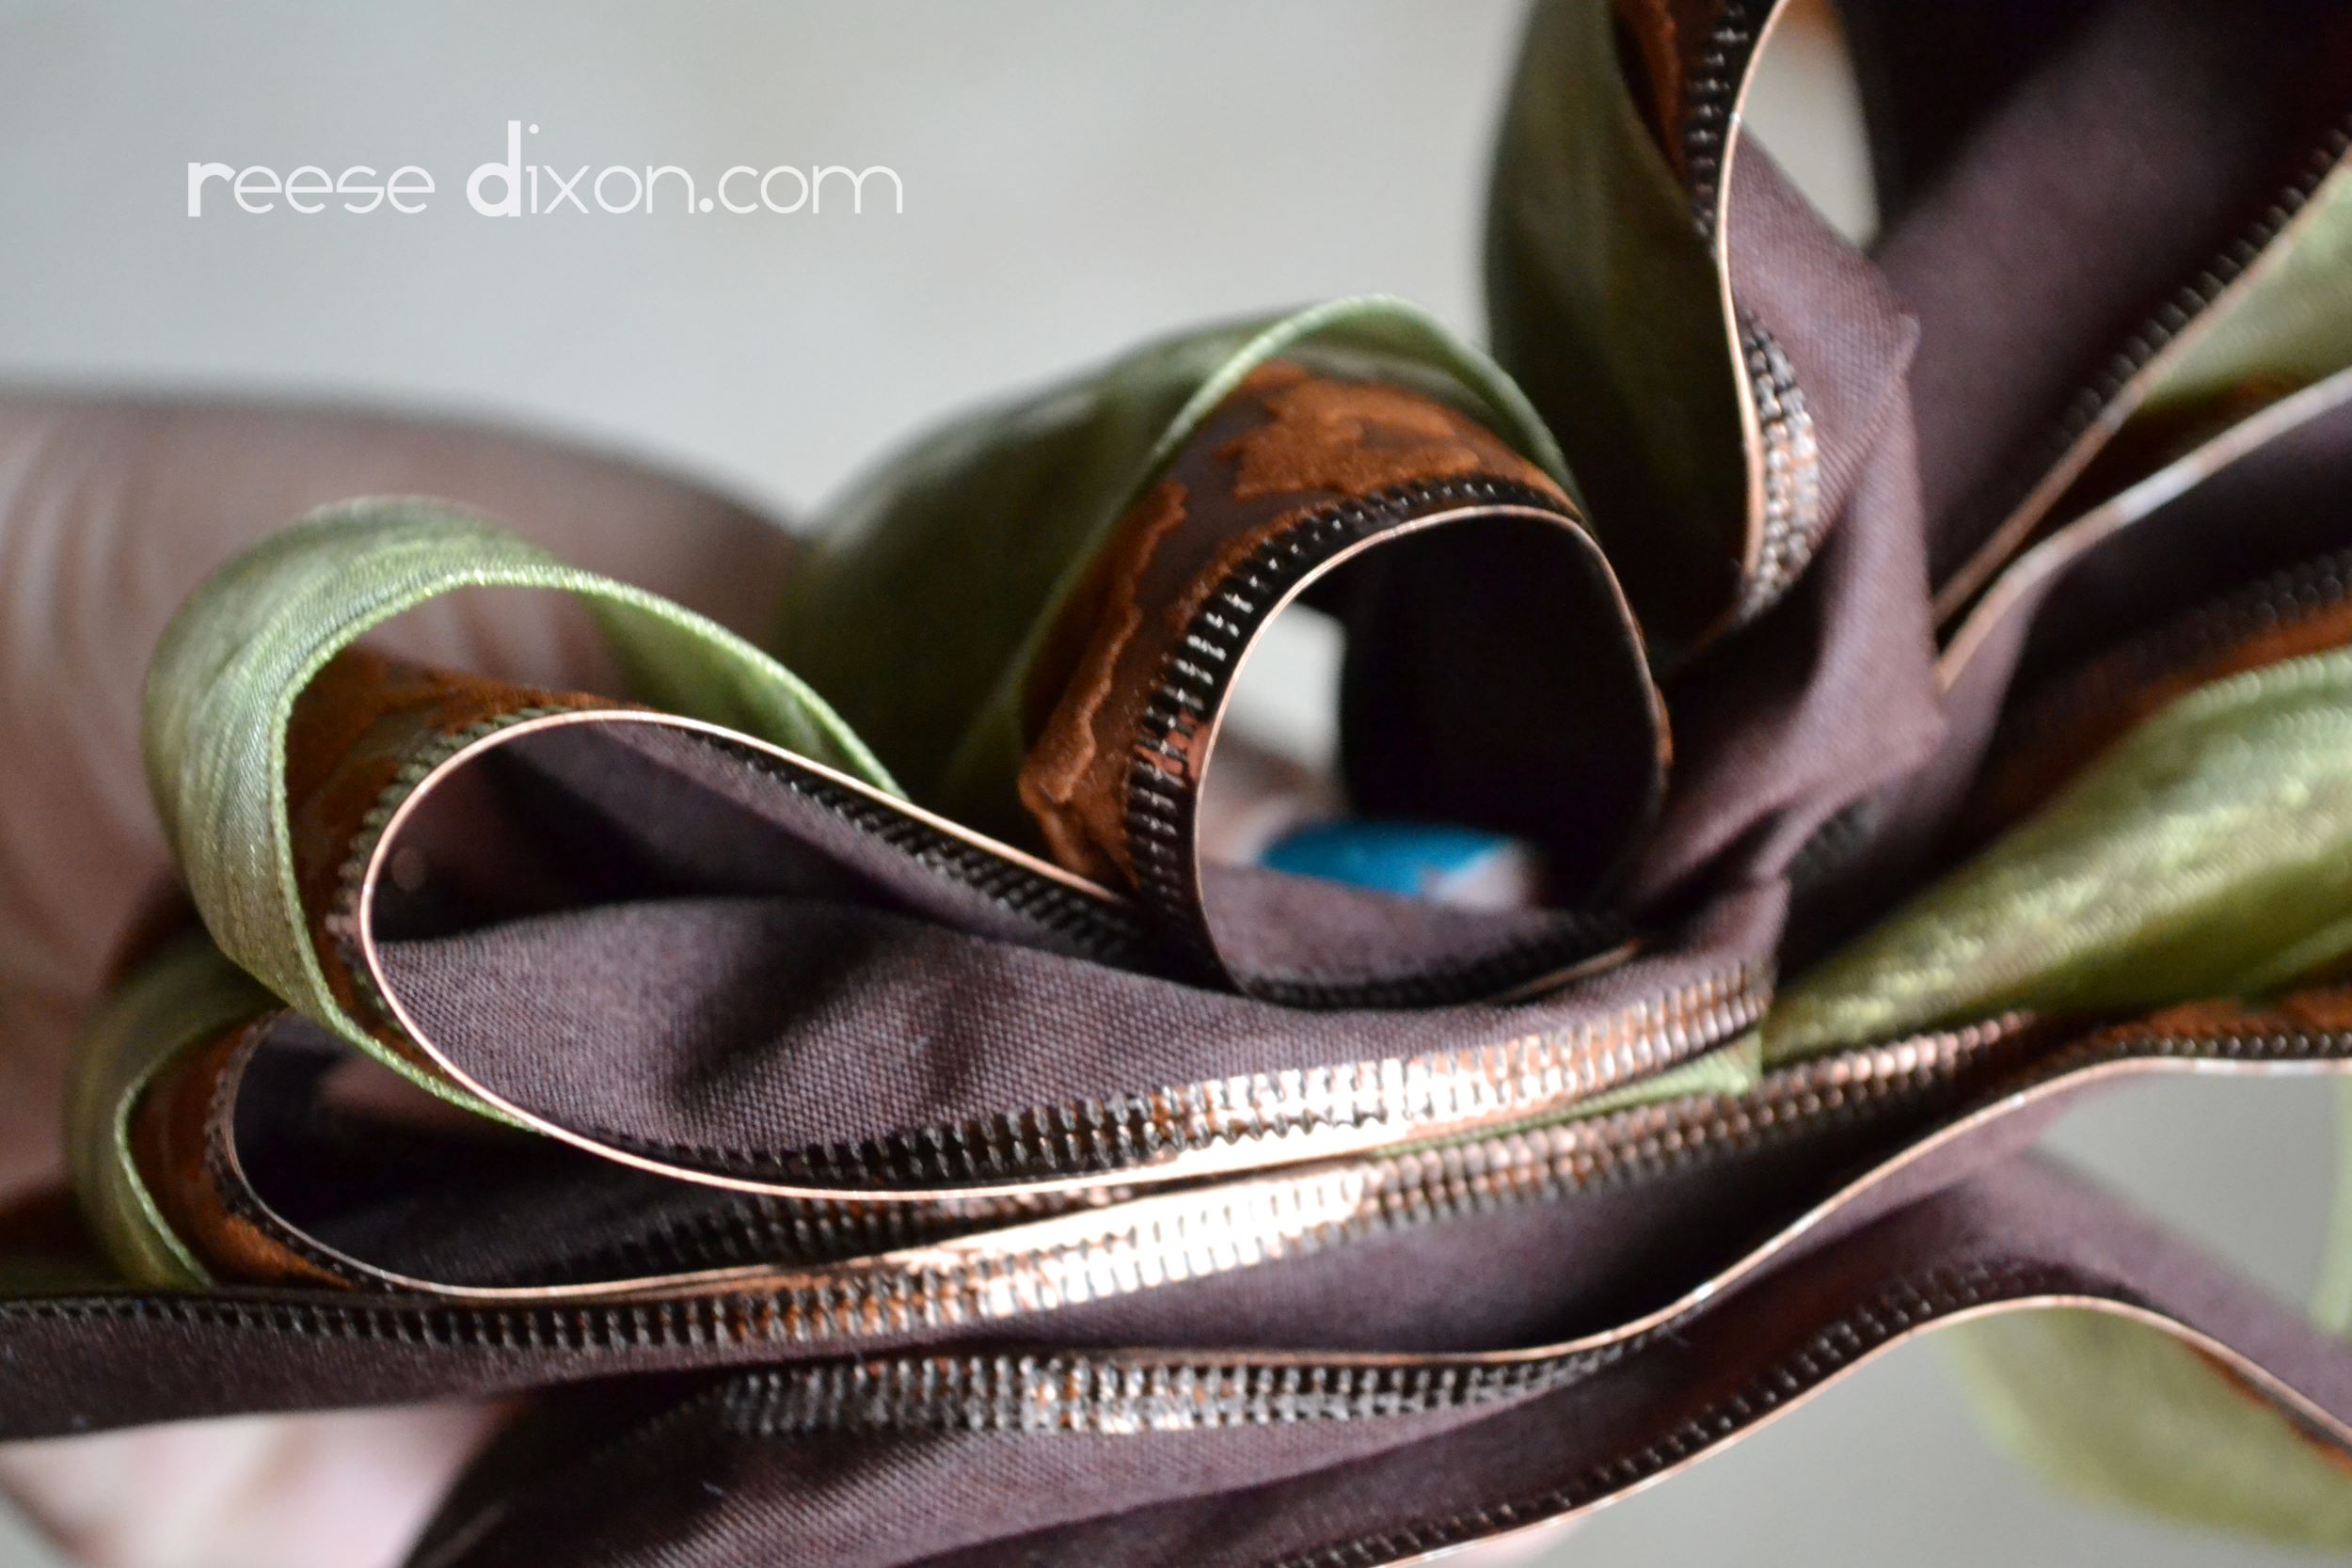
To finish the bow, make one last loop in the center, with the ends tucked under it so that they’re right in the center.
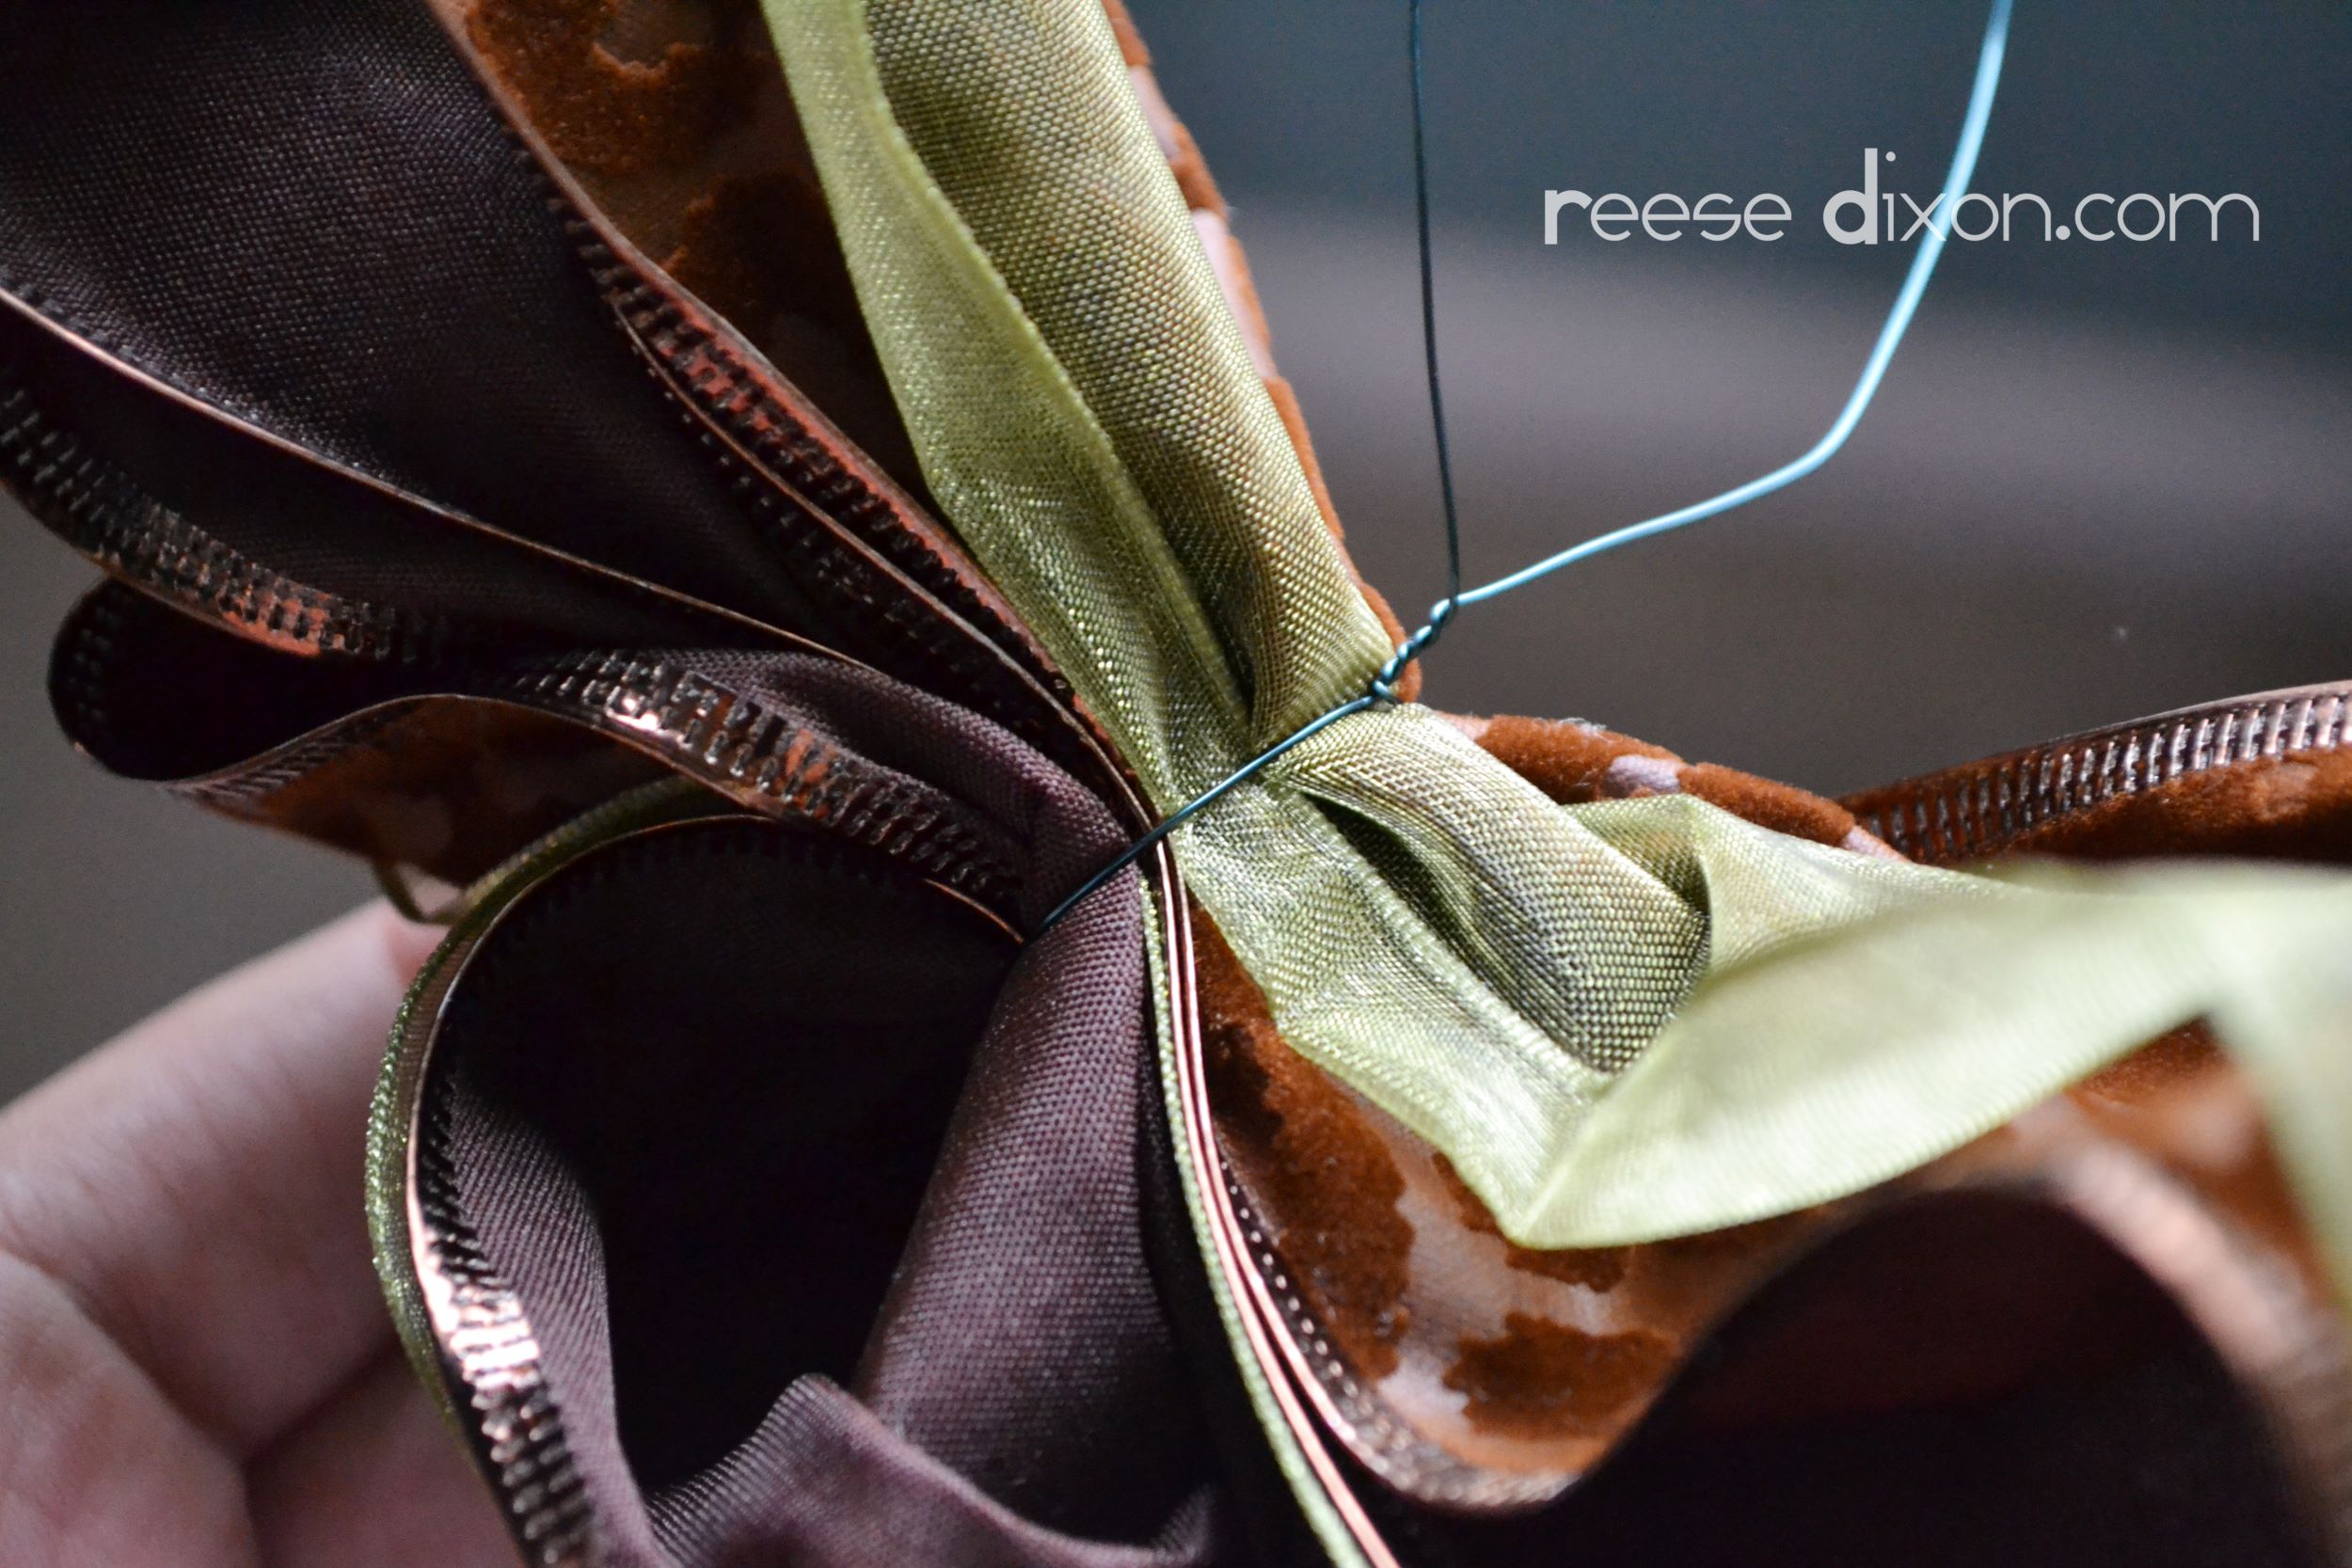
Thread a piece of wire through that last middle loop, and twist it together to hold all your loops in place. Give your bow a fluff and spread those loops out as you desire.
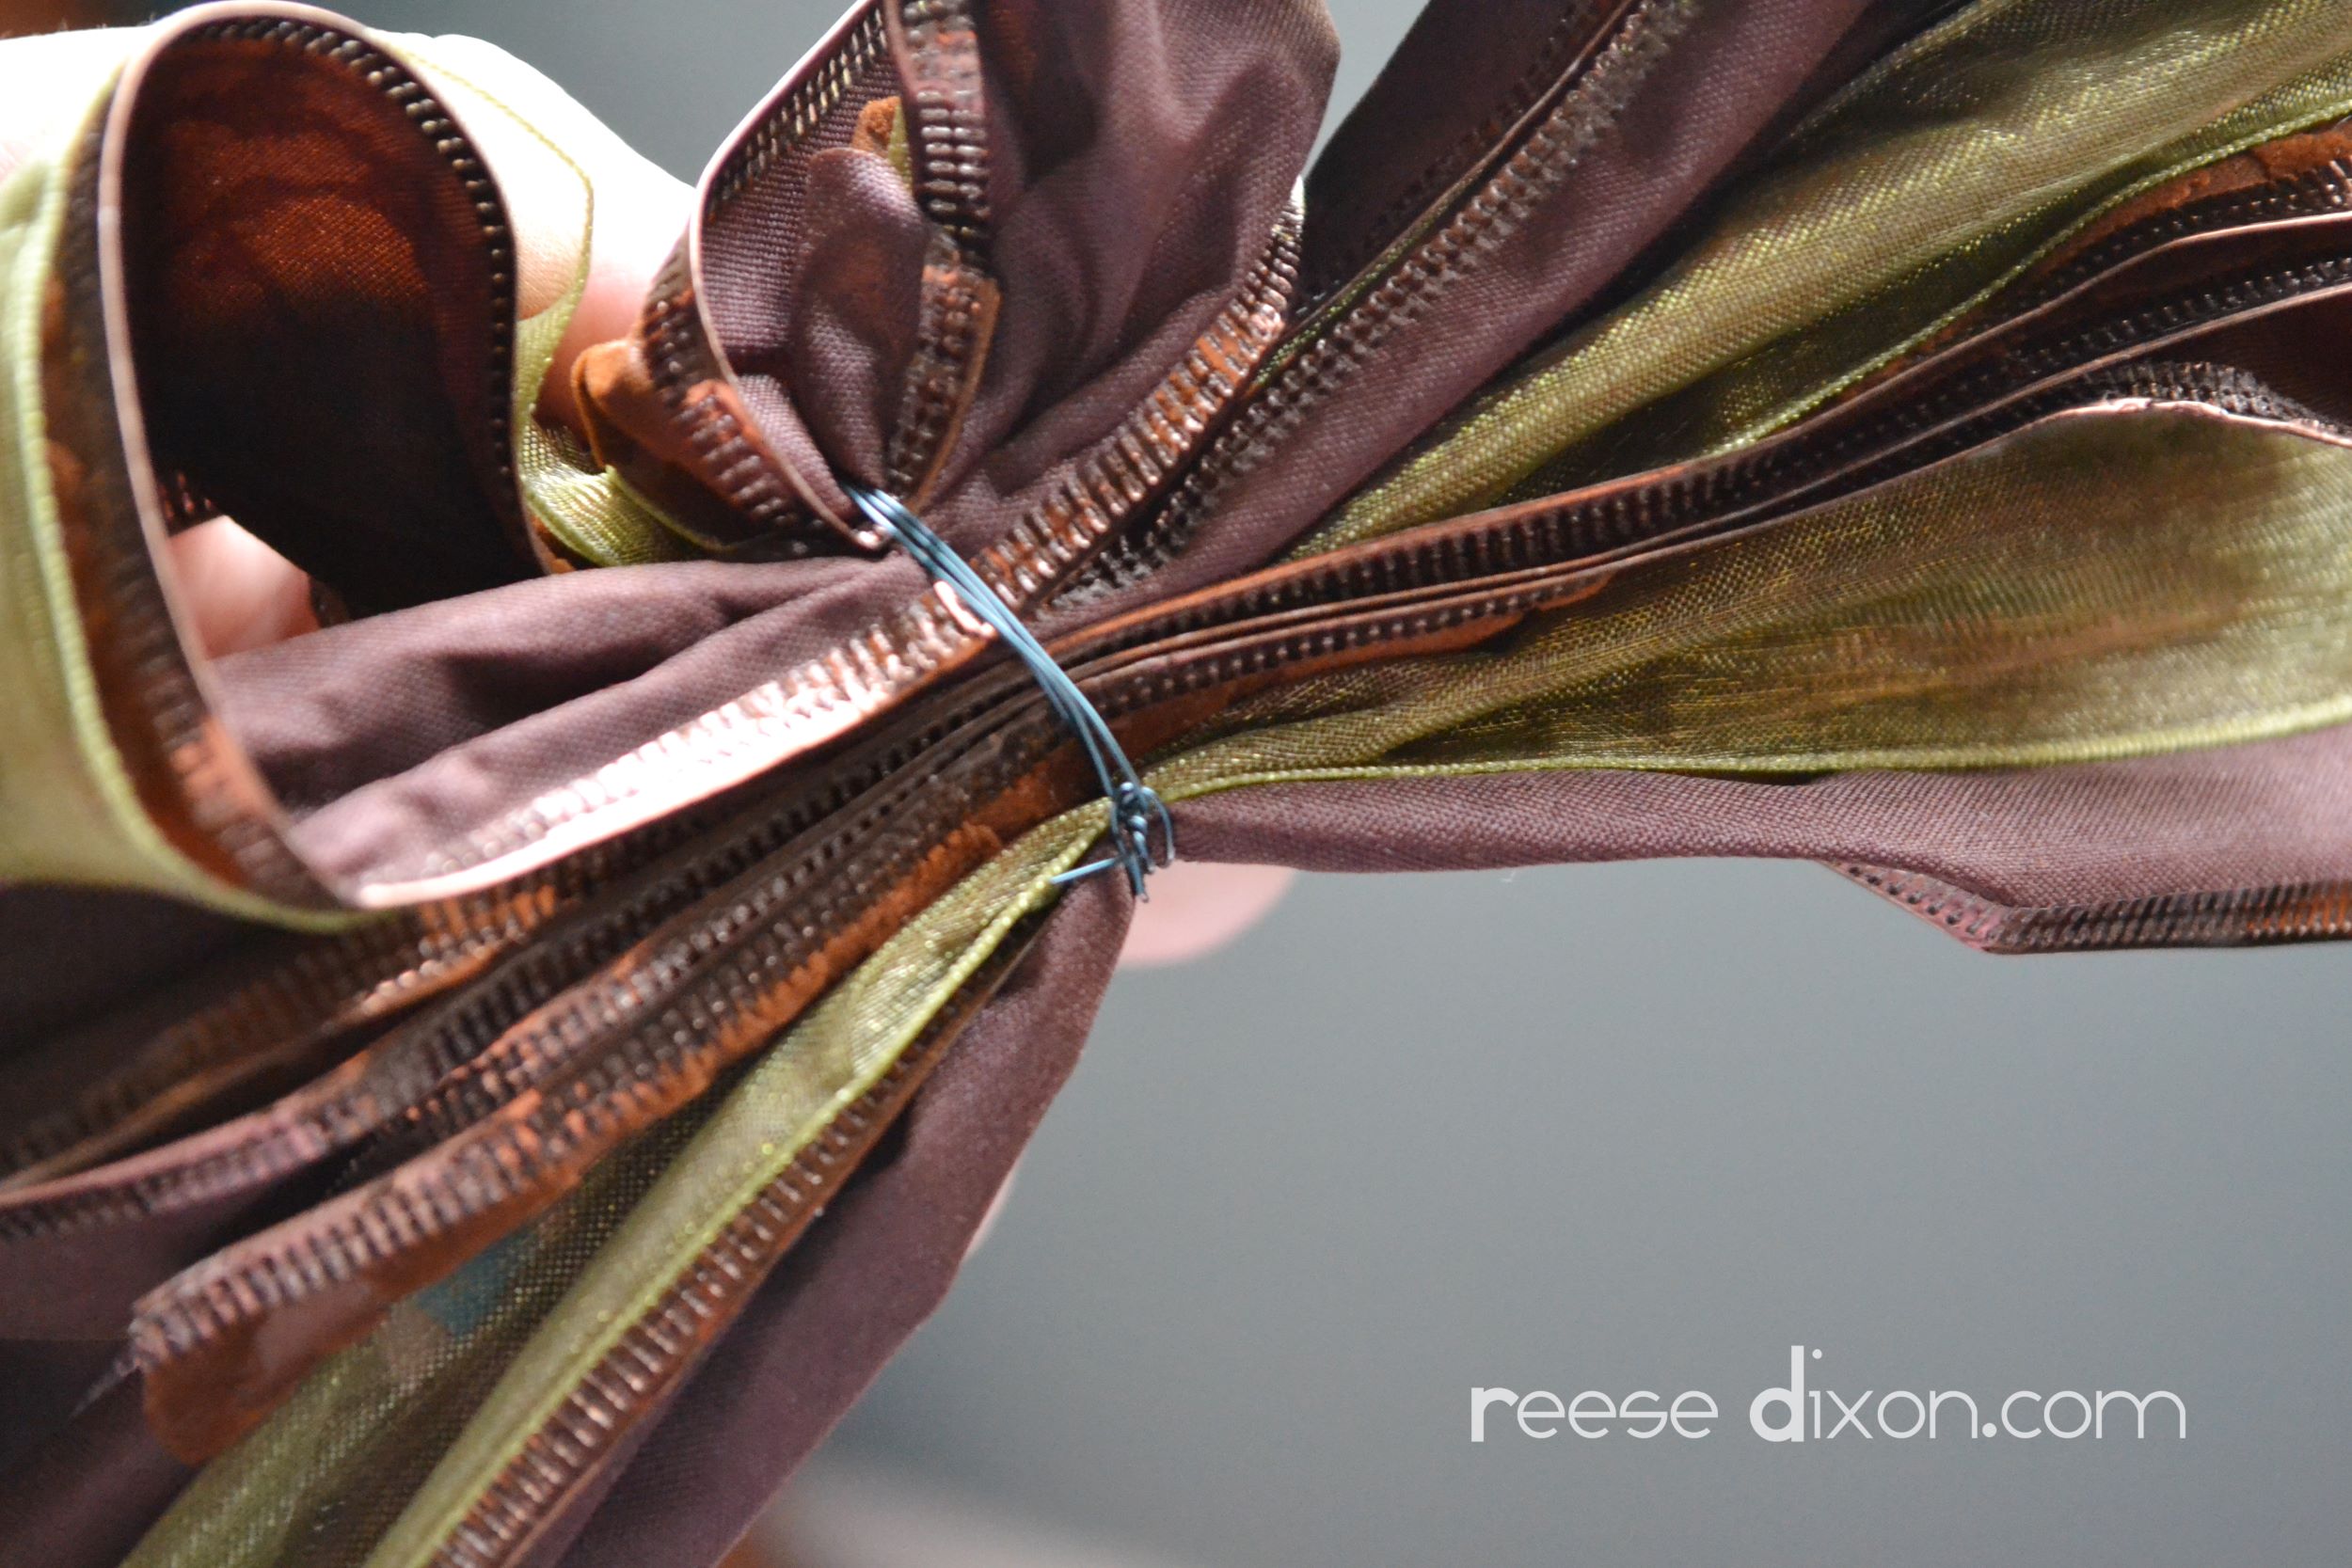
Use the rest of that wire to tie your bow on to the center of the ribbon on your banner, and cut off any extra.
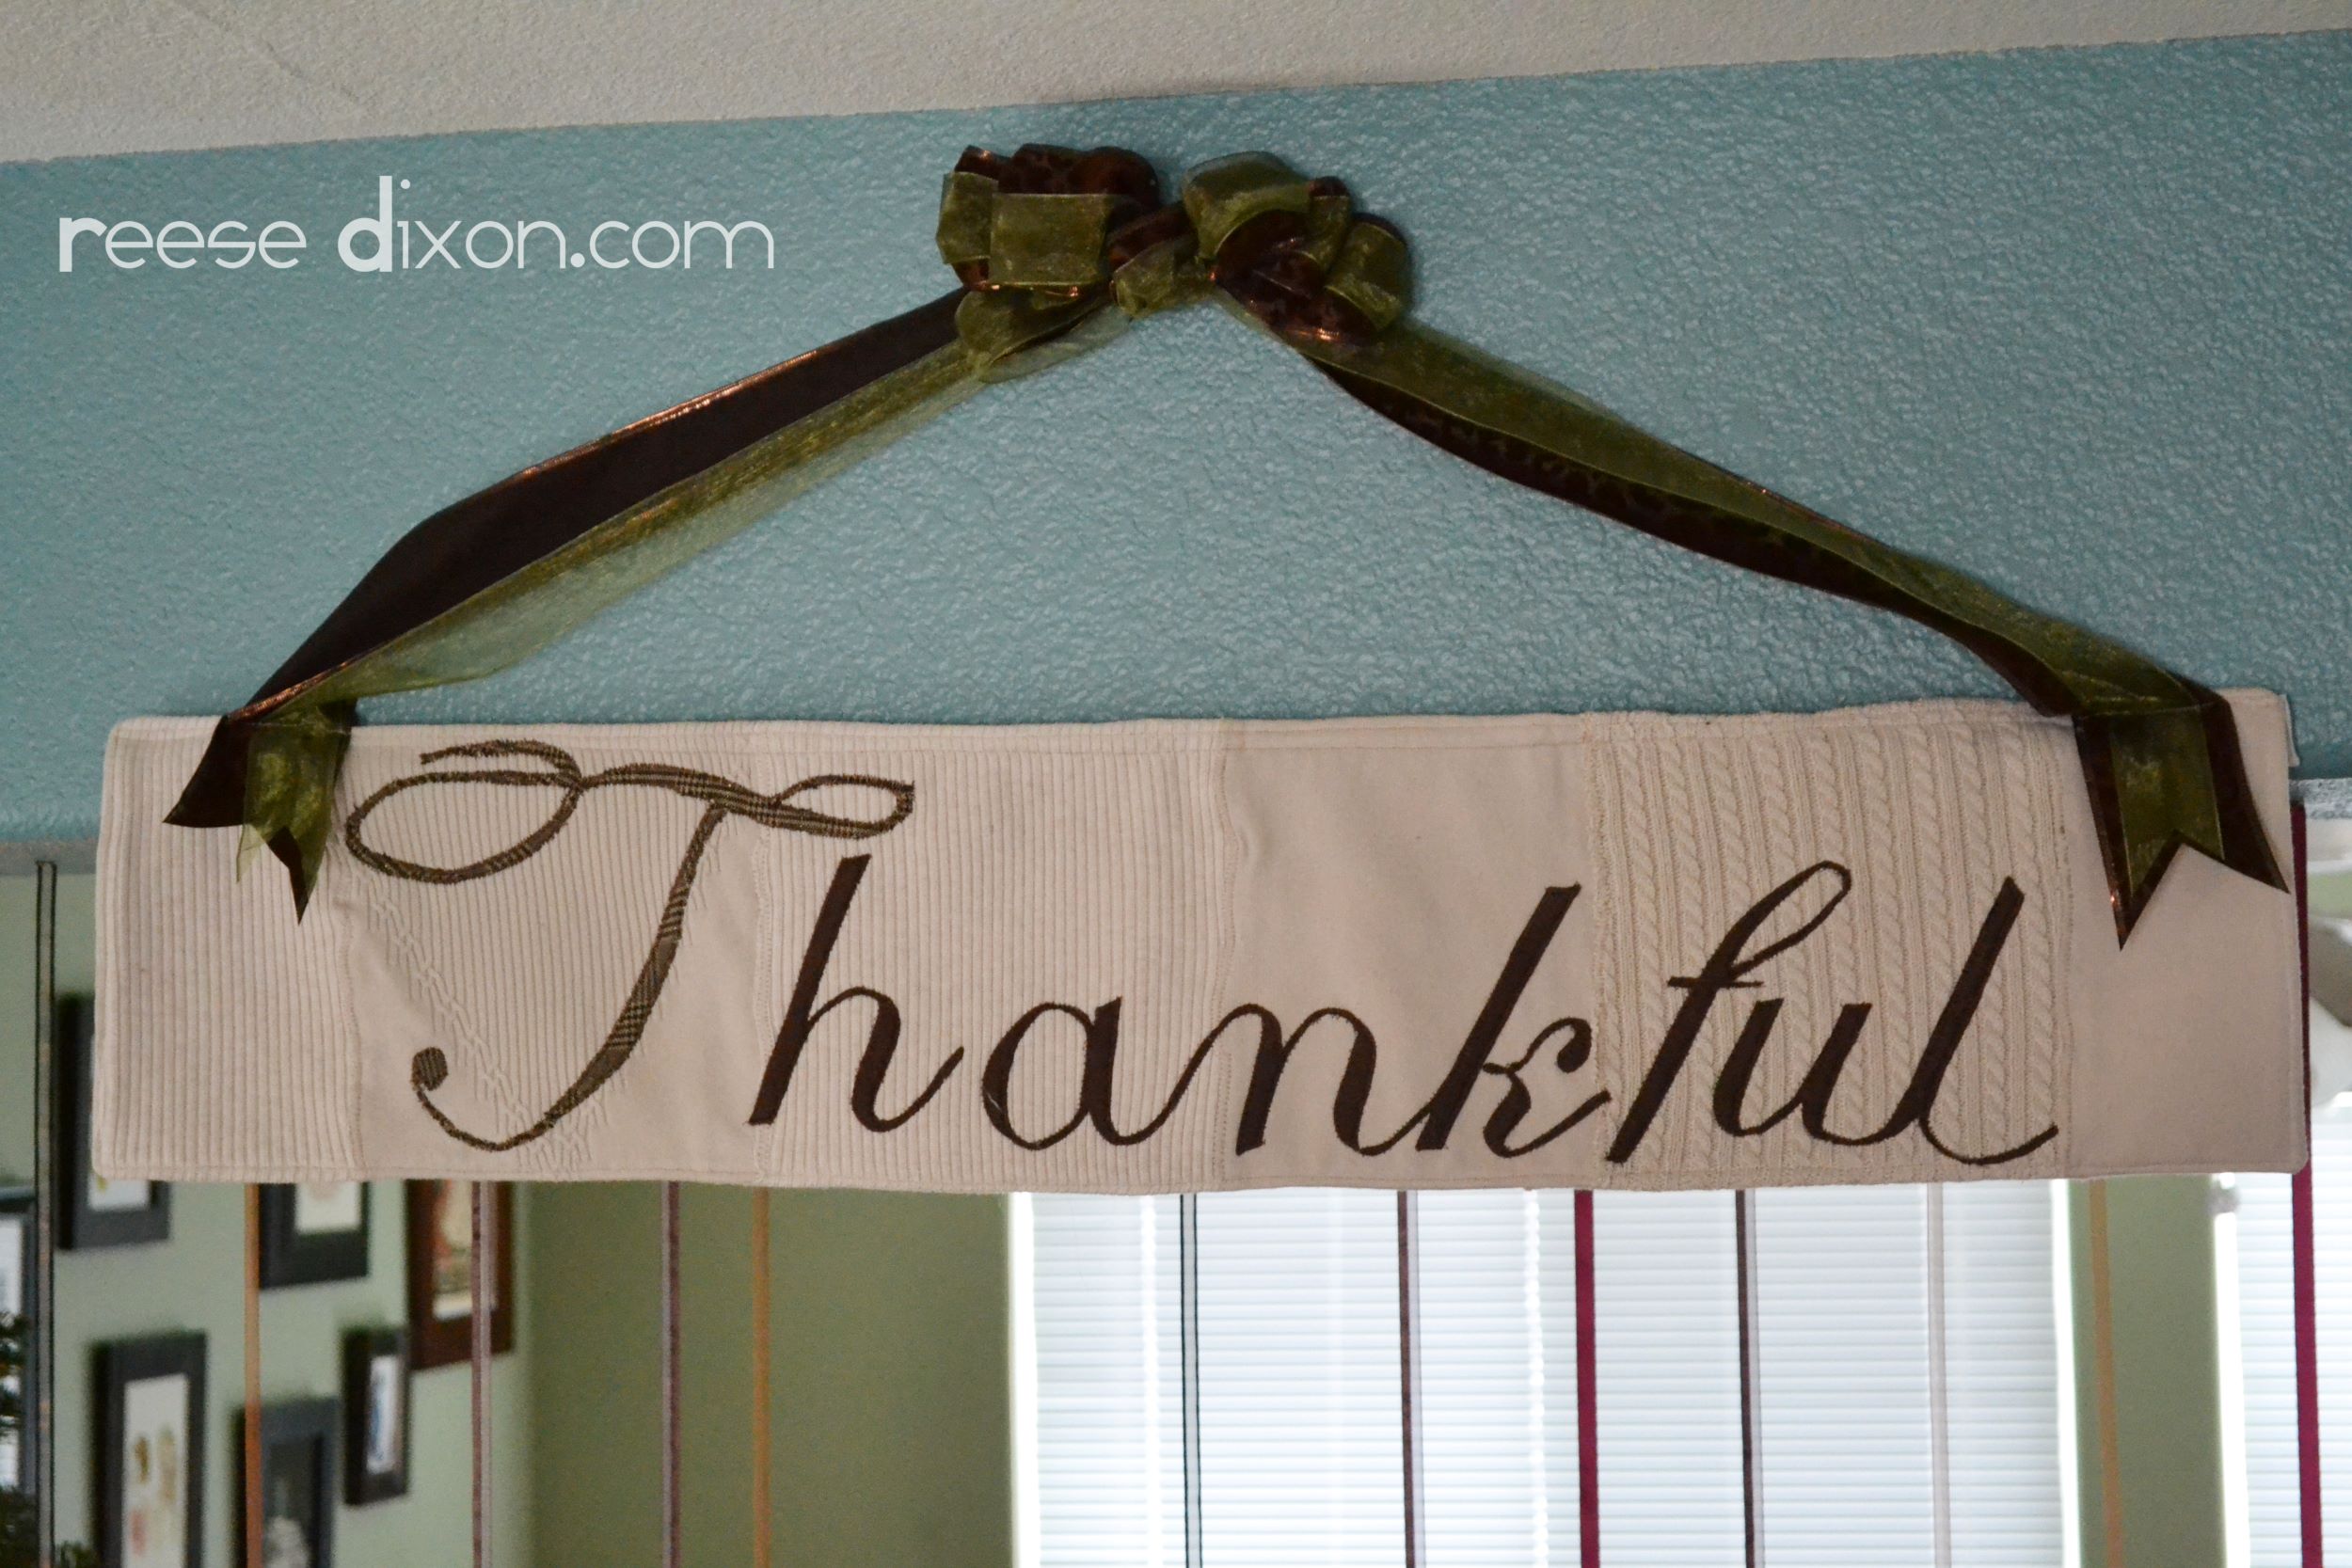
I love the cozy rustic look of this banner with the recycled knits and the wool letters. It’s a wonderful reminder to me of the things I’m most grateful for, my family and the home we make together.


This is really neat! You did a beautiful job. I'd love for you to come link this up to the Head to Head Showdown, going on right now at http://www.icantstopcrafting.blogspot.com
~Jen
Hey sweet Reese!! That banner looks GREAT!!
kisses
Your Blogher friend
heather
Aww, Thanks Heather! Kisses right back!