
This project has been living in my head ever since we bought our San Diego house. Actually seeing it to fruition has been like getting that superhuman energy boost after you kick a bad cold.
A few years ago my cousin and favorite shopping buddy Karen and I were strolling through a fancy home decor store when I came upon a really simple side table decorated in nailheads. It was gorgeous and inspiring and totally incredibly ridiculously priced. I’ve been looking for a way to do it myself ever since, but it turns out it is really really hard to find a perfect little table.
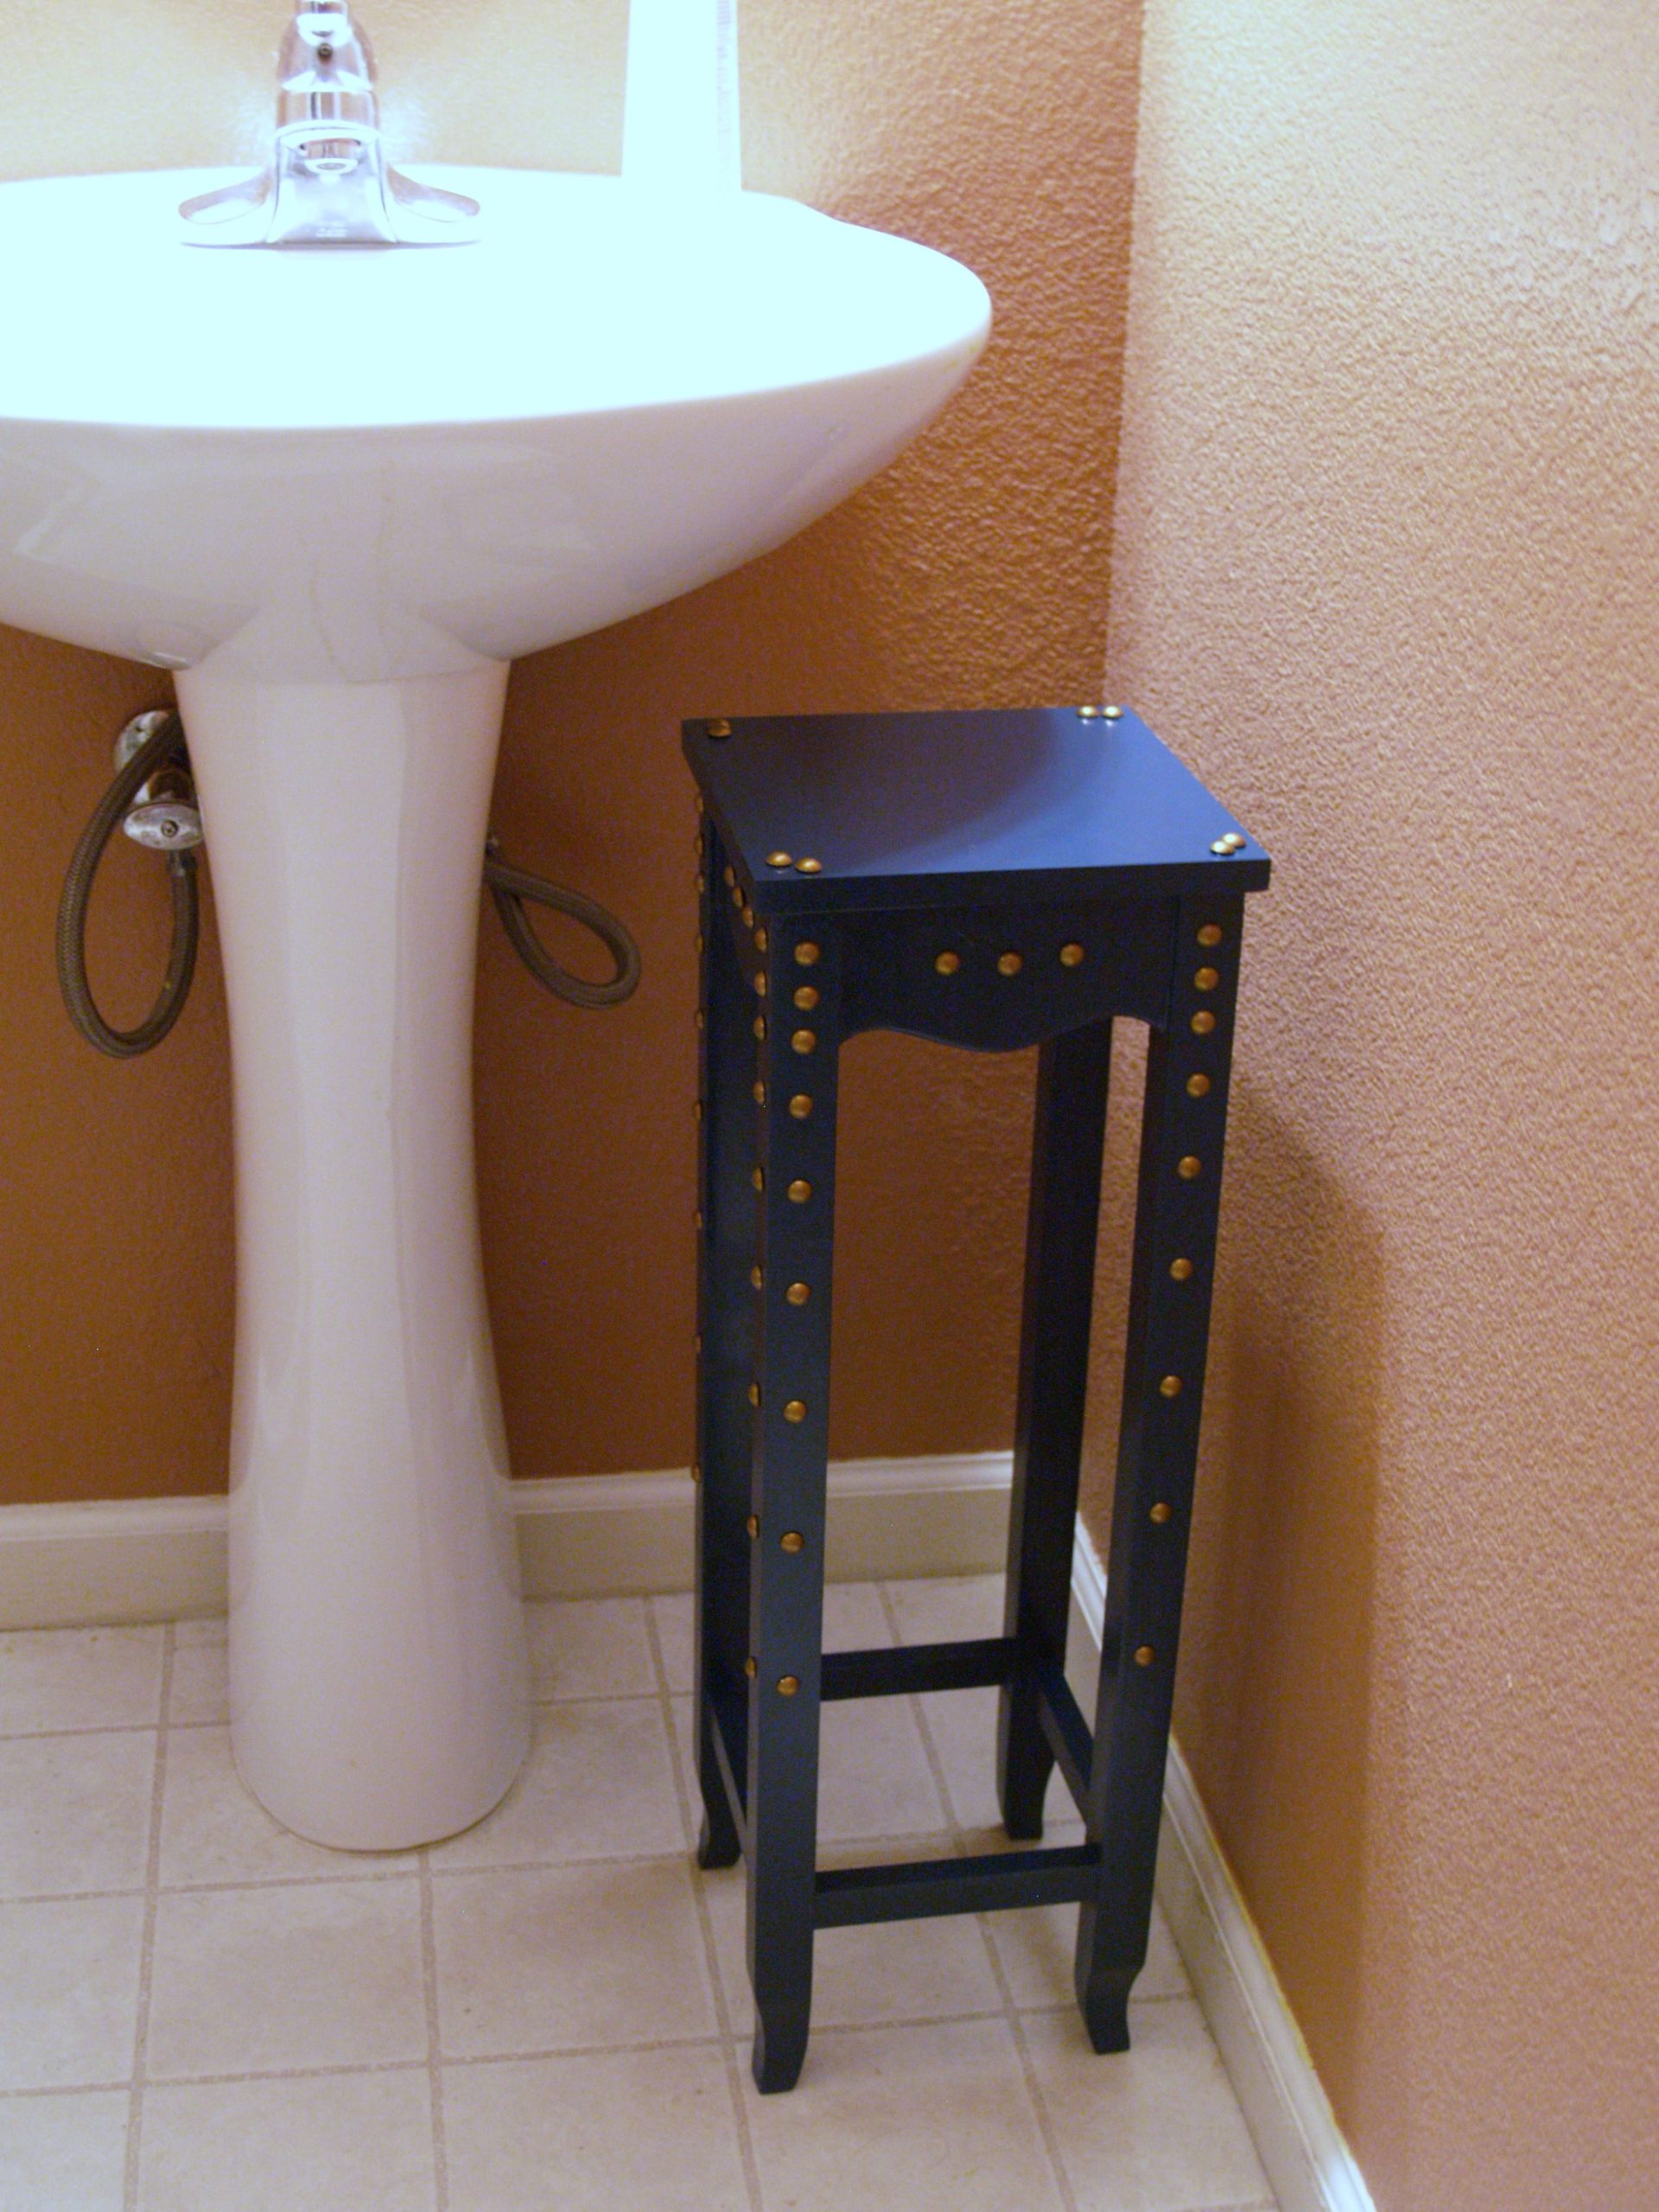
Powder rooms never have enough space for all of the little luxuries I wanted to put out, so I wanted to put a tiny little table next to the sink. But have you ever priced those cute little tables? They cost nearly as much as a regular sized table. And my cheapskate streak just couldn’t live with that. Logically I understand that things cost what they cost and that expenses don’t get dramatically cheaper just because the table is slightly smaller in scale, but no amount of logic could get past my sticker shock.
I found this little table at HomeGoods for $20. It was the wrong color, the wrong decor, not quite the shape I had in mind, but that price was so very right.
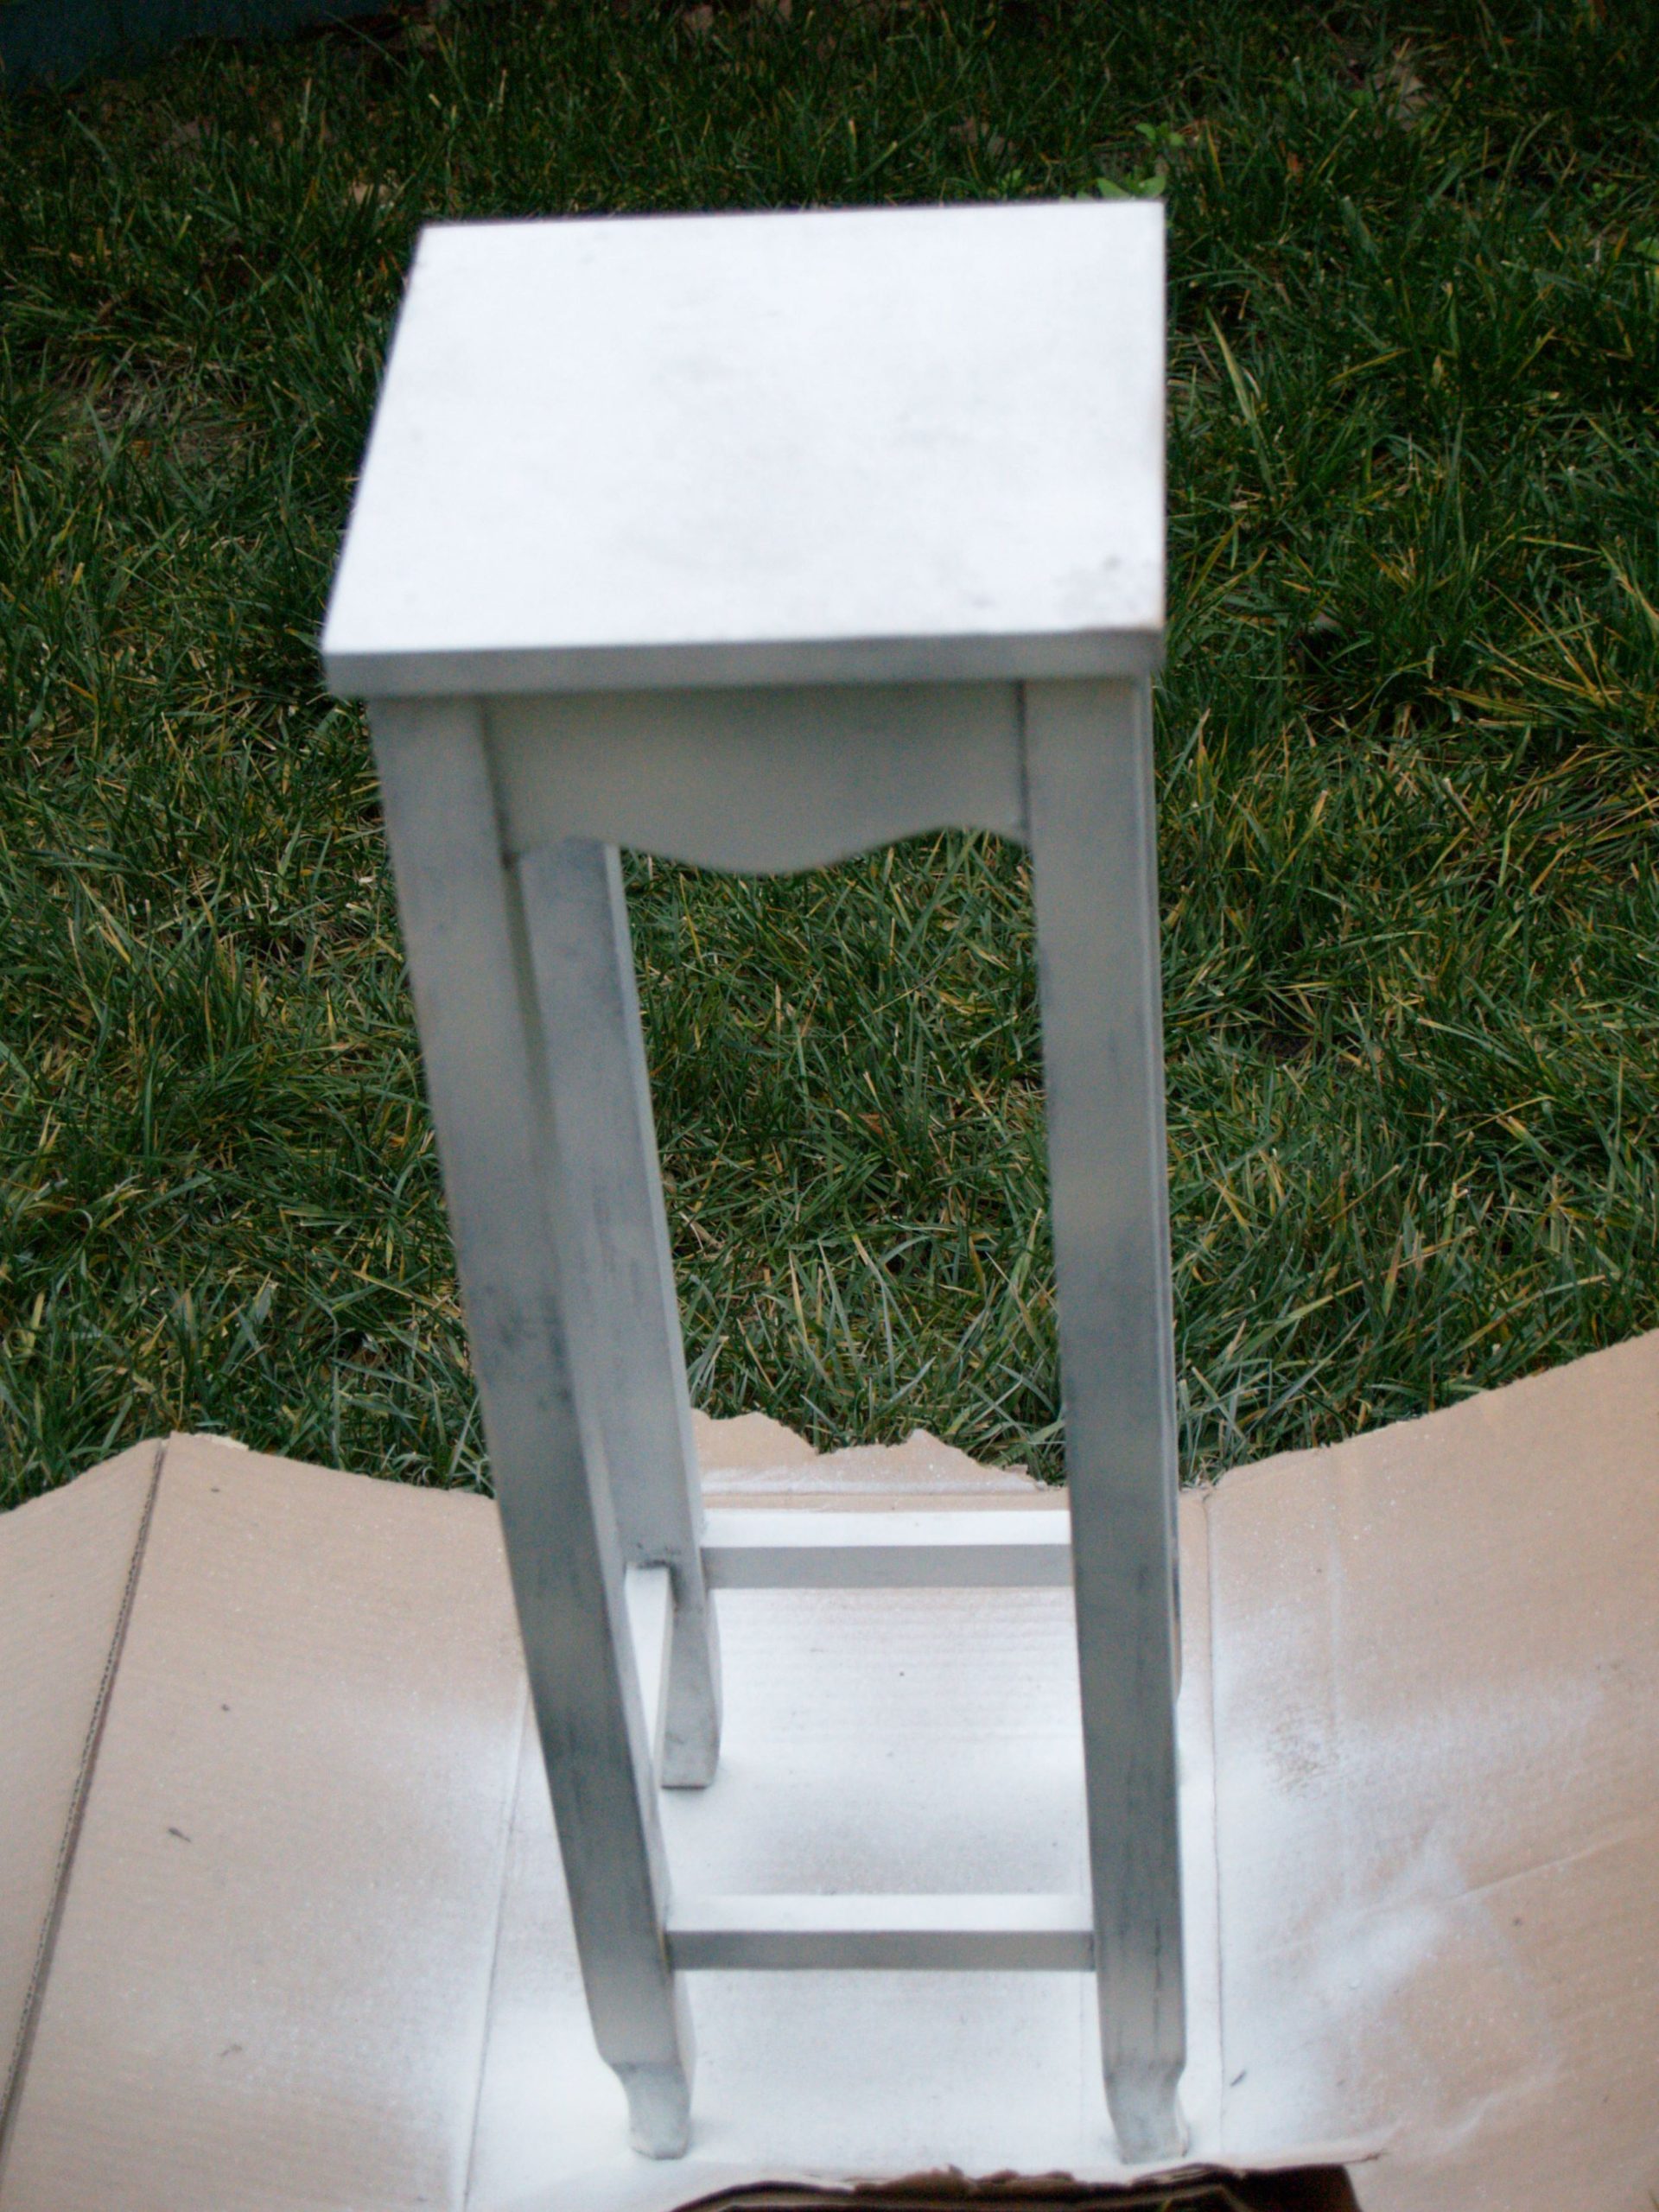
This little table started life out painted a distressed white with black underneath and a decoupaged image of a map on the top. Boring. I stripped the paint off, gave it a little sanding, and spray painted it with a primer. For a job this small, spray paint is amazing. No brush strokes, easy application and clean up, and these days you can get a pretty interesting selection of colors.
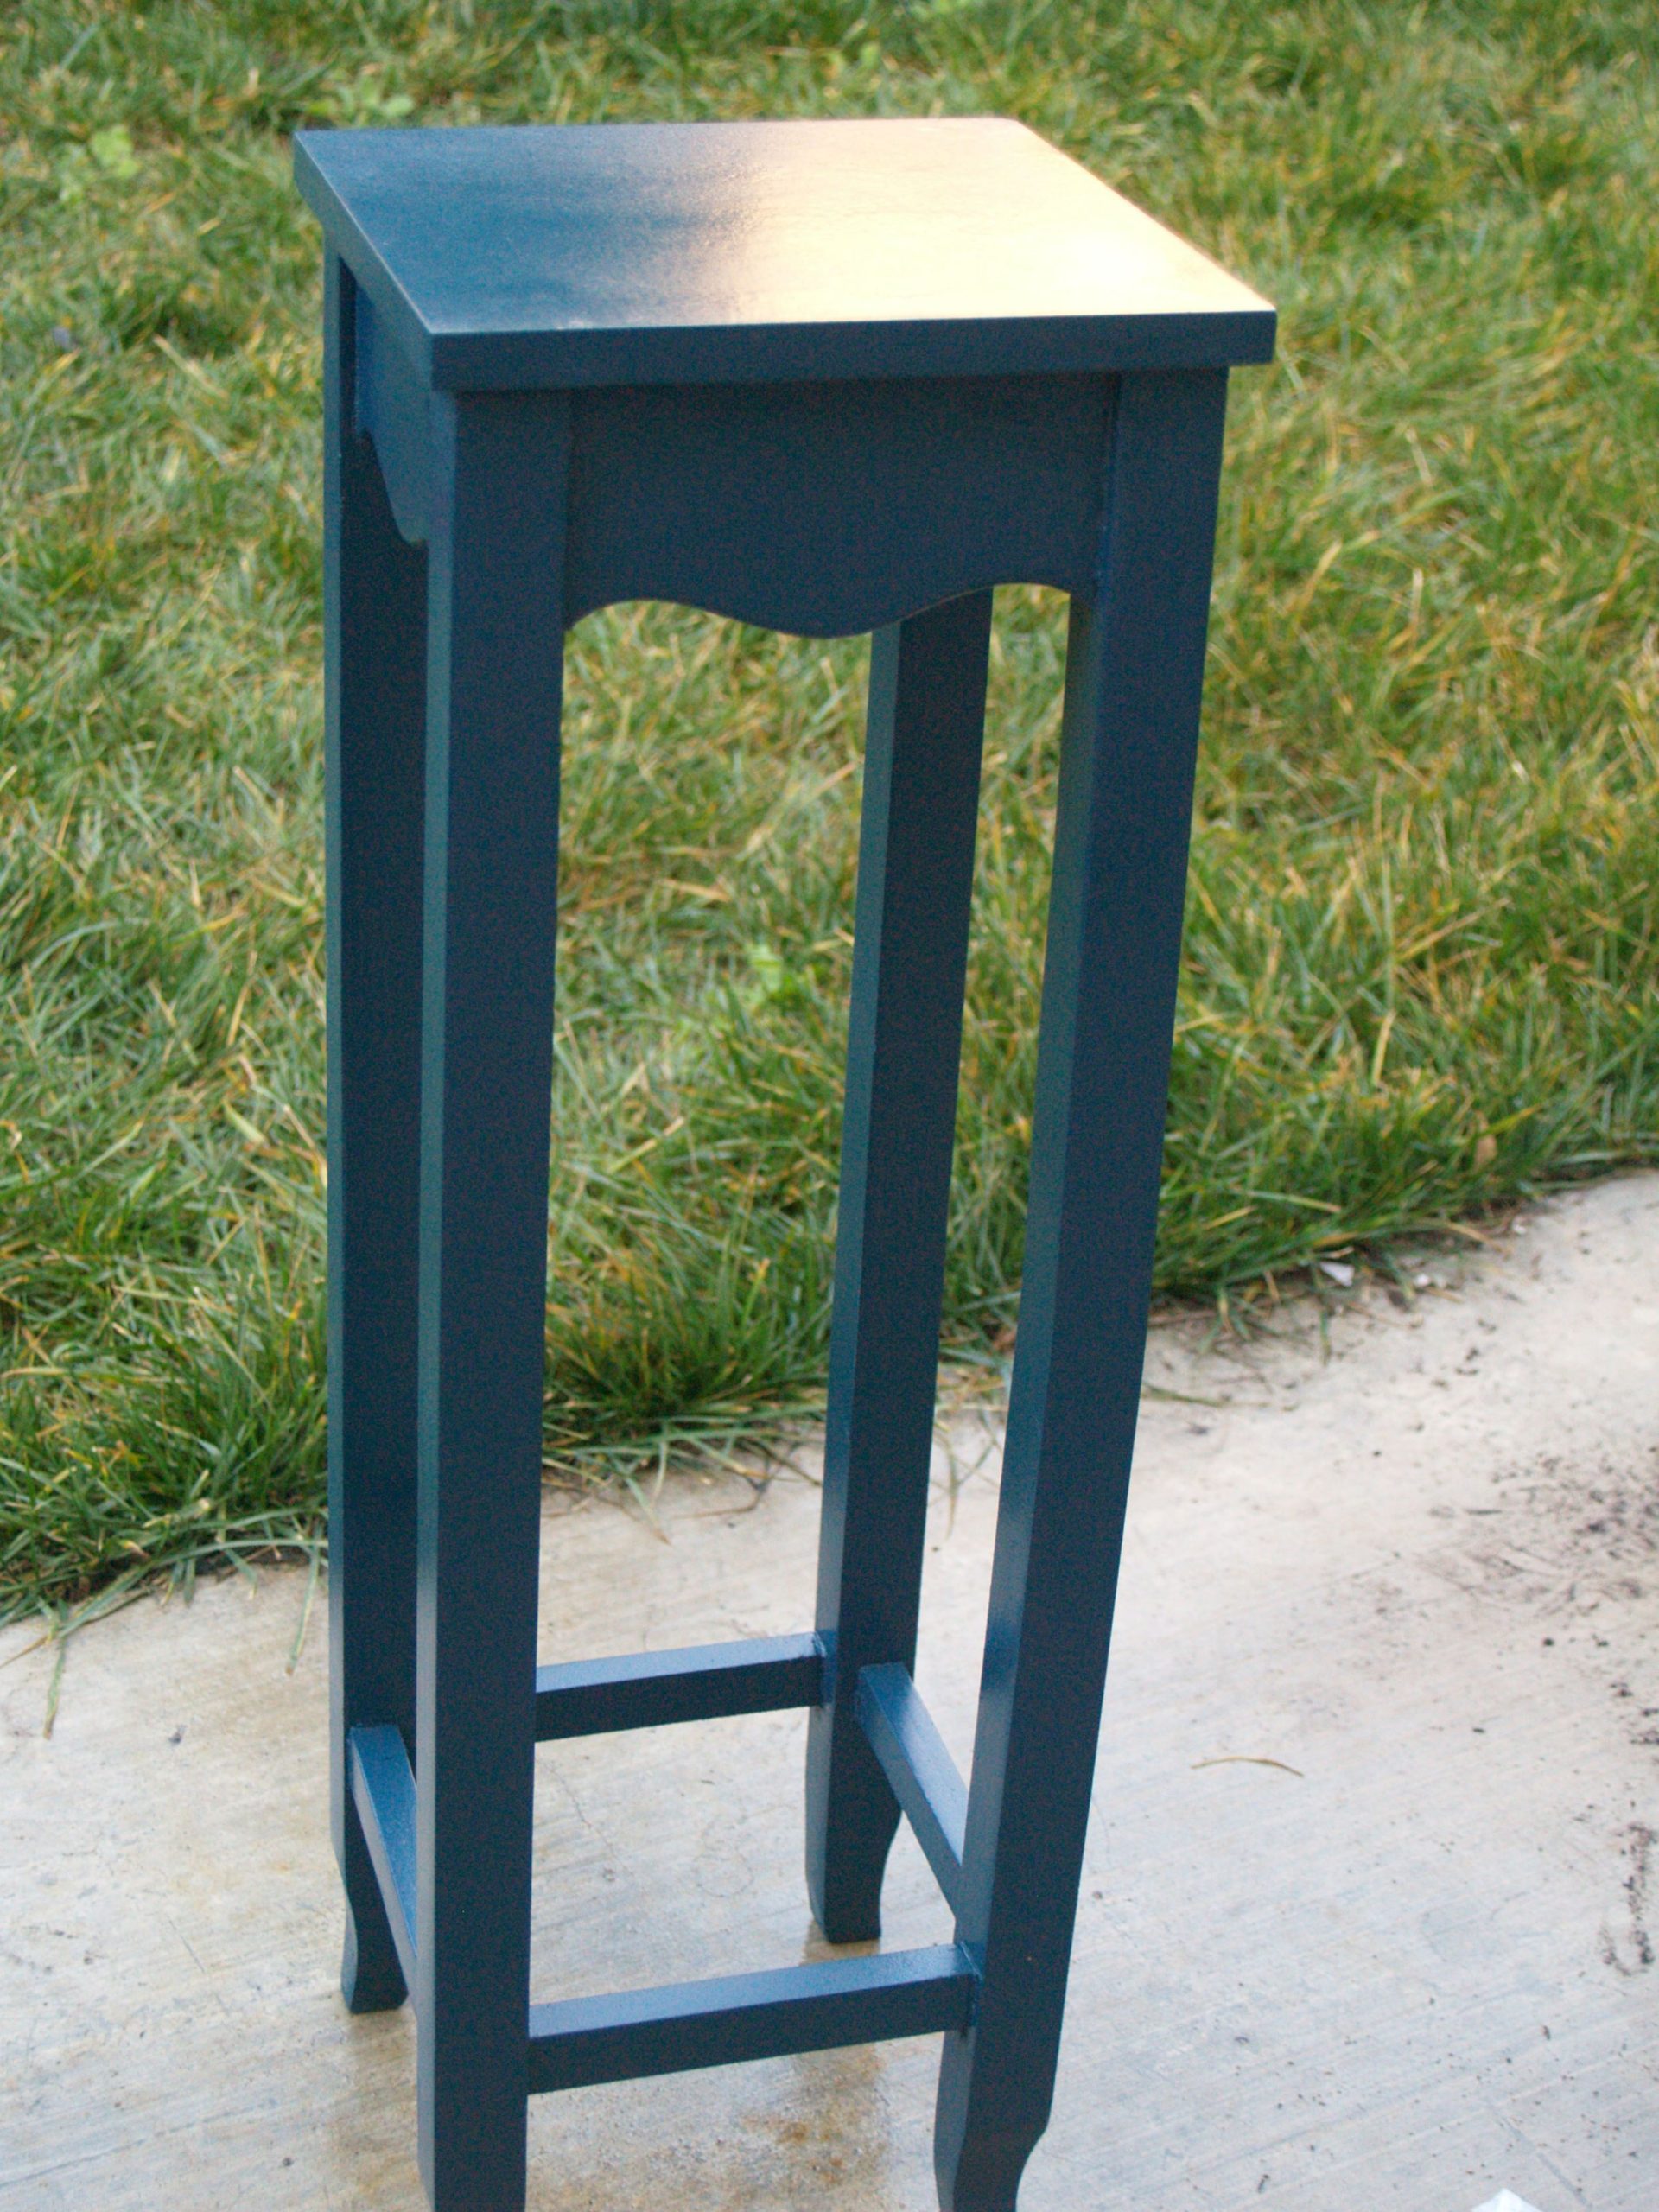
I followed the primer with a few coats of spray paint in this cool peacock blue color, and then a couple more coats with a clear sealer. This was a perfect scale of furniture refinishing for me right now. I didn’t even really need to change my clothes, I could slap on a coat of spray paint in between putting on Sesame Street and changing over the laundry.
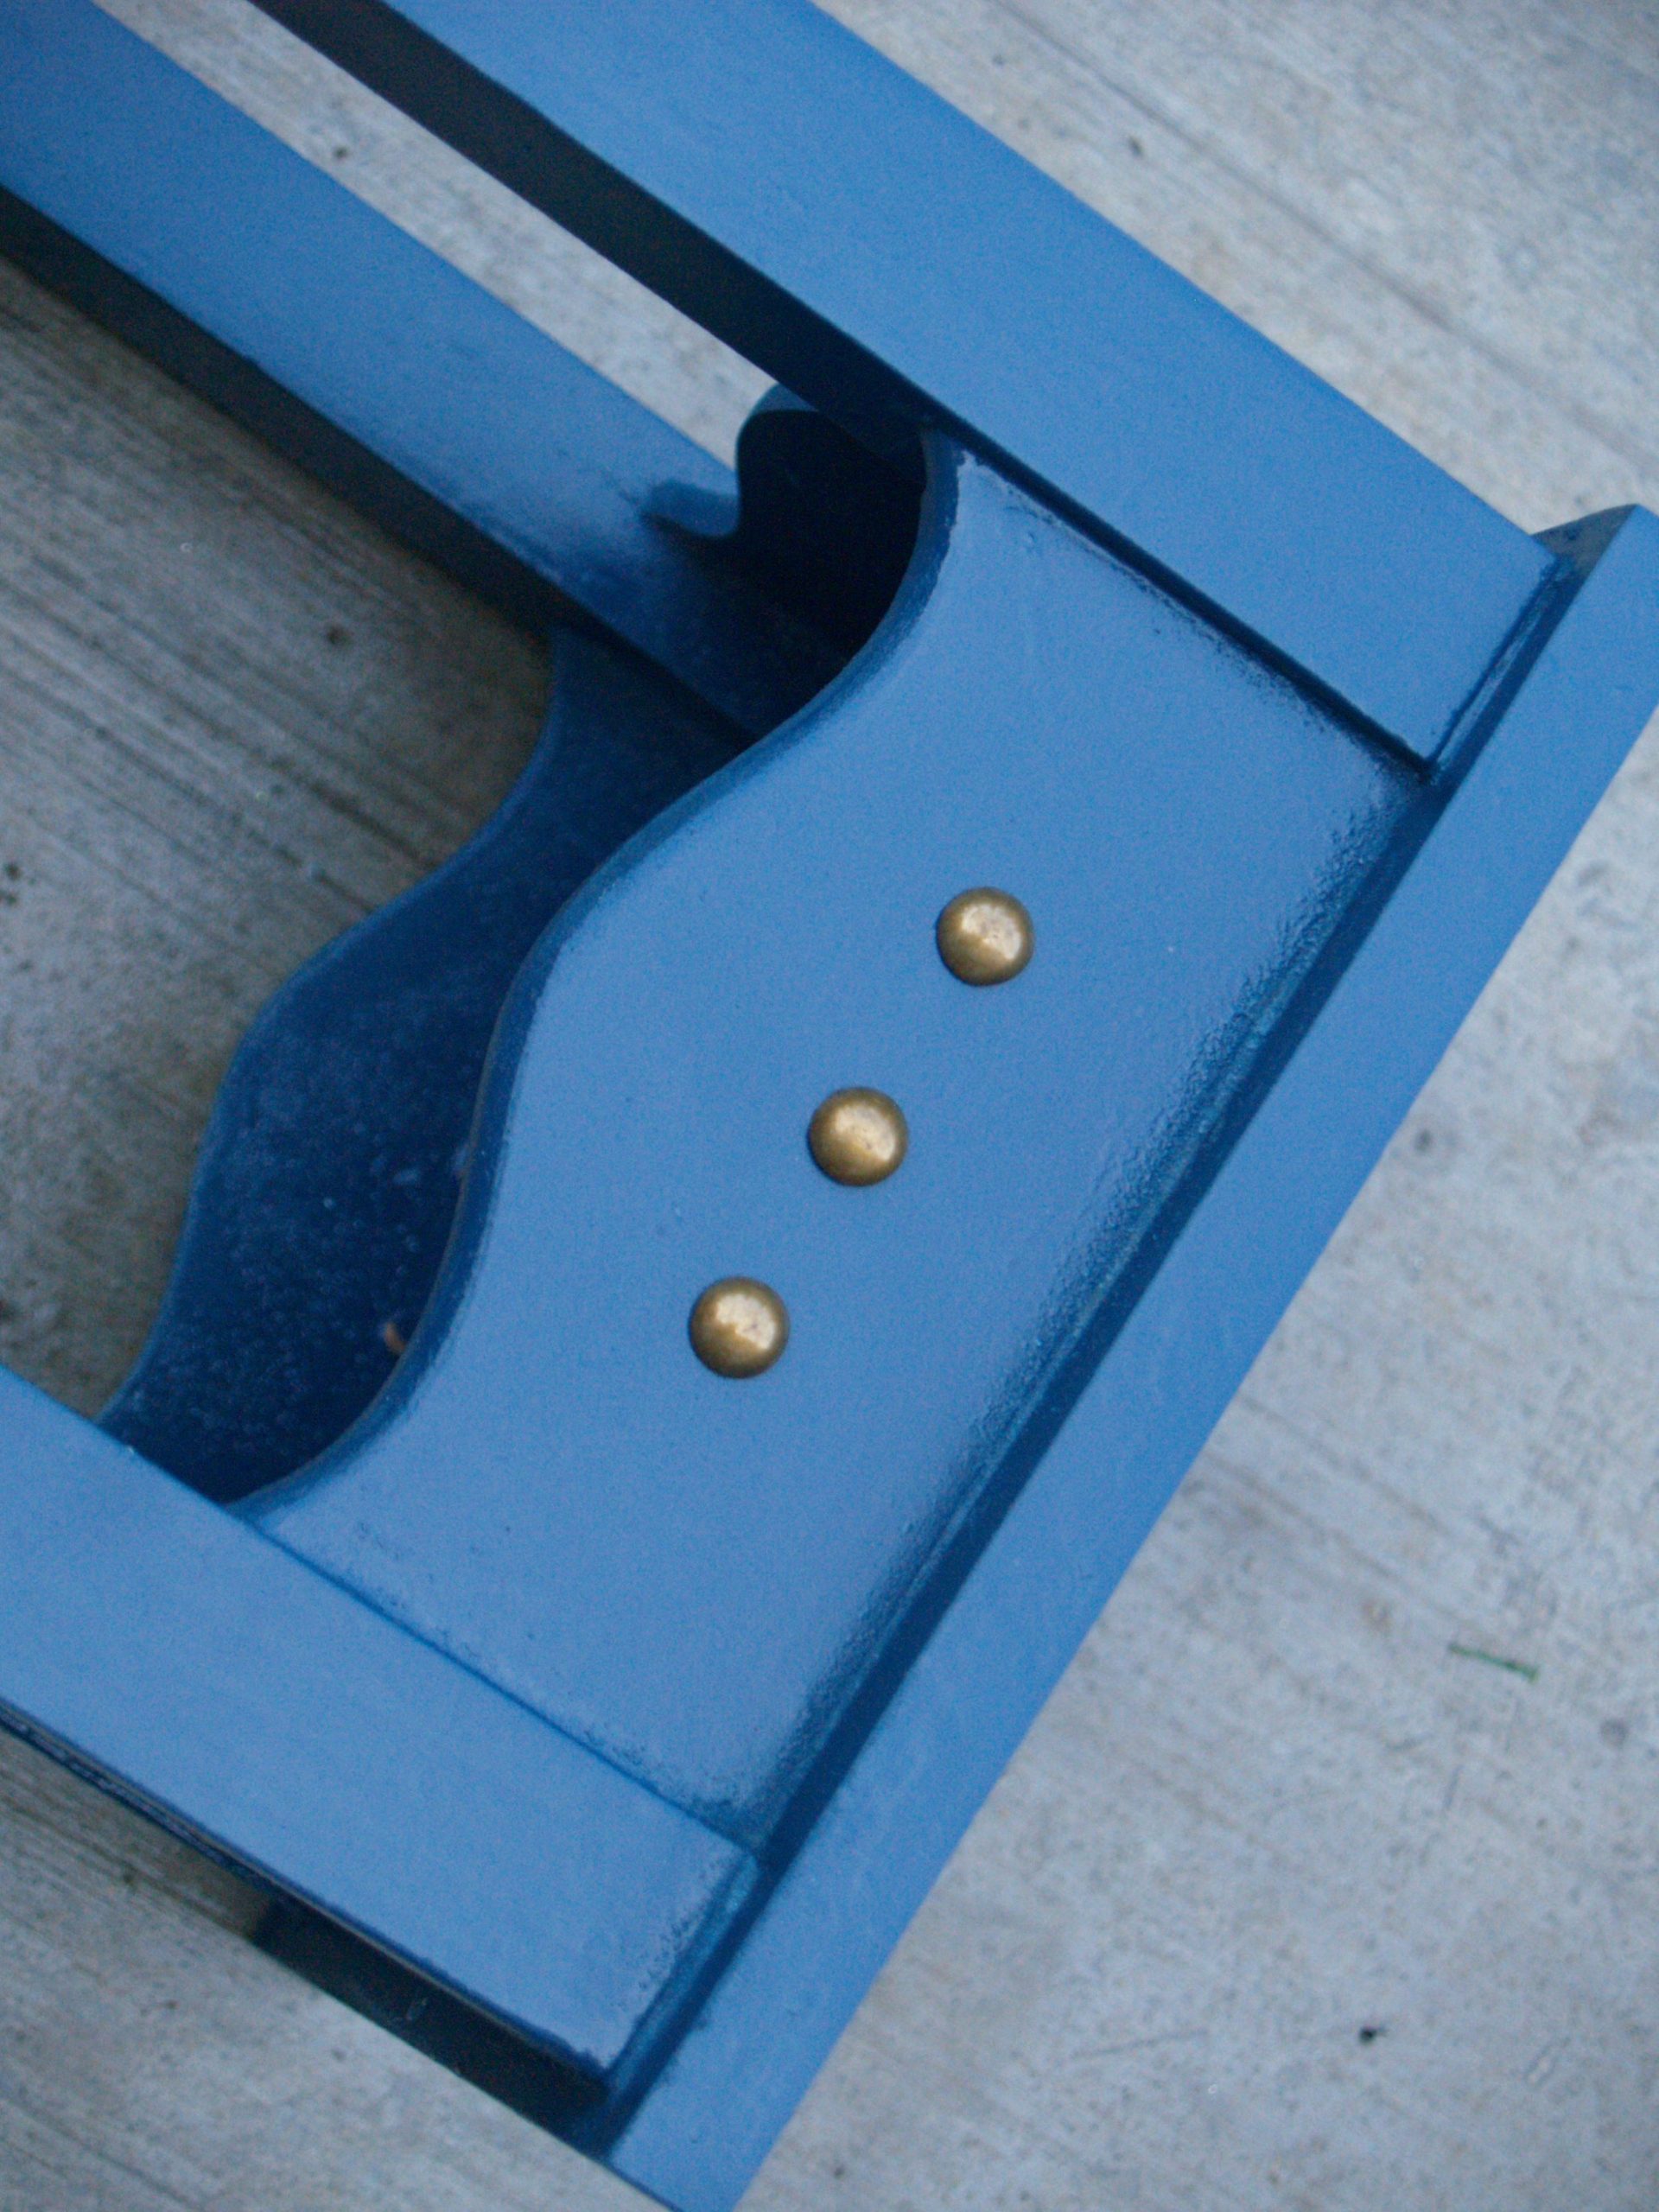
I gave the paint coat a couple of days to get a good hard cure, and then I started adding the nailheads. Make sure you use some kind of a softer hammer so you don’t mess up the finish of the nails. A rubber mallet or a sock tied around the hammer would be good. Also, they love to bend at the head, so take your time and hammer straight down.
If cost was no object to this project, I would have preferred a table that offered me enough solid space on the sides to do an ornate paisley pattern, but this way I got to get my suggestion of nailheads while also having the whole project cost less than a dinner out.

2 thoughts on “Bathroom Stand”
Comments are closed.