Peppermint is really what inspired this whole tree. Over the years I’ve seen so many gorgeous themed trees in that high contrast red and white and I knew I wanted some of that in my house. I couldn’t bring myself to stay there, but I wanted plenty of it reflected around all the other treats.
Browsing through the wood aisle at the craft store I came across some flat wooden discs in a couple of different sizes. I knew they would be simple to work with, and I loved the opportunity to play with scale by having some ornaments that seemed giant mixed in with all the other regular sized ones.
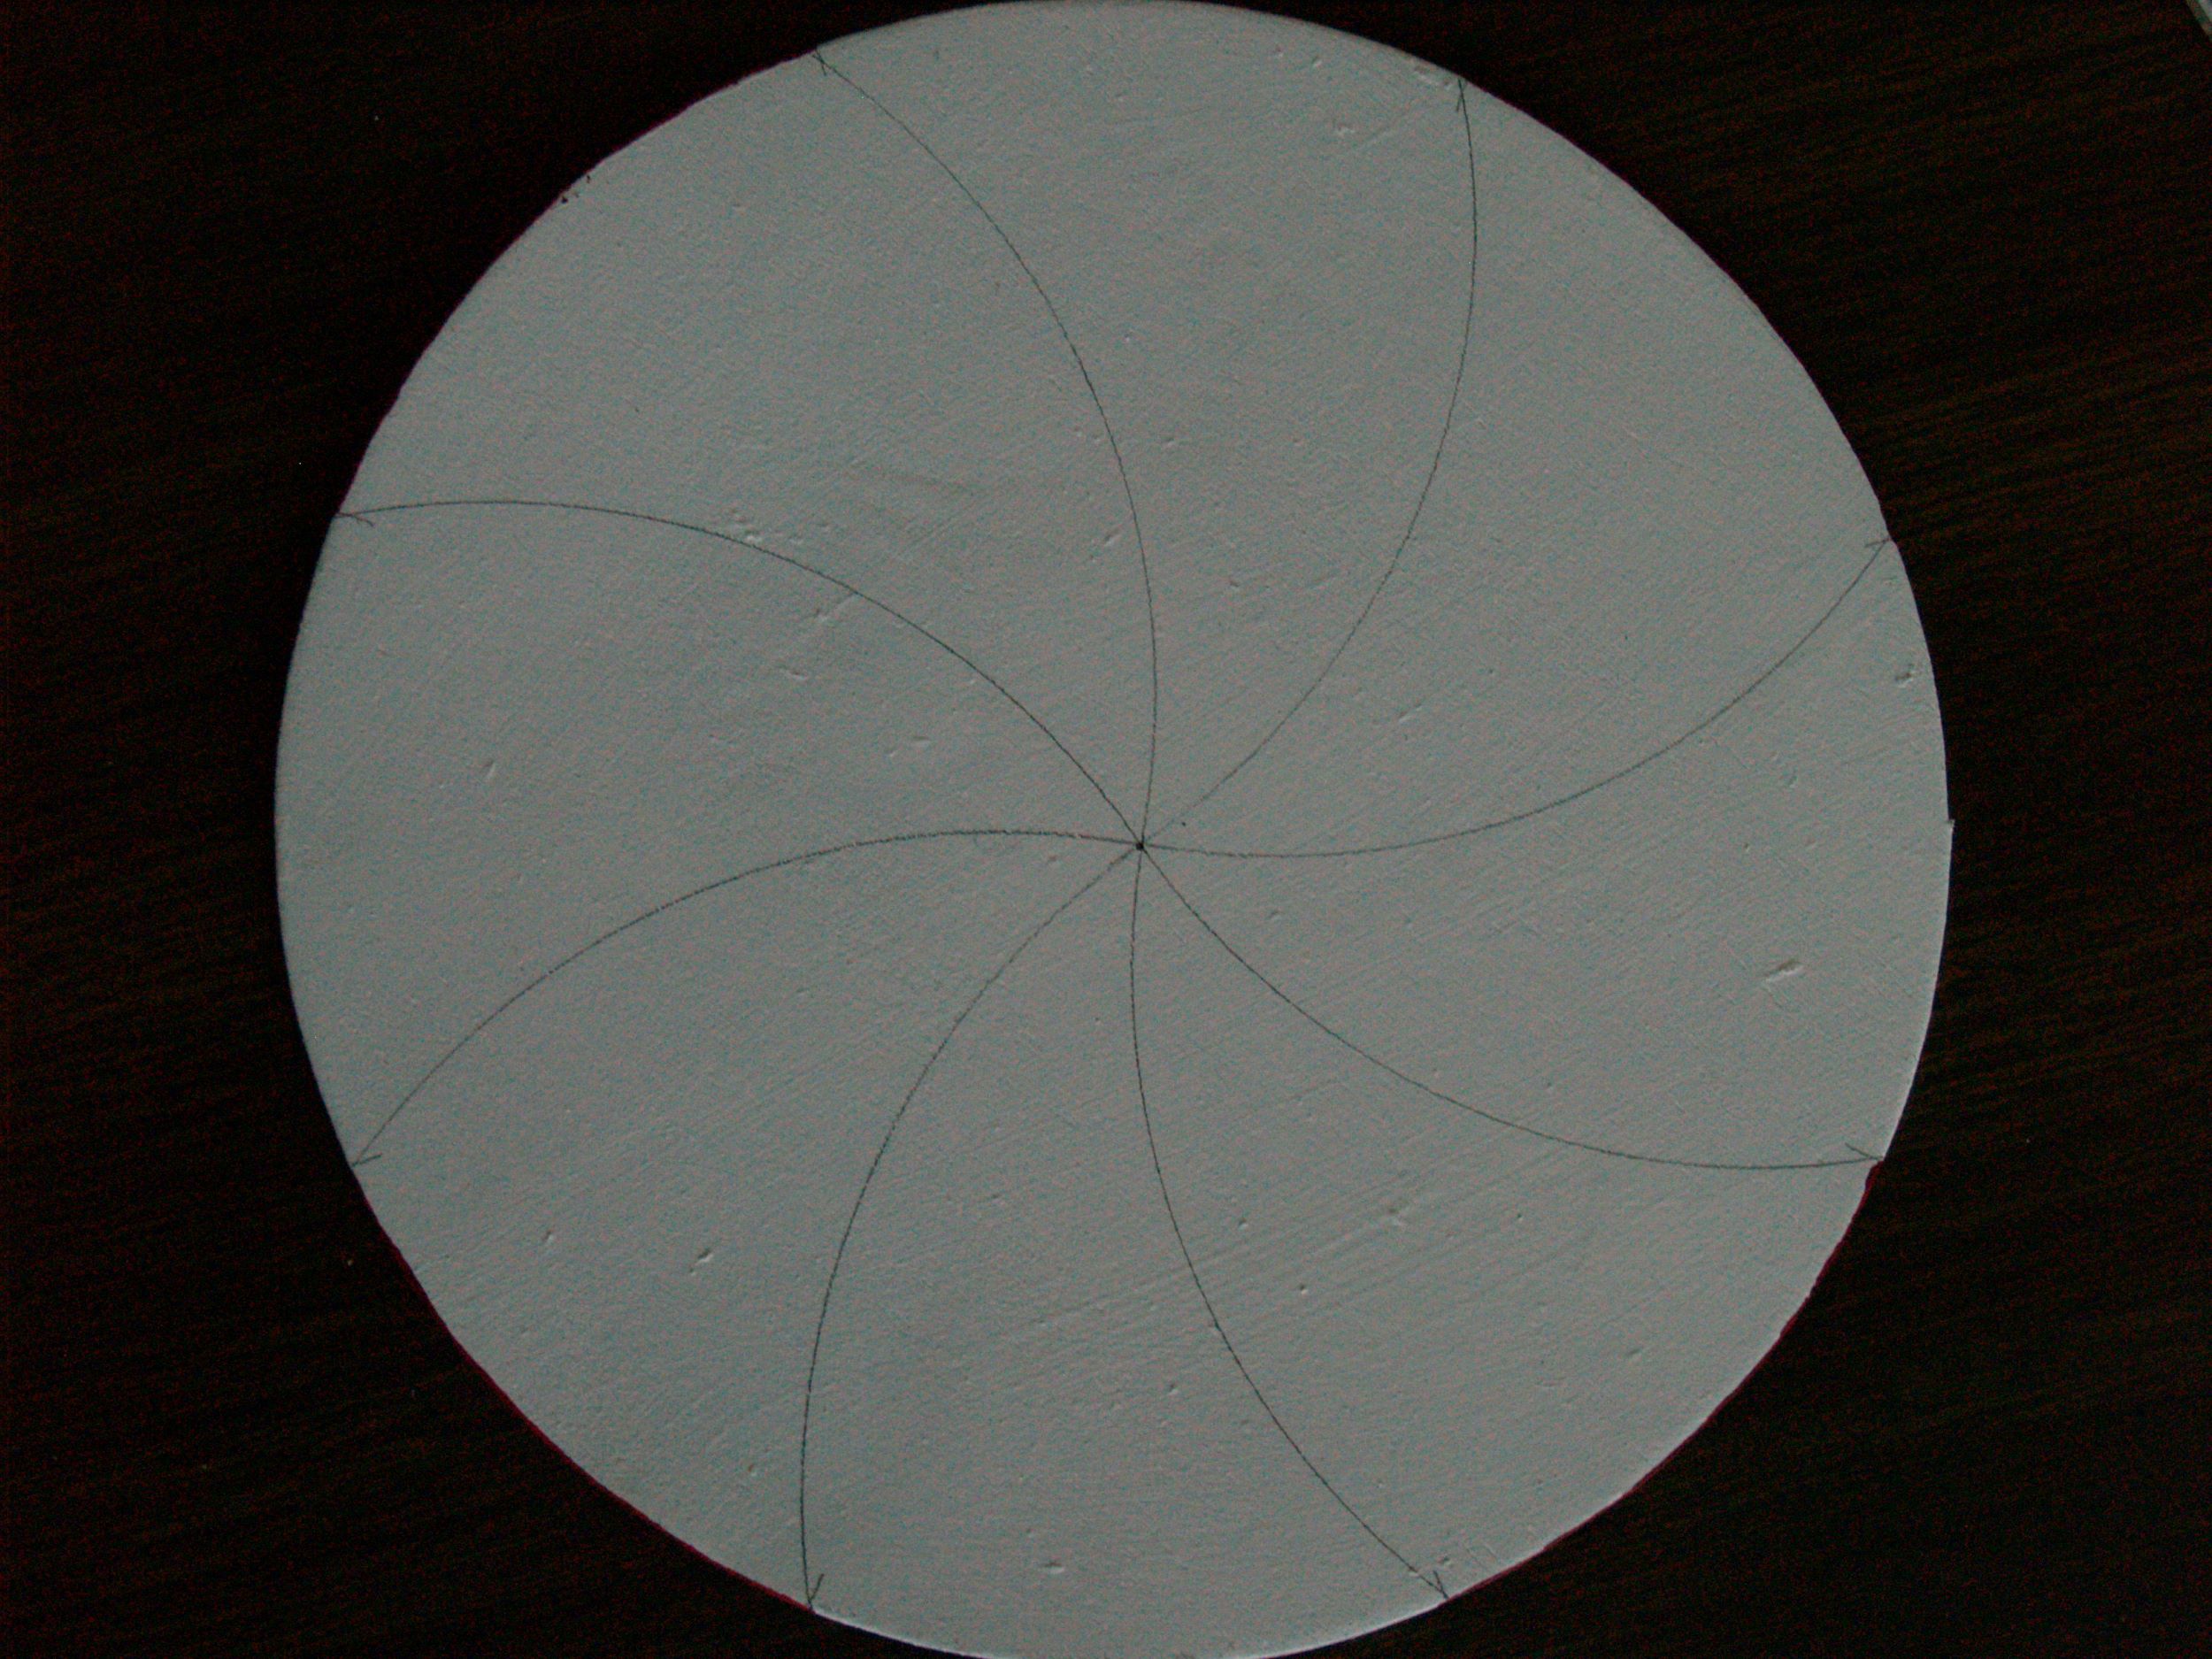
I started by painting both sides of the discs white, then drawing on the curves that would become the alternating red and white of the peppermint.
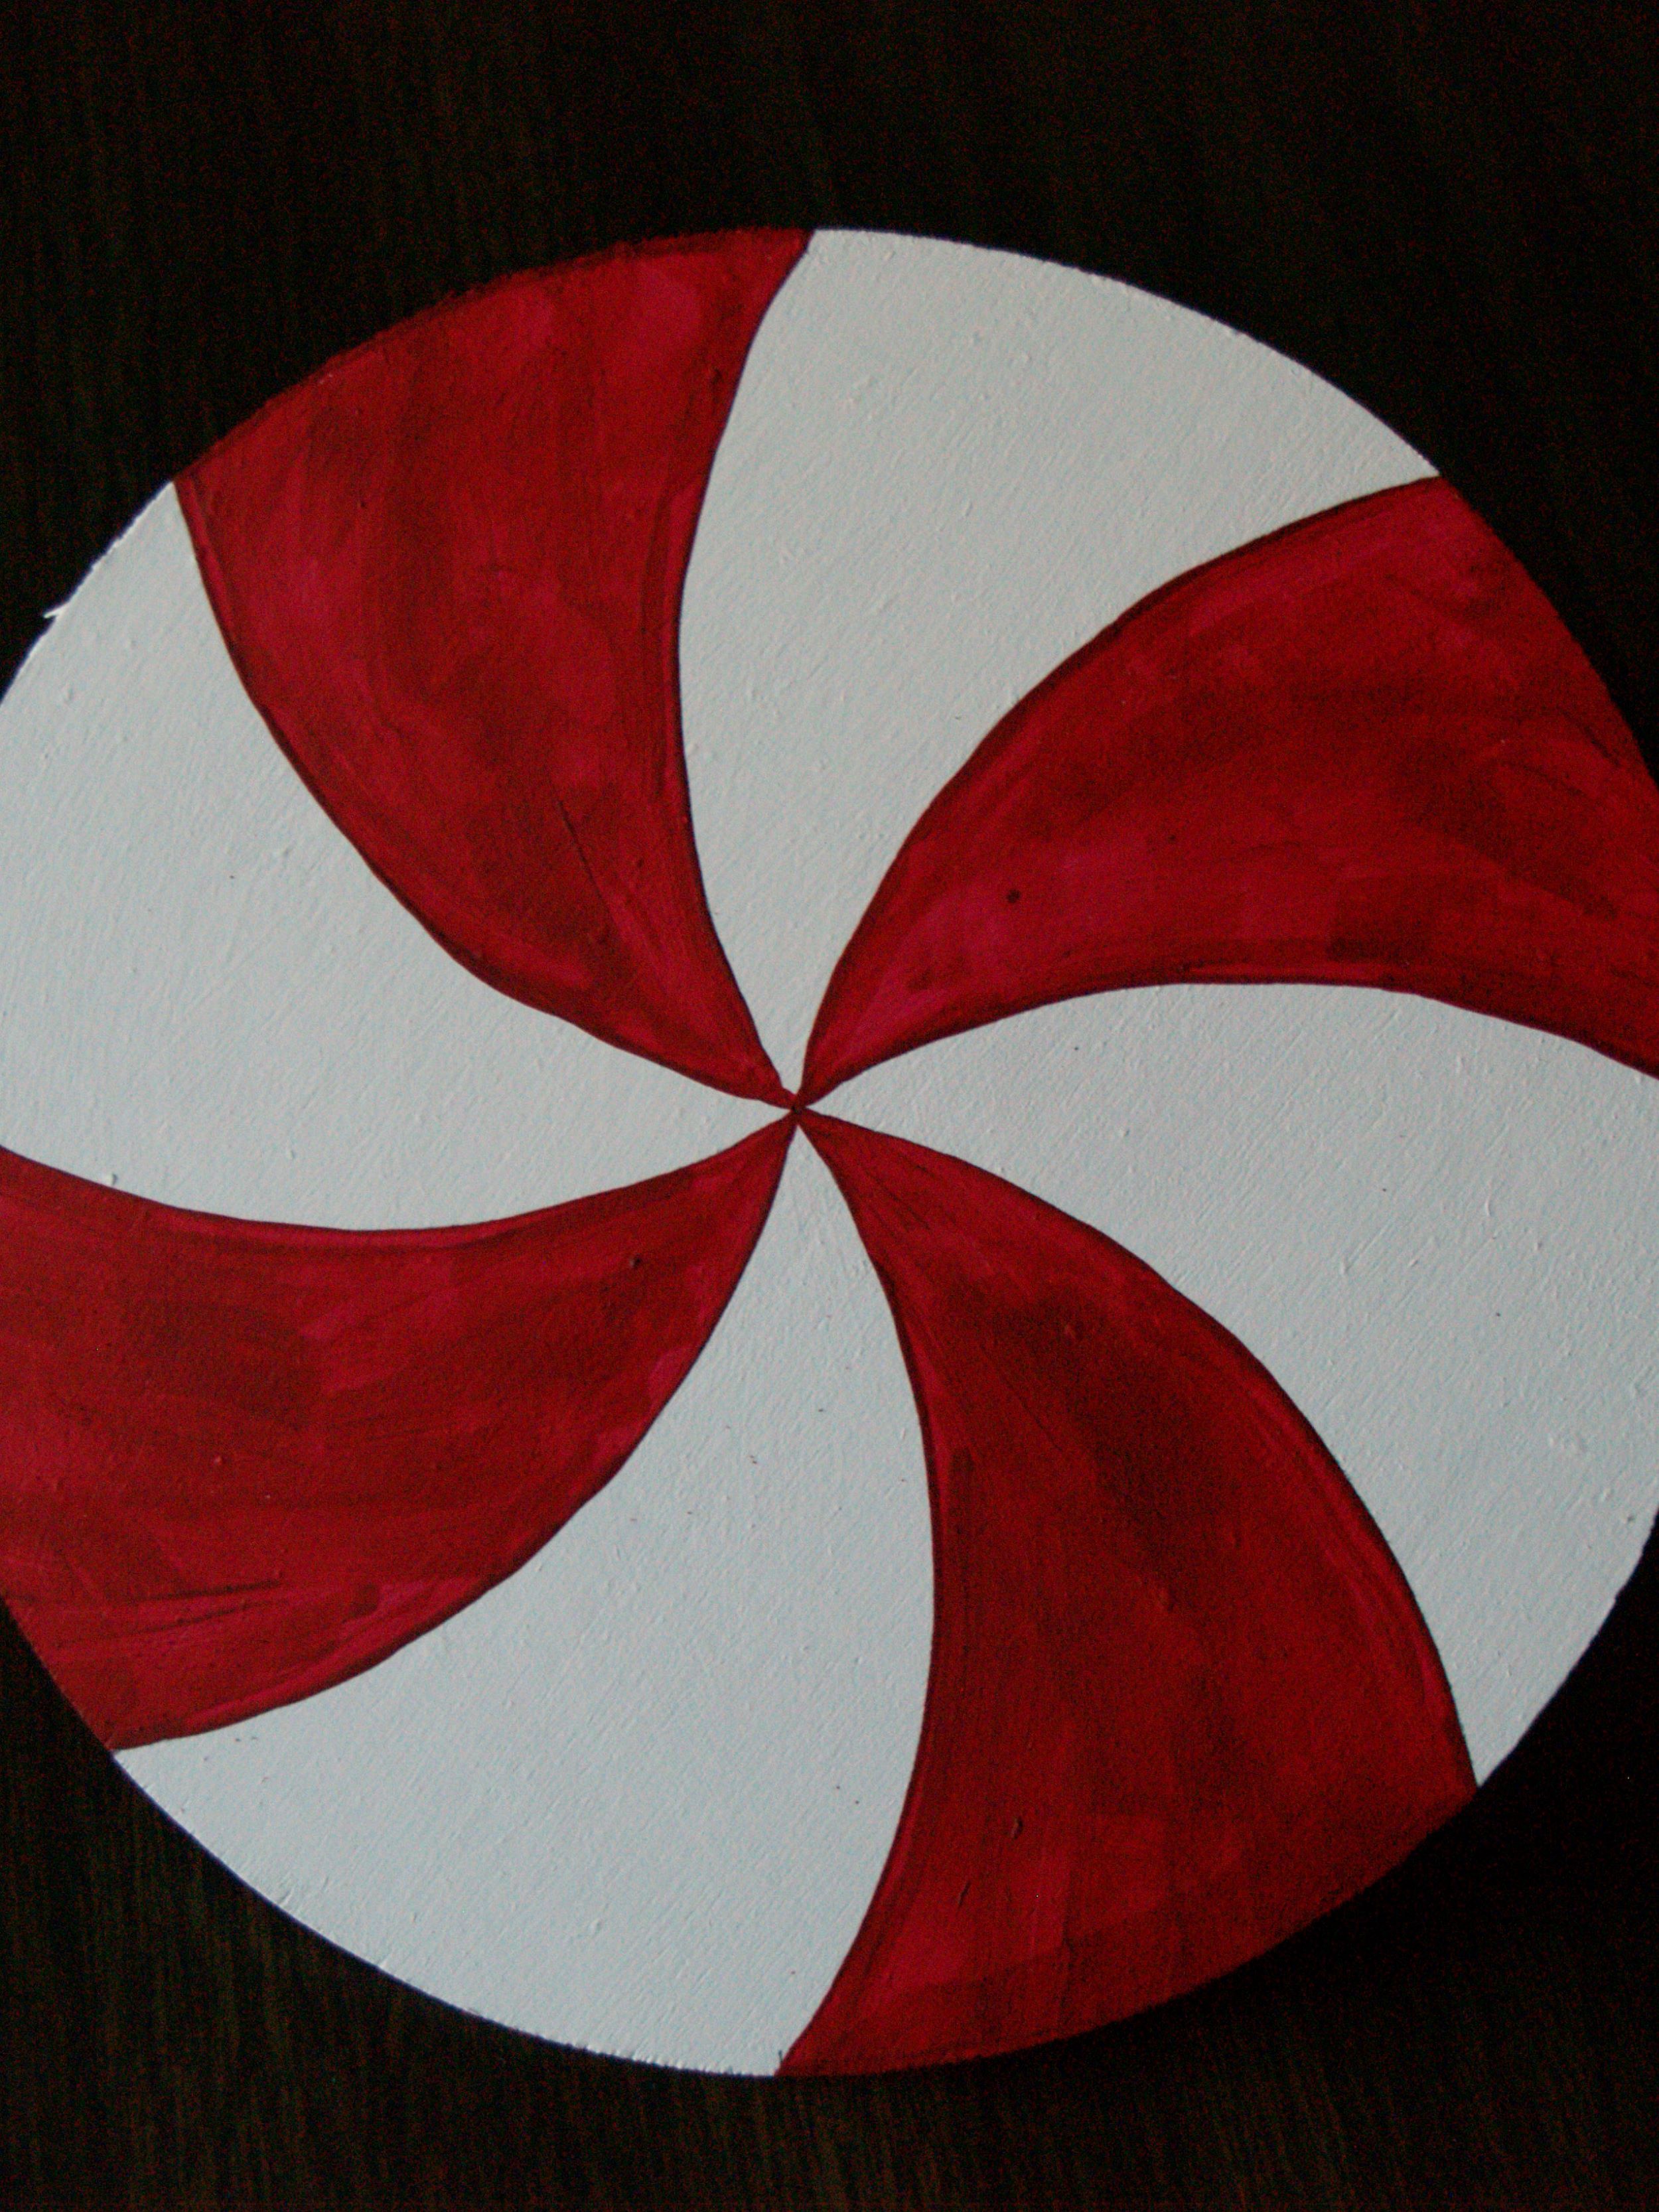
Carefully following those pencil lines, I painted every other section bright red. You can see that I didn’t worry to much about how pretty it looked. The white paint you’ll want a nice thorough coat, but with the red we just want some color down. It doesn’t have to be perfect.
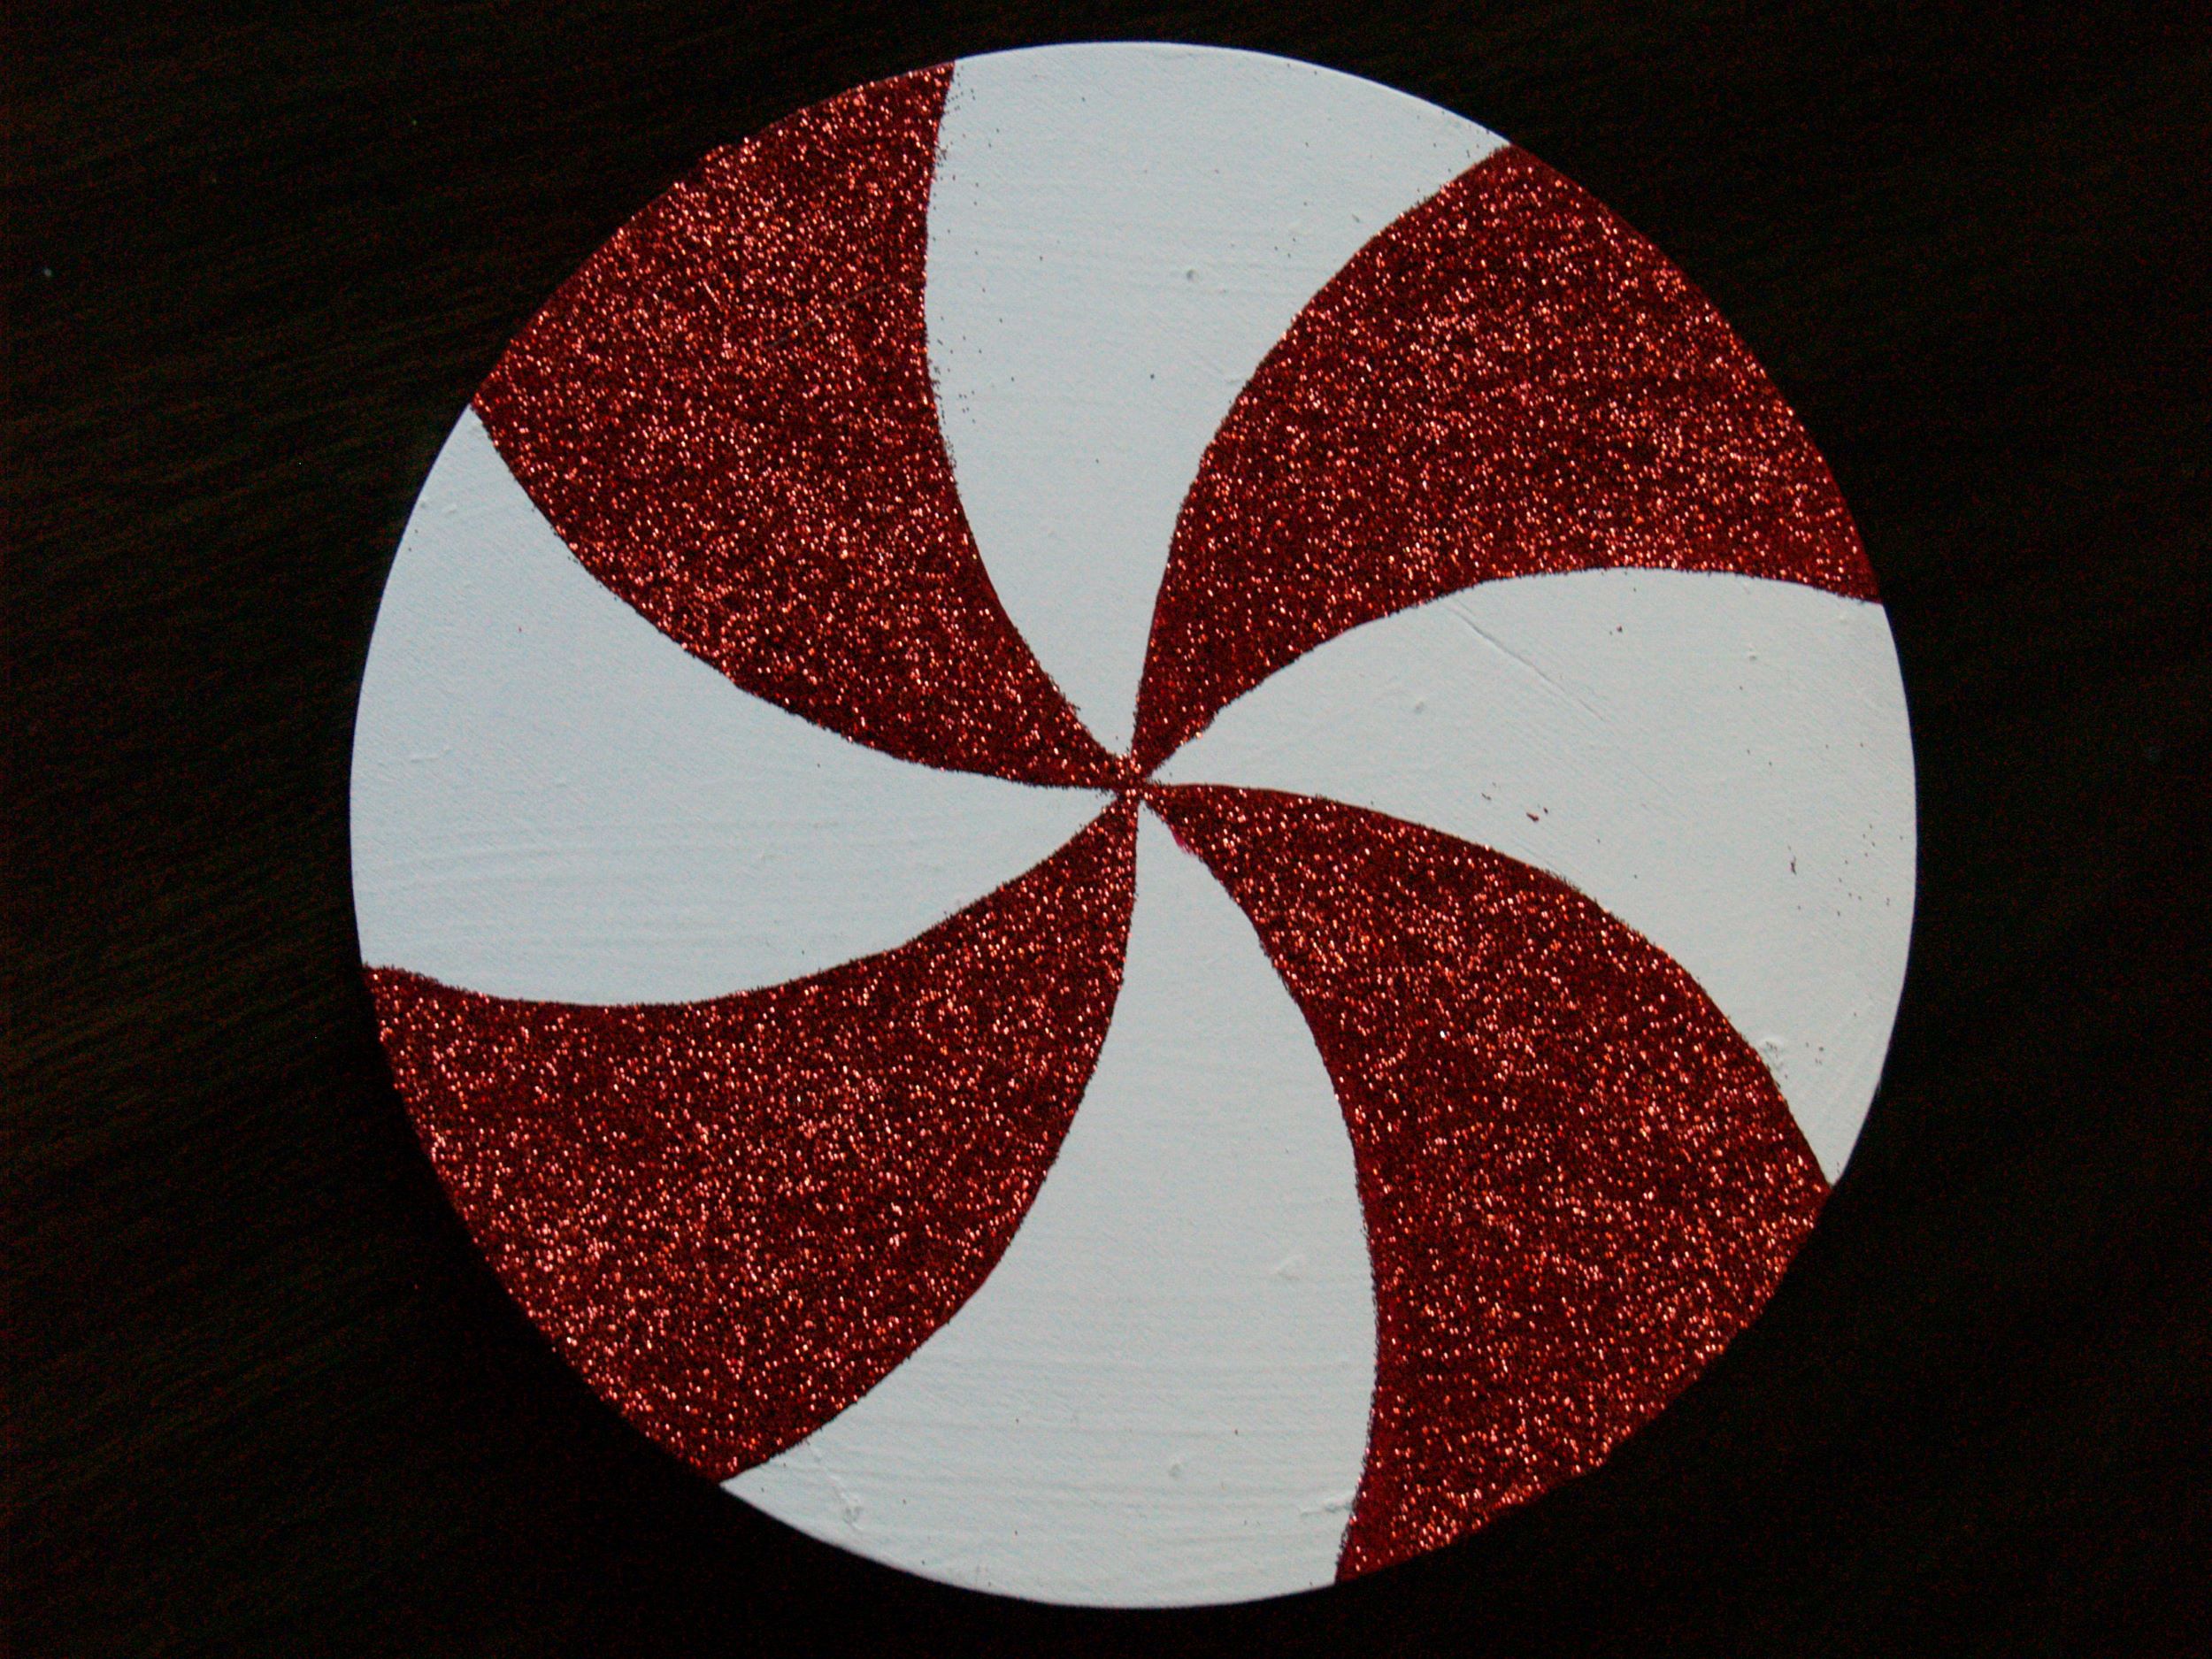
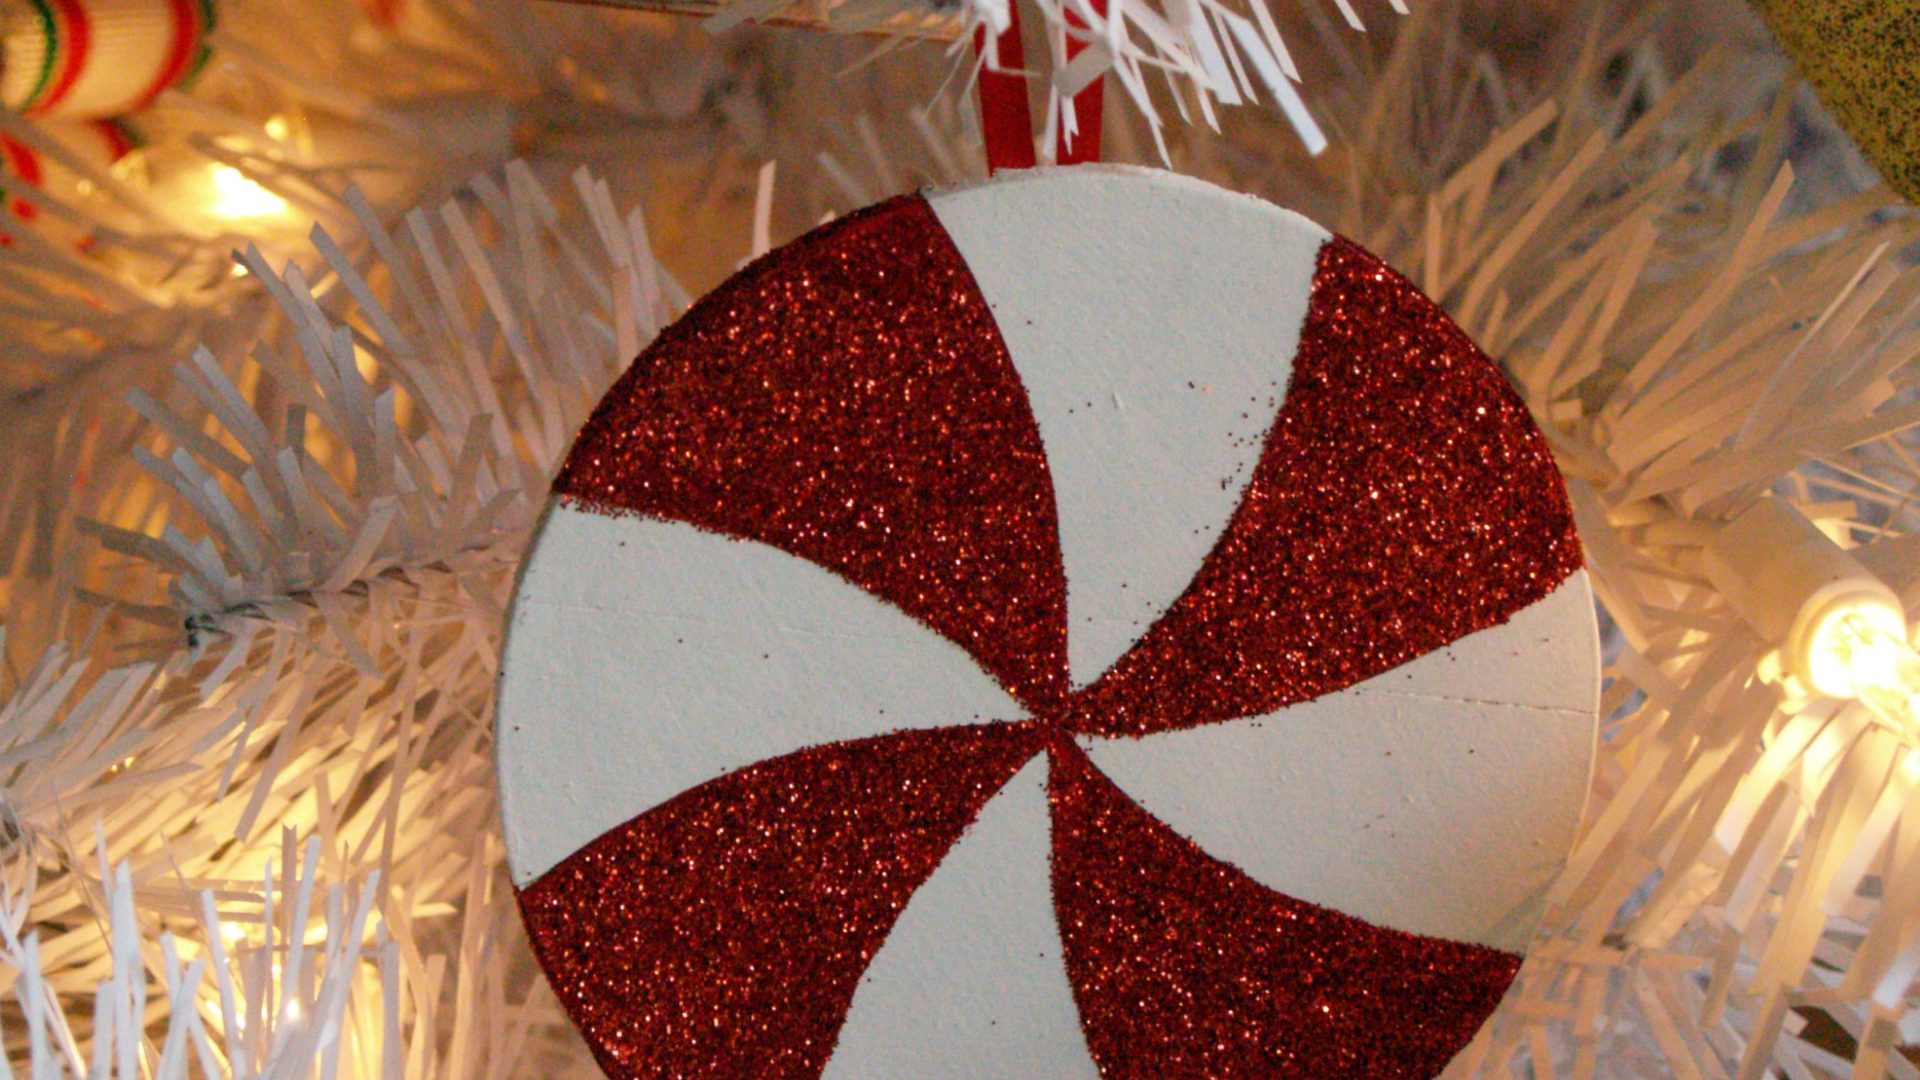
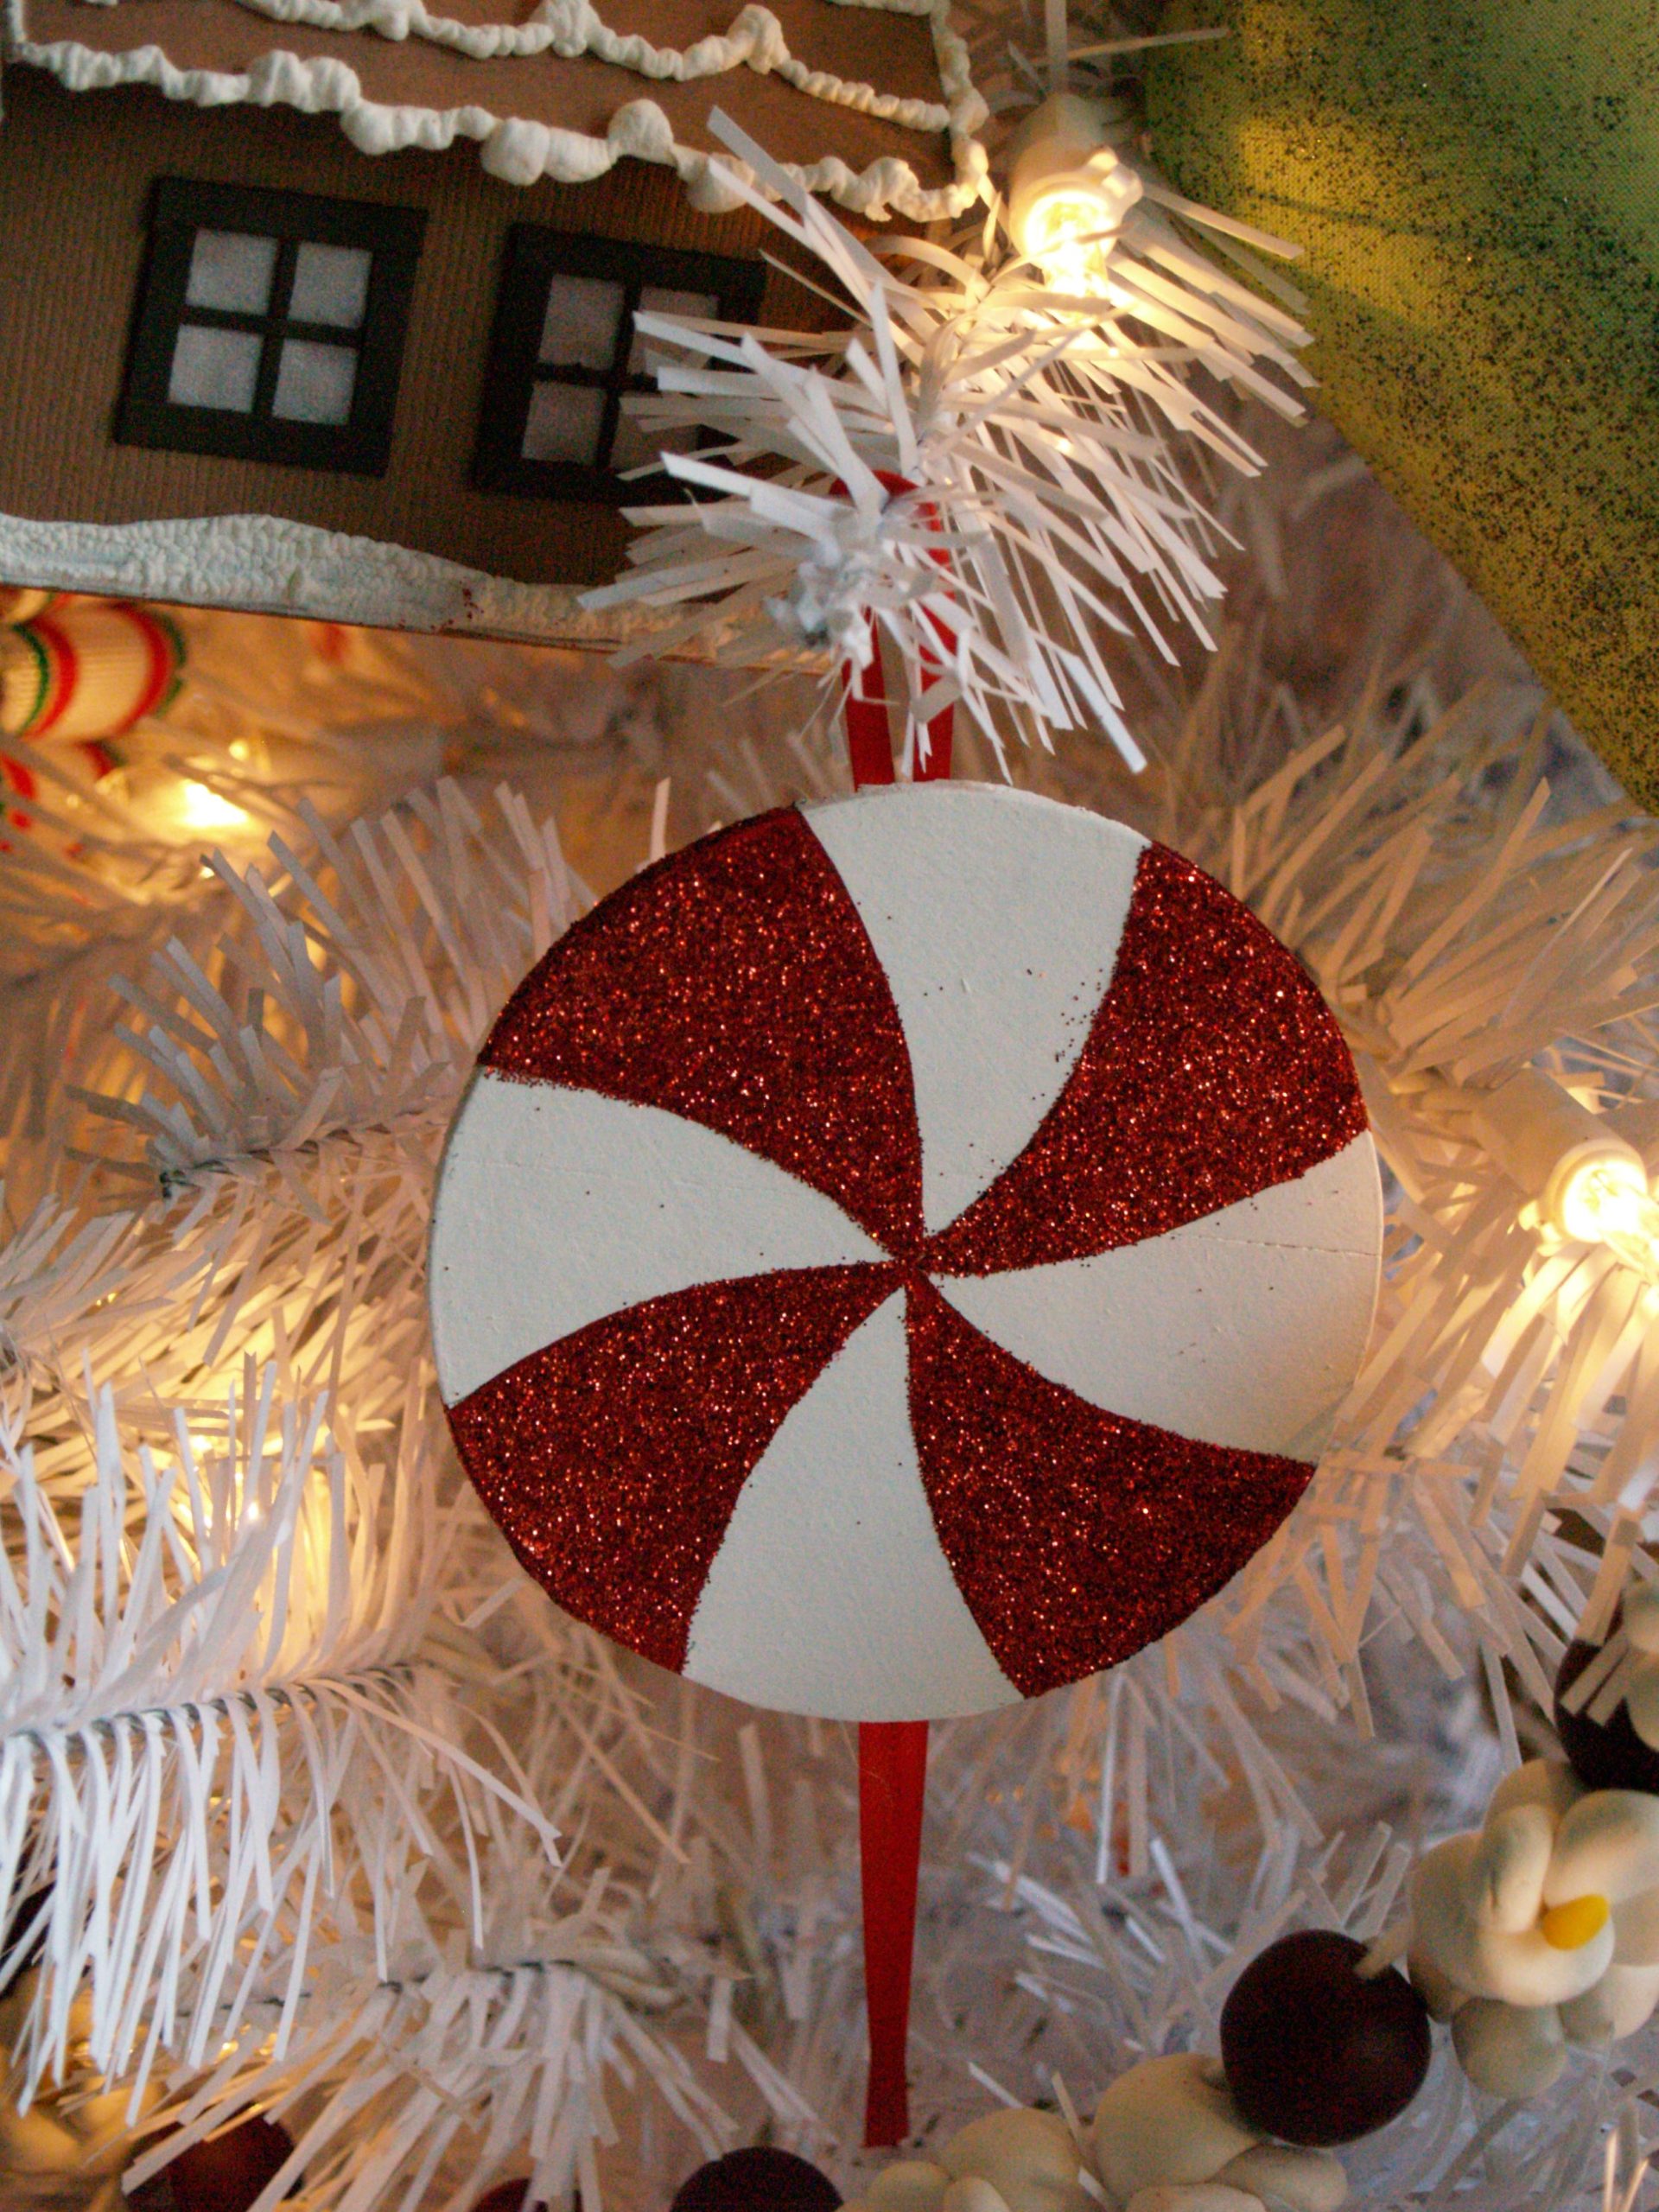
When the red paint is dry, go back over it with a white glue, then dump red glitter on the top and shake off the extra. If you wanted to, you could repeat this step with white glitter for the white sections, but I actually liked it better with just the red sections glittered. It amped up that contrast and made it look even more sparkly then sparkles would alone.
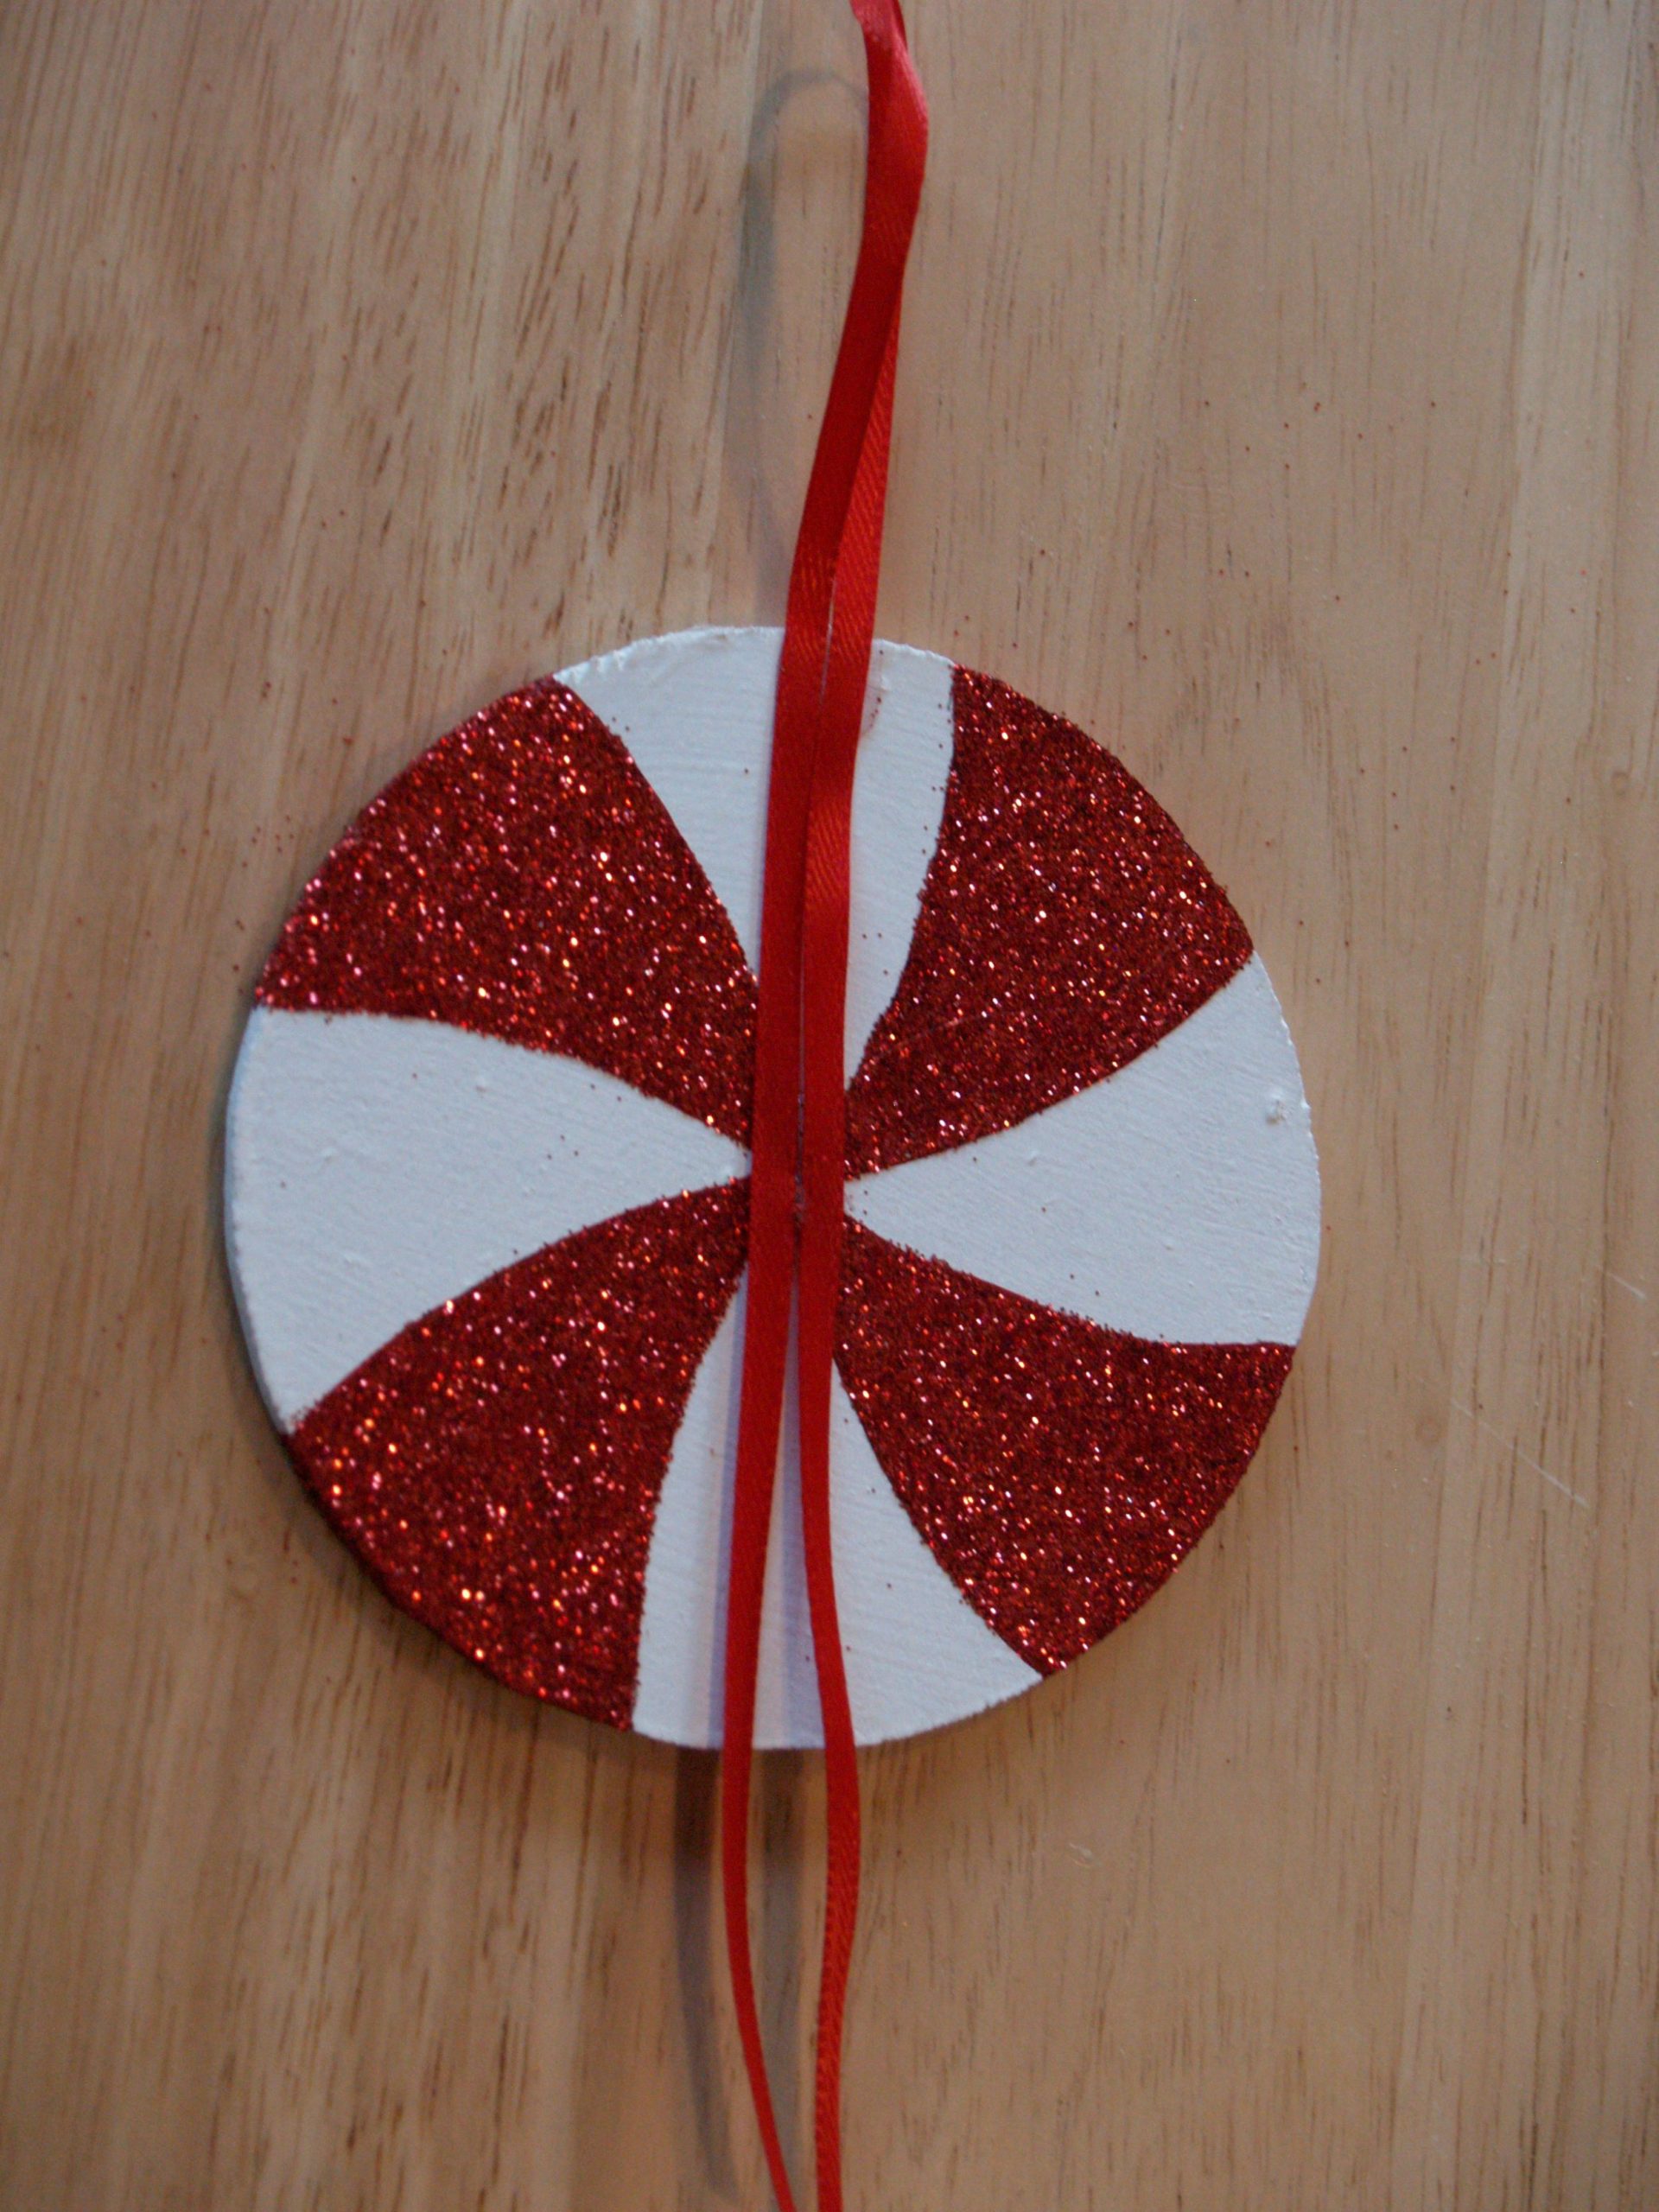
Paint and glitter the back side in the same way, and when the whole thing is dry glue a ribbon on the back for a hanger.
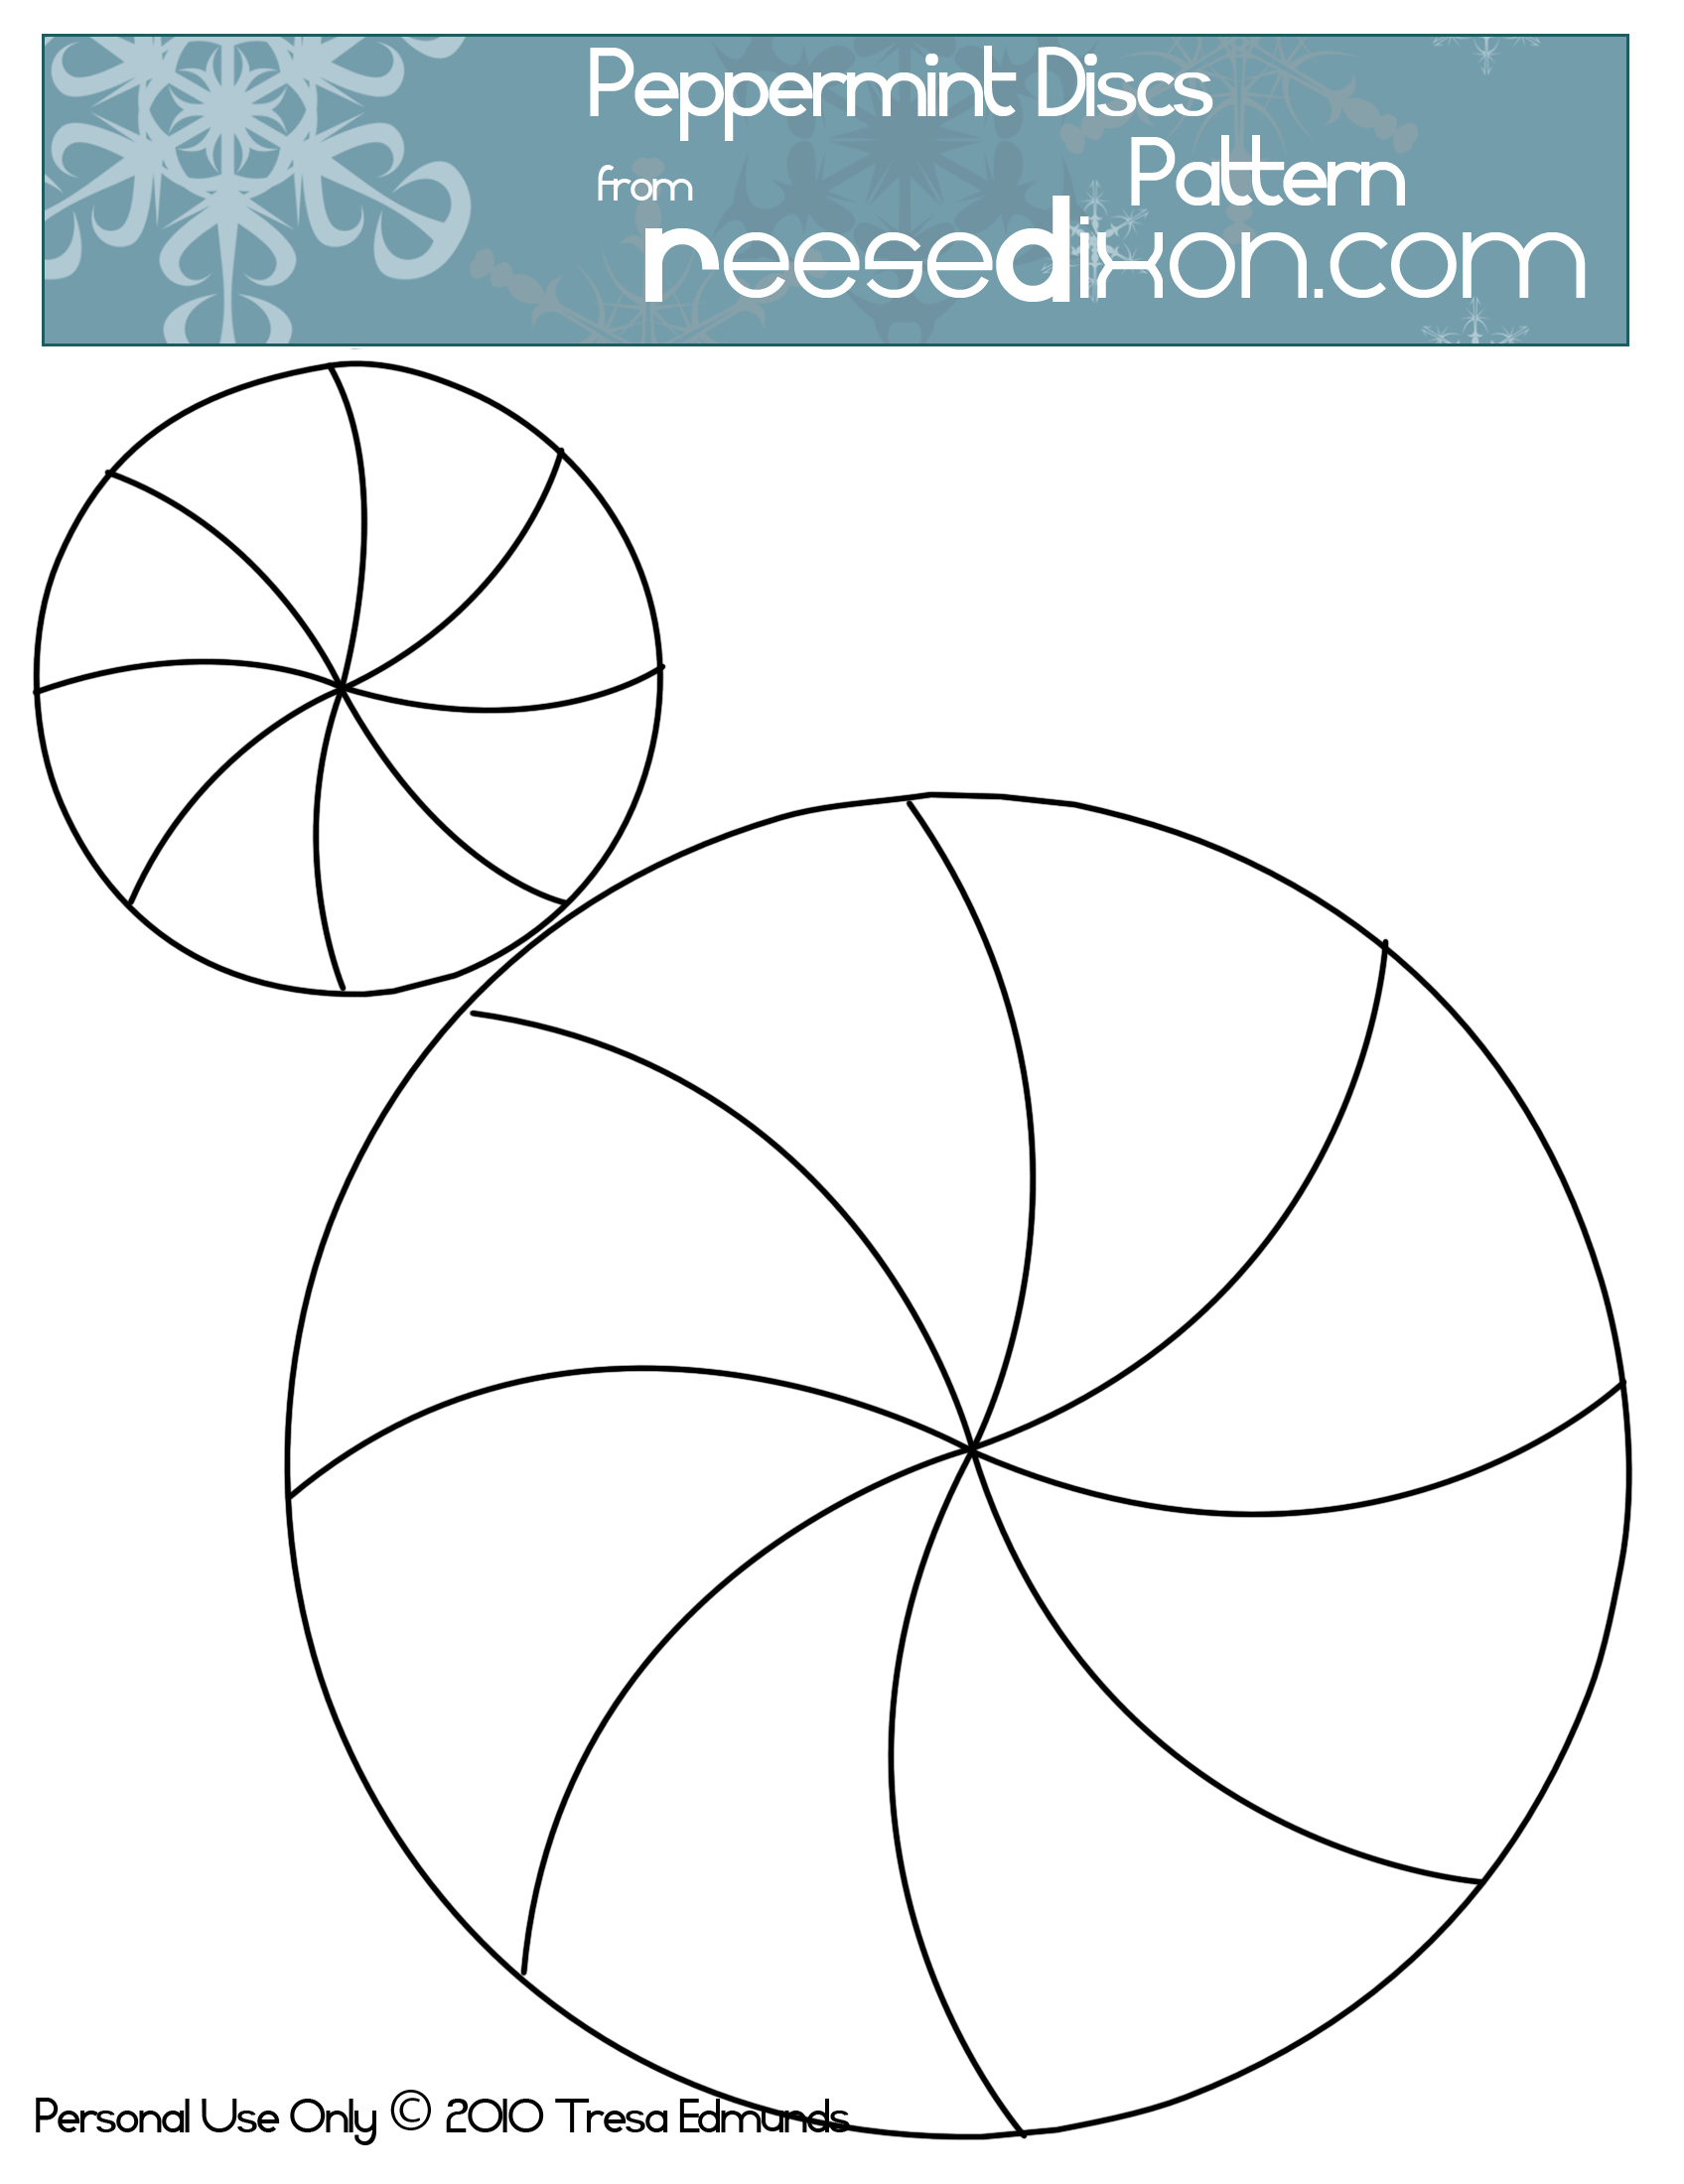
Because you are my friends I’ll save you the hassle of geometry and provide the pattern. You could shrink or enlarge these as you need to get the size of the discs you’ll be using, but I think these are somewhat standard sizes. Click on the picture and download the original size.