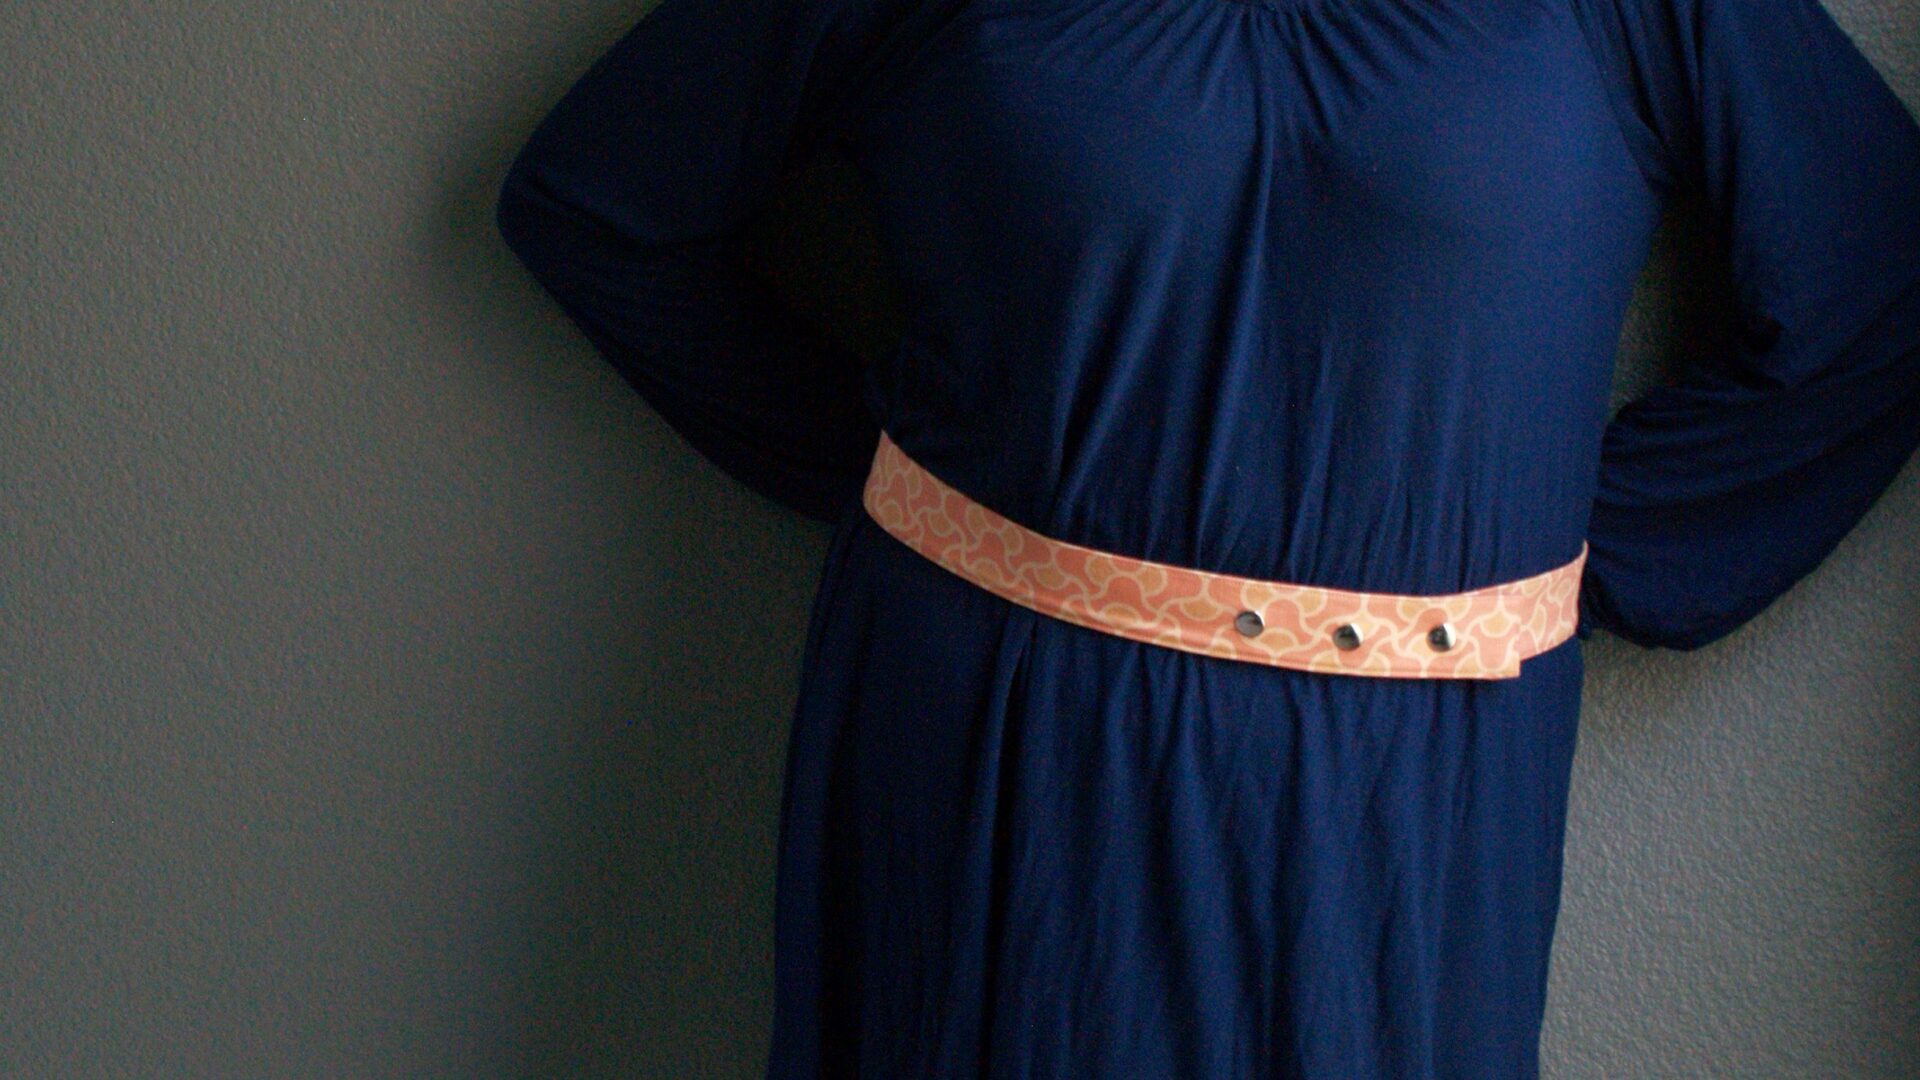
At one of those everything on super clearance sales, I bought this blousey navy dress that was missing the belt that went with it. This dress was literally 4$ and will be one of those things that can be worn all through a pregnancy and beyond (should that day ever come back around) so I snapped it up and ran.
I needed something nice to wear to that conference, and I needed to give this dress a belt, so I went a little overboard with the options.
The first thing I sewed was just a satin ribbon belt. I had a big long length of satin, so I cut it long enough to fit around my waist with plenty left over for a tie, sewed it into a tube, turned it inside out and sewed the ends closed. Really simple, and it made this simple jersey dress kind of fancy.
But I had so much more fabric, I had to keep going.

This belt is made from some of the home decor weight Amy Butler fabric. I cut it to fit my waist, and then twice as wide as I wanted the finished belt, and ironed on some stiff interfacing. Then I sewed the right sides together to form a tube, turned it right side out, folded the raw edges in on each edge and sewed all the way around as close to the edge as I could get. This is the method I followed for every belt.
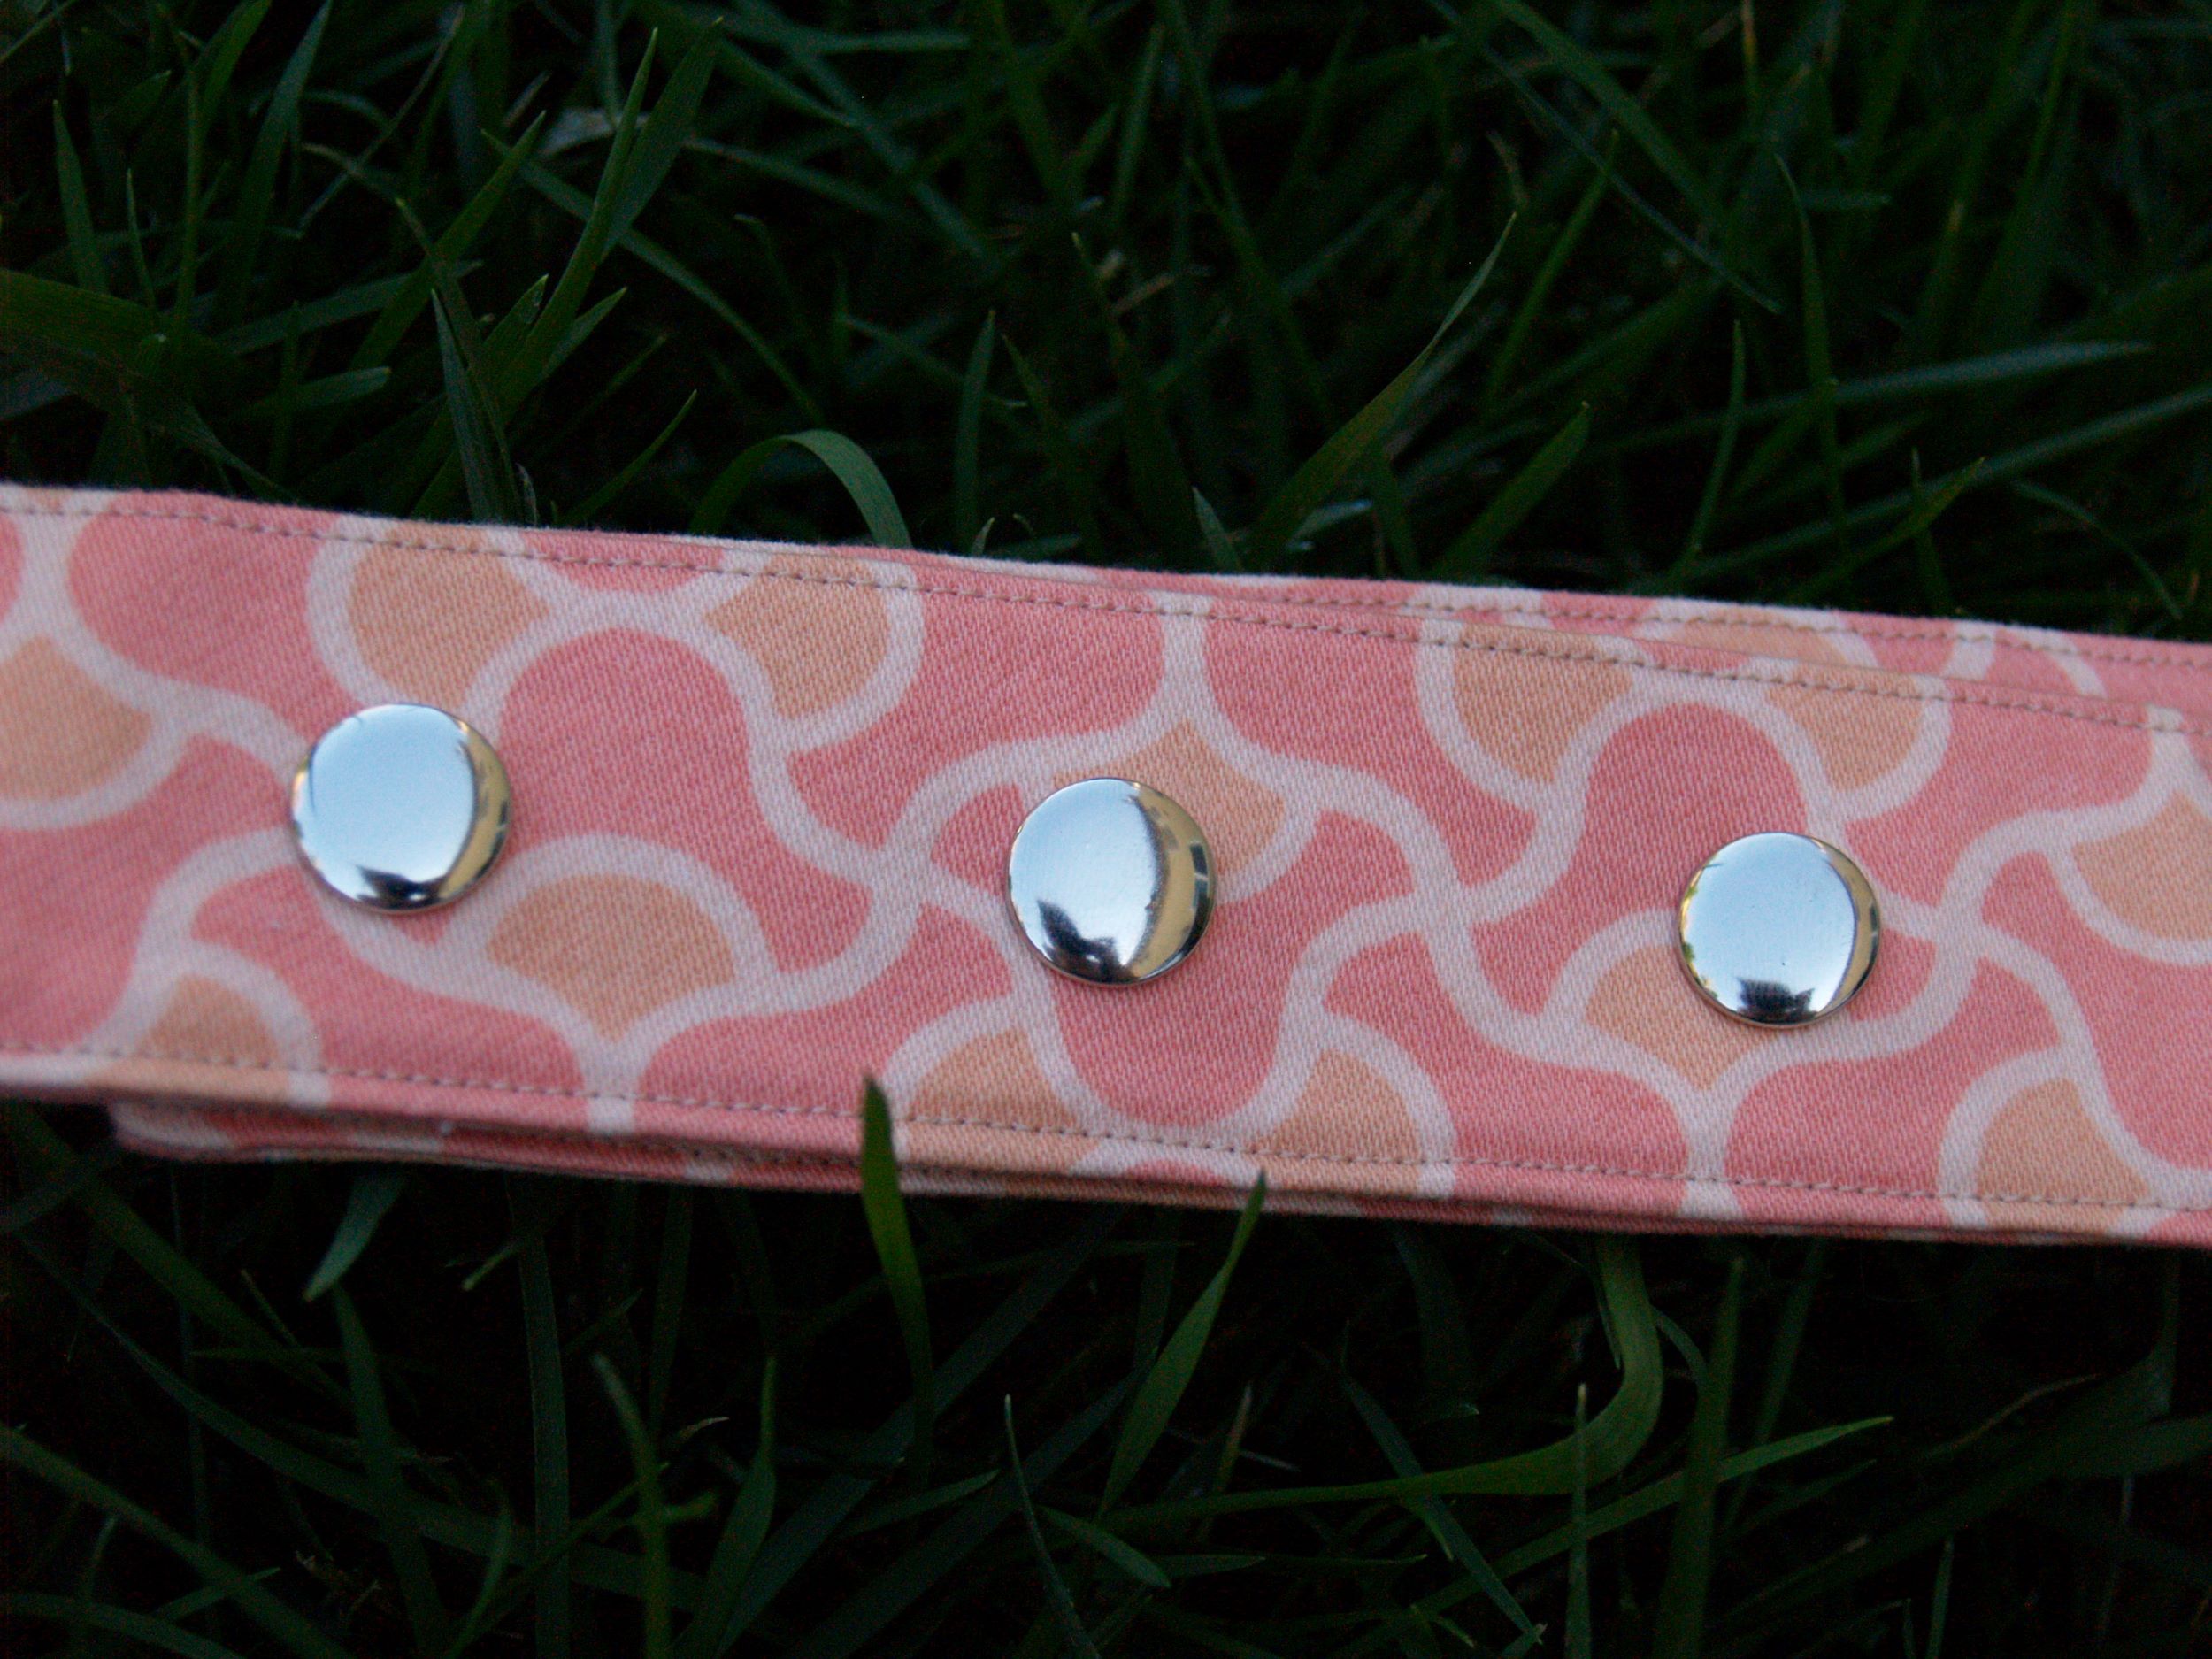
Then I added some big silver snaps as closures.

I’ve had this fabric in my stash for ages and ages and the colors just worked perfectly. It’s more home dec weight fabric, and by now I can’t even remember what I had in mind when I bought it.
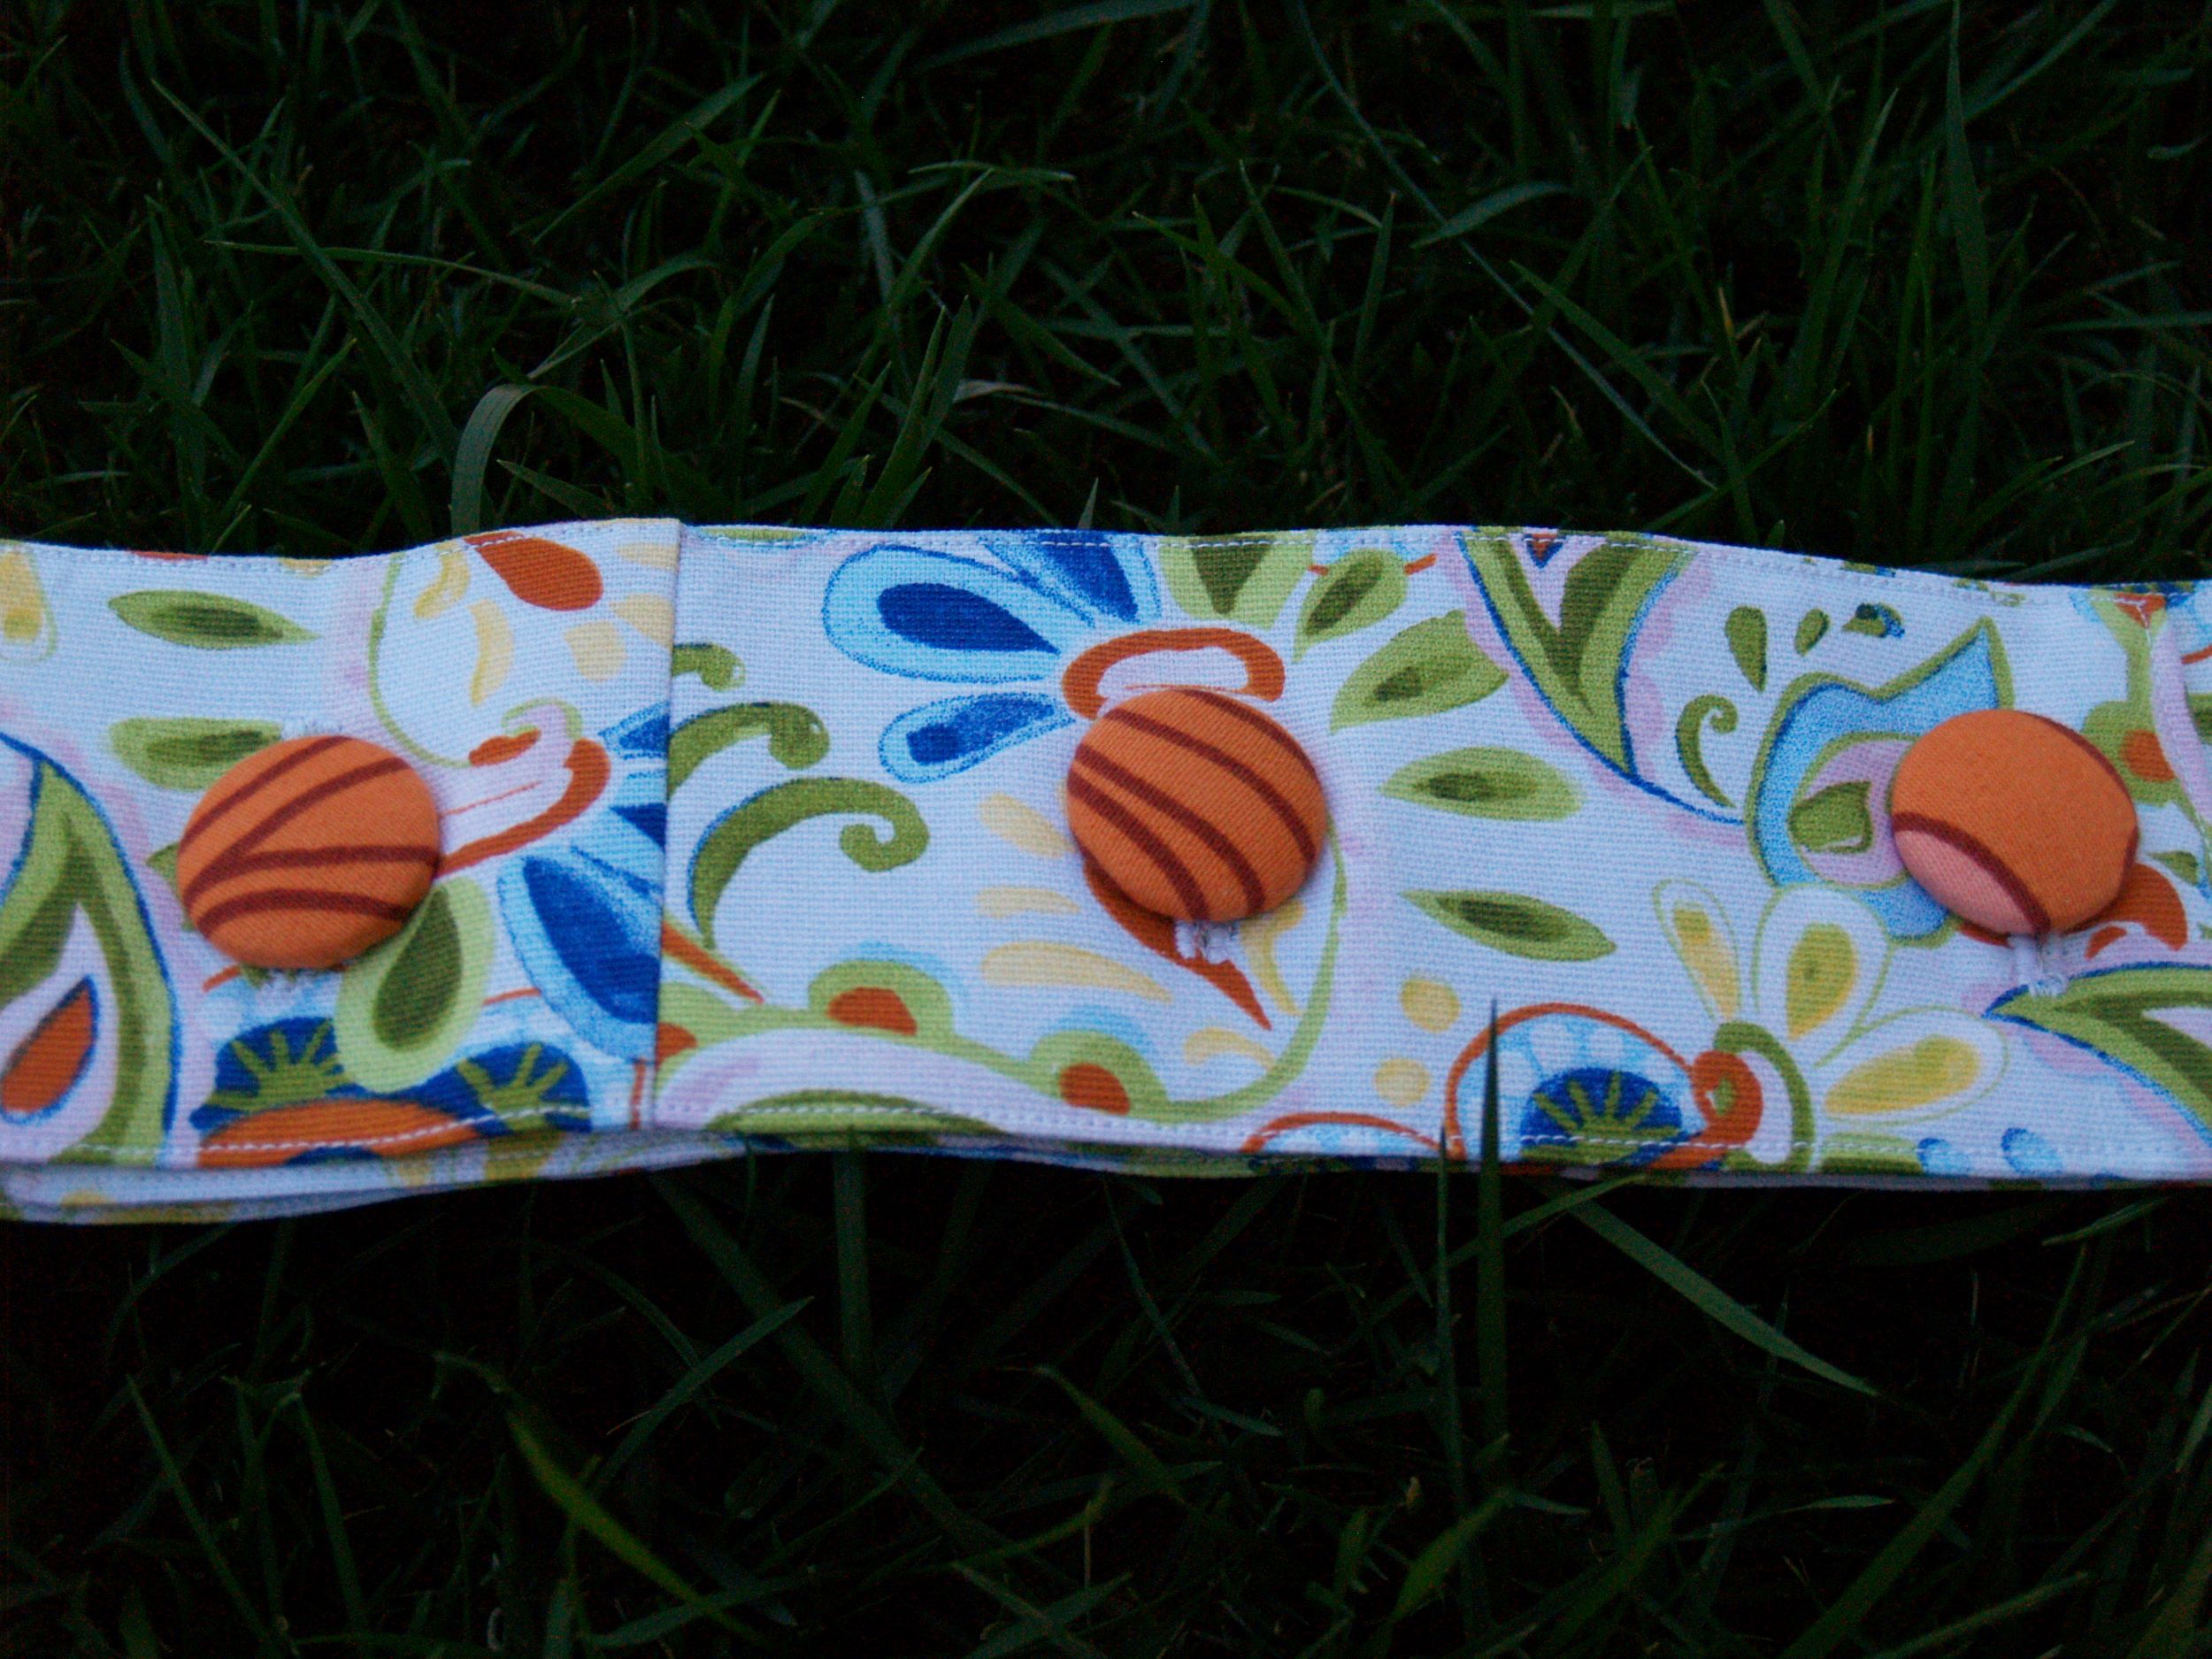
I whipped up some covered buttons and positioned the button holes so it would fit me snugly, but not tightly.
With the success and ease of those belts, I decided to be a little more adventurous and try to replicate another belt I owned.

This picture cracks me up. I was trying to smooth out my skirt before the timer went off and I ended up looking all super posey. Maybe that’s the secret to my whole modeling dilemma. I need to take pictures by accident.
Anyway, I’ve had this awesome faux snakeskin fabric for years and years and I’ve been rationing it for only the perfect project. I bought this other belt where one end kind of folds under the other end, so I bought a unique closure and tried to replicate it.
I started by making the belt part just like every other kind. Cut, interface, make a tube, sew around the edges. Then I cut two more pieces of fabric and sewed them into tubes thin enough to fit through the closures. My fabric pieces measured about 6 1/2″ x 2 1/2″.
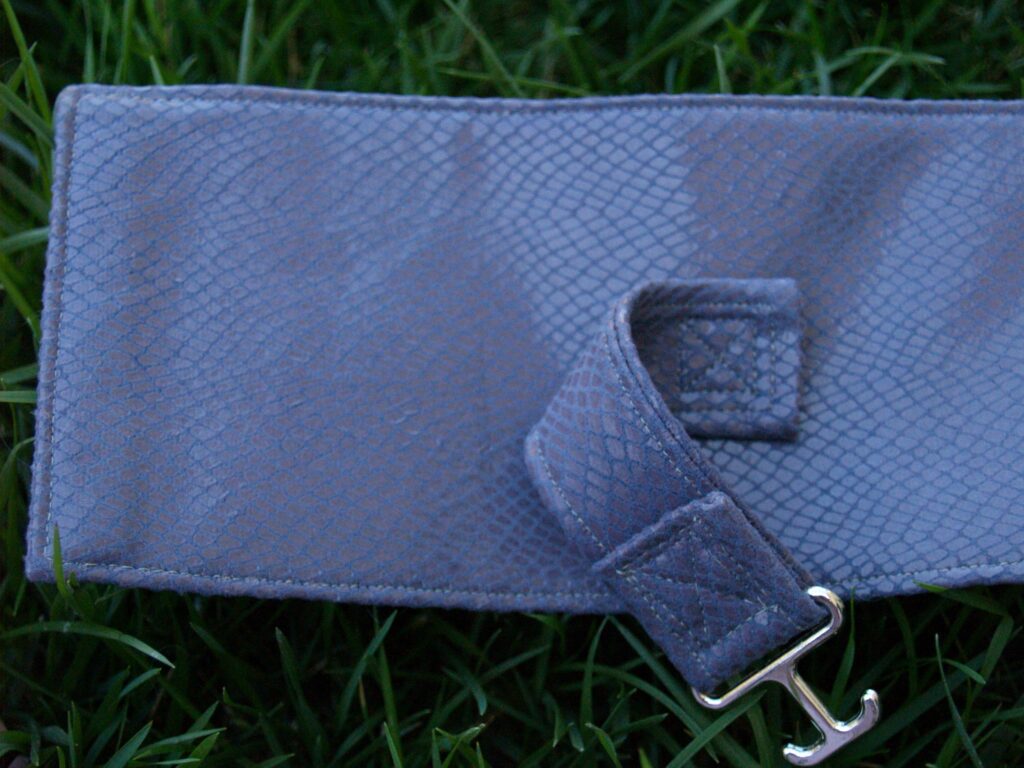
Thread one end through the closure and sew securely. Sew the other end securely to the belt. Repeat for the other side.
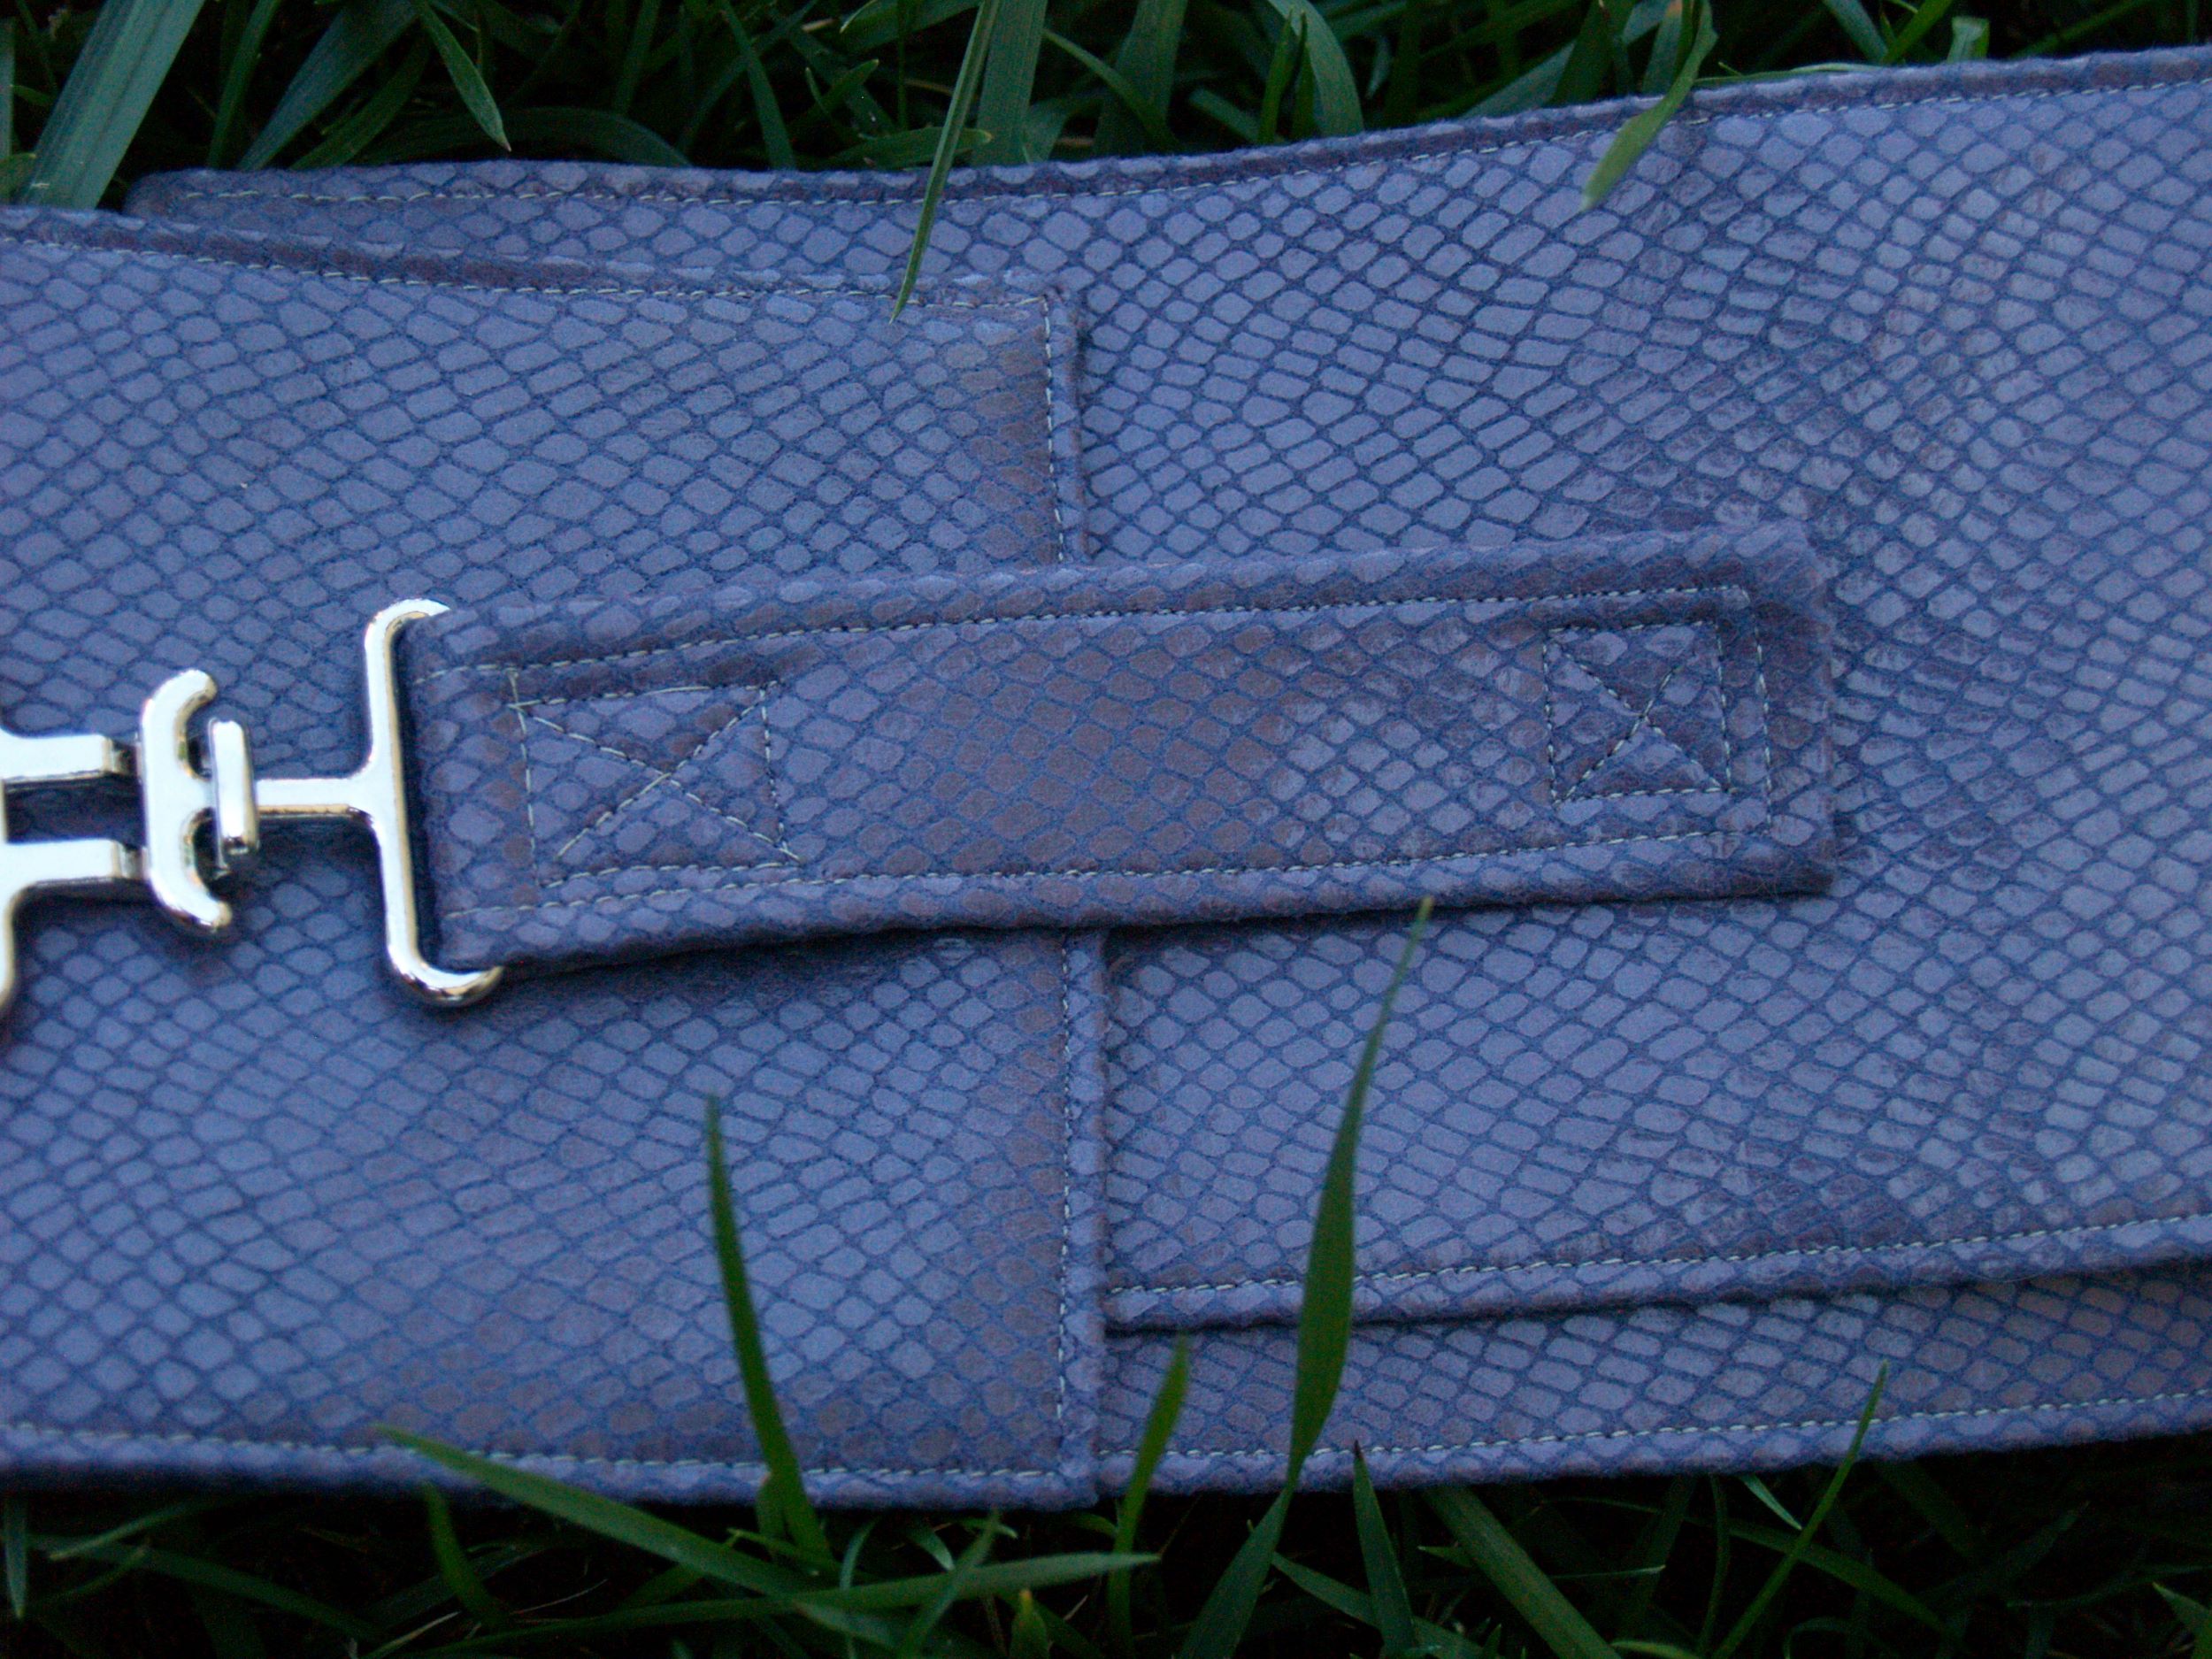
I got the placement of the closure right just by trying it on and then pinning it in place. Then when you put it on, you overlap the ends of the belt on top of each other, and then bring the closure tabs together. The construction couldn’t be simpler, even though the description isn’t.
I don’t know why I haven’t seen more homemade belt tutorials. They’re so easy they’re addictive. I’m going to wear this dress down to the threads before I put a dent in my new belt rotation.


Cool belts.. very impressed, but I believe I requested a tutorial on BOATS not belts… only two letters out, but oh such a problem when you try to float away on a belt…You make it look so simple… including the wearing of them.
oh oh oh!! that snakeskin one! want!!
Love the belts! Great idea! Funny because today I fell in love with this listing on Etsyhttp://www.etsy.com/listing/54756735/jibri-plus-size-anna-swing-dress-hold. (I can't afford that one, but perhaps if I can find a dress like yours for only $4!!) Thanks for the inspiration!
cute!
I LOVE THEM! Wow. Impressive.(PS-I loved the super posey pic! LOL! I roll like that…)
The wide snakeskin belt looks fabulous on your figure! You've got skillz!
Awesome belts. Thank you very much for reminding me that belts should also be cute. I spend a lot more attention on function and tend to forget that things can look nice and pretty, still be functional… and not a million bucks.
I love those belts!
billig canada goose jakke V@N.q duvetica ҐµҐ¤Ґє 5)+nC ugg ҐвҐ«Ґ·Ґу ,rJ*- http://www.cg-jung.no/jakke.asp – canada goose jakke yebuw ҐўҐ° ҐЦ©`ҐД 3DaLA