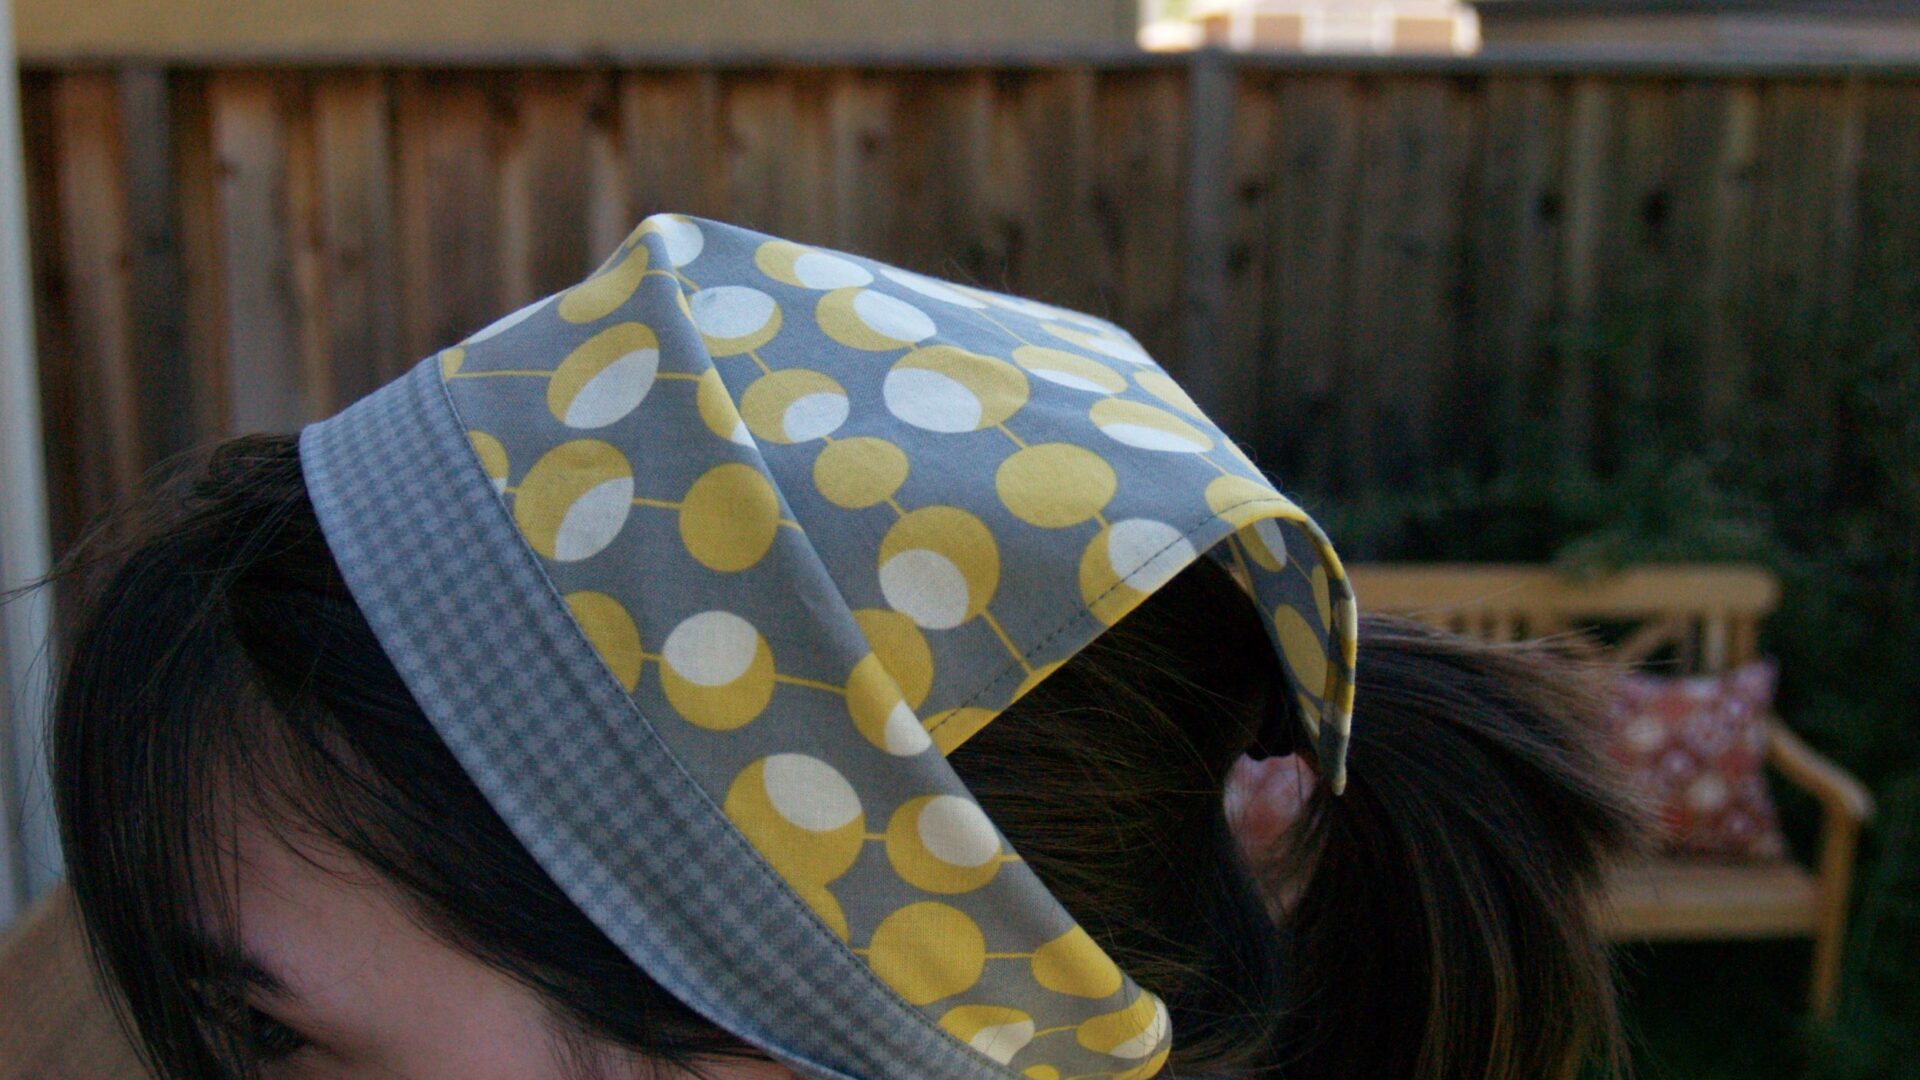
In the early 80’s my mom used to wear a headscarf all the time. I guess it was just a trend, maybe one she hung on to a little longer than advisable, but it was one of those things that imprinted on me as a classy grown up thing to do.
Now, I’m just grateful that I can occasionally go one more day between showers without looking like a total greaseball. That extra half hour is precious some days.
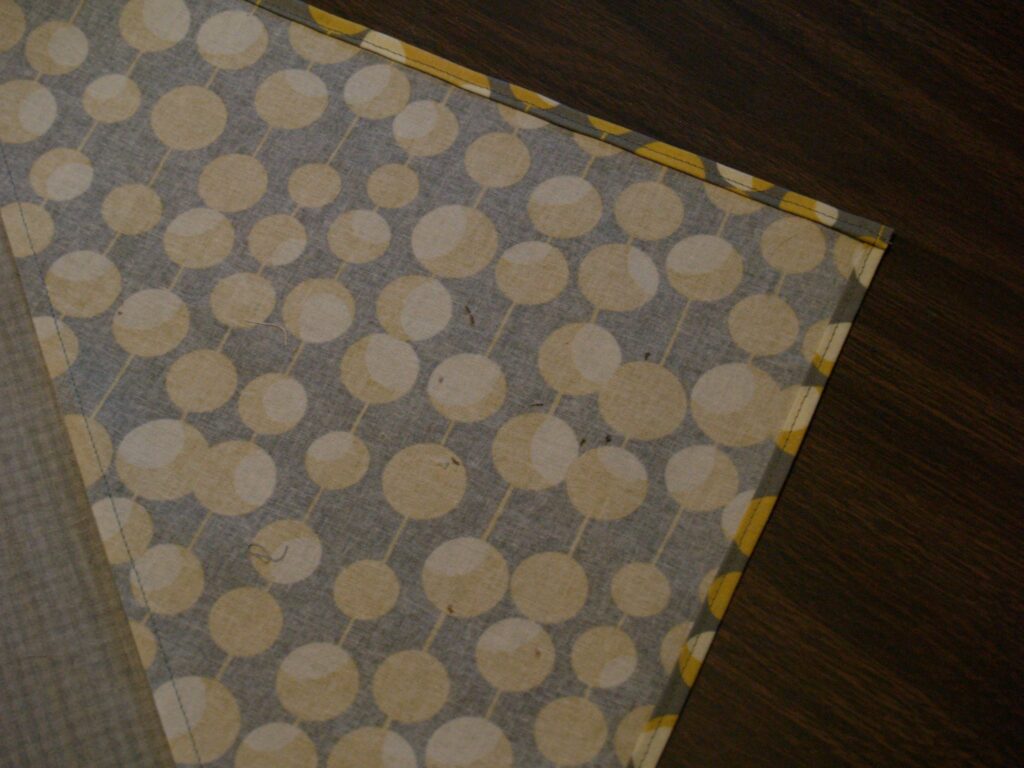
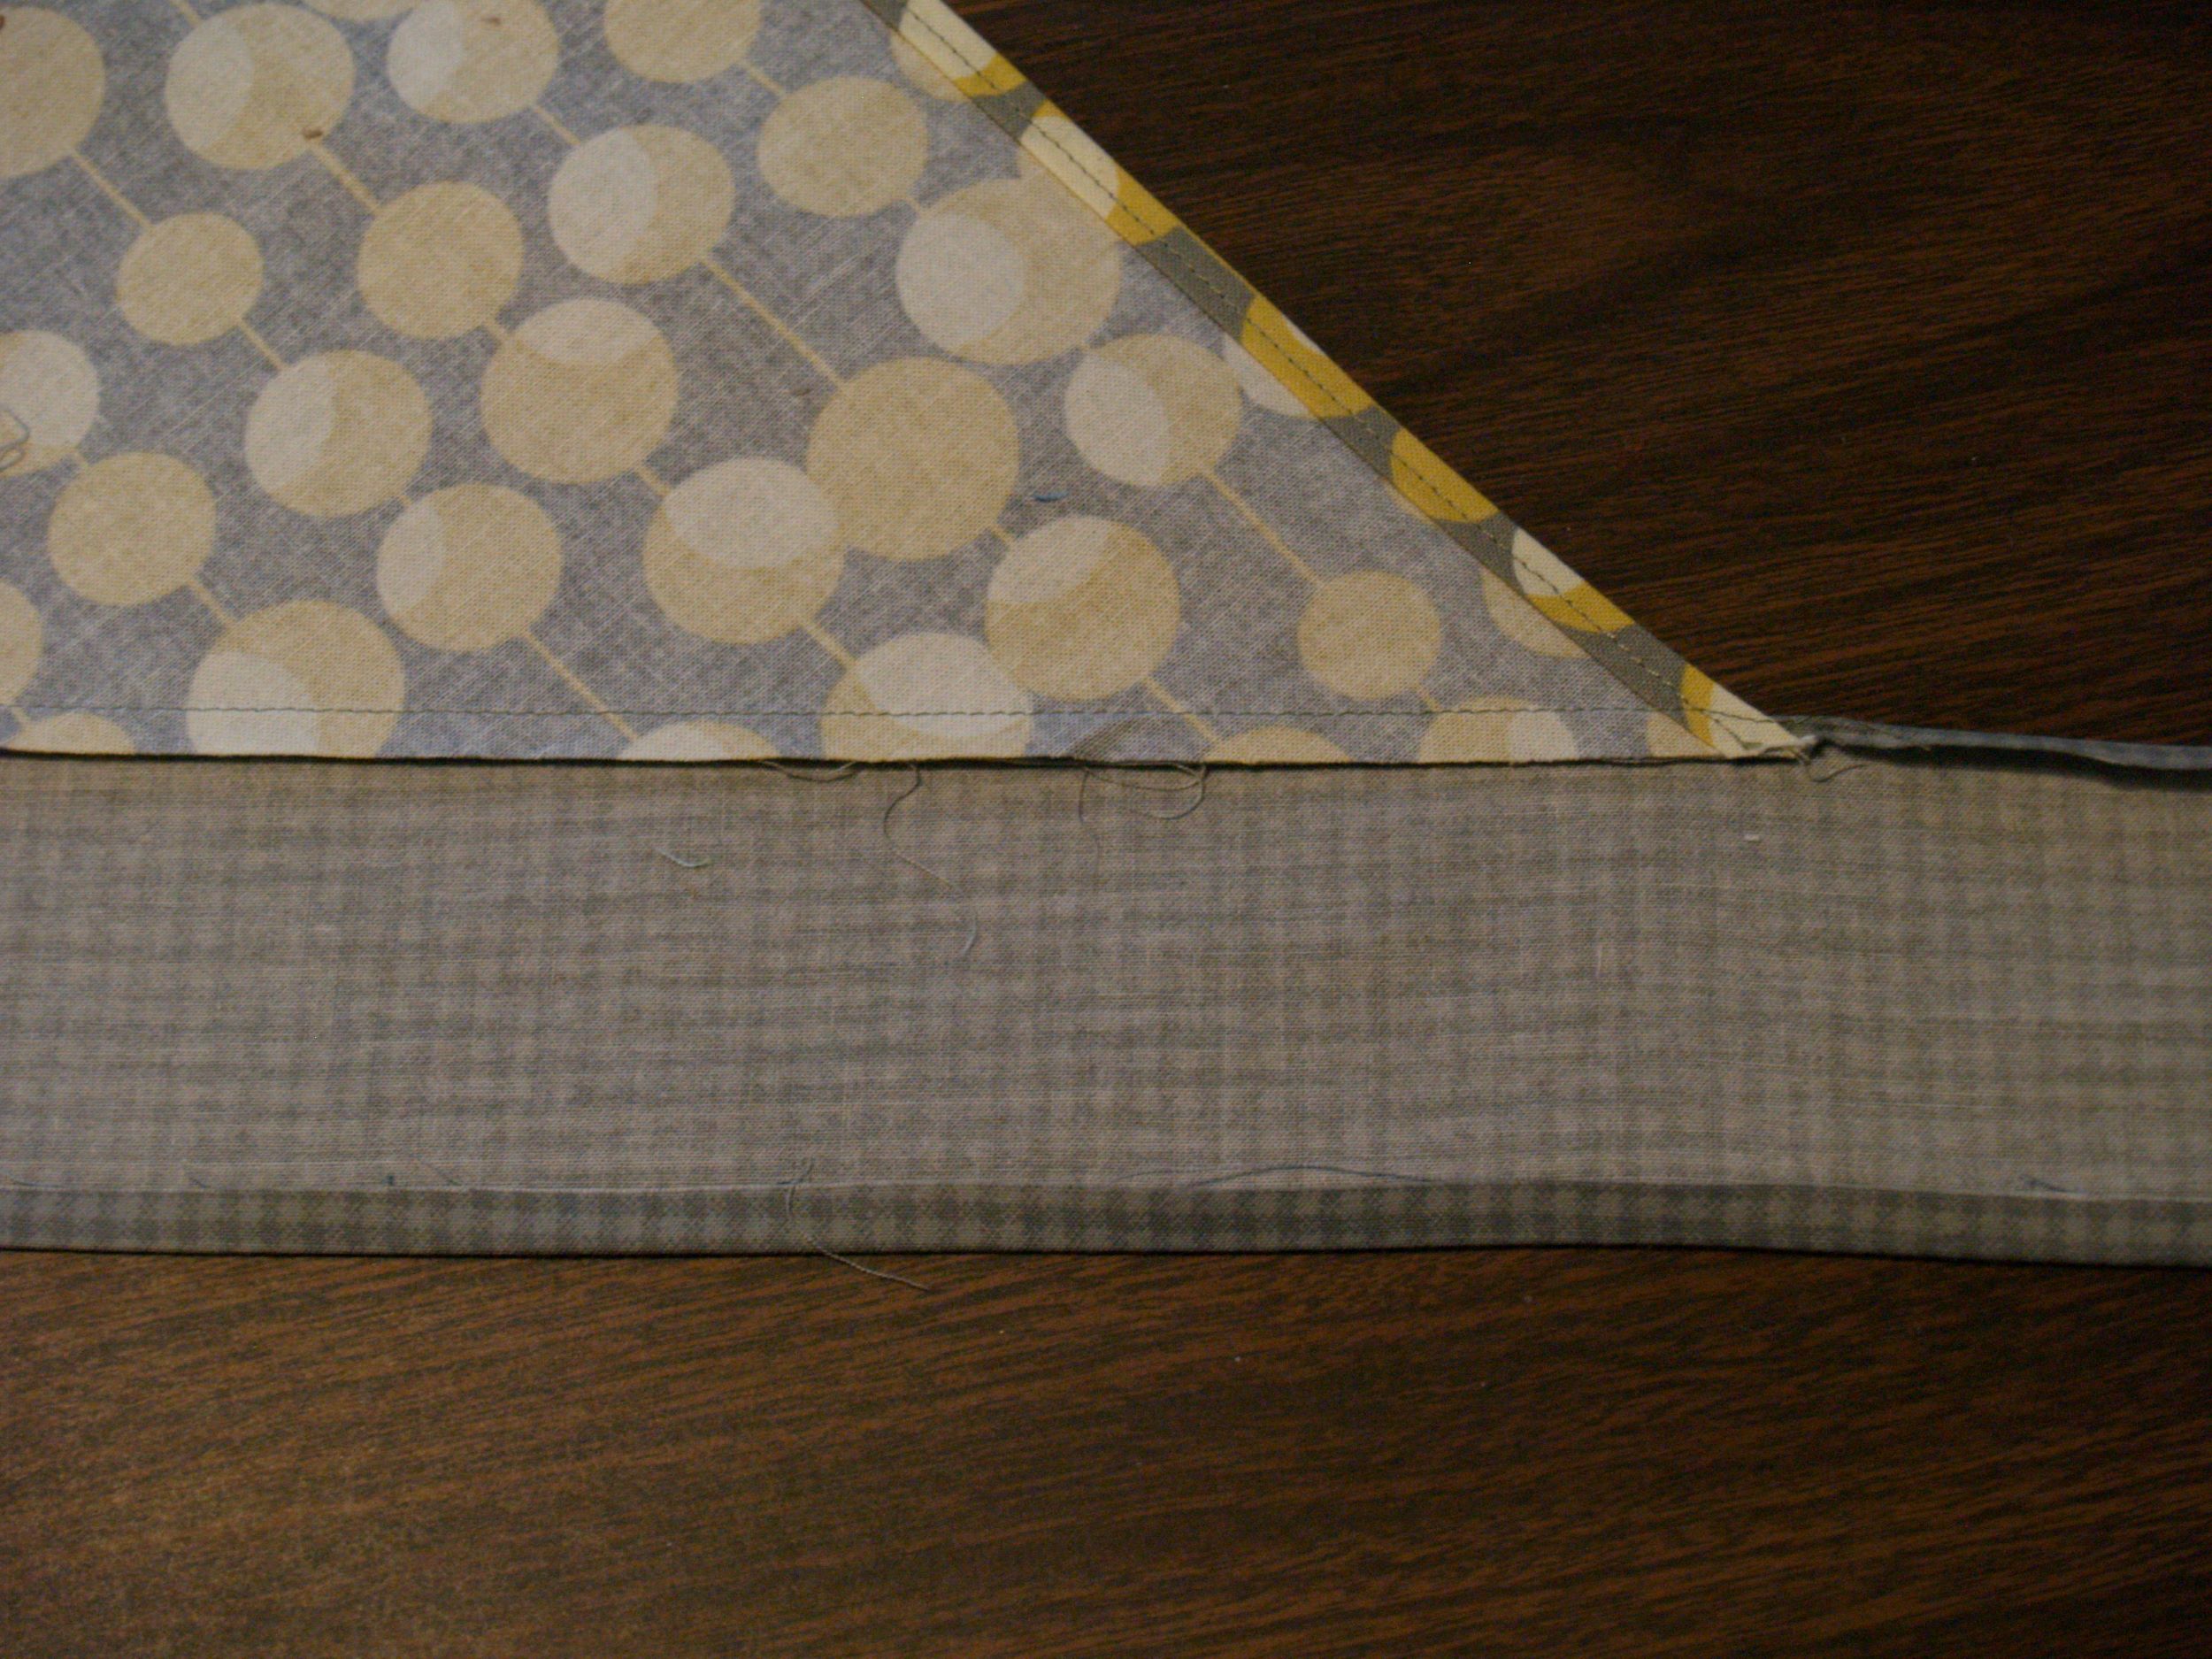
You’ll need two pieces of fabric. Cut one piece for the ties to measure 3″ x 34″. For the scarf part, cut a piece of fabric to 15″ x 15″ and then cut it diagonally across the middle. Hem both short edges of the scarf fabric.
Pin the center of the scarf fabric to the center of the tie fabric, right sides together, and sew with a 1/4″ seam allowance. Iron the seam towards the tie fabric, then continue to iron 1/4″ of the tie fabric towards the wrong side.
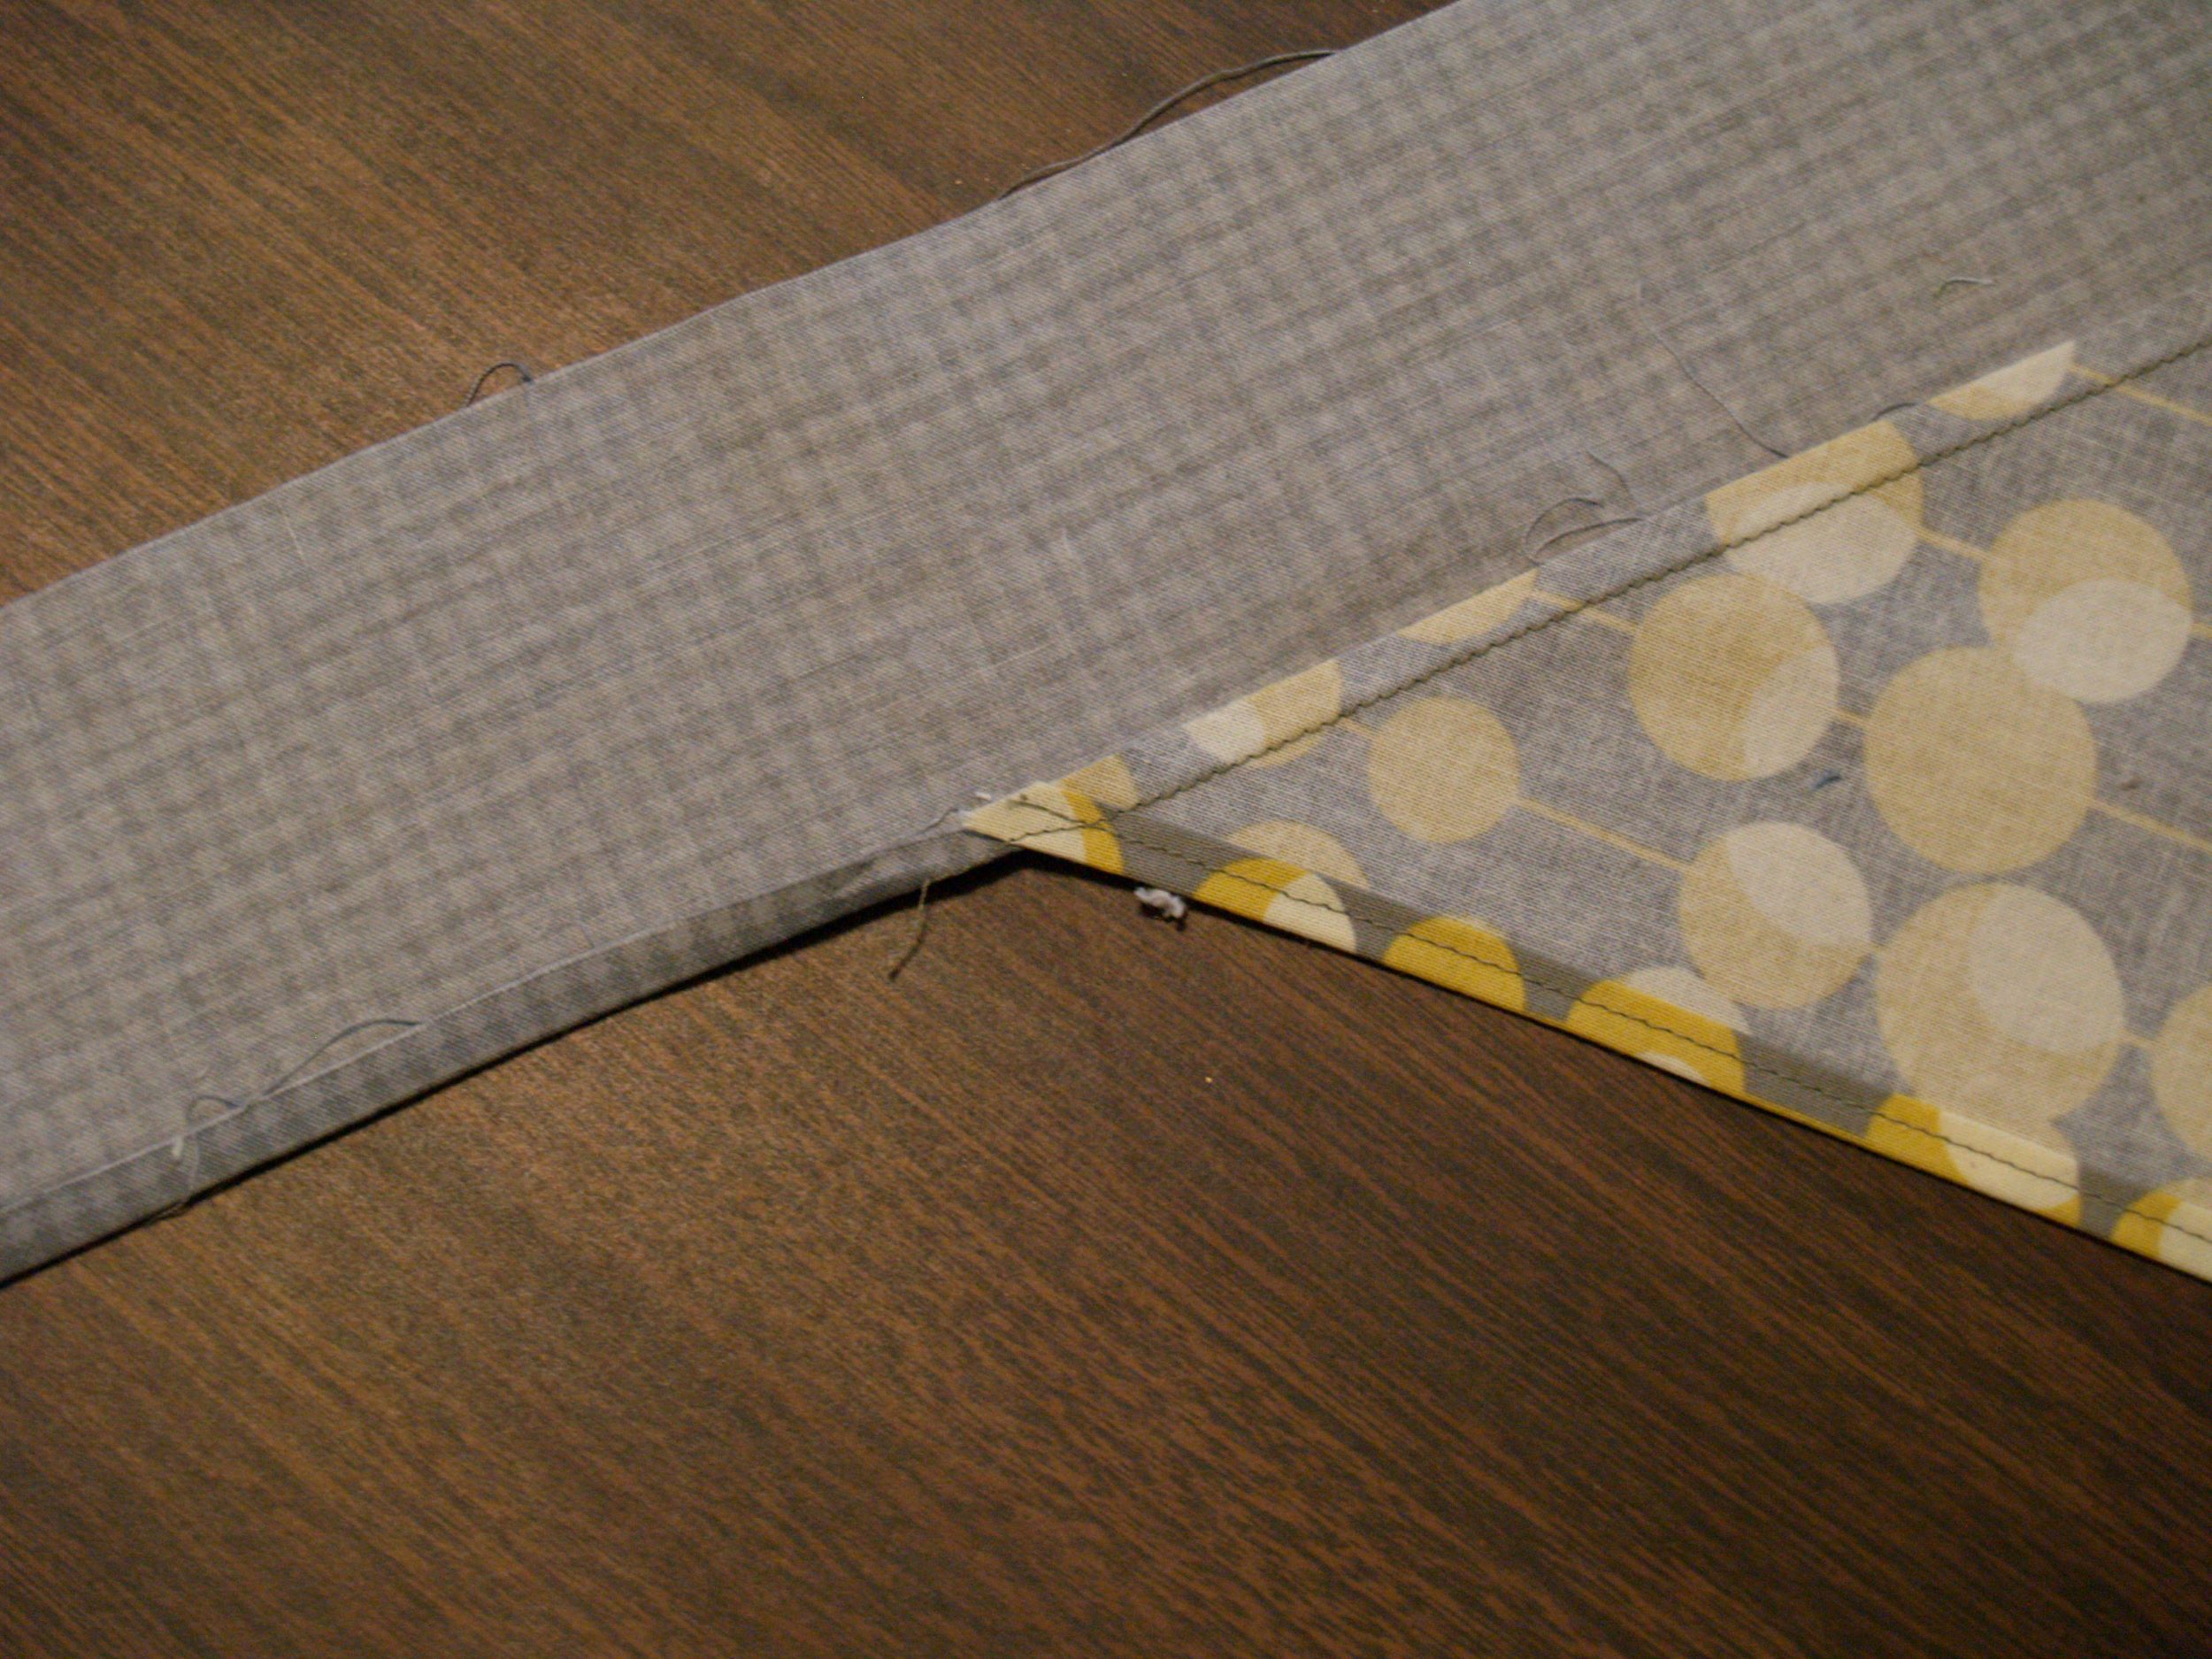
Iron a 1/4″ of the other side of the tie fabric towards the wrong side.
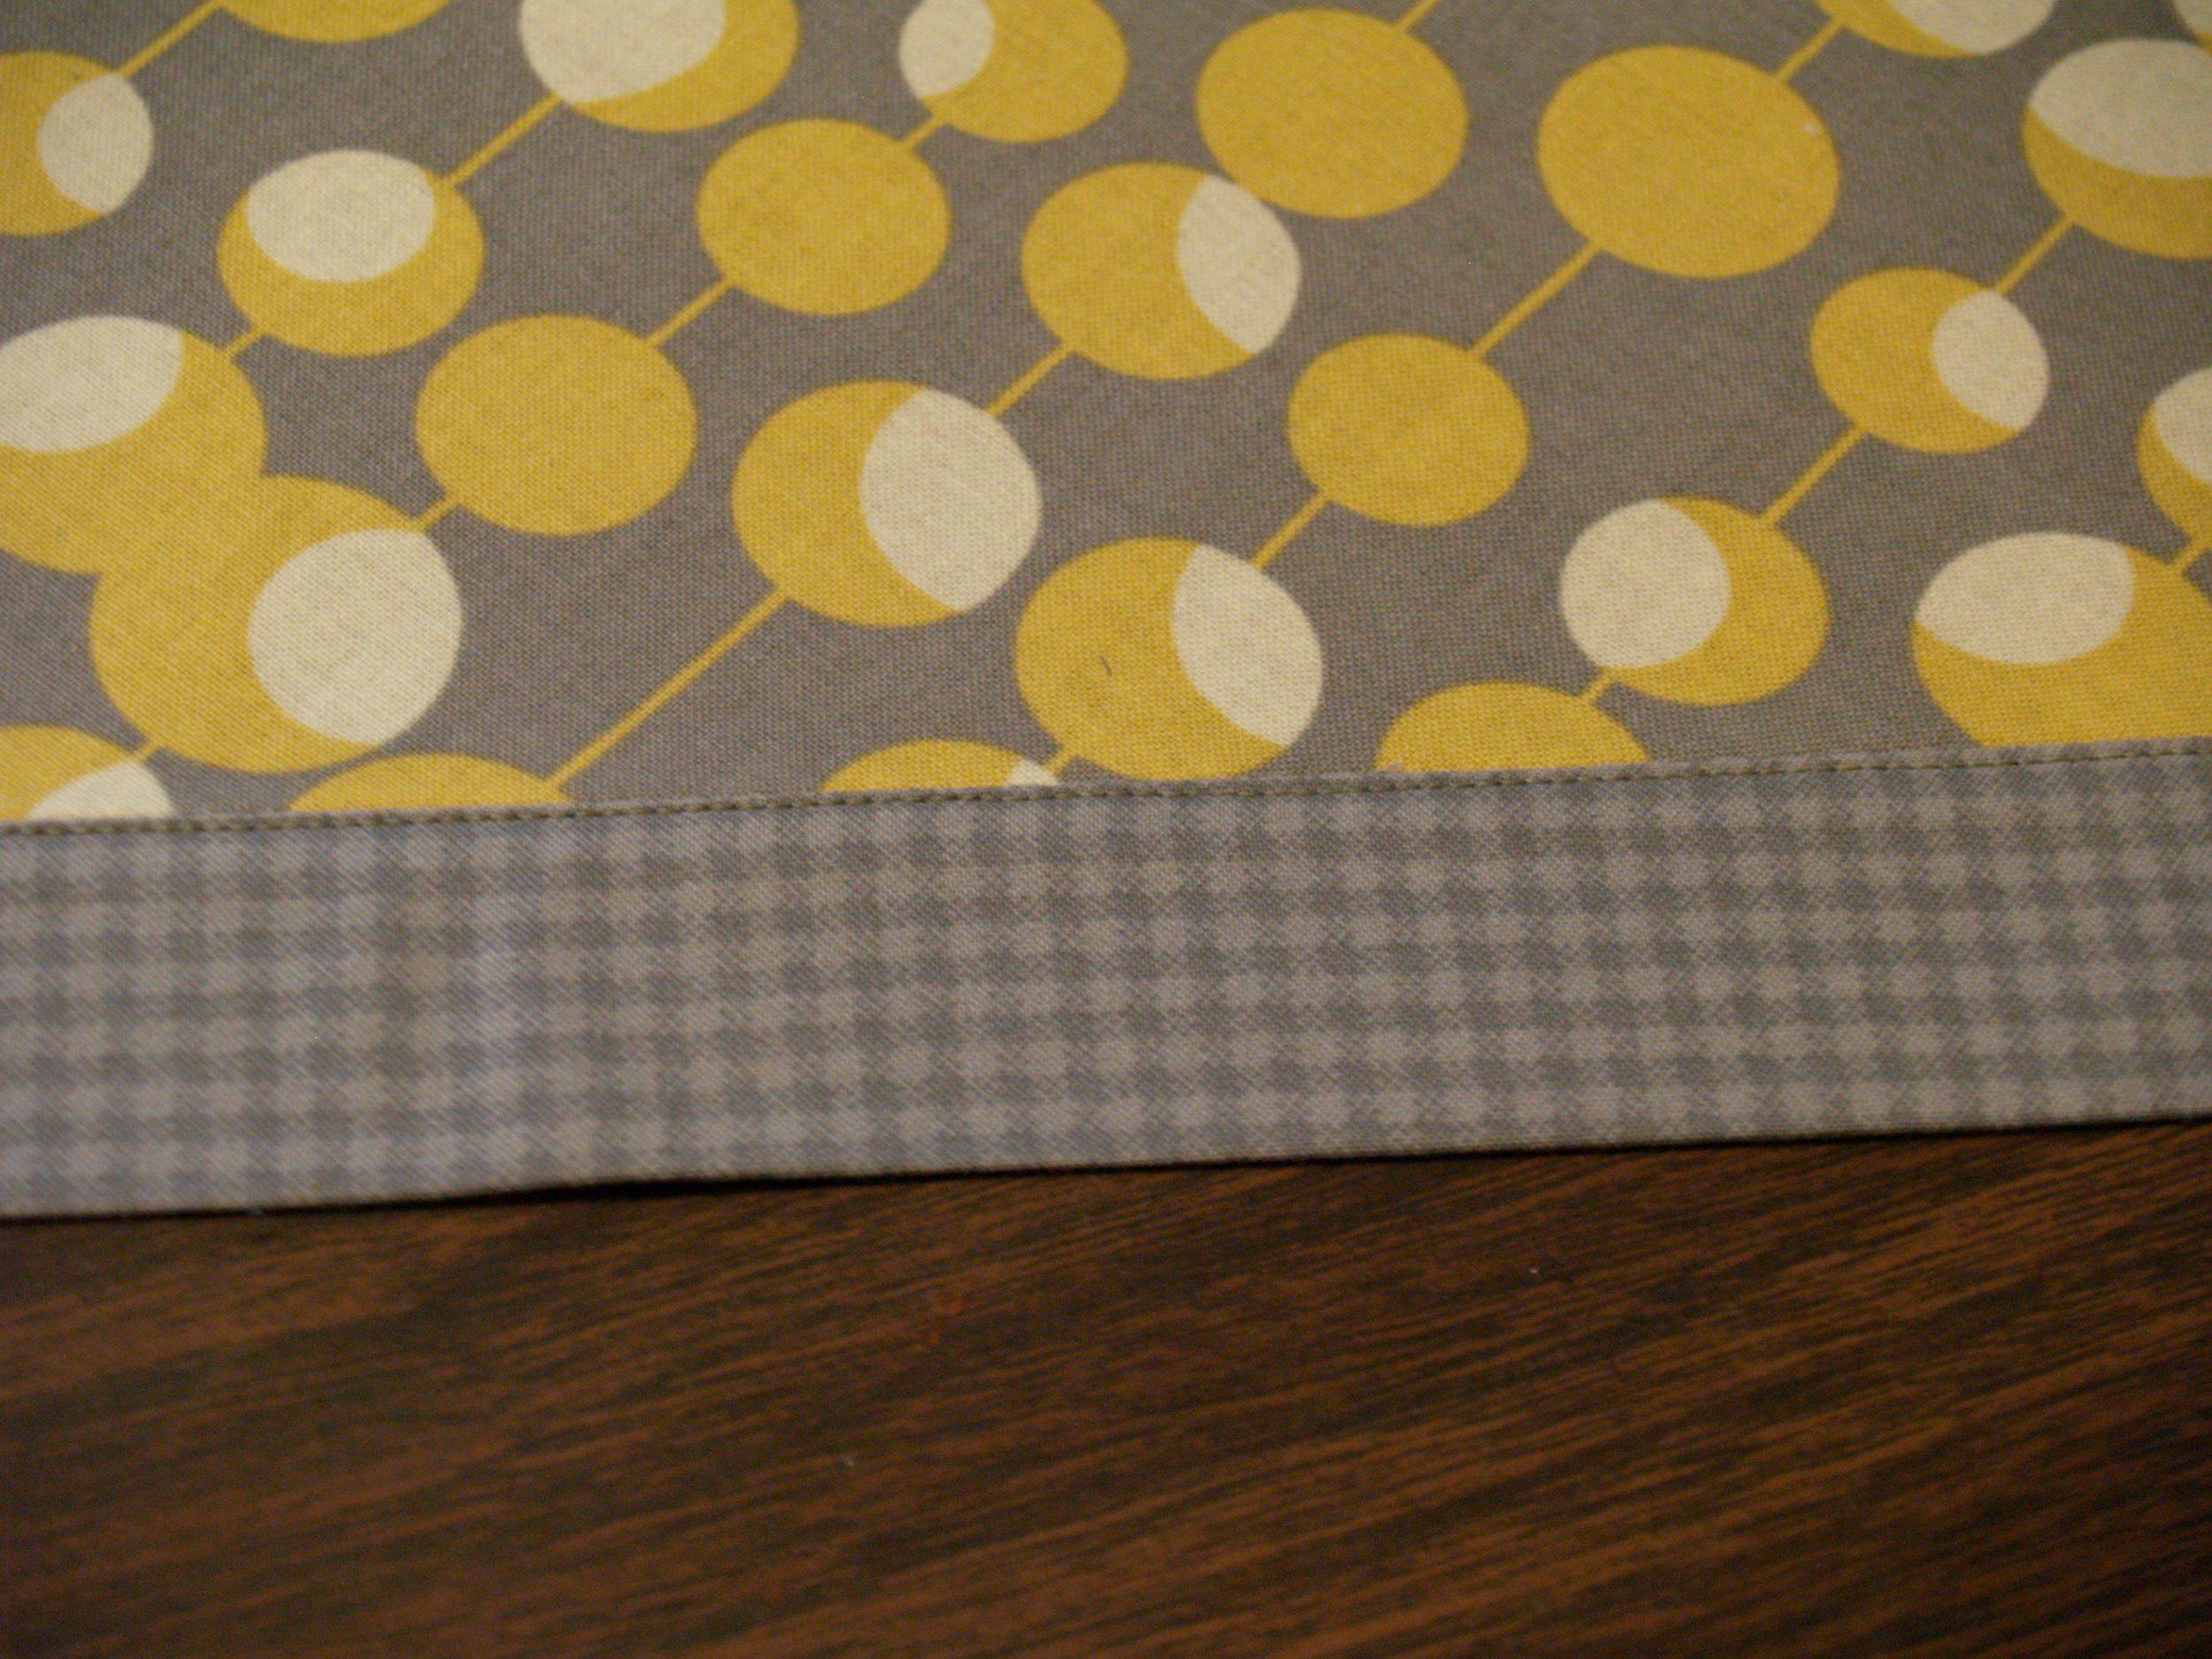
Fold the tie fabric in half by matching the 1/4″ edges you ironed. Sew as close to the edge as you can steer. Sew across the bottom of the ties as well to completely close them.
This is a project you can crank out so fast, and one that uses so little yardage, it’s tempting to make one in every color. I may never need to wash my hair again.


Is that Amy Butler? It is super cute fabric. You pull it off well.
Tresa, don't tell me how to MAKE these. Tell me where to BUY them.
Lovely. I used to put these on my Golden Retriever. Thank You.
Ooh, LOVE it! That fabric is so pretty. I was looking for a simple sewing project to help me break in my new machine. I have no idea what I'm doing! Thanks for the awesome tutorial 🙂