These ornaments wouldn’t have been possible without my Halloween Swap partner Moriah. She made me the coolest paperclay monster ornaments, and ever since I got my hands on them I’ve been wanting to dive into the world of paperclay.
This was a good first attempt. Not terribly complicated, but a good way to start playing with the medium.
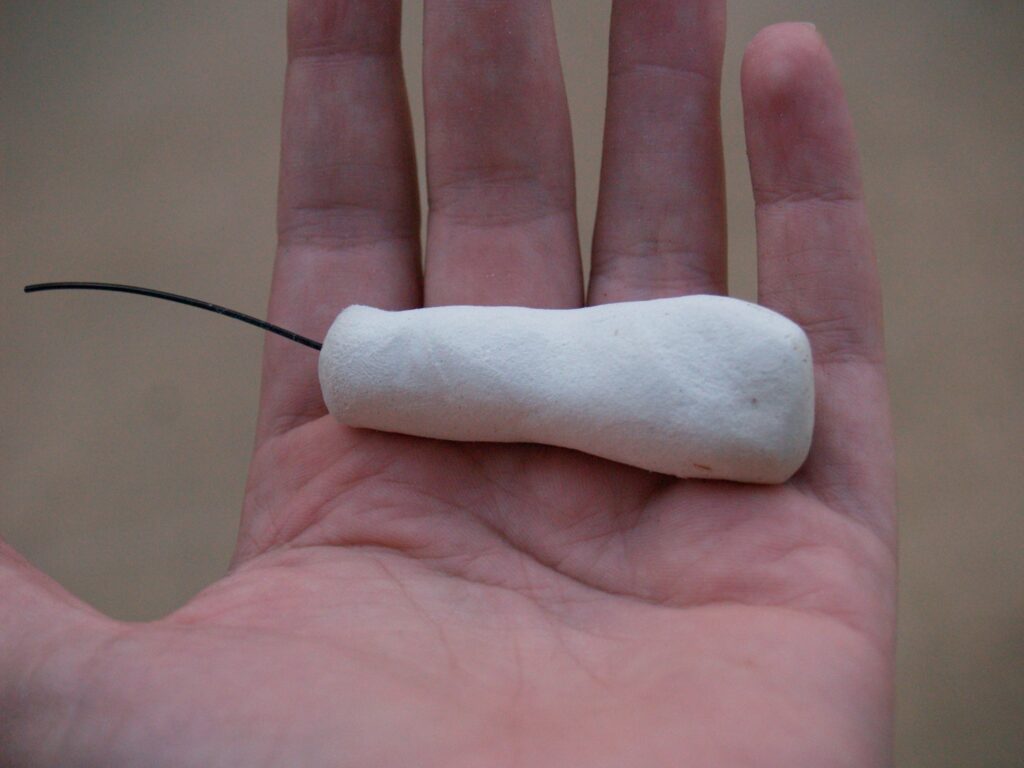
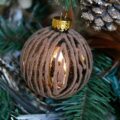
Start by molding a piece of clay into a stem shape, and poke a wire through that’s long enough to go about halfway down the stem with a few inches left hanging out the top.
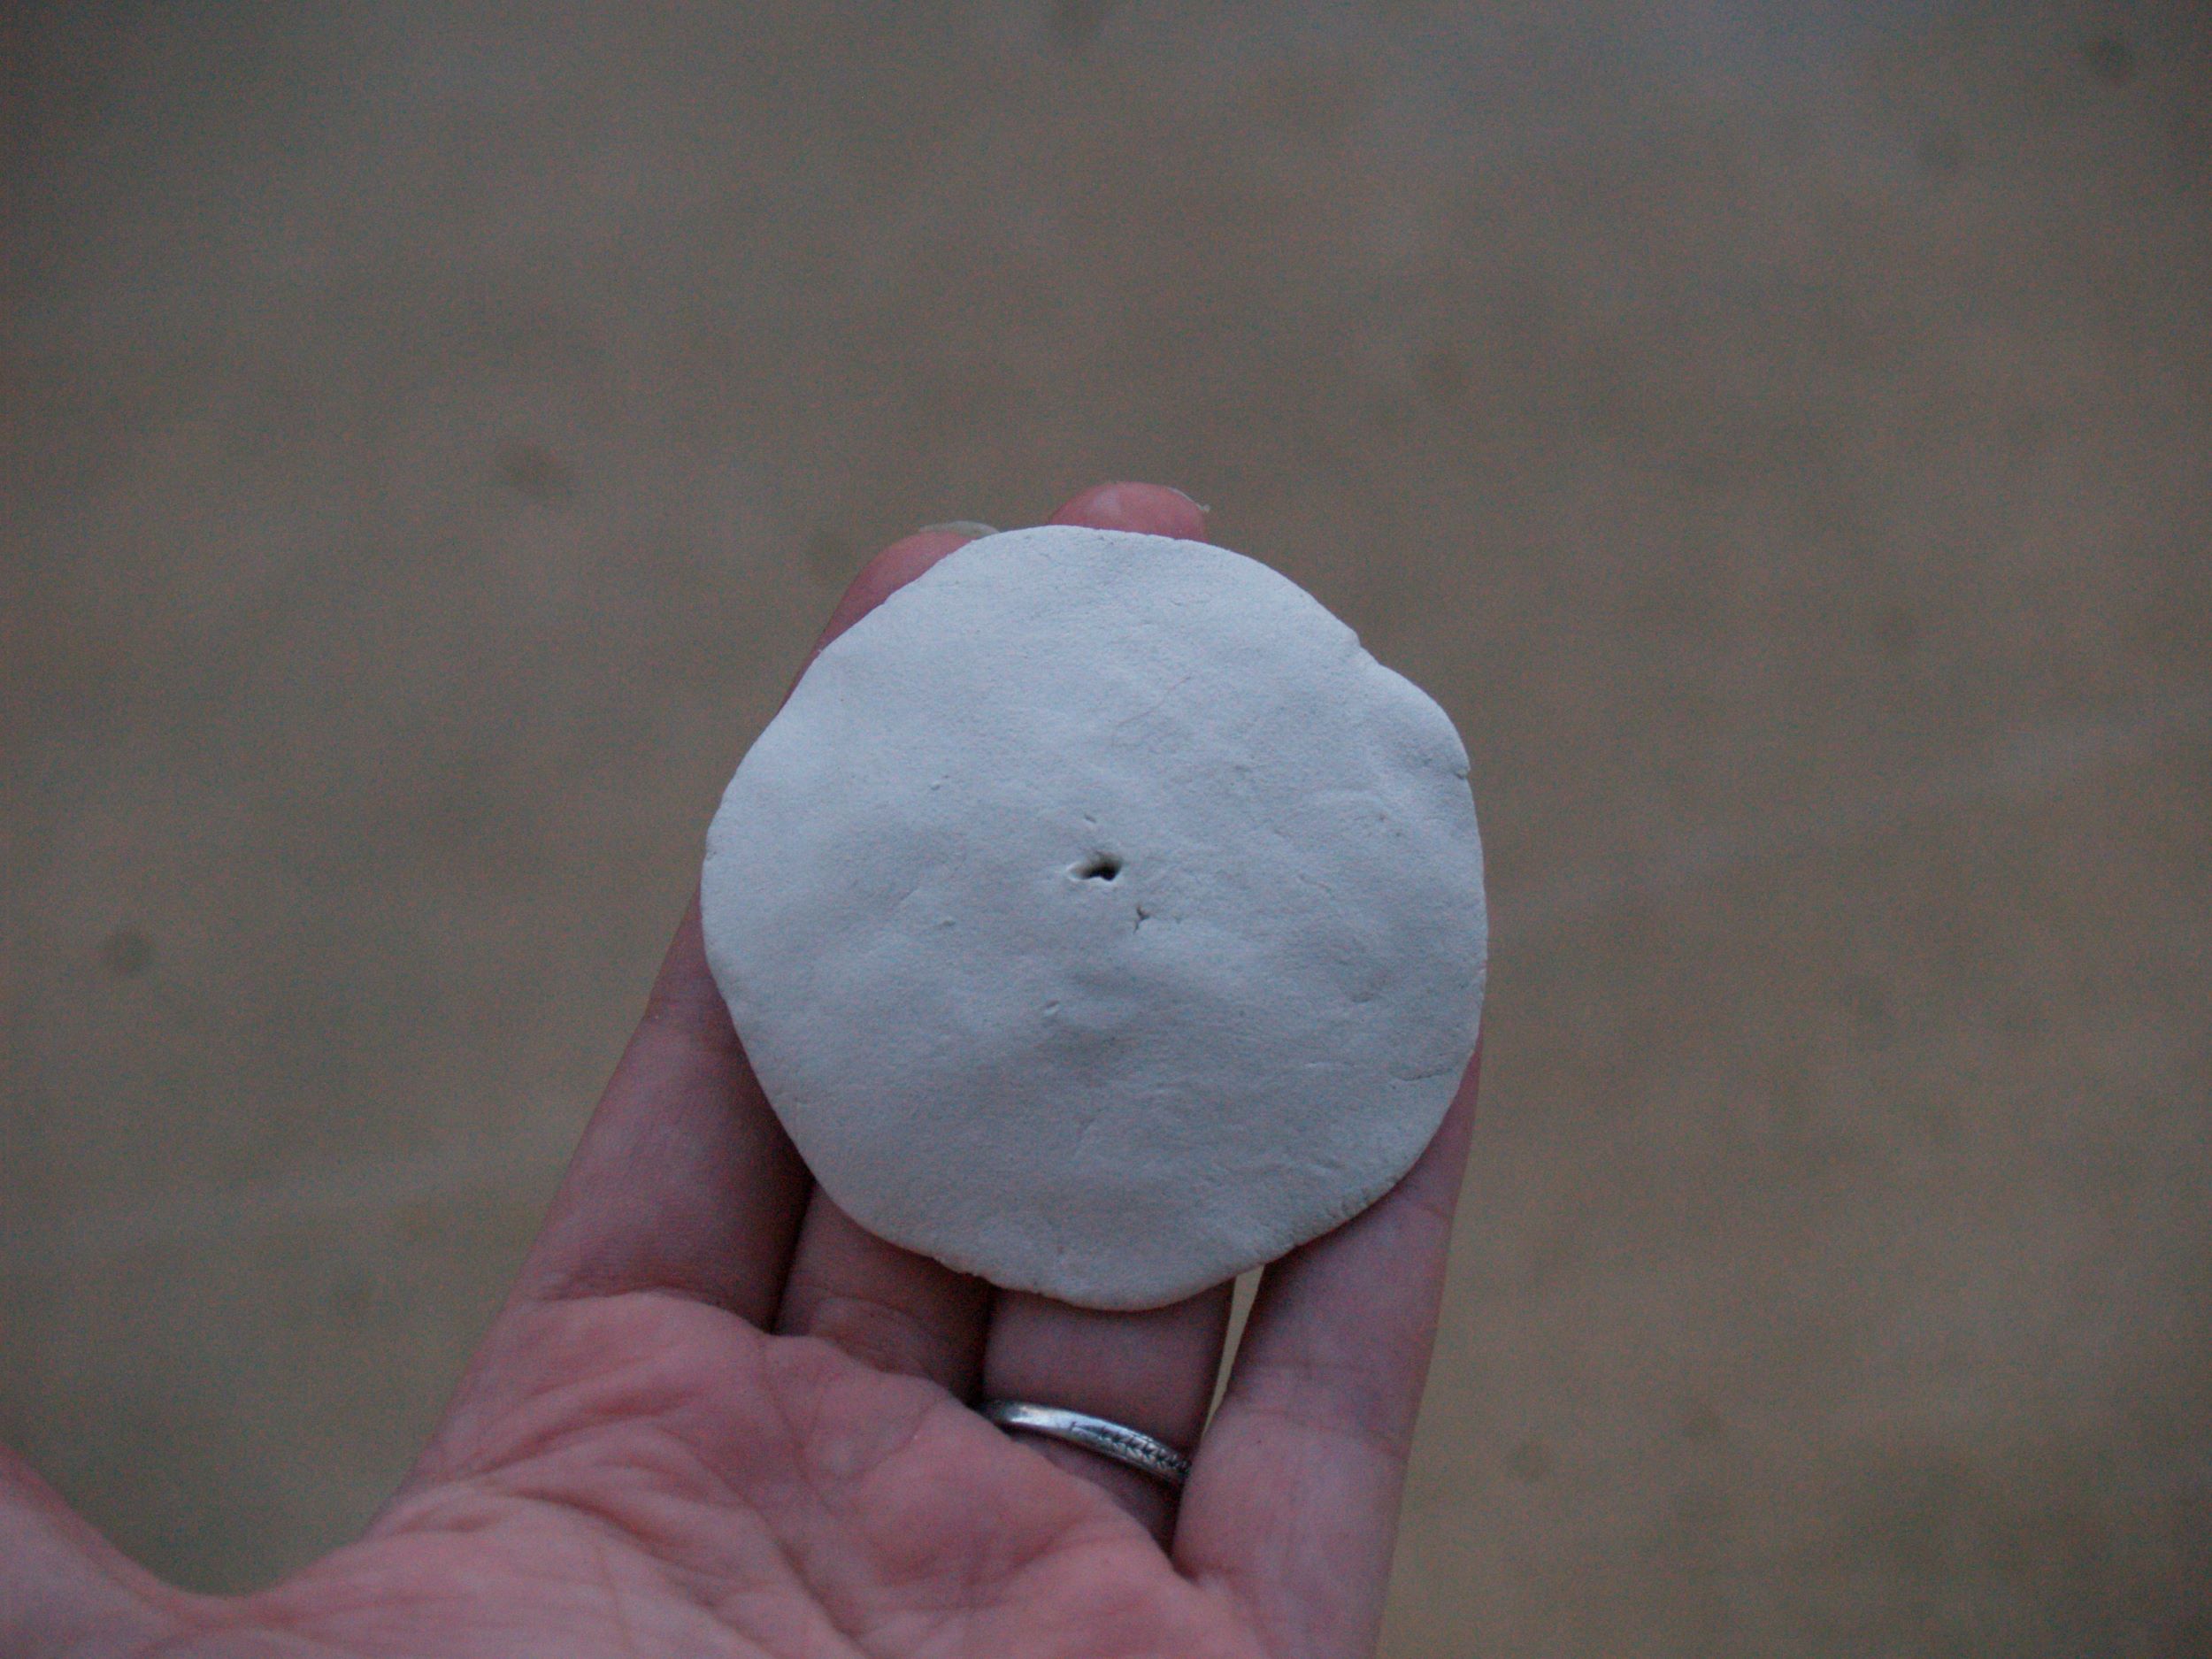
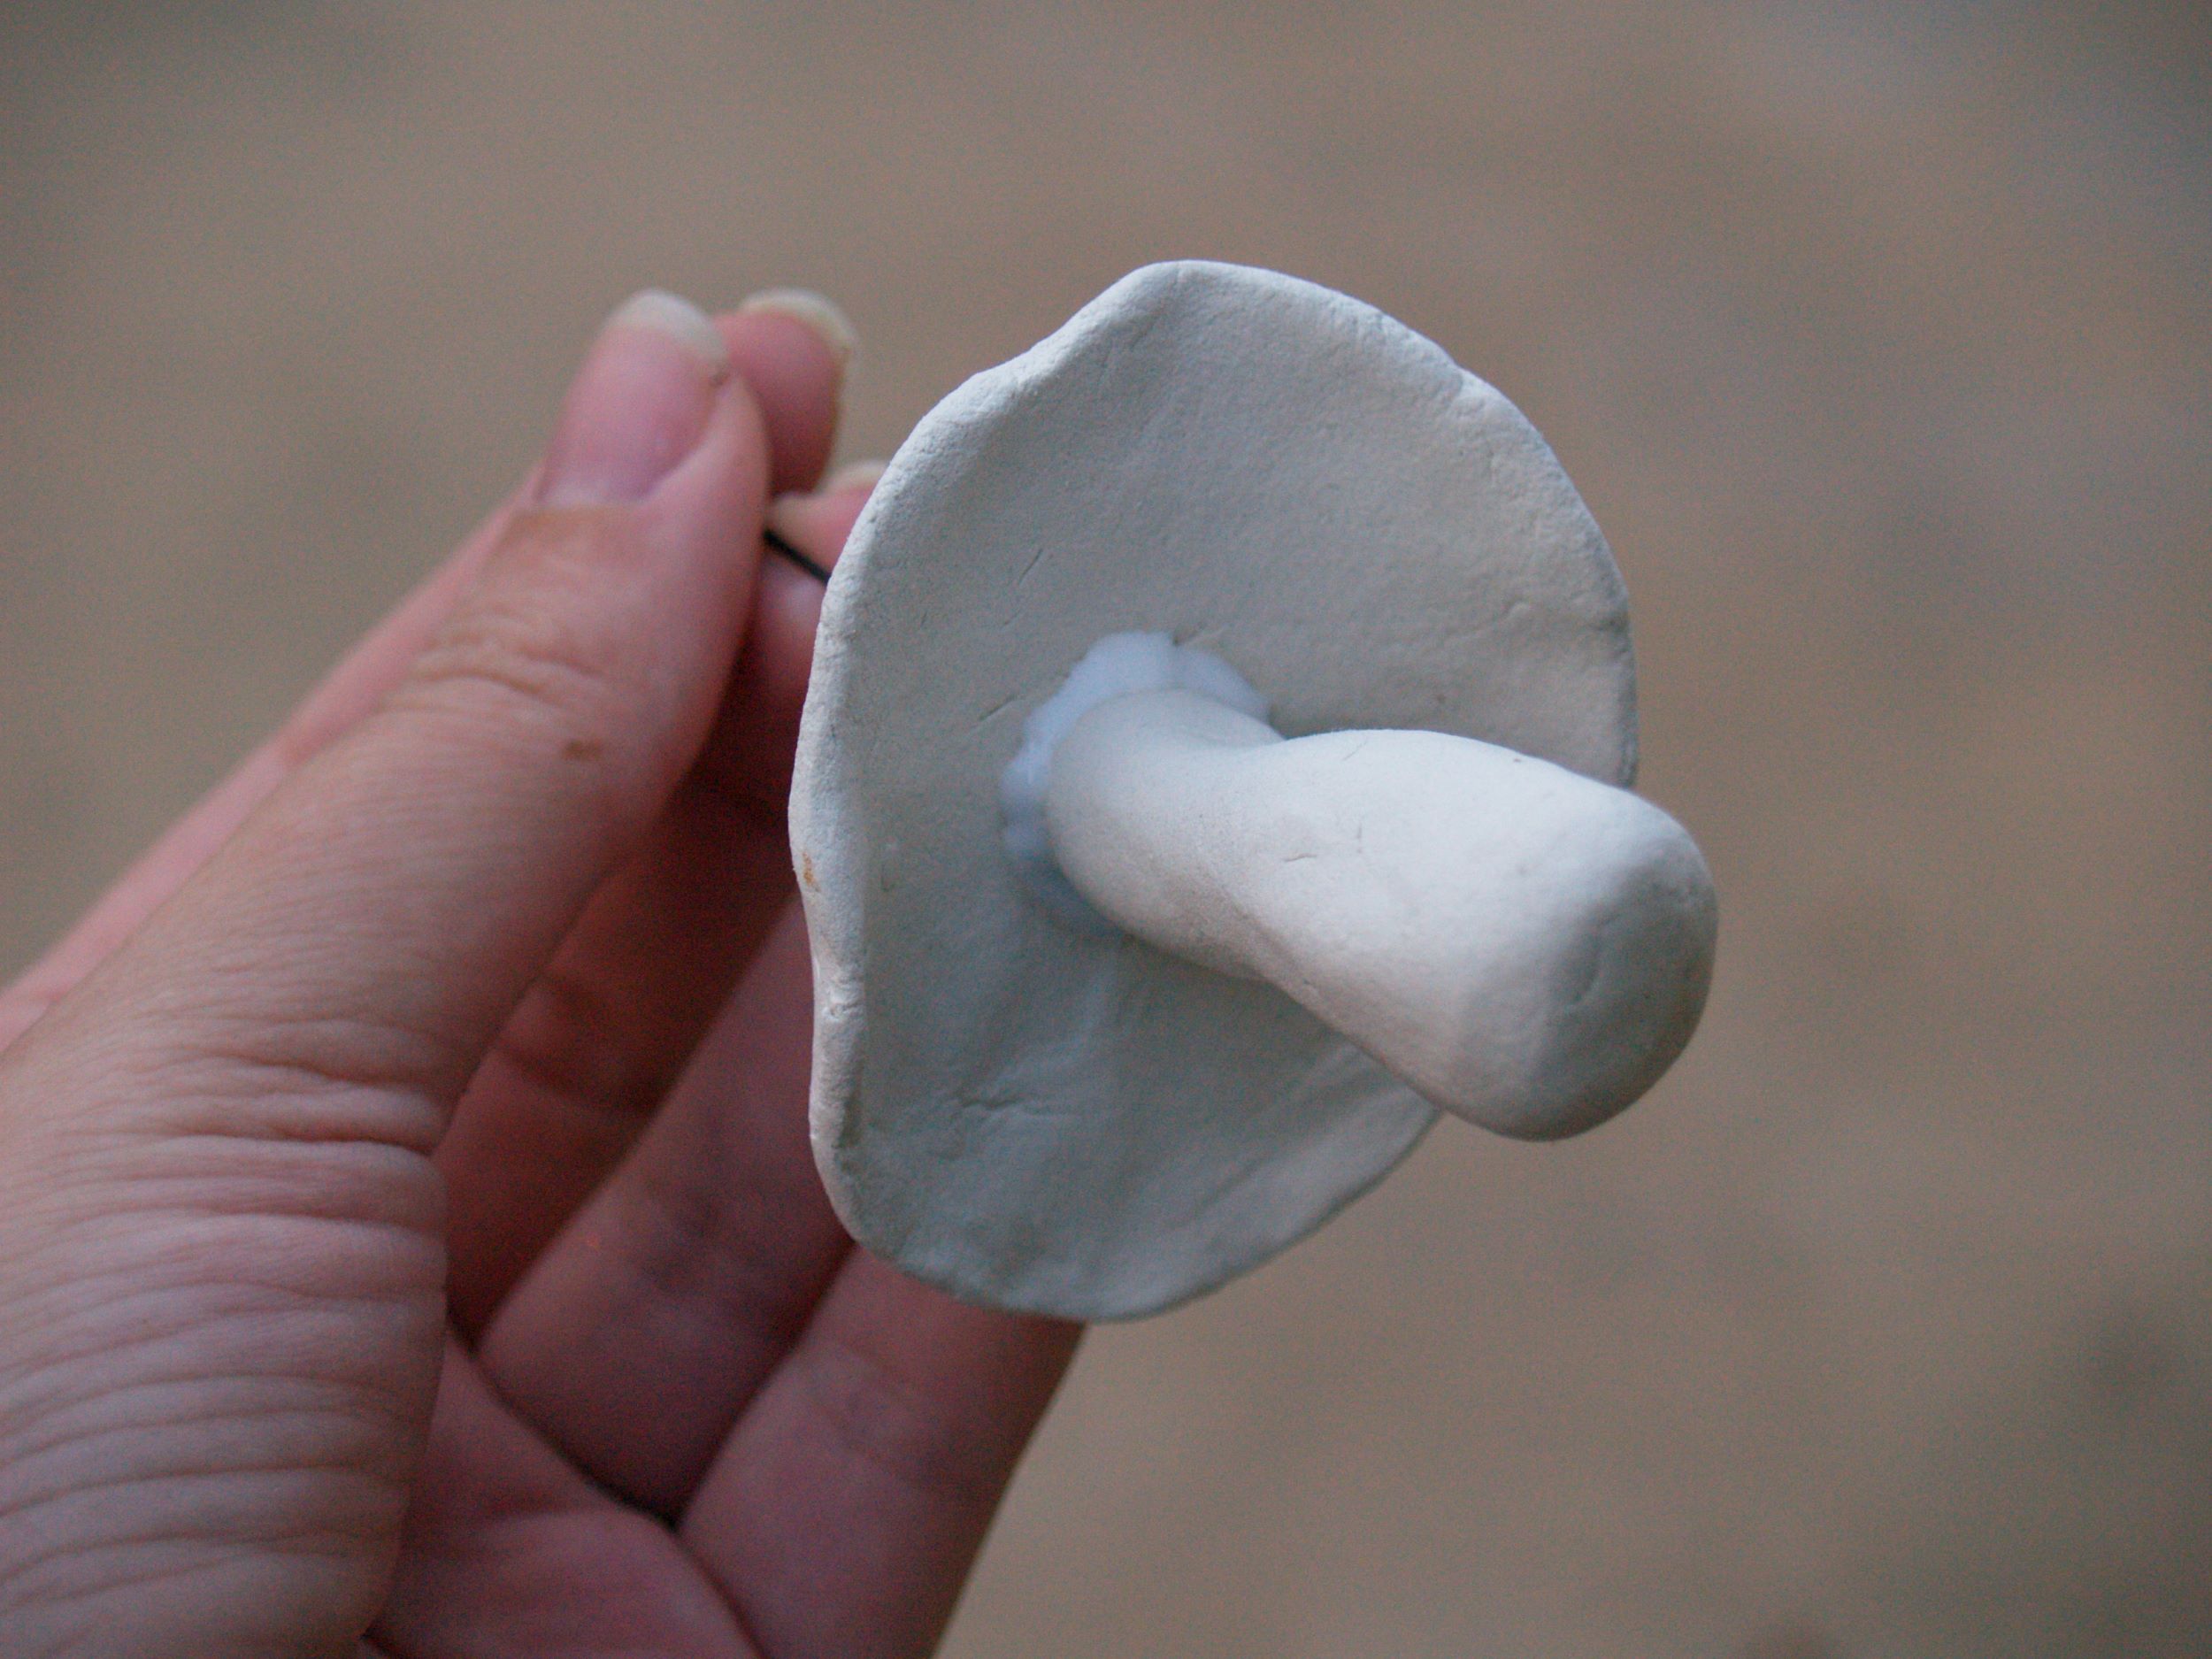
Mold the mushroom cap. Since there is no end to the varieties of mushrooms out there, you can make this look pretty much any way you want. I made mine by rolling the clay into a ball and then squishing it into a disc shape.

Run the wire through the middle of the cap, squishing that stem and cap together, and let dry at least overnight, but a couple of days works even better to get that thick stem all the way dry.
I had a little trouble getting my pieces completely adhered, so when everything was dry I ran a line of glue around the seam, like caulk, to keep it all nicely together.
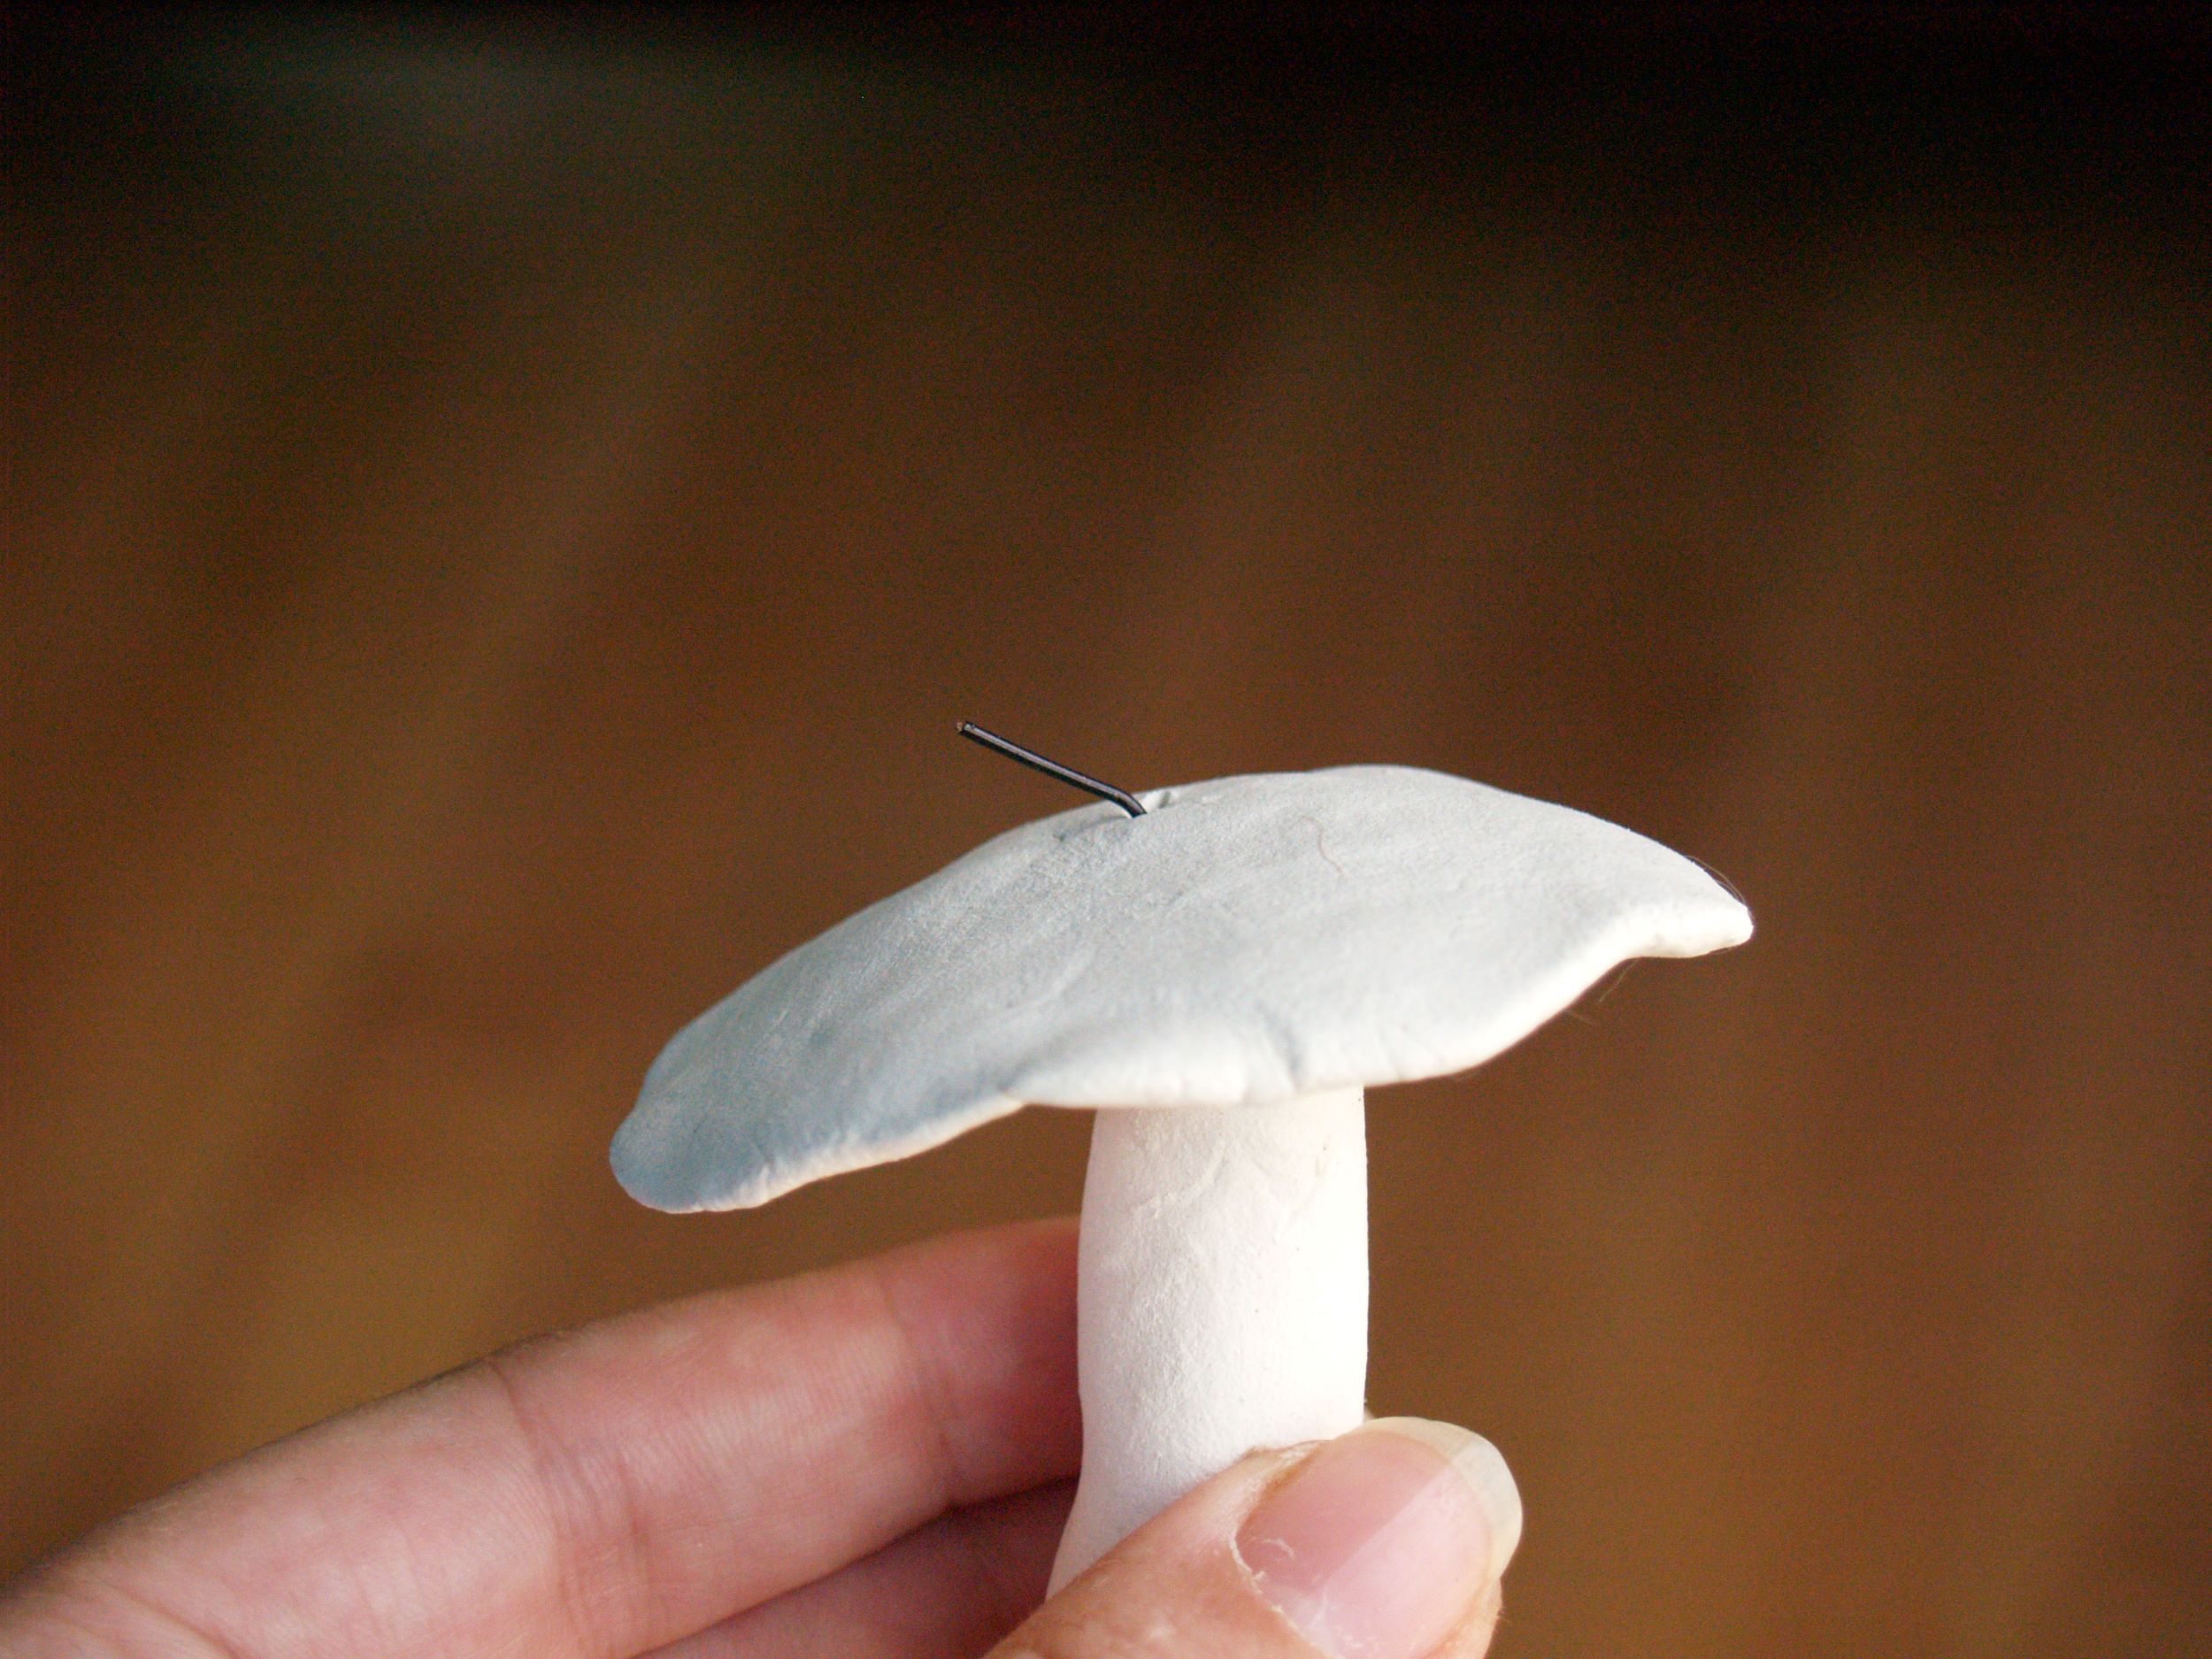
When everything is thoroughly dry, it’s time to take that wire and make your hanger. You just bend that wire into a loop with a pair of needlenose pliers, but if you haven’t done this in jewelry making before, you start by bending that wire way over to the side….

and then bend it around into a loop. The sideways bend keeps things centered and looking great.
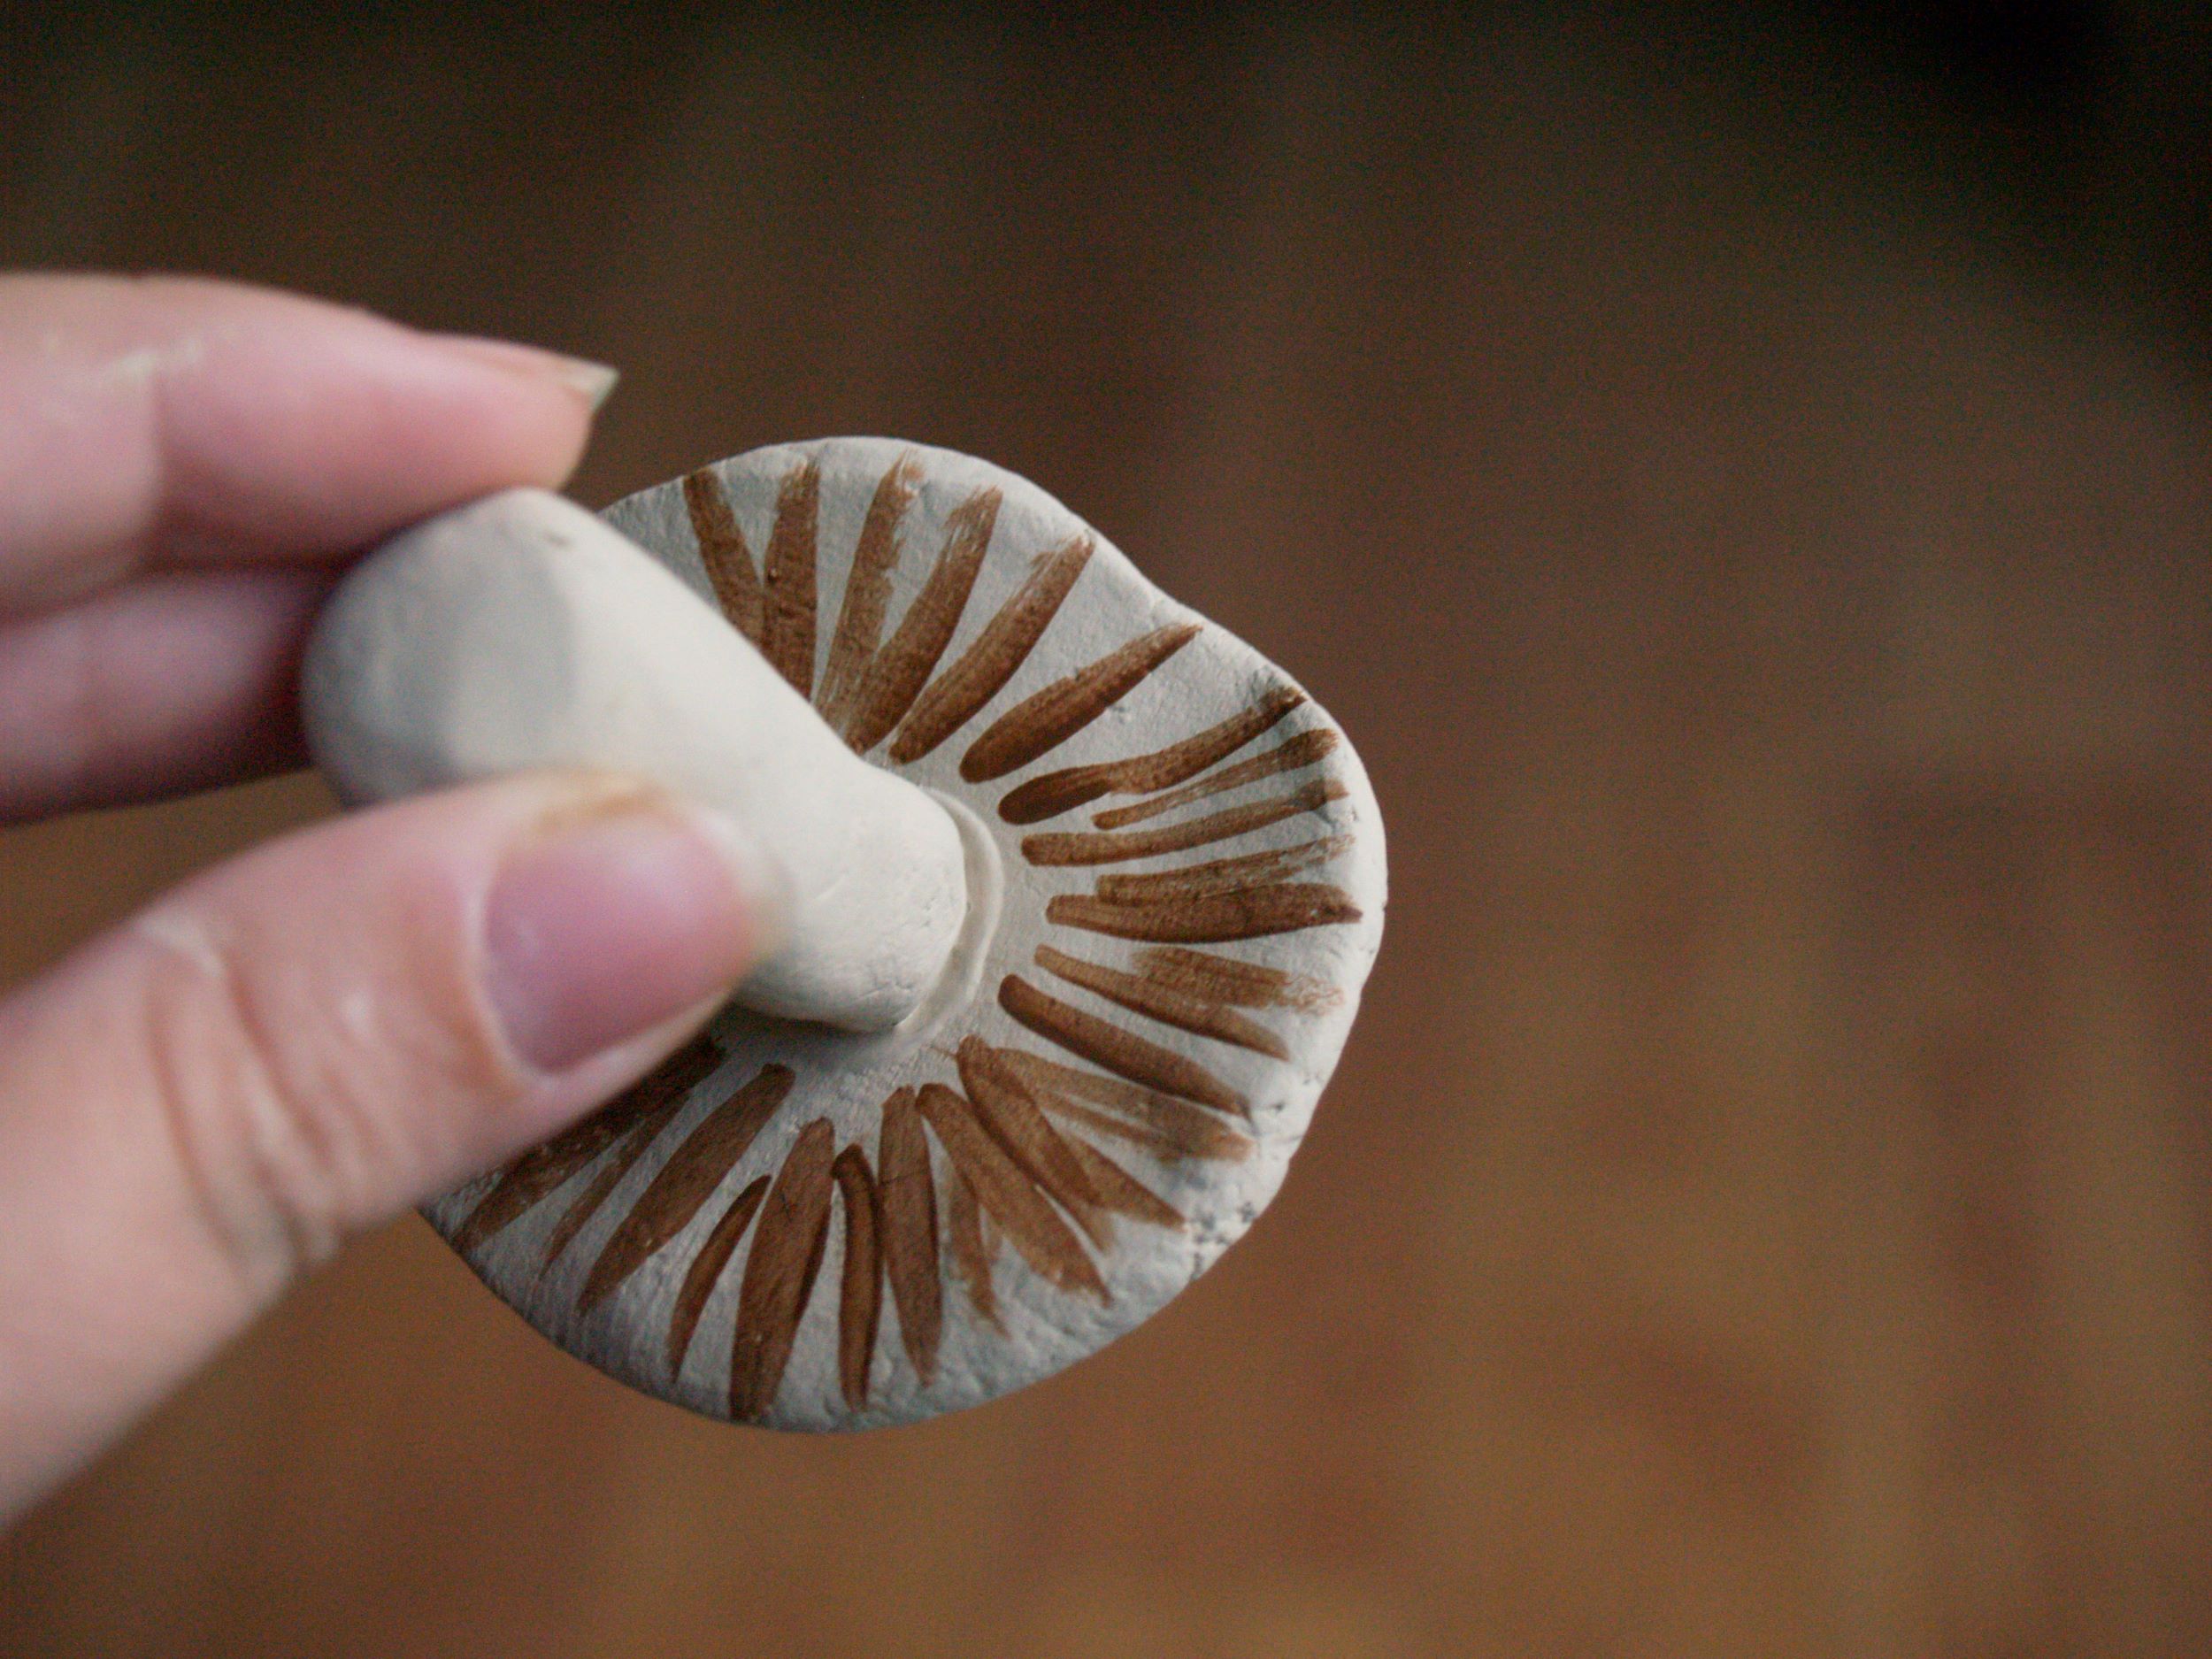
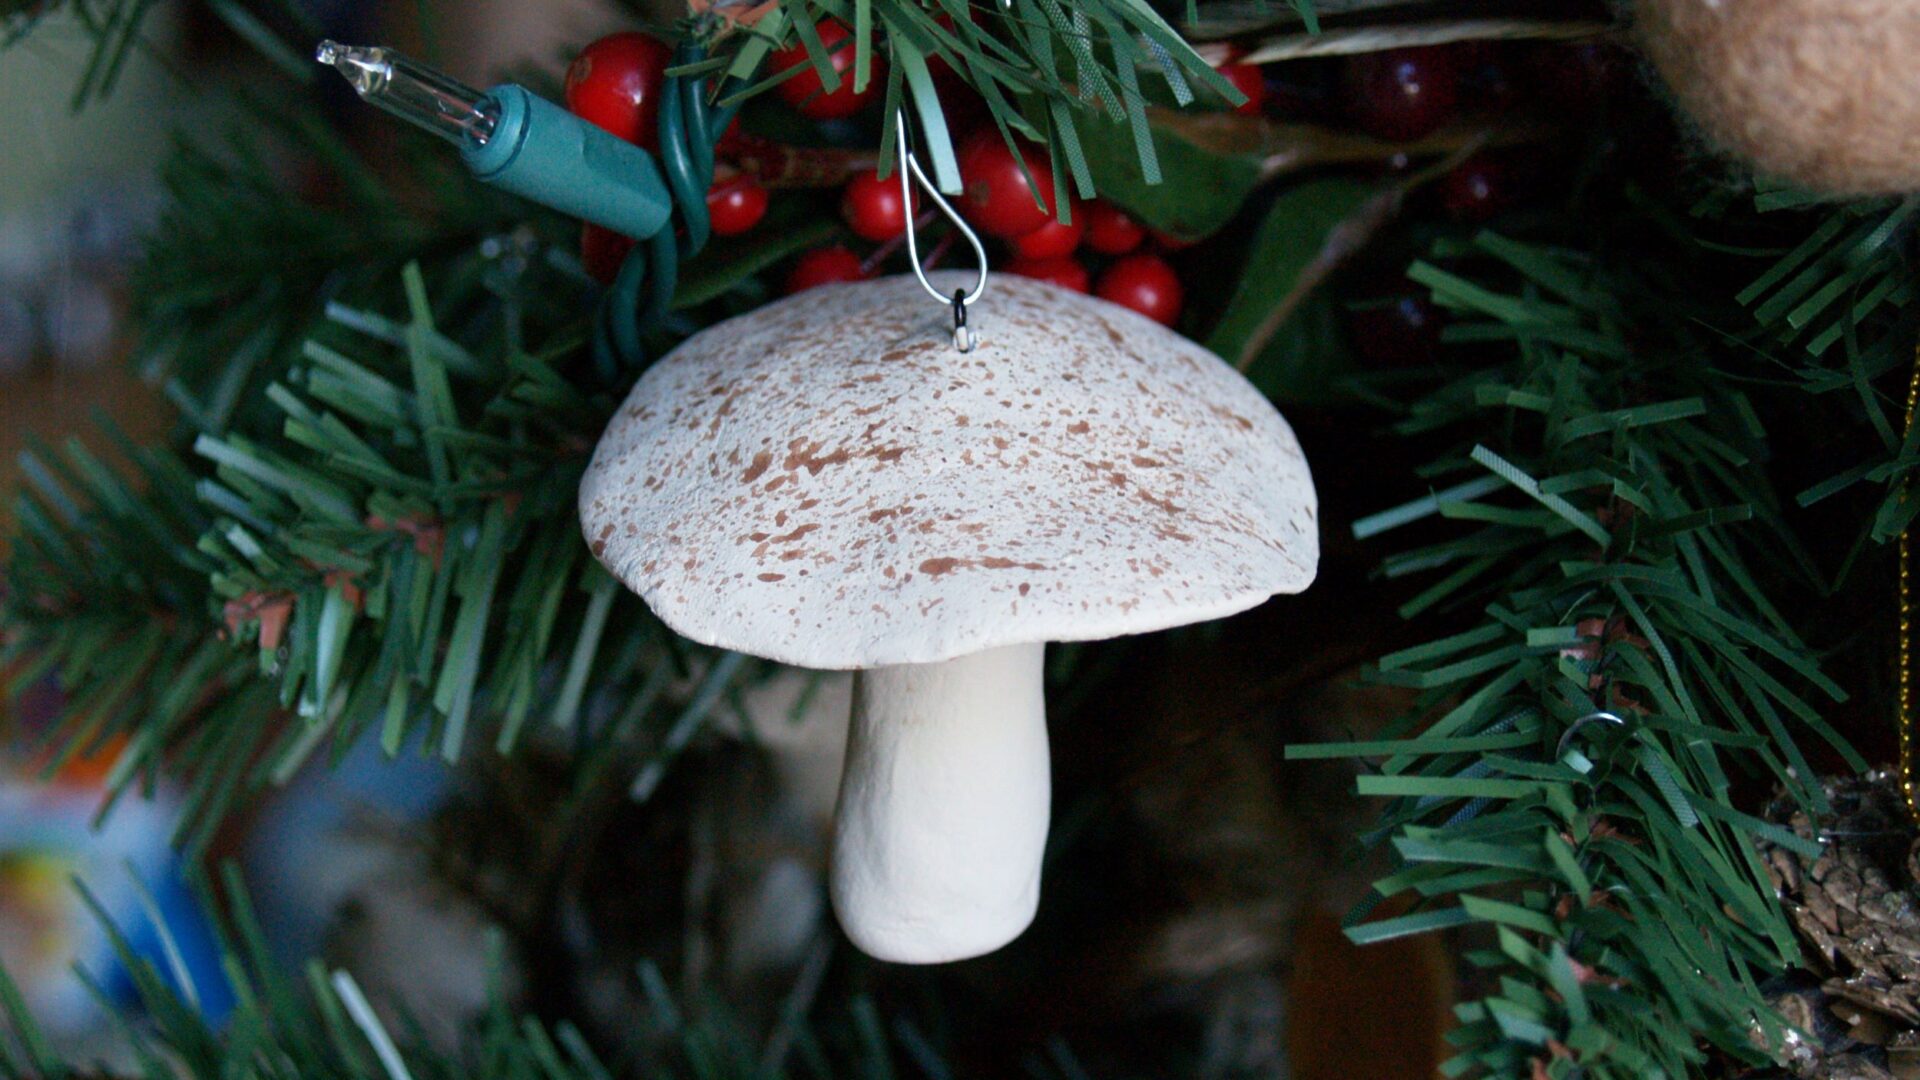
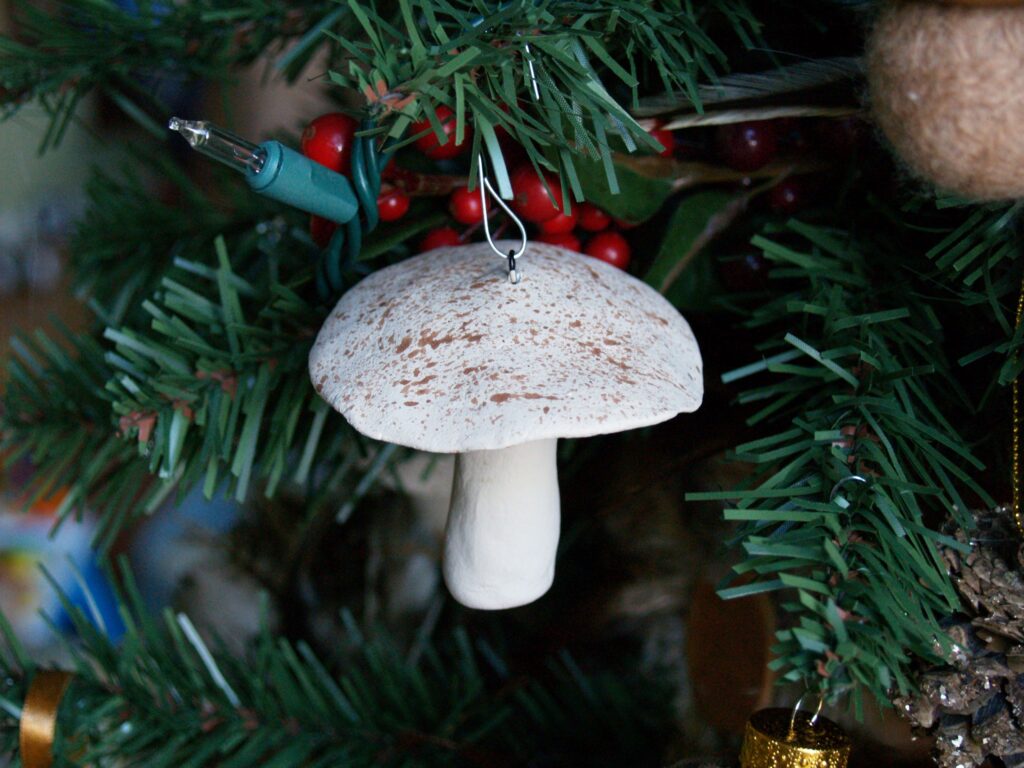
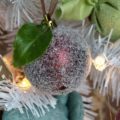
The color difference is subtle, but I painted my mushrooms a light khaki color all over, and then I took a thin paintbrush and painted these gills on the bottom with a dark brown. Just regular old acrylic craft paint is all I used.
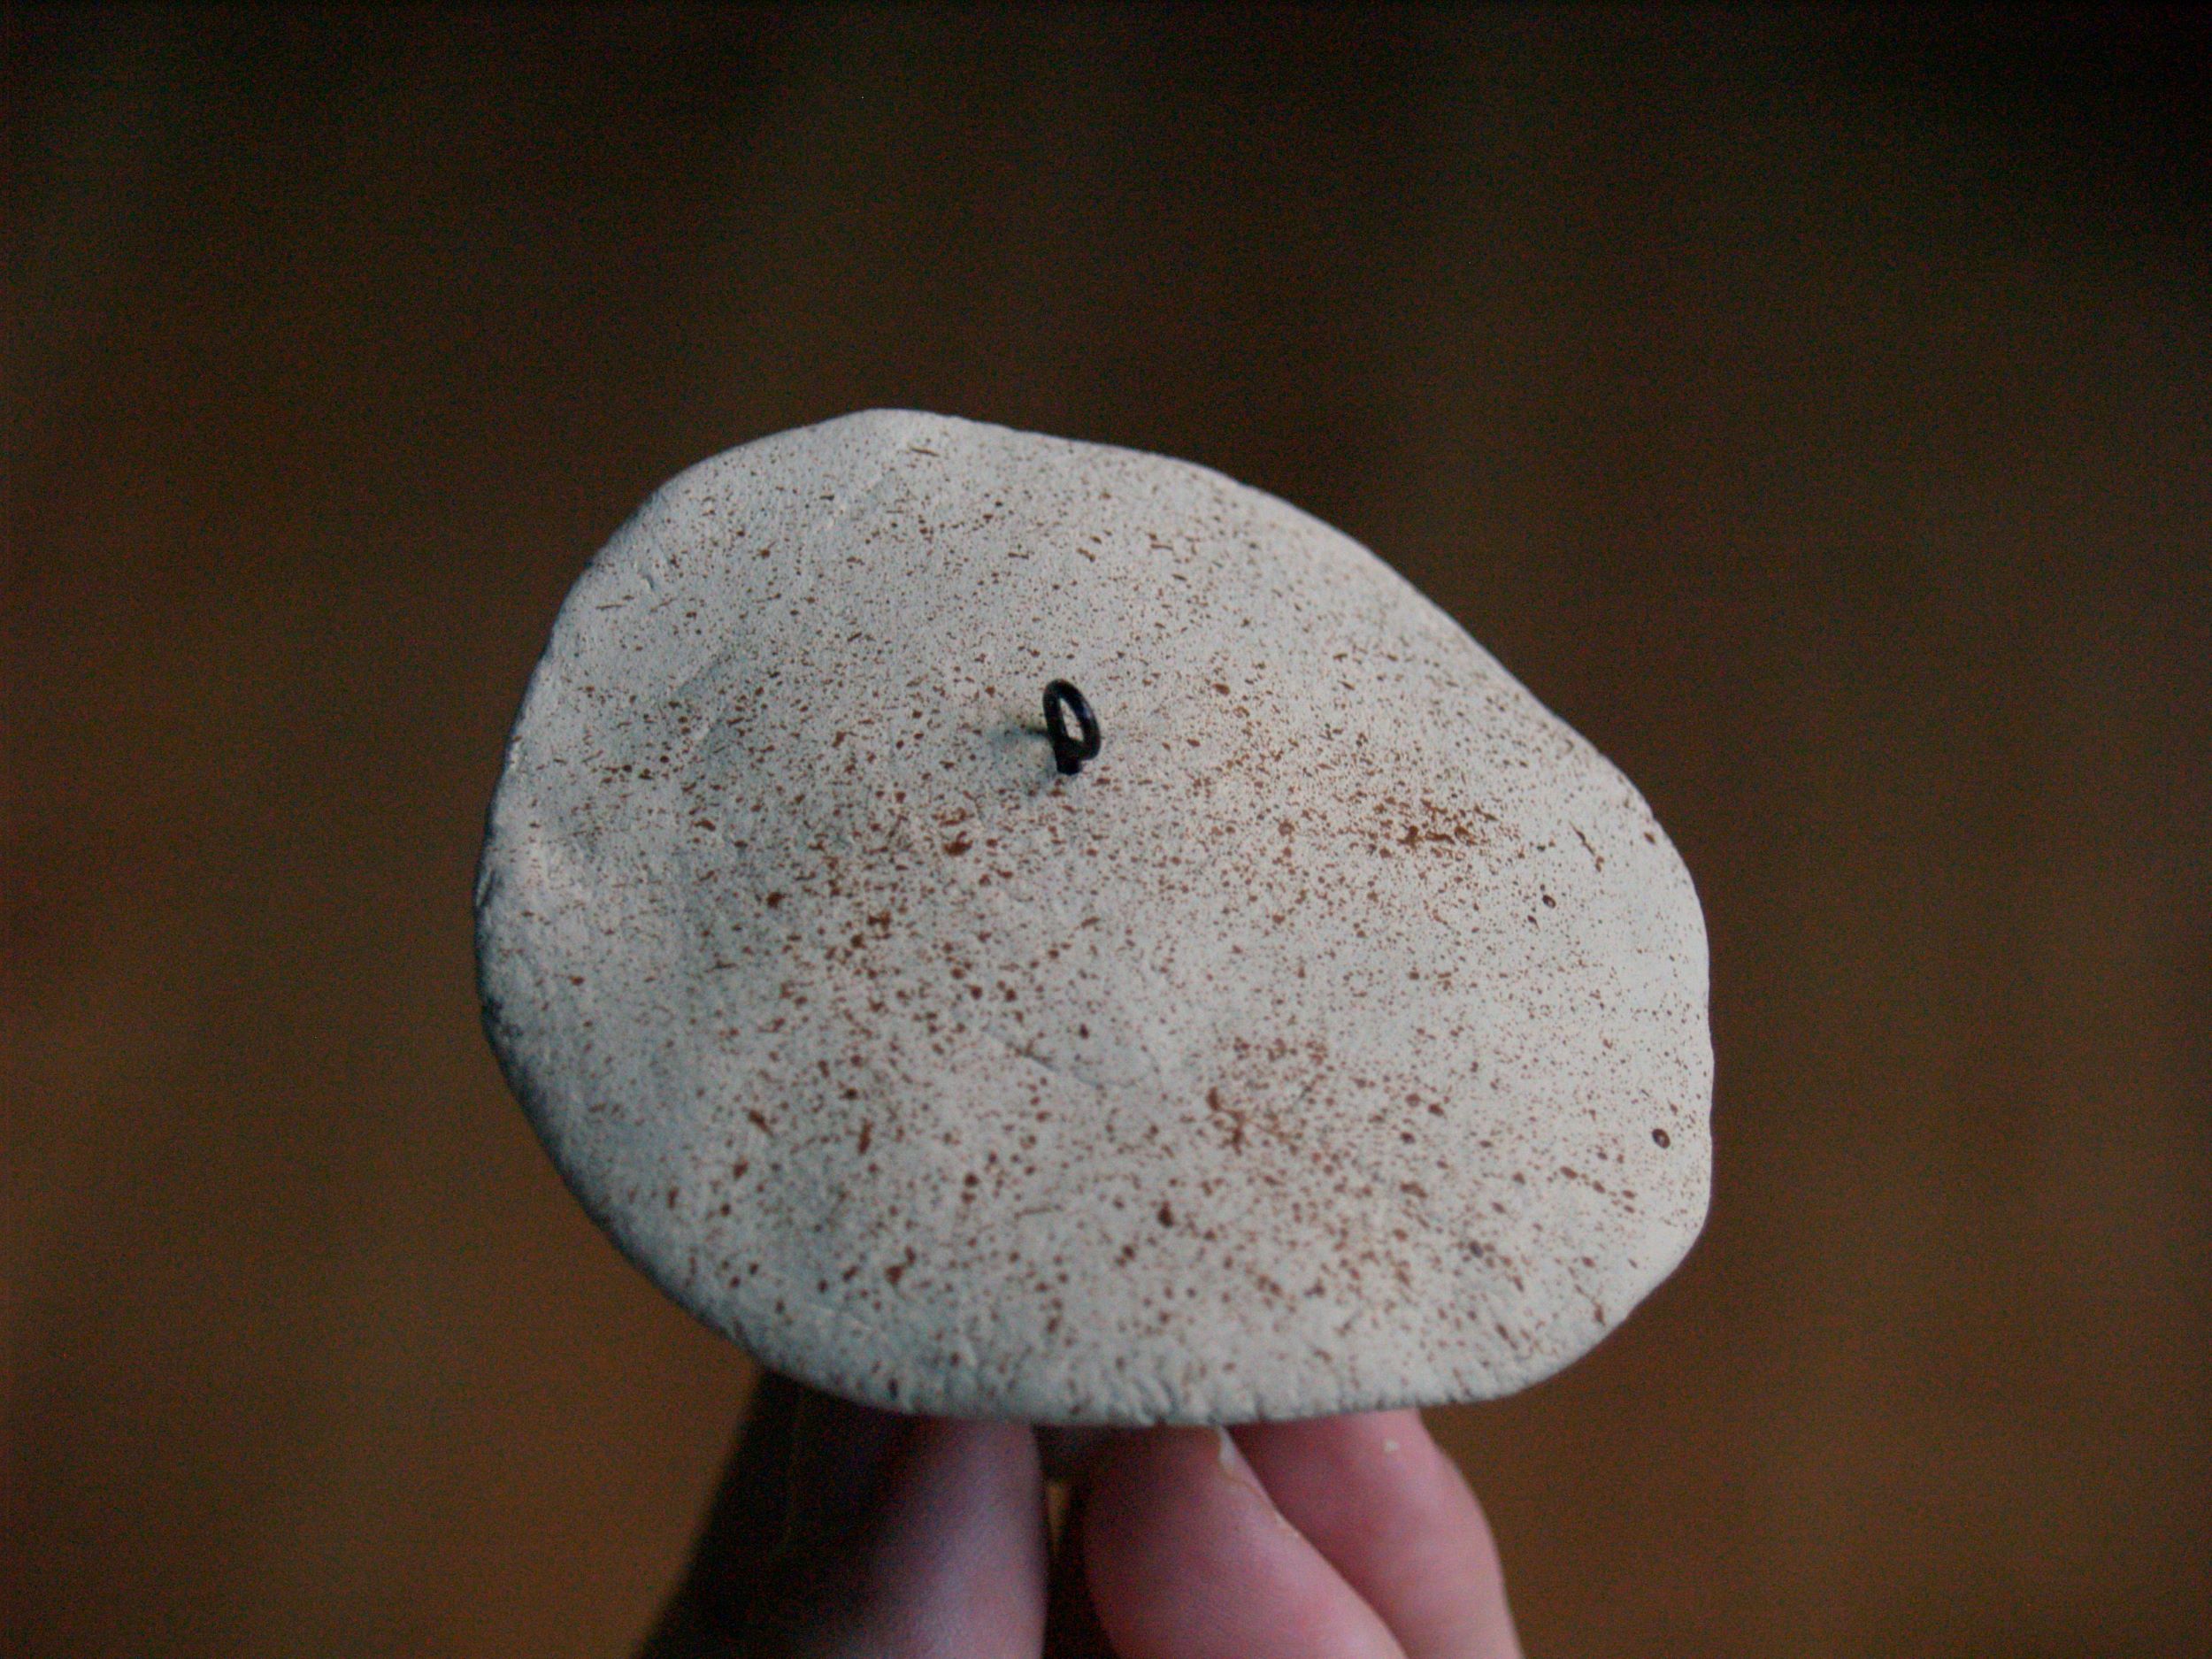
Then I thinned the paint down a little bit with water, and flicked speckles all over the top.
I have to admit, the perfectionist in me cringes a little bit looking at these photos. I wish I knew all the tricks for how to get the lumps and bumps and fingerprints out. But if I waited to try something until I knew all the little secrets, well, I wouldn’t have very much to blog about. That’s for sure.


cute! I can't wait to see your finished woodland tree! 🙂
Hi, Tresa! I stumbled upon your blog this morning (through a series of linked blogs, I think, though I've been reading yours for an hour or so and I've forgotten how I got here!) I love your crafting style and your clear tutorials. I'm on Christmas holidays from work at the moment, so I'm excited to get started on trying out some of your projects. I also love your writing style – your posts are genuine and relatable. Thank you for sharing your stories! As a sister to a brother with profound mental and physical disabilities, and as a woman with a "21st century figure" as you so aptly put it, I can relate to many of your joys and challenges. I am so happy to have found your blog – you can bet I'll be a long-term follower! All the best to you! ~~Teri~~
Oooh no, they're awesome, don't regret the little fingerprints! My husband being in animation, and Aardman claymation (Walace and Gromit) at that, I value the art of hand molded clay! And fingerprints just attest to the creativity of the maker. (I think you could come up with a Sunday school lesson out of that one quite easily.)
Paper clay is the addition I the world of the art and the increments are done on the daily basis. This field is too huge in the work or the nature of it. Now I am use to see the art which I can never imagine or else I don’t even believe on the work or the nature of the work.