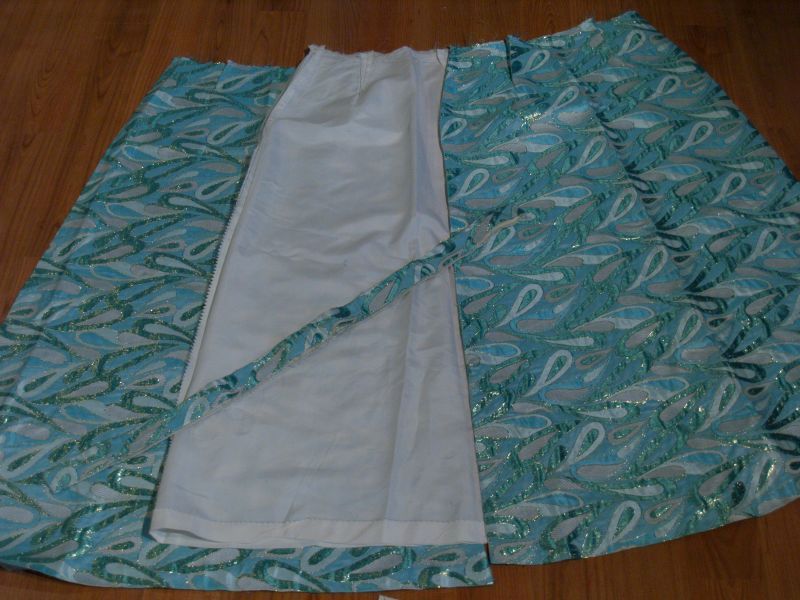
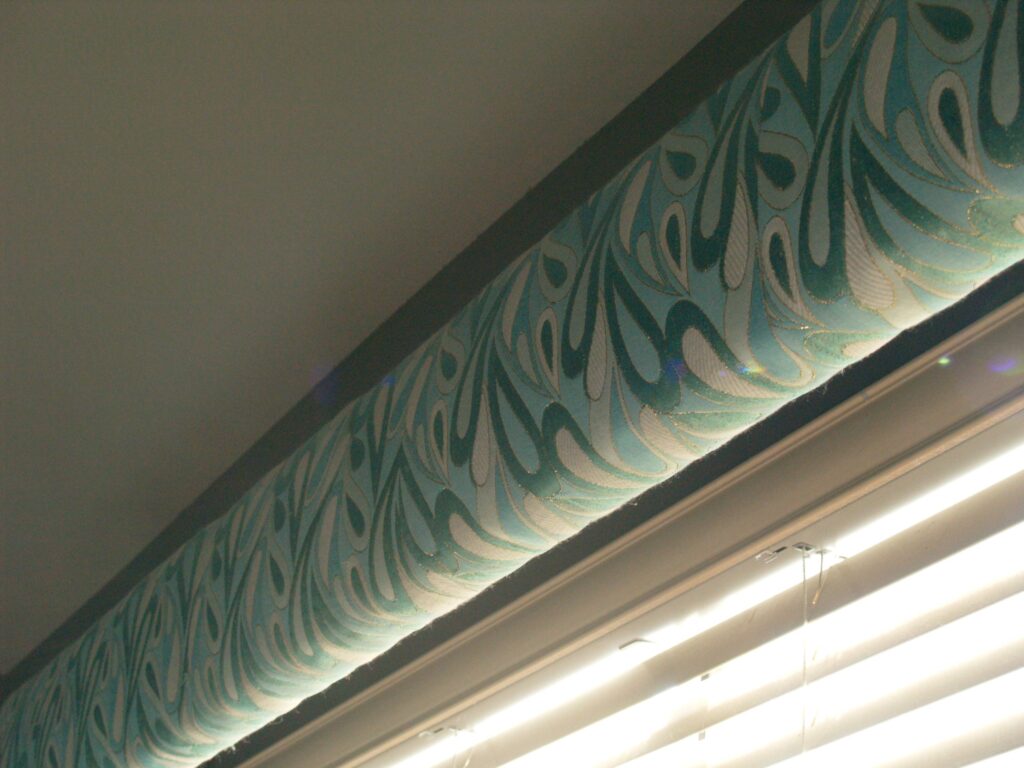
A couple years ago already, I found this incredible maxi skirt at a vintage clothing store near me. I just fell in love with the fabric, but I had the same dilemma I always have at vintage stores – nothing fits my 21st century frame. I bought the skirt anyway because there was so much fabric I knew I had to be able to do something with it.
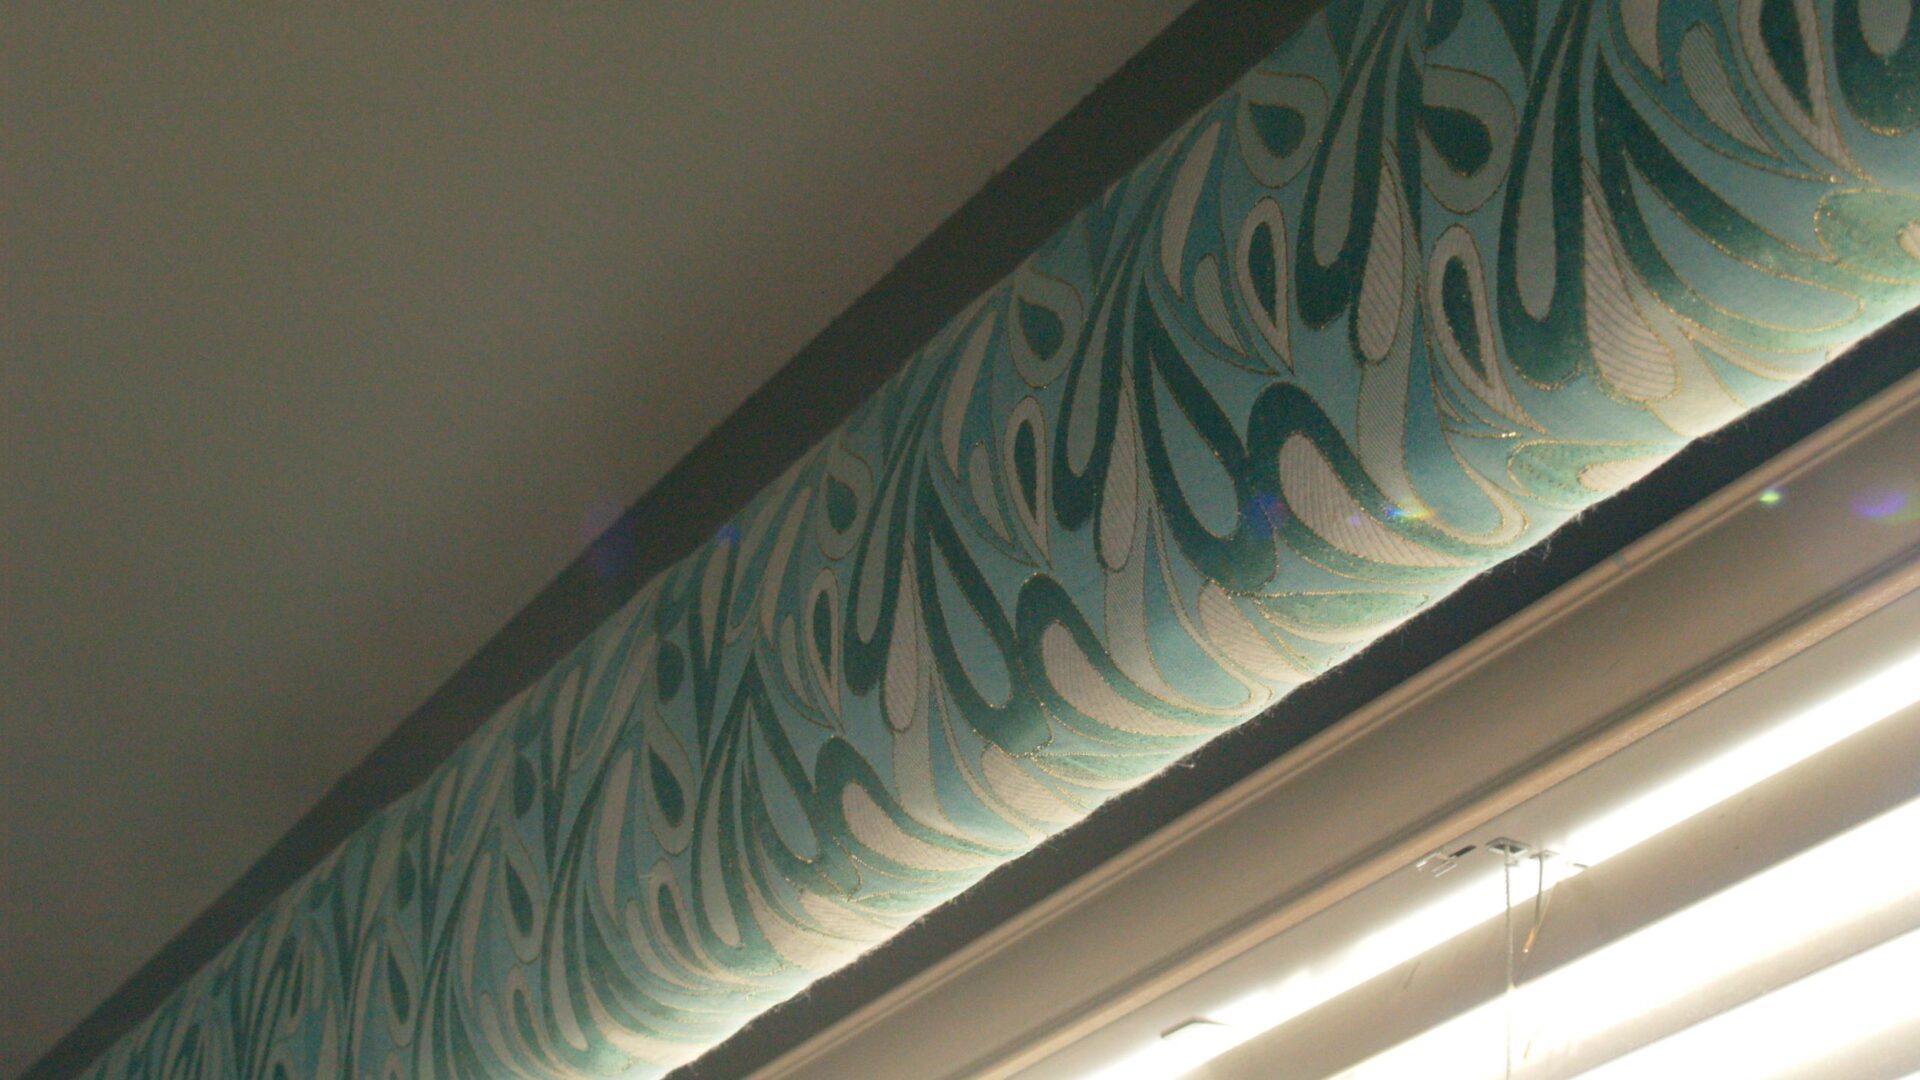
I figured it would make a great cover for a cornice in my studio. Cornices are a favorite window treatment of mine since they’re a way of taking something as soft and ethereal as curtains and adding a clean hard edge to it. Plus, they’re ridiculously simple to make. You just need a piece of wood in the shape of your cornice.
For this simple straight forward one, I wanted it to be eight inches tall, so I got a 2 x 8 and had a piece cut to how wide I wanted it to hang across my window. Then I had two pieces cut to how deep I wanted the cornice, minus two inches so the final measurement would include the width of both pieces of wood.
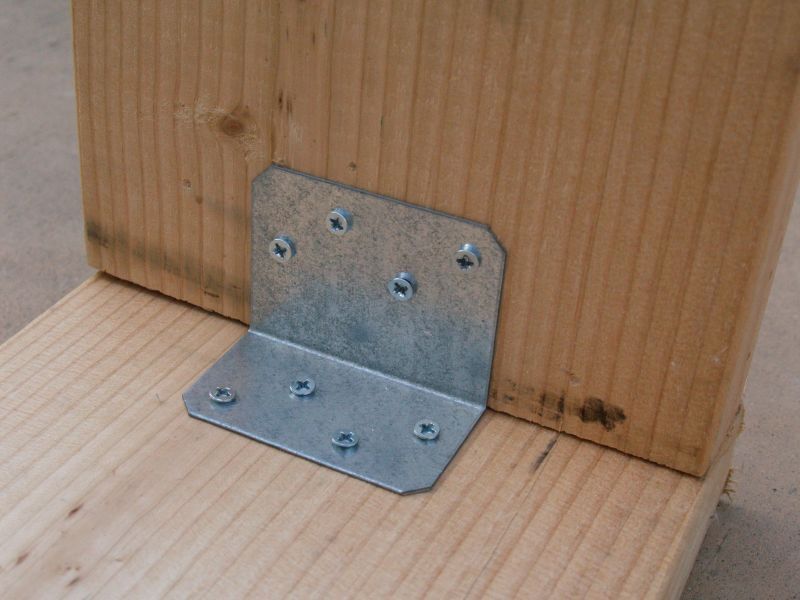
I lined up the two pieces perpendicularly and put three screws through the top piece and into the side piece.

Then to make it super sturdy, I used a bracket on the inside of the cornice.
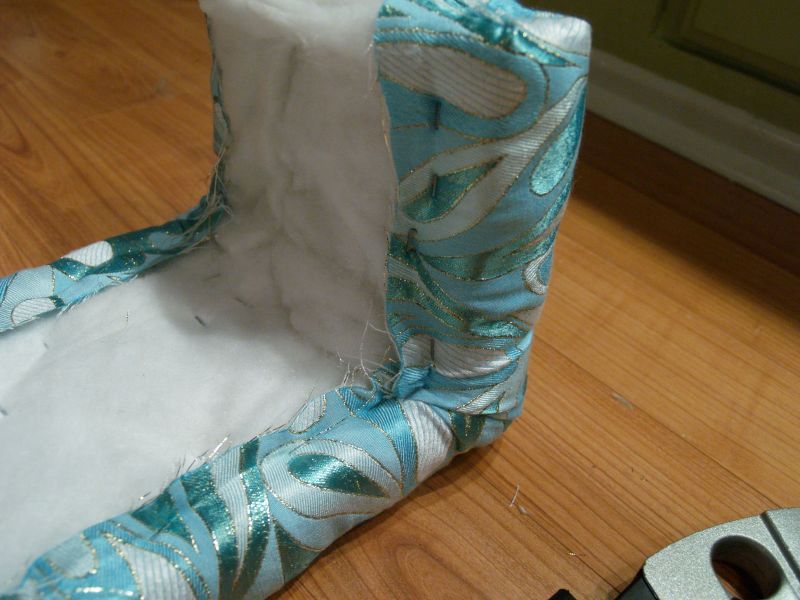
Pull out your trusty staple gun and cover the whole thing with quilters batting. I used a couple of layers to make it look nicely upholstered instead of just a wrapped up piece of wood.

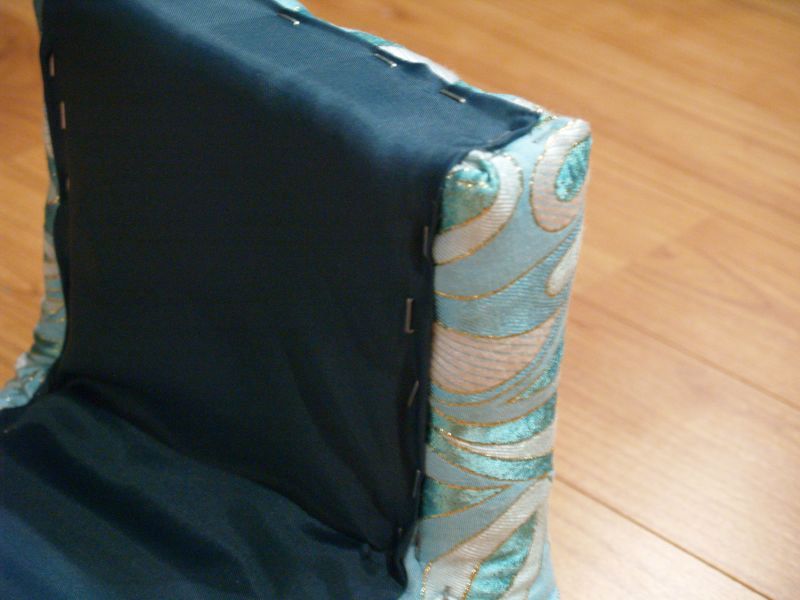
Since I was using a salvaged fabric, I had to sew some strips together to get it wide enough for the whole board, but after I did that I just stretched it across the front and stapled the fabric to the back. Don’t be shy with your staples, and try to keep those corners neat.
I didn’t have enough of the skirt fabric to make a lining for the cornice, so I used some random cheap lining fabric I had in my stash. As neatly as I could I folded the edges under and stapled the lining down.
To hang this up, just get some L brackets, screw one end into each of the side pieces, and the other end into your wall. Easy Peasy.
You might also want to remember to account for any other window treatments you’ll be using when you determine your width. The last time I made a cornice I forgot and I had to jam a curtain rod up in there in a very unattractive manner. This time I didn’t worry about it because I knew I didn’t have the fabric to go any wider, so I figured I’ll just staple some sheers to the inside.


ooooooooooooooh me likes… me glares at you… do you know how many boxes of Christmas Decorations I have to put up???
Very nice. Cornices get a bad rap sometimes. When it's deserved, it's deserved, but not in this case. This one is easy and looks fantastic.
I've been wanting to make a few of these, but I don't have the time or patience to look up how. Then, this just fell in my lap. Thanks!
JUST BEAUTIFUL! YOU HAVE A GREAT EYE FOR FABRIC AND COLORS!!!!!!
You make this look pretty easy.I have cornice boards in my house. They are made out of a heavy duty styrofoam stuff. They just slip onto a type of L shaped bracket that's attached to the wall. They are so light and easy to move around if needed.
Good window treatments should be designed to suit not only the windows but they should blend with the rest of the decor of the room and create a sense of interweaved design. A badly chosen and placed window treatment could stand out like an eye sore in an otherwise attractive room.
Wow, this piece of writing is fastidious, my
younger sister is analyzing these things, thus I am going to let know her.
oh yeah i was waiting for such article to be shared eagerly from many days . so thank you so much for providing awesome ideas of window treatment . i must try the same to the window in my room hope it works for me too.
whenever you get the time try to visit my White ruffled curtains and drapes.