I take a lot of crap for my creative endeavors. I really need to write up a whole rant on the subject, but lets just leave it for now by saying that for as many years as I’ve been trying to have kids, I’ve been hearing that when I do I won’t be able to make stuff anymore. That I’ll be far too busy to make anything by hand, thus allowing the person predicting my failure to feel that they could surely do everything I do if only they weren’t so busy raising children, and everyone knows that CHILDREN ARE THE FUTURE.
I have no doubt that when Rookie gets here, my creative impulses will change dramatically. I’ll probably be much more likely to hire somebody to do a messy, complicated project I could technically do myself. I’ll take a whole lot longer to finish the projects I do start. Those projects will probably revolve around Rookie nearly exclusively, and I’ll probably be far more likely to buy something ready made rather than make something myself just because I know how.
But…I WILL STILL MAKE. This is a part of me that is so crucial to who I am that I will find a way. If he’ll sit in a sling, I’ll use a sling and make something one handed. If he’ll play at my feet, I’ll let him play at my feet while I sit at the sewing machine. If he is a little squaller that demands all of my time and attention, I’ll take careful notes of every idea I have so I can get around to it as soon as he gets old enough to cooperate. But most of all, I’ll plan ahead and organize my time.
In that spirit, I bring you a new tutorial of next year’s Christmas cards. I made them up as much as I could (they’re just waiting on next year’s photos) and then packed them away with all the Christmas decorations. Then next year, when Rookie is eight months old and into everything, all I’ll have to do is slap some photos on and pop them in the mail.
If you’re a seasoned crafter or craft blog reader, this tutorial may seem a little overly detailed. But I’m used to teaching classes where the students wanted to know the exact longitude and latitude of where every item should be placed. So hopefully there’s enough here for everyone.
Step 1: Cut a piece of cardstock to measure 12″ x 4 1/4″.
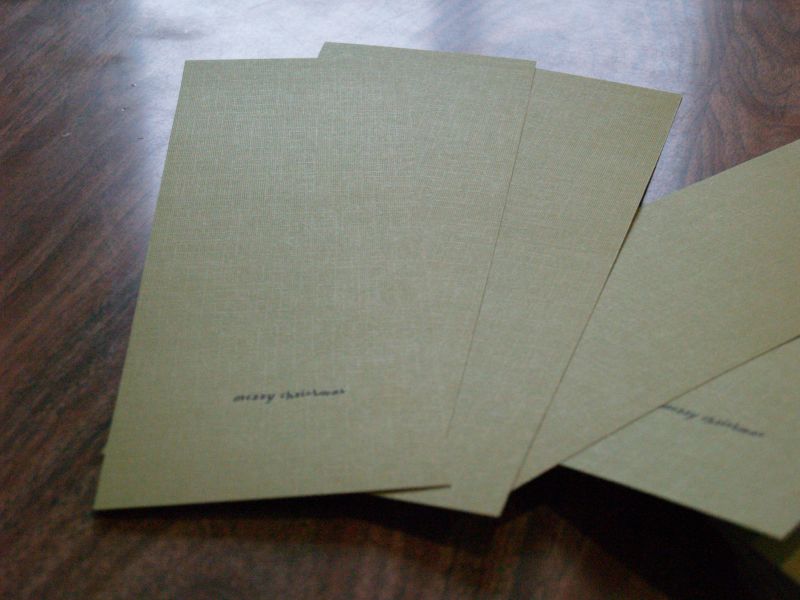
Step 2: On the front of your cardstock, print “Merry Christmas” about 1 3/4″ from the bottom edge.
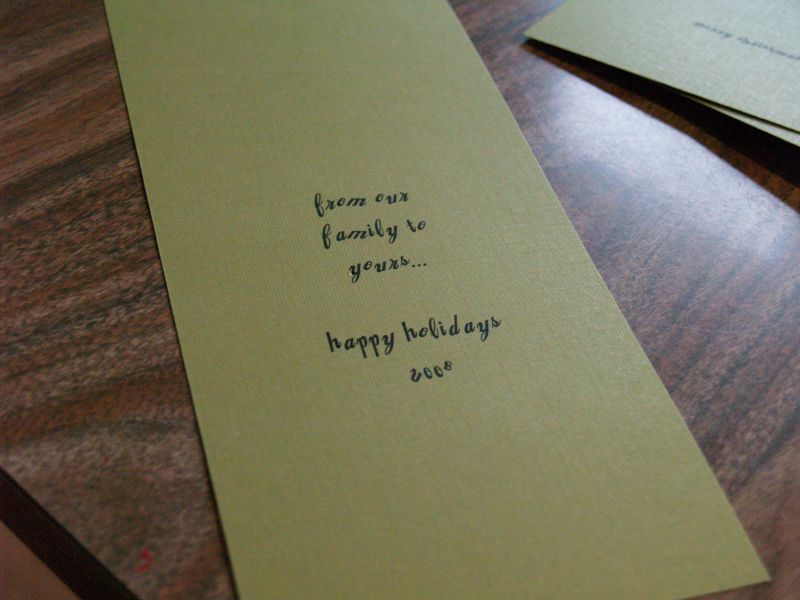
Step 3: On the back side, print the rest of your greeting about 3″ from the bottom edge. These printing measurements are not at all rigid, so don’t stress too much. You just want the printing visible over the bottom flap.
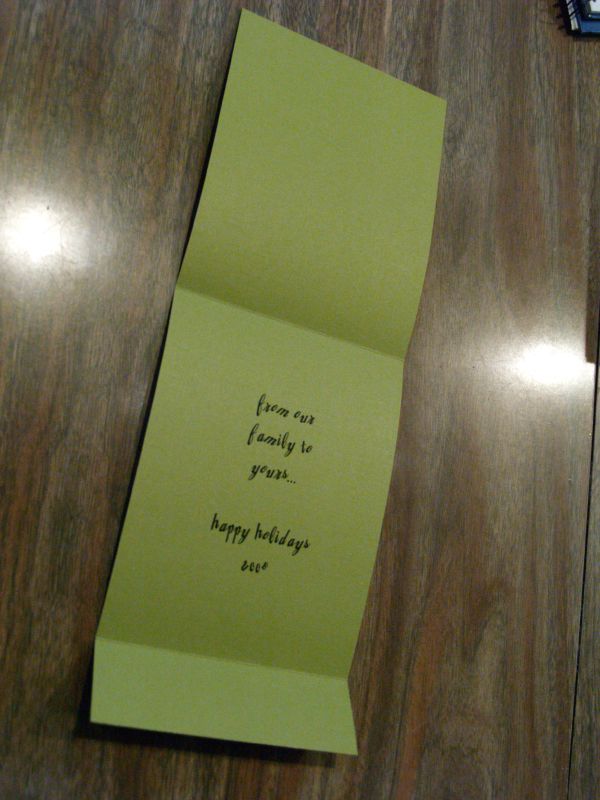
Step 4: Now it’s time to score to make all your folds. The best way to do this is with a black scoring blade on a fiskars trimmer. But you can also just fold everything by hand using a ruler. It will just take you forever. Starting from the top of the front of your cardstock (the side without Merry Christmas on it) you need one score 1 1/4″ from the edge, and one score 6 3/4″ from the edge. Fold along the scores.

Step 5: Cut four pieces of coordinating paper to measure:
3″ x 3 1/2″
3″ x 4″
3″ x 4 1/2″
3″ x 5″
Score each piece 1 1/4″ from the edge and arrange so they look all cute.
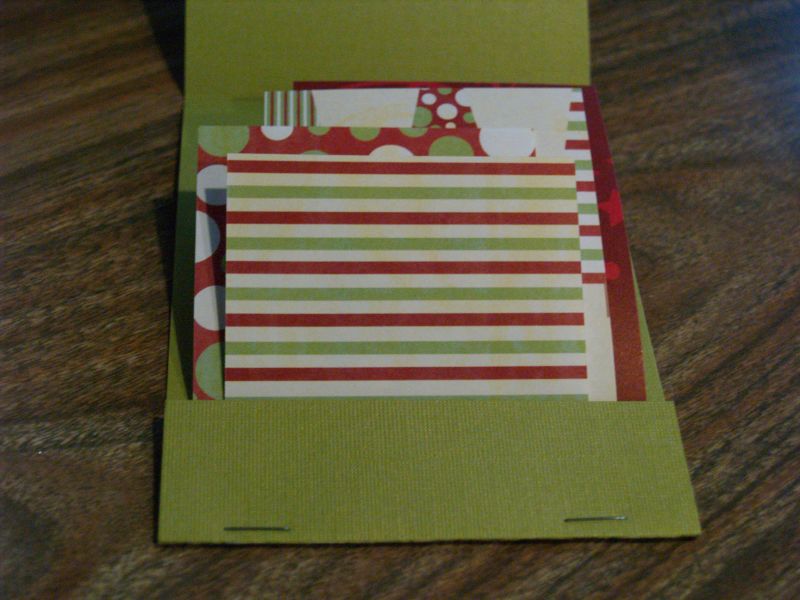
Step 6: Fold the 1 1/4″ flap up and over to enclose the patterned papers like a matchbook. Secure with a couple of staples.
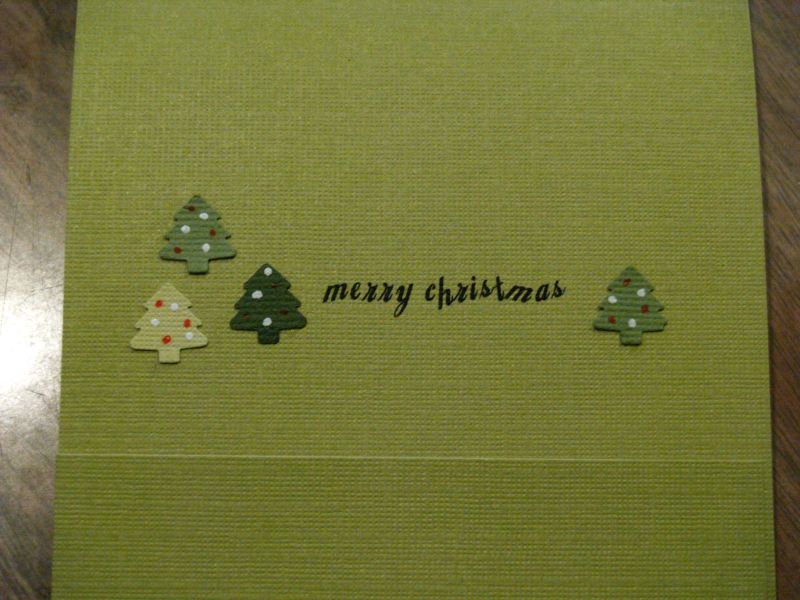
Step 7: Decorate the front. I used some tree punches and pen doodles.
That’s it. Then next Christmas I’ll put a photo or greeting or something on each of the papers, and then a photo on the front. Ta Da! It’s not like I invented the concept of a matchbook card or anything, but I’m just wild about the idea of sharing so many photos in this way. Feel free to borrow this idea, but if I get one of these from someone on my Christmas card list, I might be a little put out.

Love, love this card! I am really consider doing this next year-for a million reasons…each kid can have their own pic with a summary of what's going on and maybe even has something about Mom and Dad. I might have to make a different card for you or send you a store bought one:) Anyway, it looks great. Also…yes, you are going to be a mommy. Unfortunately there are people who think that's all we are. Truthfully, we are much, much more…crafters, photographers, each of us so different. I am sure you will continue to CREATE, how you get there just may not be the same. By the way, I look forward to all the crafts that may revolve around Rookie! Love ya!
What a pretty card. Thanks for the tutorial 🙂
Beautiful card! I love the simplicity of it, and such seasonal colours too.And I was told I wouldn't be able to craft as much once I became a mum. Pfft! I craft in the living room, with the rest of the loung barriered off for my son's playing. He gets to play and I get to craft. Sure things take a little longer and I have to be extra careful not to leave supplies and tools lying around, but I still craft. And I will continue to craft for as long as I am able, it's in my soul.I don't know about these advice-givers but I can multitask 😛